
We may earn revenue from the products available on this page and participate in affiliate programs. Learn more ›
Getting a new TV is exciting, especially when you get a screaming deal on Black Friday. But, if you want the best out of your new display, you’ll need to make sure you’re setting it up properly. Here are some tips to help you avoid crucial television mistakes.
Make sure your media source makes the grade
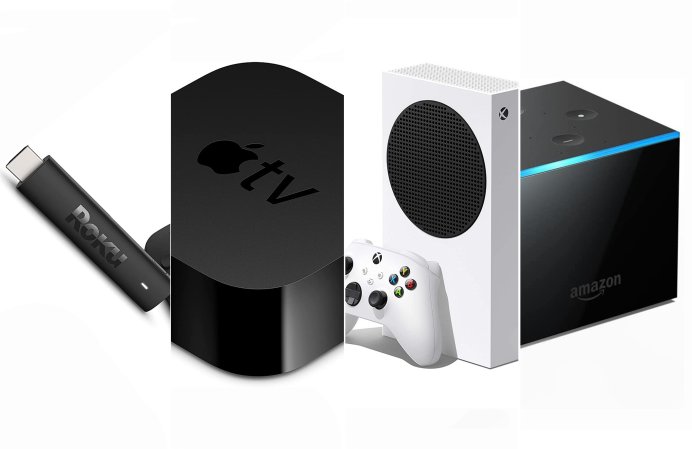
A fancy TV is only as good as the content you push into it, which means that Roku box you bought back in Obama’s first term isn’t going to cut it for your new Ultra-HD setup. If you bought a smart TV, its native apps should stream at high quality, but here are some stand-alone boxes that can take full advantages of your new 4K set:
Apple TV 4K ($179): It’s pricy, but it offers extremely high quality audio and video, as well as UHD movies in the iTunes store for $5.99 to rent or $19.99 to buy. You can also get a year of Apple TV Plus for free if you buy one right now, which is a small bonus.
Roku Ultra ($99) or Streaming Stick+ ($49): Not every Roku supports UHD, but these two will push out the proper number of pixels for your new set. Get the Ultra if you want an ethernet jack for internet, a USB port for media storage, or a microSD for expandability.
Google Chromecast with Google TV ($50): Google’s streaming stick offers some unique features like enabling the company’s Stadia game streaming platform (if you don’t mind spending cash to buy in) and Google Assistant functionality.
Nvidia Shield ($149): One of the most powerful streaming boxes around offers the Android TV platform.
Gaming consoles: The Xbox One S and Xbox One X both do UHD playback via streaming and disc. The same goes for the PlayStation 4 Pro. The base model consoles and Nintendo’s scrappy Switch will leave you with upscaled 1080p. The new PlayStation 5 and Xbox Series X will take maximum advantage of your new TV, but good luck finding one.
Make sure your internet connection is ready for the onslaught of data
Streaming or downloading 4K content taxes internet connections hard. Netflix recommends at least 25 Mbps for UHD streaming (Disney Plus is the same), while Hulu demands a lighter 13 Mbps connection.
Set your TV up in the right spot
Ideally, you should consider the distance you’ll sit from your TV before you go out and buy one. THX recommends a viewing angle of 40-degrees, which requires you multiply your distance from the TV by 1.2. You can use this online calculator and move your seat closer or further from the display to make it work. It doesn’t have to be spot on, but position it too close or far and you’re going to hinder your experience.
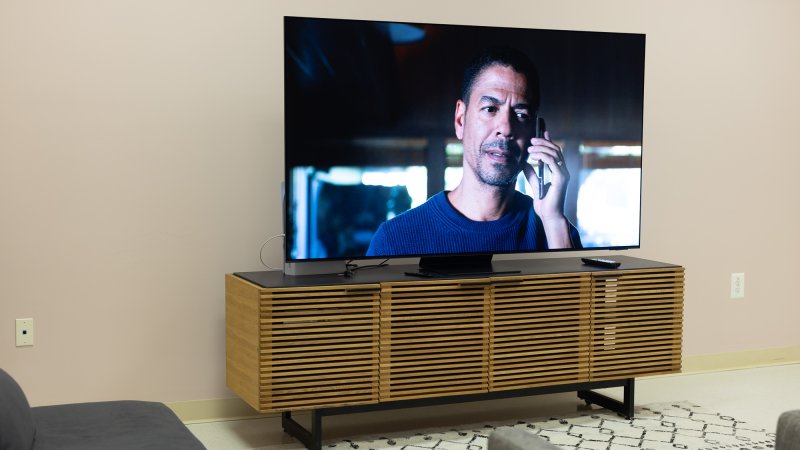
When mounting your TV to the wall (or sitting it on the stand), you want the center of your TV to line up with your eyeballs. Putting it above the fireplace or on the floor may work on home design TV shows and dorm rooms, respectively, but it’s bad for viewing.
Pick the right HDMI ports
Not all HDMI ports are created equally. Right now, you’ll commonly find HDMI 1.4, 2.0, and 2.1 ports on your TV. To pass 4K content, the port, cable, and source need to be compliant with a protocol called HDCP 2.2. If your TV won’t display 4K content, it’s possible you’re plugging into an incompatible port. Try another one or check the manual on your TV to see which ports you should be using for UHD.
HDMI 2.1 is still somewhat uncommon. It brings substantial upgrades in terms of speed, and you’ll only really have to worry about it if you’re hooking up a next-generation gaming console.
Pick the right settings
Now that we turned the TV on, it’s time to get the picture looking good.
When stores display TVs on the massive wall, they crank the brightness to the max in order to attract the eyes and wallets of the shoppers below. This is often called “display” or “vibrant” mode in your TV’s menu and you should avoid it like the plague if you want a picture that resembles reality in any way.
The most accurate mode is often called something like “cinematic,” or “movie,” but it varies from manufacturer to manufacturer. Vizio, for example, typically calls this mode “calibrated.”
As HDR has become more common on TVs, it’s often easiest just to select that mode and take advantage of the expanded colors and contrast. Typically, TVs refer to it simply as “HDR” but you may see it as HDR10, Dolby Vision, or some variation of those. They simply represent the different HDR certifications. Compared to the default setting out of the box, HDR will likely look slightly dimmer and more colorful.
If you don’t want to use the HDR mode for some reason or your TV doesn’t have it (though, it’s generally worth paying a little extra when you make your purchase), pick the mode that you think might be the most accurate and leave it on for a while. Go do something else and come back to it after a while. What may have seemed slightly dark or less contrasty before might seem just right without the memory of the “vibrant” setting burned into your brain. There’s often a “cinematic” setting that works nicely.
Note that “game mode” and other similarly named settings typically turn off things like motion smoothing in order to cut down on response time. You might notice the benefits when gaming, but don’t keep it on for everyday viewing.
Figure out your TV’s motion smoothing
Does your new TV make everything look like a soap opera? It’s probably because of motion smoothing. If you want an in-depth explanation of what’s happening, you can check out this link, but from a practical standpoint, your best bet is typically to leave motion smoothing on and set to its lowest possible setting. This will cut down any jittery appearance without pushing things into “General Hospital” territory. If you’re willing to do the work, you can turn it off when you watch movies and on when you’re watching things like sporting events.
Again, if you’re going to be gaming, turn off motion smoothing because it’s going to tax your TV’s performance and make your overall gaming experience frustrating and slow.
Be wary of the other picture adjustments
If you go into the menus on your new TV, you’ll find a bevy of different picture adjustments, things like brightness, color, and gamma. The trouble with these is that they’re not very standard from set to set and messing with them can introduce new problems that you didn’t have before.
Adjusting gamma, for instance, can make the display brighter overall, but you’ll start to lose details in the highlights. The brightness may also be desirable during the day, but overpowering when the room gets dark at night.
Color is similarly risky. This slider typically adjusts color saturation and it’s easy to overdo it and make things look cartoonish if you’re just adjusting it with your subjective taste. If you’re having a specific problem like dull colors or weird noise in the picture, check out the TV’s manual for the specific fix before you go messing around with random sliders. Unless you have a specific reason to move a slider, leave it where it is.
