This post has been updated. It was originally published on October 11, 2018.
Subscriptions have a way of gobbling up your monthly budget. At any given time, you might be paying for a Spotify account to stream music, Netflix or Hulu or Amazon Prime (or all three) to watch television, Patreon donations to support your favorite podcasts, fees for extra cloud storage, not to mention the various other apps you rely on.
The model has its upsides. Companies can enjoy a steady stream of your money until you cancel your account (or, you know, die). In exchange, because the payments happen automatically, you don’t have to think about bills—you just receive a convenient service. But this also makes it all too easy to sign up for more and more new subscriptions without tracking how much you’re already paying. Those small monthly fees quickly add up to a serious chunk of cash.
[Related: How to unsubscribe from all your newsletters at once]
That’s why you need to keep better tabs on your subscriptions. Platforms like Android and iOS have built-in systems to help you find every account you’ve signed up for. Those methods may not cover everything, but that’s where third-party apps can step in. No matter which option you choose, you’ll find a few tricks to easily cancel those forgotten subscriptions you no longer need.
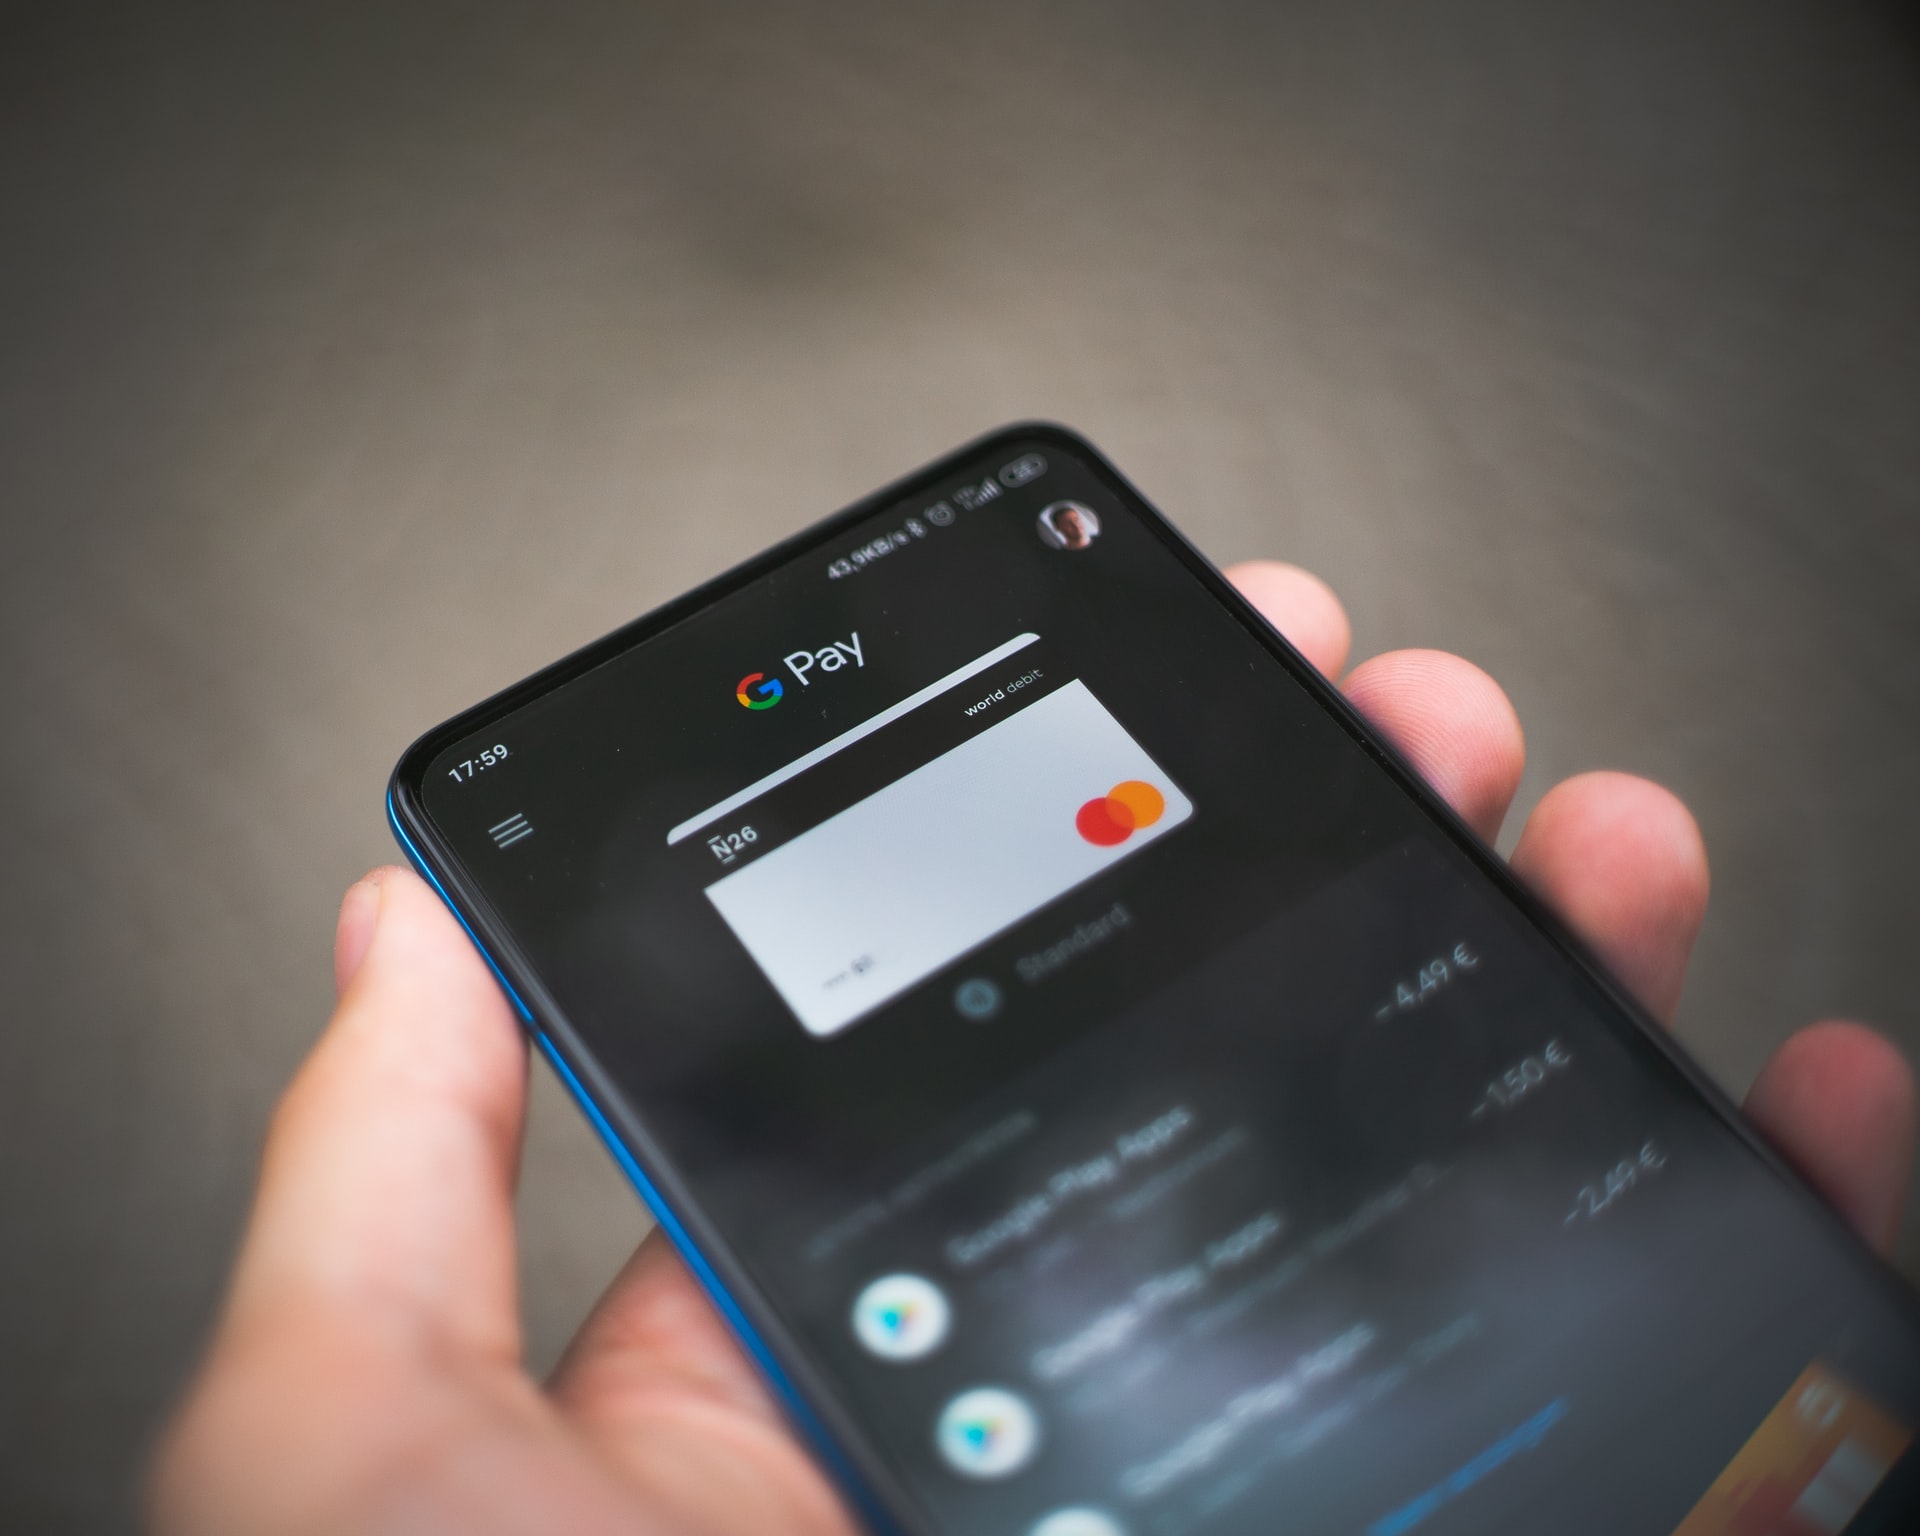
Apple subscriptions
When you buy an app on iOS, the subscription is tied to your Apple ID. To view these payments, open Settings and tap your name > iTunes & App Store > your Apple ID > View Apple ID > Subscriptions. At some point in this process, you may have to verify your identity.
Now, when you tap one of the subscriptions in the list, you can see whether it’s possible to change your plan. Or you might end your payments entirely: Go to the bottom of the screen and hit the Cancel Subscription button. Your account will usually remain active until the next payment date, at which point it will cut you off and stop charging you.
If you prefer to manage your subscriptions on your computer, you can do so in iTunes. Open the app and head to Account > View My Account > View Account. On the next page, scroll down to Settings, find the Subscriptions heading, and click Manage next to it. You’ll see a list of subscriptions, and you can click the Edit button after any item to change or cancel your plan.
Google Play subscriptions
Like iOS, Android gives you a menu page where you can manage all of your app subscriptions. Open the Play Store app, tap the menu button for your account, and choose Payments and subscriptions. You’ll see a list of recurring purchases: Play Store apps that regularly charge you. Each entry lists the billing frequency and amount, as well as the next payment date.
To manage one of these items, tap it. Then hit Update to change the way you pay or Cancel subscription to cancel all future payments. Once you cancel, you can re-subscribe, but to do so, you’ll have to sign up again for a new account.
If you prefer to deal with your subscriptions on a larger computer screen, you can access them through a browser. Visit the Play Store web portal and click My subscriptions to view the full list. You can view each item’s payment details, update your plan, or cancel it—just click Manage next to whichever subscription you want to modify.
For other operating systems and devices
The methods we’ve described above will catch all the subscriptions you’ve signed up to through mobile apps. However, they won’t catch every payment. For example, if you created your Netflix account through the website, it won’t show up on the aforementioned iOS or Android screens. Here are a few tricks for catching the stragglers.
If you’re fond of Google apps and services, visit this web page again, which lists all of your Google subscriptions, including YouTube Premium and Google Drive. Click on any item to manage or cancel it.
[Related: It’s time to delete most of your apps]
For Microsoft fans, this website displays all of your Microsoft-related subscriptions, such as Office 365, OneDrive cloud storage, Skype, and Xbox Live. Each entry has an option to cancel your subscription before the next billing date.
If you make recurring payments through Paypal, you have a shortcut to review them: Log into your account in a web browser, click the cog icon in the top-right corner, and select Payments > Manage Pre-approved Payments. A list of entries will appear on the left; click them to view details like how often and how much the account is charging you. From here, you can also cancel any of the subscriptions.
You don’t need modern digital payment methods to monitor your expenses—you can do so with your regular bank statement. If you think forgotten subscriptions might be sapping your bank balance, go over your most recent statement line by line. Look for payments you don’t recognize, which should include the name of the service that’s billing you.
Certain apps, like the free version of Trim, make it easier to dig up the subscriptions you’ve forgotten about. Just sign up for an account and give Trim virtual keys that let it securely connect to your bank accounts and credit cards. Then it can automatically review your statements, looking for recurring subscriptions and highlighting them for you. Trim can even cancel some of these subscriptions on your behalf.
While we recommend Trim highly, it’s a relatively simple service. If you think you want something even more comprehensive, the equally free Truebill will provide detailed charts of all your spending, and it gives you access to extra budgeting tools. Again, you grant it access to your banking accounts, and it identifies your ongoing payments. To cancel a subscription, tap it and choose one of the options: Truebill can attempt to cancel the subscription automatically, or it will give you a phone number, email address, or website you can contact to finish the job.
To really weed out your recurring payments, you might need to mix and match some of these methods. Together, they should help you catch all of your current subscriptions. Then, it’s up to you to decide which subs you should cancel and which ones are still worth paying for.
