This story has been updated. It was originally published on June 1, 2020.
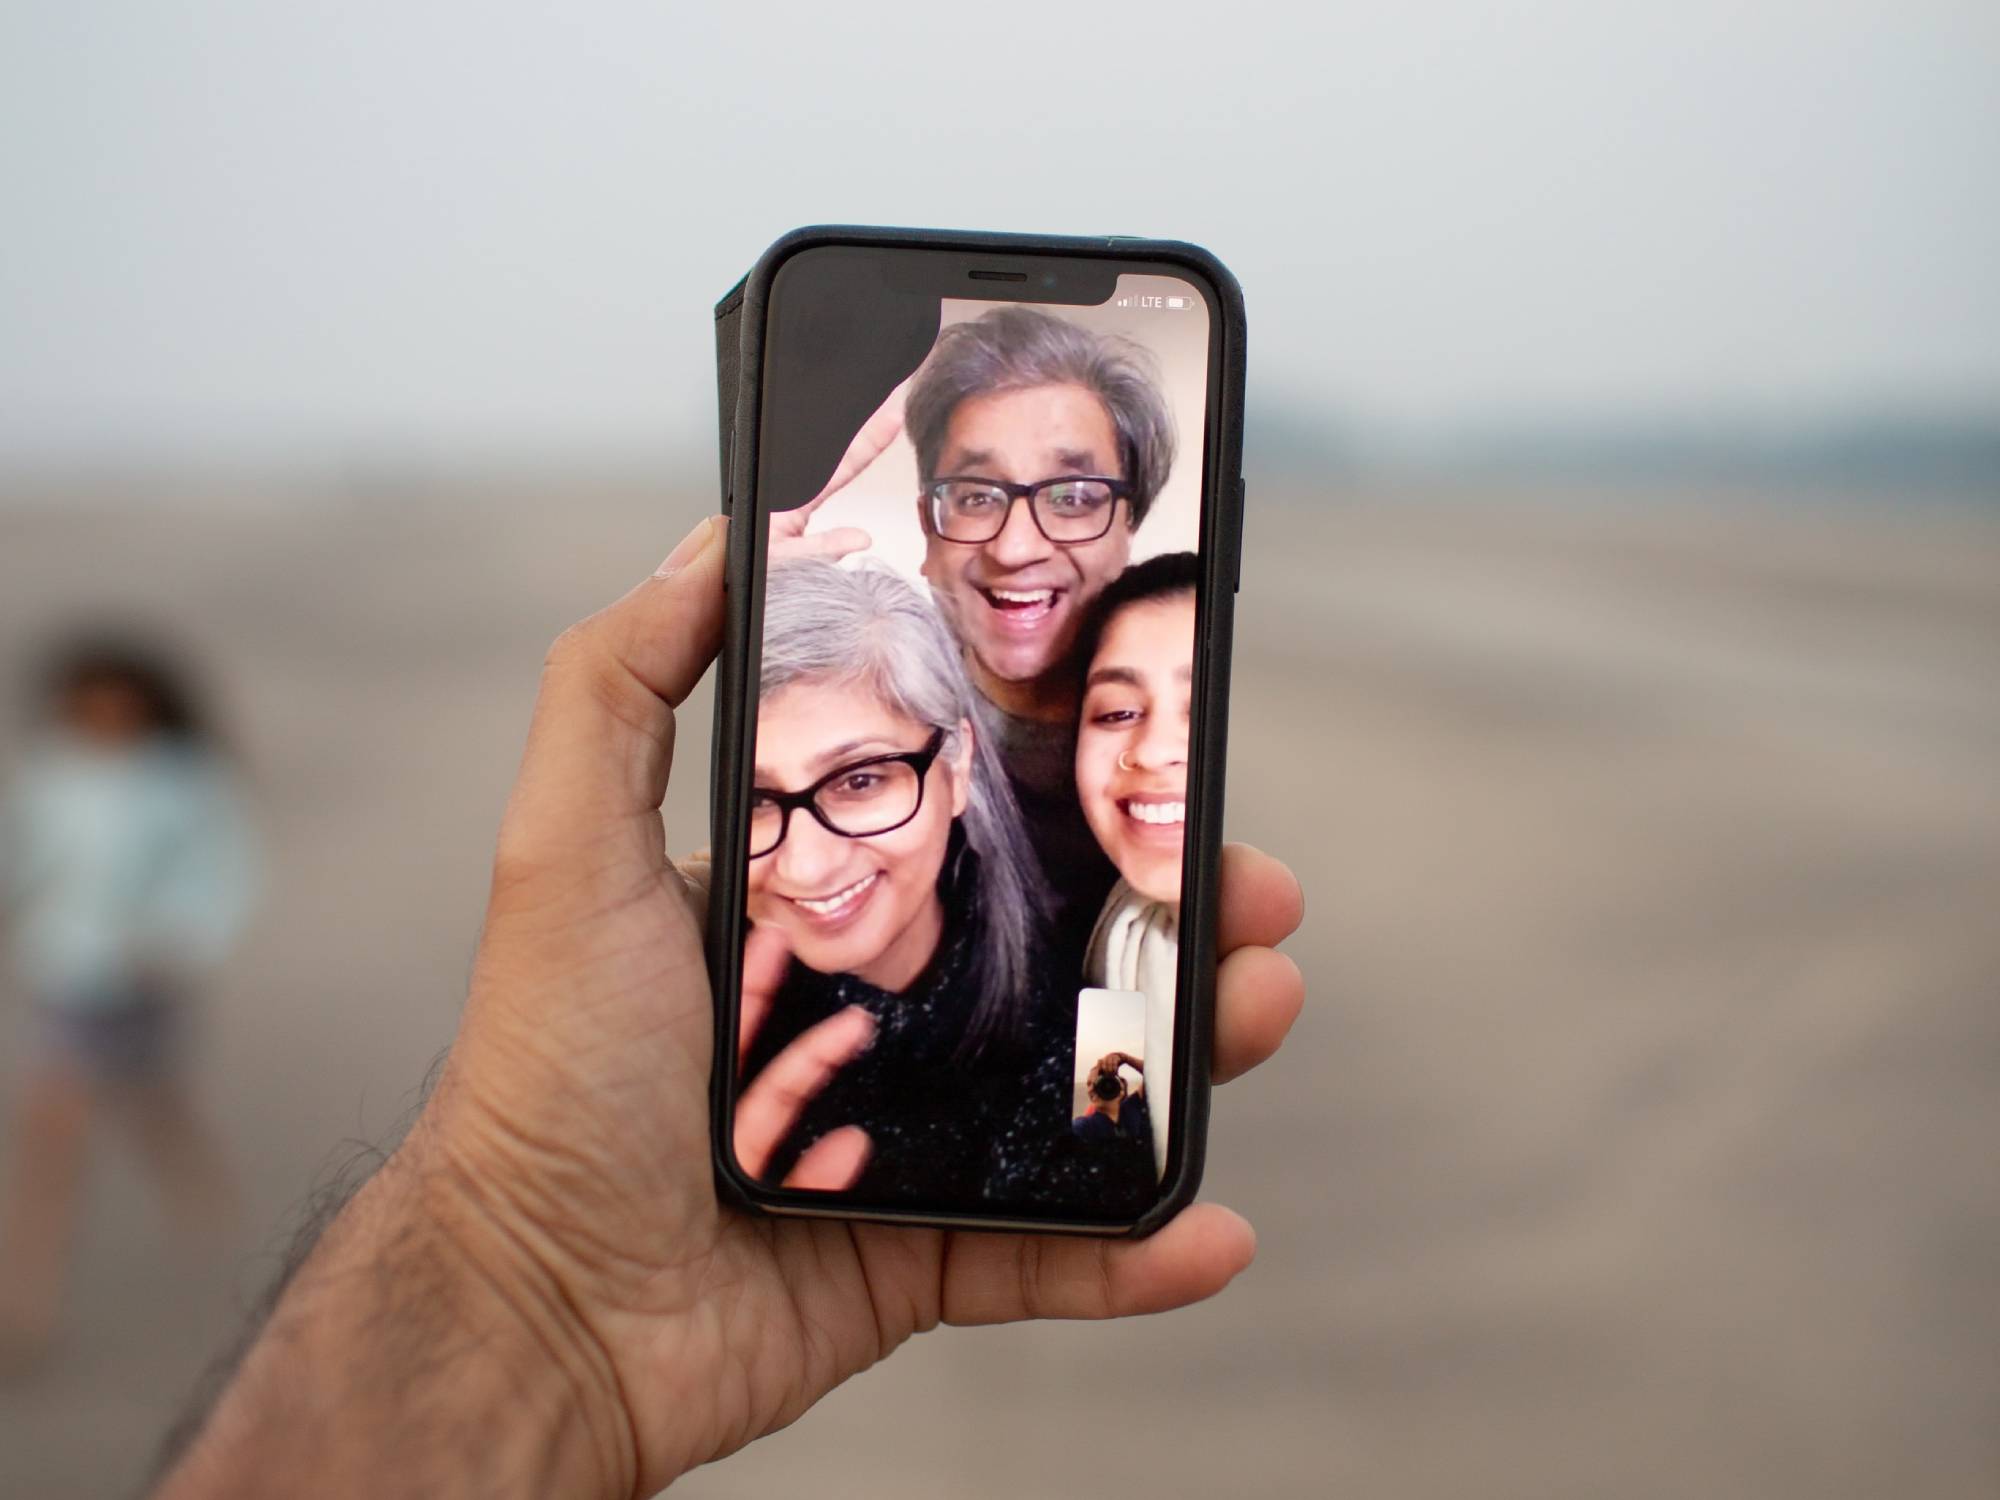
Video call apps for your smartphone let you share your face with anyone, anywhere, for free. All you have to do is maintain a strong connection: Download the latest version of your favorite video call app, use it on the strongest available cellular or Wi-Fi network, and shut down any other apps that might steal valuable bandwidth.
Even if you already follow this general advice, you may not be aware of all the behind-the-scenes features within free programs like Zoom, FaceTime, Google Duo, Skype, Facebook Messenger, and Snapchat. We’ve rounded up 18 of our favorite tips for improving your experience with your favorite video call apps.
For Zoom
Make sure you’re looking your best
Zoom can show you a preview of your feed before you join a video chat, which is handy for catching any problems with your appearance (or spotting any discarded laundry in the background) before you go live.
In the mobile app, tap Settings, then Meeting, to find the Always Show Video Preview option. In the apps for Windows and macOS, click the cog icon (top left) and then Video to make sure you always see a preview. This should ensure that your webcam is pointed in the right direction, at least.
[Related: How to put video calls on your TV]
Experiment with virtual backgrounds
Virtual backgrounds are undoubtedly one of Zoom’s most entertaining features, letting you take your call from a beach, the bridge of the Starship Enterprise, or anywhere else you’ve got a photo of. In fact, it works with videos too, so you can have a scrolling background if you want one.
If you’re using the Zoom desktop app before a call, tap the cog icon (top right), then Backgrounds & Filters to make your choice. During a call, click the arrow next to Stop Video and pick Choose Virtual Background. The same feature is available on mobile, but only on iOS and only during a call: Tap More, then Virtual Background.
Schedule meetings in advance
Scheduling meetings in Zoom is a great way to ensure everyone knows when to expect a call. That way, no one on your team (or in your family group) has any excuse for being unavailable. It’s these sorts of advanced features that help Zoom stand out from the crowd of video call apps.
To schedule a meeting, just tap Schedule on the front screen of the desktop or mobile app. You’ll then see a screen where you can choose the date and time of the event, set up a passcode and waiting room for extra security, and choose who you’d like to invite.
For FaceTime (only on Apple devices)

Call only over Wi-Fi
FaceTime provides a fast, steady video link, but it can chew through a lot of cellular data. If you have a limited plan, using this app might leave you with mere crumbs at the end of the month. To prevent an accidental data shortage, disable FaceTime calling over your cellular network. Even if you have an unlimited plan, you should try out this setting when you’re traveling abroad, where mobile data can cost a lot more than you’re used to.
From Settings, tap Cellular, scroll down to FaceTime, and turn off the toggle switch. Now, when you’re not connected to Wi-Fi, you won’t receive video calls. If you forget about your data limits and try to make a call, you’ll see a “No Network Connection” message. As soon as you successfully connect to a Wi-Fi network, all of FaceTime’s normal functionalities will return.
Answer calls on your computer
The FaceTime app works on both iOS and macOS, which means your computer can pick up and make video calls. Try it for long discussions (when you don’t want to hold your phone in your hand) or if you’re working at your desk and feel too lazy to pull your handset out of your pocket.
To take advantage of this ability, you must connect your iPhone and Mac to the same Wi-Fi network and log into your Apple ID on both devices. Next, enable the feature on your phone: Open Settings, tap Phone, choose Wi-Fi Calling and turn on the Wi-Fi Calling on This Phone toggle switch.
Once you’ve adjusted your phone’s settings, turn to your computer. When you open FaceTime on your Mac, you should receive an automatic request to allow calls from your iPhone. You must accept. If the request doesn’t come through, open the FaceTime menu along the top of the screen, choose Preferences, and check the box labeled Calls From iPhone. Now, you should see incoming call notifications on the top right of your computer screen, and you can answer them there by clicking Accept. To make calls from your Mac, open the app and choose someone from your contact list.
Keep faces in a grid
One of the tricks FaceTime does is zooming in and out of video thumbnails while people are talking. The idea is that you always get a good view of whoever is currently speaking, but the effect can be a bit disconcerting. If you don’t like it, you can turn it off.
From Settings on iOS, open FaceTime and turn the Speaking toggle switch to off (it’s under Automatic Prominence). The next time you have a group chat, all the thumbnails will stay the same size, though you can still double-tap on a tile to enlarge it.
For Google Duo

Change your self-image
When you call someone on Google Duo, their face will take up most of the screen, restricting your video feed to a little bubble at the side of the display. You can adjust how you appear on your own screen by moving or expanding that bubble.
If your own face is blocking part of your friend’s feed, getting in the way of a cute baby or pet, simply move the bubble. Hold your finger on the circle, then swipe in any direction to toss it to another corner of the screen. On the other hand, on occasions such as video interviews, you might want to expand your view of yourself to make sure you’re looking your best. In that case, tap on the image to make your picture full-screen and reduce your contact’s feed to a bubble.
[Related: How to keep your video calls private]
Disable Knock Knock
One of Google Duo’s coolest features, called Knock Knock, provides a preview of your caller’s video feed (if they are already in your contacts). This lets you check out their circumstances, without them seeing you before you pick up. However, because it kicks in before a call has even begun, this feature can gobble up cellular data even faster than usual.
As handy as Knock Knock can be, data conservationists should consider turning it off. To do so, tap the Menu button (three dots) on the top right, choose Settings, Call Settings, and tap Knock Knock for this device. At the bottom of your screen, you’ll see a toggle switch: tap it to turn the feature on and off. While you’re reducing video data usage, turn on the Data Saving mode toggle switch on the same page. This setting will compress your video feeds to take up less bandwidth, but only while you’re relying on a cellular network rather than Wi-Fi.
Switch to Family Mode
Last year Google added Family Mode to Google Duo. This brings doodle and filter features front and center so they’re easier to access, and it hides the mute and hangup buttons so kids don’t accidentally hit them at the wrong time.
You need to already be on a Google Duo video call to switch to Family Mode—tap the three dots down at the bottom of the screen, then tap Family (you’ll see the Effects and Doodle buttons appear). To turn it off, tap the arrow (top left).
For Skype

Automatically answer calls
When you’re distracted with other tasks, it’s easy to miss a call. To make yourself more available, you can set Skype up to automatically answer incoming calls, so you won’t have to accept them manually.
If you’re less eager to please your contacts, there’s still a good reason to enable this setting: You can use it as a streaming video monitor for any room in your home. Take an old tablet or phone, create a new Skype account for it, and set it to answer calls automatically. Now, you’ll be able to call the device from your main Skype account, opening a video feed of your office, nursery, or any other room.
To set up automatic call answering, open Skype, tap your avatar at the top of the main screen, choose Settings, and then Calling. Turn on the Answer incoming calls automatically toggle switch. On the desktop app, tap your avatar and then go to Settings, Calling, and Advanced. There, just as on the mobile app, turn on the toggle switch next to Answer incoming calls automatically.
If you’d like to launch your video feed at the same time as the call starts, switch on the Start my video automatically setting. However, given the state of dishevelment in which we sometimes use our phones, we’d recommend that you leave the latter switch off (unless you’re setting up a video monitor). This will answer calls in audio mode, with the option to turn on video later if you’re feeling presentable.
Share your location
As you carry on a Skype call, you can spice up the conversation with reaction GIFs, polls, and even your location. Sharing your whereabouts is an extremely useful ability—it can let your partner know how soon you’ll arrive at home or tell a friend the exact area of the park where your group is meeting. You can also share any place on the map, pointing your contacts toward a restaurant, concert venue, or meeting point.
You don’t need to be in the midst of a call to share a location, either. Open Skype, tap any contact in your list, and hit the Plus button on the bottom left. From the menu that appears, choose Location. Then pick a spot on the map—the phone will detect your location automatically—and tap the Send button (it looks like a small right-pointing arrow).
[Related: Tips for better sound on your video chats and conference calls]
Make use of subtitles
One of Skype’s most useful features is automatic, real time subtitling, which can help you work out what other people on the video chat are saying, even if they’re in noisy places (or you’re unable to turn up the volume on your own device for some reason).
Tap your avatar at the top of the Skype screen, then pick Settings, Calling, and Call subtitles. From this menu you can have subtitles turn on automatically when you start calls (turn on the toggle switch next to Show subtitles for all calls), and even get them translated into a different language via Microsoft’s artificial intelligence engine.
For Facebook Messenger
Turn a one-on-one into a group call
Up to 50 people can join a Facebook Messenger video chat, though only six will appear on screen at any one time (once you hit seven, the screen will automatically display just the person who’s currently speaking). But if you’re in a one-on-one chat and decide you want another contact’s input, Messenger lets you instantly add that person and transform the ongoing call into a group one.
In your current call, look for the Add person icon (a plus icon next to a silhouette) in the lower right-hand corner. A list of your contacts will come up. Tap the Ring button next to the person (or people) you’d like to add, and they’ll receive an invitation to join the call. When you hang up, the video call will transform into a group-chat window, allowing you to carry on the conversation by text. This also makes it easy to call back the same group of contacts—you can start a video call in an existing text conversation thread by tapping the Video icon on the top right of the window.
Apply filters and effects
You can play around with filters and effects on Instagram, Snapchat, and just about every other app with a camera component. Facebook Messenger video chats are no exception.
During any video call, tap on the center of the screen, and filter and effect buttons will appear. Tap the Filter button (the droplet symbol) at the bottom left to scroll through filters that change the colors, contrast, and style of your video feed. In the top right corner, you can view these changes as they occur. To remove any of the filters, scroll to the left of that option.
When you tap the Effects button (the star symbol), you’ll find digital overlays, from bunny ears for your face to falling heart shapes for the whole screen. Like with filters, you’ll find effect-canceling options on the far left.
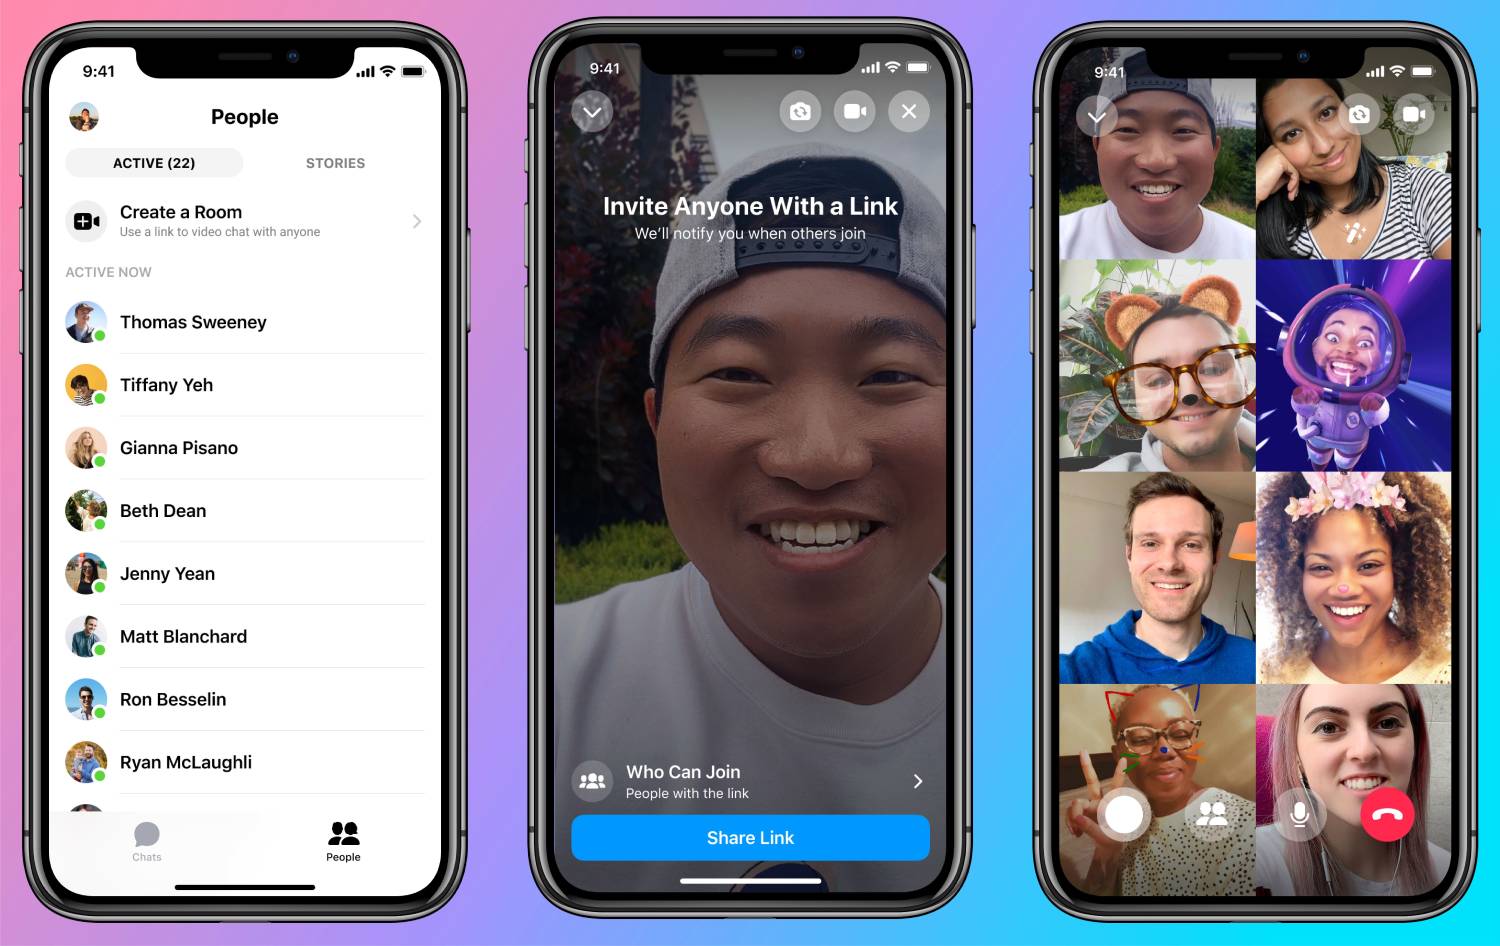
Invite people with a link
In light of Zoom’s popularity, Facebook has been keen to make the Messenger video chat feature as Zoom-like as possible. To that end, it’s rolled out Messenger Rooms—not a separate app but an extension of Facebook Messenger that makes it easier for a lot of people to chat together in one place.
One of the ways in which Messenger Rooms makes life easier is by allowing anyone to join a video chat using just a link: That URL takes you to the group chat whether or not you have a Facebook account, and regardless of what device you’re using.
To create your own room and generate a link, open Facebook Messenger and tap the People button at the bottom. Select Create a room, and it’s live (you’ll see your face on camera). Then tap Share link to get a URL you can send to other people via whatever app you like.
For Snapchat

Send a pre-recorded video message
With Snapchat, you don’t have to talk live. If you’d like to curate your words more carefully, or your friend is unavailable when you call, you can send them a video message.
If you’d prefer to send a longer clip, you can do so through the normal Snapchat camera screen. Touch and hold the Camera button at the bottom of the screen, tap Send (the arrow symbol). If you want, you can add more people and start a group chat. If you can’t get through directly to somebody, this visual voicemail is a great way to say hi. If you receive a message like this, you can save it to your chat history by pressing and holding on the chat bubble and selecting Save in Chat.
Swap cameras faster
If you suddenly see something memorable mid-video-call, you’ll want to share the sight with your contact before it disappears. That’s why Snapchat makes it easy to switch camera views: During a video call, tap your icon at the bottom of the screen, and an enlarged version will pop up. Double-tap that to switch from your phone’s front-facing to its rear-facing camera.
[Related: Look better on video calls using pro photography techniques]
This shortcut also works on Snapchat’s normal camera screen. Just double-tap in the center of the screen to switch between cameras. This might save you the precious few seconds you need to capture that unicycle-riding dog before it moves out of sight. If you’re in less of a hurry, you can take your time hunting down the button in the top right-hand corner.
Send texts and pictures
Just because you’re on a Snapchat video call with someone doesn’t mean you have to look at each other’s faces the whole time. Tap anywhere on the video feed screen to bring up more options, then choose the Chat icon down in the lower left-hand corner.
You can then access the chat interface while the call continues (just tap on the video bubble to go back to the full screen view). It’s handy if you need to write out an address or a URL for someone, or need to send them a photo you’ve got stored on your phone.
