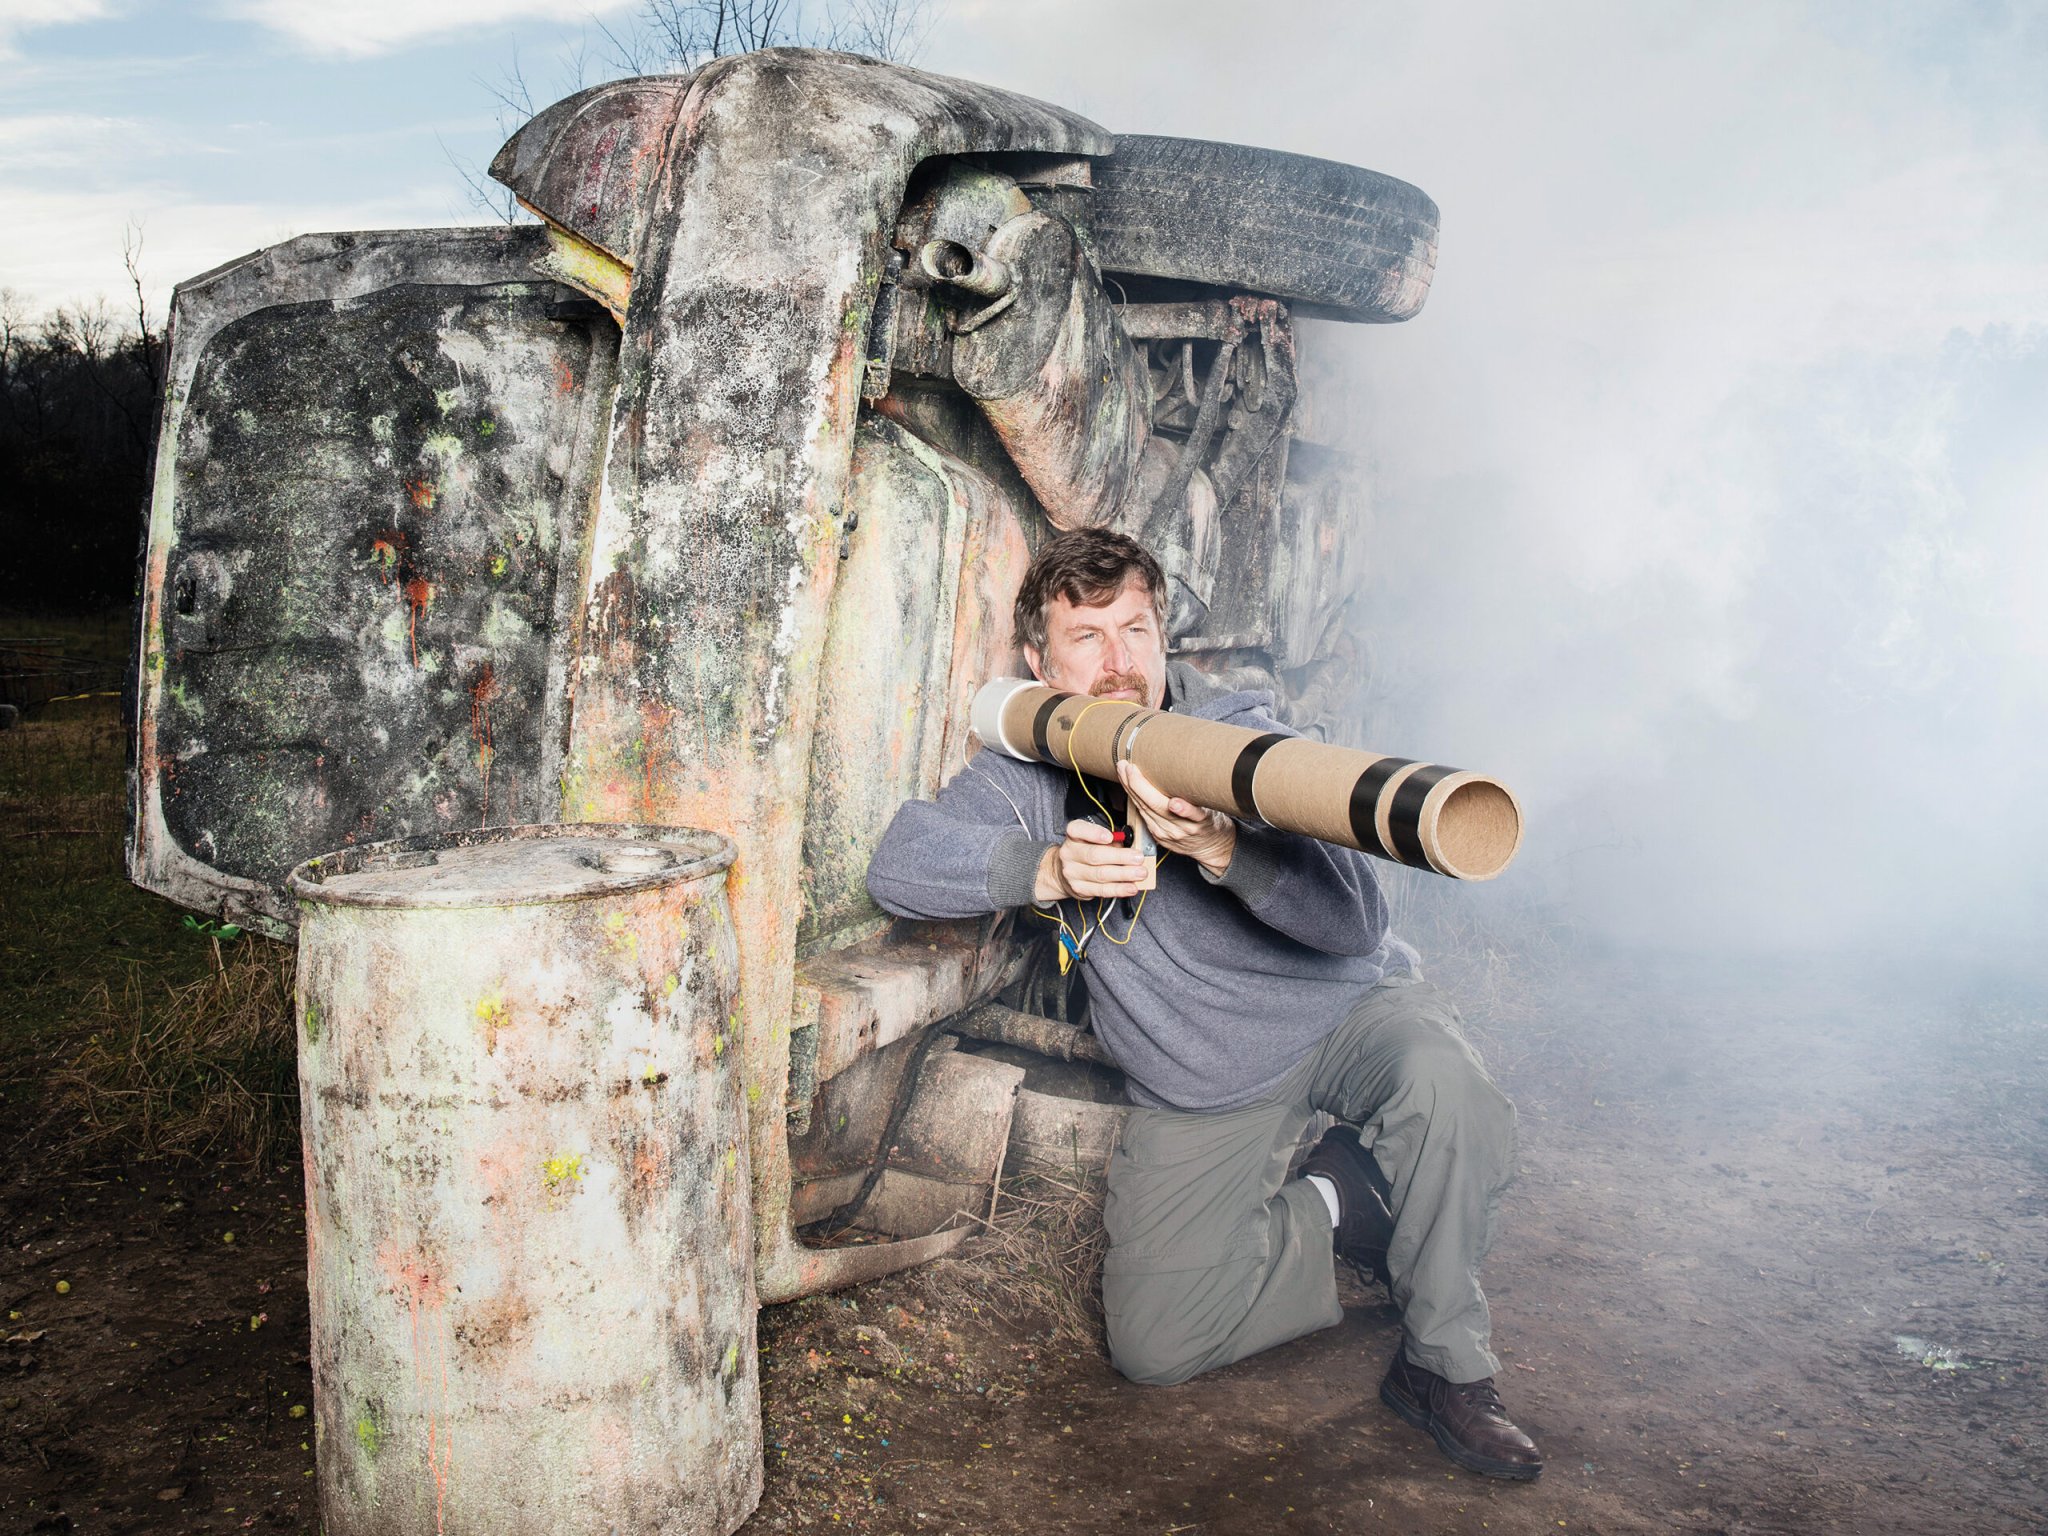
I’ve always wanted my own bazooka, but my neighbors might not look upon that too favorably. So instead, I satisfied my craving with a bazookalike contraption capable of launching plastic bottles clear across my backyard. While it might not be quite on the level of a U.S. Army M72 rocket launcher, my beverage-bottle bazooka sure does shoot with authority.
The original bazooka was developed to stop tanks during the early stages of World War II. In late 1940, the military had created a new type of grenade that focused its blast into a narrow point of energy capable of penetrating tank armor. But it had a relatively short range. So 2nd Lt. Edward Uhl decided to build a device to keep foot soldiers away from the tanks they were targeting.
After a bit of noodling, Uhl attached a dummy grenade to a rocket and put the rocket in a portable launch tube. The first tests of his device took place on a dock on the Potomac River, where the projectile flew straight and far into the channel. Later, at a mortar shoot-off at the Aberdeen Proving Ground in northern Maryland, Uhl scored a direct hit. A brigadier general nicknamed this rocket-launching gadget a bazooka, after the stovepipelike musical instrument used by a radio comedian at the time.
My design for a bazooka looks a lot like the real McCoy. For the barrel, I used a 3-inch-diameter heavy paper tube I found at a local packaging store. My projectile is an uncapped plastic beverage bottle, filled with a mixture of air and evaporated alcohol. I position it in the tube so that the bazooka’s trigger—a modified grill igniter—fits inside the bottle. When a spark sets off the alcohol, it forms a hot gas that gushes out of the bottle’s mouth, propelling the plastic out of the tube. My bottle bazooka sports a distinctive and tough look. Even better, it packs a heckuva wallop.
This article was originally published in the January/February 2016 issue of Popular Science. Correction: An earlier version of this article incorrectly stated that the Potomac River is near the Aberdeen Proving Ground.
How to Build Your Own Bottle Bazooka
This project is easy to complete and a real thrill to use. It is made from inexpensive materials such as cardboard tubes and beverage containers.
WARNING:
- Inspect the bottle after every firing, and discard when it becomes worn.
- Always obey local laws and regulations. Check with authorities prior to using if you’re unsure about this project’s legality in your area.
- Build and use at your own risk.
- Don’t aim at innocent bystanders.
MATERIALS:
- General-purpose glue or hot-glue gun
- (1) 3-inch-diameter smooth X female pipe thread PVC adapter
- (1) Heavy cardboard tube, 3-inch inside diameter by 4 feet long
- (1) 3-inch male pipe threaded plug
- (1) ½-inch diameter ID by 5-inch-long PVC pipe
- 18 inches of two-conductor 18-gauge speaker wire
- (1) Size No. 00 two-hole rubber stopper
- Electrical tape
- (1) Piezo-electric gas-grill replacement igniter (Find them at hardware stores and other places that sell outdoor barbecuing gear.)
- (1) 1-inch square wood dowel, 4 inches long
- (1) 2½-inch corner brace
- (2) 4-inch diameter hose clamps
- Bottle of rubbing alcohol
TOOLS:
- Drill and ¾-inch wood drilling bit
- Wire cutter/stripper
- Screwdriver
INSTRUCTIONS:

- Apply glue to the interior of the 3-inch-diameter threaded PVC adapter. Push the adapter onto the end of the cardboard tube. Allow the glue to dry.
- Drill a 7/8-inch-diameter hole in the center of the flat part of the threaded plug. Insert the ½-inch PVC pipe through the hole until it extends approximately halfway in. Glue the pipe into place using white glue or a hot glue gun, and let dry.
- Strip off ½-inch of insulation from both ends of both conductors of the speaker wire. Insert the speaker wire into the ½-inch pipe until it exits the other end.
- Pull apart the conductors for 2 inches from both sides of the speaker wire. Insert one conductor through the stopper holes as shown. Push the rubber stopper into the ½-inch pipe. Use electrical tape to keep the exposed copper wire in the conductors extended from the end of the stopper and separated by about 3/16 of an inch.

- Drill a hole slightly larger than the diameter of the body of your piezo-electric ignitor in the middle of the square wooden dowel as shown in the assembly diagram. (This is typically about ¾ inches, but check before drilling.) Insert the ignitor into the hole and glue. Use two of the screws that came with the steel corner brace to attach the brace to the square dowel. Check the assembly diagram for the correct orientation.

- Most replacement piezo electric ignitors come with a wire connector harness. One end of the wire connector harness connects to the electrodes, and the other end connects to the spark-maker on the grill. For our purposes, we do not need the grill spark-maker hardware. Instead, simply insert the wires into the appropriate electrode connectors on the piezo-ignitor, and then use a wire cutter to cut off the unneeded grill spark-making hardware. You can discard the unneeded hardware.
- Make wire-to-wire connections between the speaker wire’s exposed conductors trailing from the ½-inch PVC pipe as shown in the assembly diagram. Wrap the connections with electrical tape.

Test the device by pressing the button on the piezo-electric ignitor. If you’ve done everything correctly, you should see a spark jump between the two exposed conductors. If you don’t see a spark, check the spark gap, review the assembly diagram, and rewire as needed. 8. Use the hose clamps to attach the piezo-electric trigger to the bazooka body.
How to Use the Bottle Bazooka
Before Starting, Take These Safety Measures:
- Wear safety glasses and, if your ears are sensitive, earplugs.
- The bazooka can shoot empty plastic bottles more 100 than feet. Clear the area in front of breakable objects. Never aim the bazooka at anything you don’t want to hit.
- Be careful with rubbing alcohol. It is flammable.
Prepare the Bazooka:
- Place a half-teaspoon of fresh rubbing alcohol in the beverage bottle. Shake the bottle vigorously with your hand covering the mouth of the bottle. Remove your hand and shake out any liquid alcohol remaining inside.
- Add air back into the bottle by swinging it in front of you in large circles four or five times with the bottle mouth uncovered.
- Quickly insert the bottle onto the ½-inch pipe connected to the threaded plug.
- Securely screw the plug into the adapter.
- When ready, press the button on the igniter. Instantly, the alcohol in the bottle will go off, causing the bottle to rocket forth from the bazooka with amazing energy and a loud whoomp.
