

The Android versus iPhone debate continues to rumble on. But one thing is certain: Google’s phone software is still more versatile and customizable than Apple’s offering. Dig into the settings and discover Android’s secret capabilities, including a host of hidden features and useful tools. We’ve collected 12 of them here.
A quick note before we begin: Android has a wide variety of makes, models, and versions, which makes it difficult to find features that will be consistent across all devices. We only verified the following tips on stock Android 14—they should also work on related systems, but some of the menus and procedures may vary slightly.
1. Enable flash notifications for silent updates

Loud notifications are annoying, but have you ever heard a phone vibrating on a glass table? Somehow, it’s even worse. So whether you want to stay up to date with your texts in a quieter way or you’re hard of hearing, Android now allows you to set flash notifications, where your phone’s screen or built-in flash will blink to let you know there’s something new requiring your attention.
To set it up, go to Settings, Accessibility, and Flash notifications. You’ll get two options: toggle the switch next to Camera flash to have the light on the back of your phone flash three times when you get a notification; or toggle the switch next Screen flash so that your device lets you know of any new messages by flashing a yellow overlay on your screen. You can enable either or both of them to get an even more effective visual alert.
To see how they work, make your preferences and hit Preview.
2. Run apps side-by-side
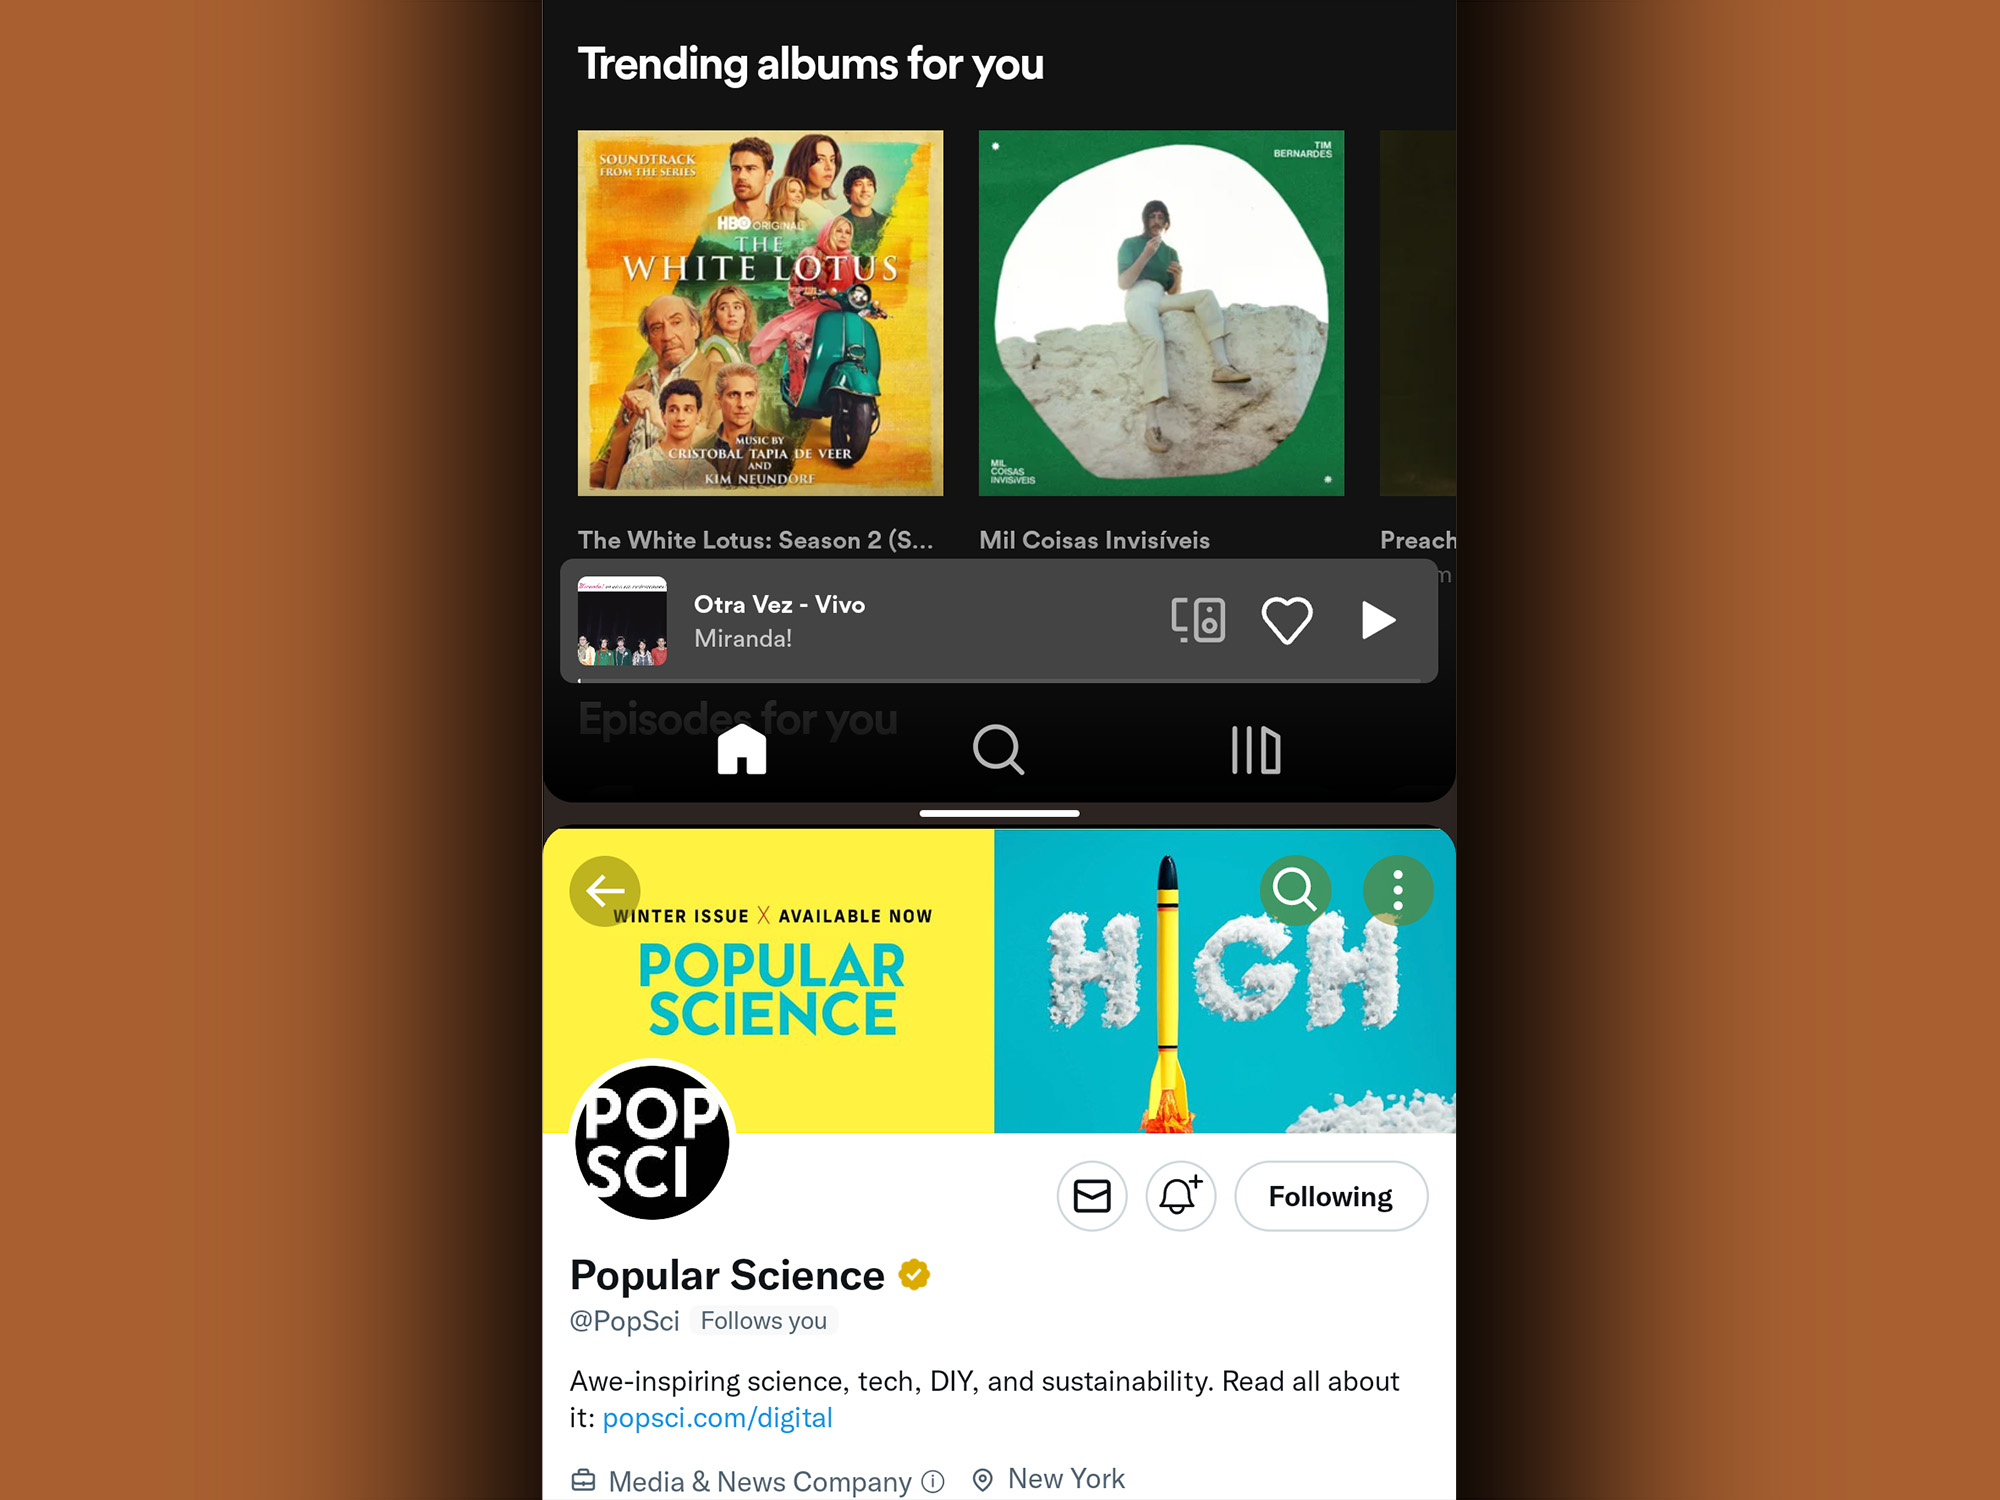
This feature has been around since Android 7.0 Nougat, but it’s one of the few users tend to forget about. This side-by-side or top-and-bottom app view (depending on the orientation of your screen) comes in handy when you want to display photos, optimize your social networking, or multitask.
To set it up, make sure both apps you want to see are already open. Then, open the app carousel by doing a short swipe-up gesture from the bottom of your screen. Find the recent app you want to use and press on the circular icon at the top of its preview. On the emerging menu, you should see a Split top option. Keep in mind that not all apps support this feature (like Instagram, for example), so if you don’t see this option, it’s because you can’t use it like this. If you see it, tap Split top, and the app will automatically position itself at the top or left of your screen. On the other side, you’ll see the app carousel, from where you can open a second app. This time, just swipe your way to it and tap on the preview to open it.
You’ll notice a thick black line separating both apps—from the middle drag it up or down to re-distribute your screen. To exit Split Screen mode, just drag the black line all the way up or down.
3. Lock phone borrowers inside one app
This is one of those Android tricks you need to know if you find yourself constantly lending your phone to a friend or young family member. Because if you do, you probably know that sudden anxiety that comes with the possibility of them going through your private information or posting to your social media accounts.
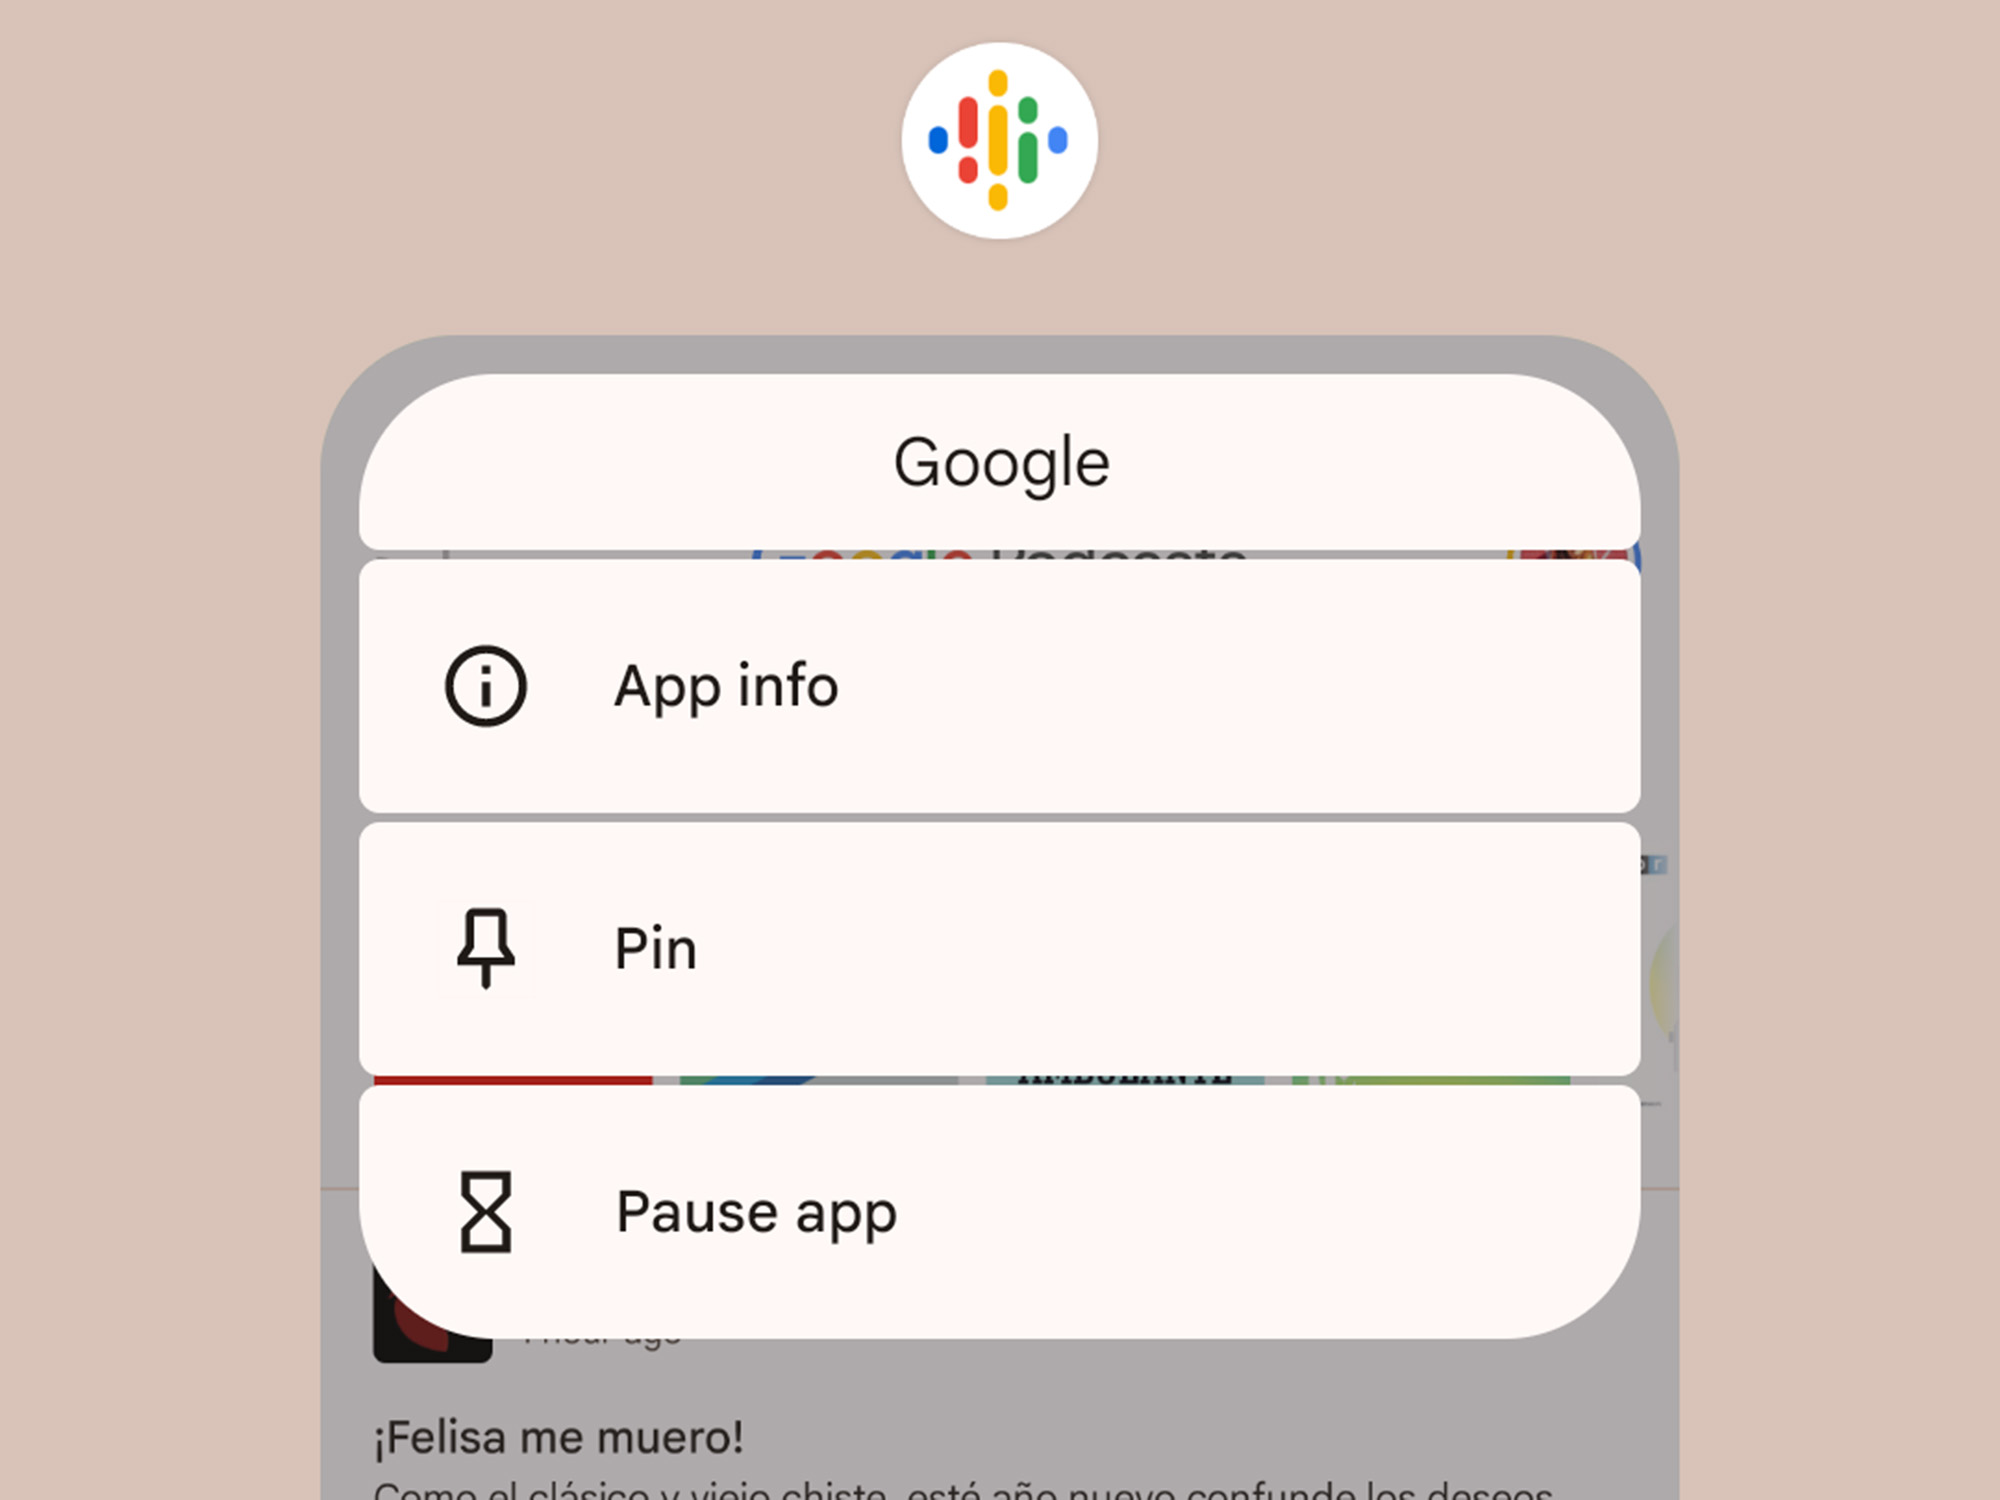
App pinning lets you be generous without giving up your privacy and will lock one app to the screen until someone unlocks your device. Essentially, the user won’t be able to access any other parts of your phone without your credentials.
[Related: How to safely share your phone with others]
Screen pinning is easy to set up. Open Settings, go to the Security & privacy menu, scroll down to choose More security settings, and tap App pinning. Once you’ve turned on the feature, launch the app your friend needs to use and open the app carousel by making a short upward swipe from the bottom of the screen. Swipe your way to the app you want to pin and tap on the circular icon at the top of the preview. On the emerging menu, tap Pin. To unpin the app, swipe from the bottom of your screen and hold. This will lock your phone and you’ll have to enter your pattern, password, PIN, or biometrics to use it.
4. Activate one-handed mode

As today’s phones continue to grow in size, they become harder and harder to operate one-handed. So Google’s custom keyboard, which is the default option on certain Android phones, has a solution: A special one-handed mode that you can switch to with a simple shortcut. If you own a Pixel phone, this keyboard will be your default typing option. If you’re on a Samsung or LG phone, you’ll have to first download Google’s version and set it as your default keyboard (as demonstrated in Tip 7).
Open up the keyboard as normal and tap and hold on the comma key. Drag up to the right-hand icon to enable one-handed mode. The arrow lets you switch this smaller keyboard from side to side, the bottom icon lets you reposition it, and the top icon restores the full-size keyboard. Other phone keyboards may also have one-handed modes, but they can be harder to access than Google’s. Try looking up your phone model and searching “one-handed keyboard” to learn more.
5. Customize your experience with regional preferences
If you live in a foreign country either permanently or temporarily, you might find it frustrating that all apps and services are built to work according to that area’s specifications—metric units, calendar settings, etc. Some apps allow you to change these settings one by one, but that takes a while and you’ll have to do it all over again if you change phones, for example.
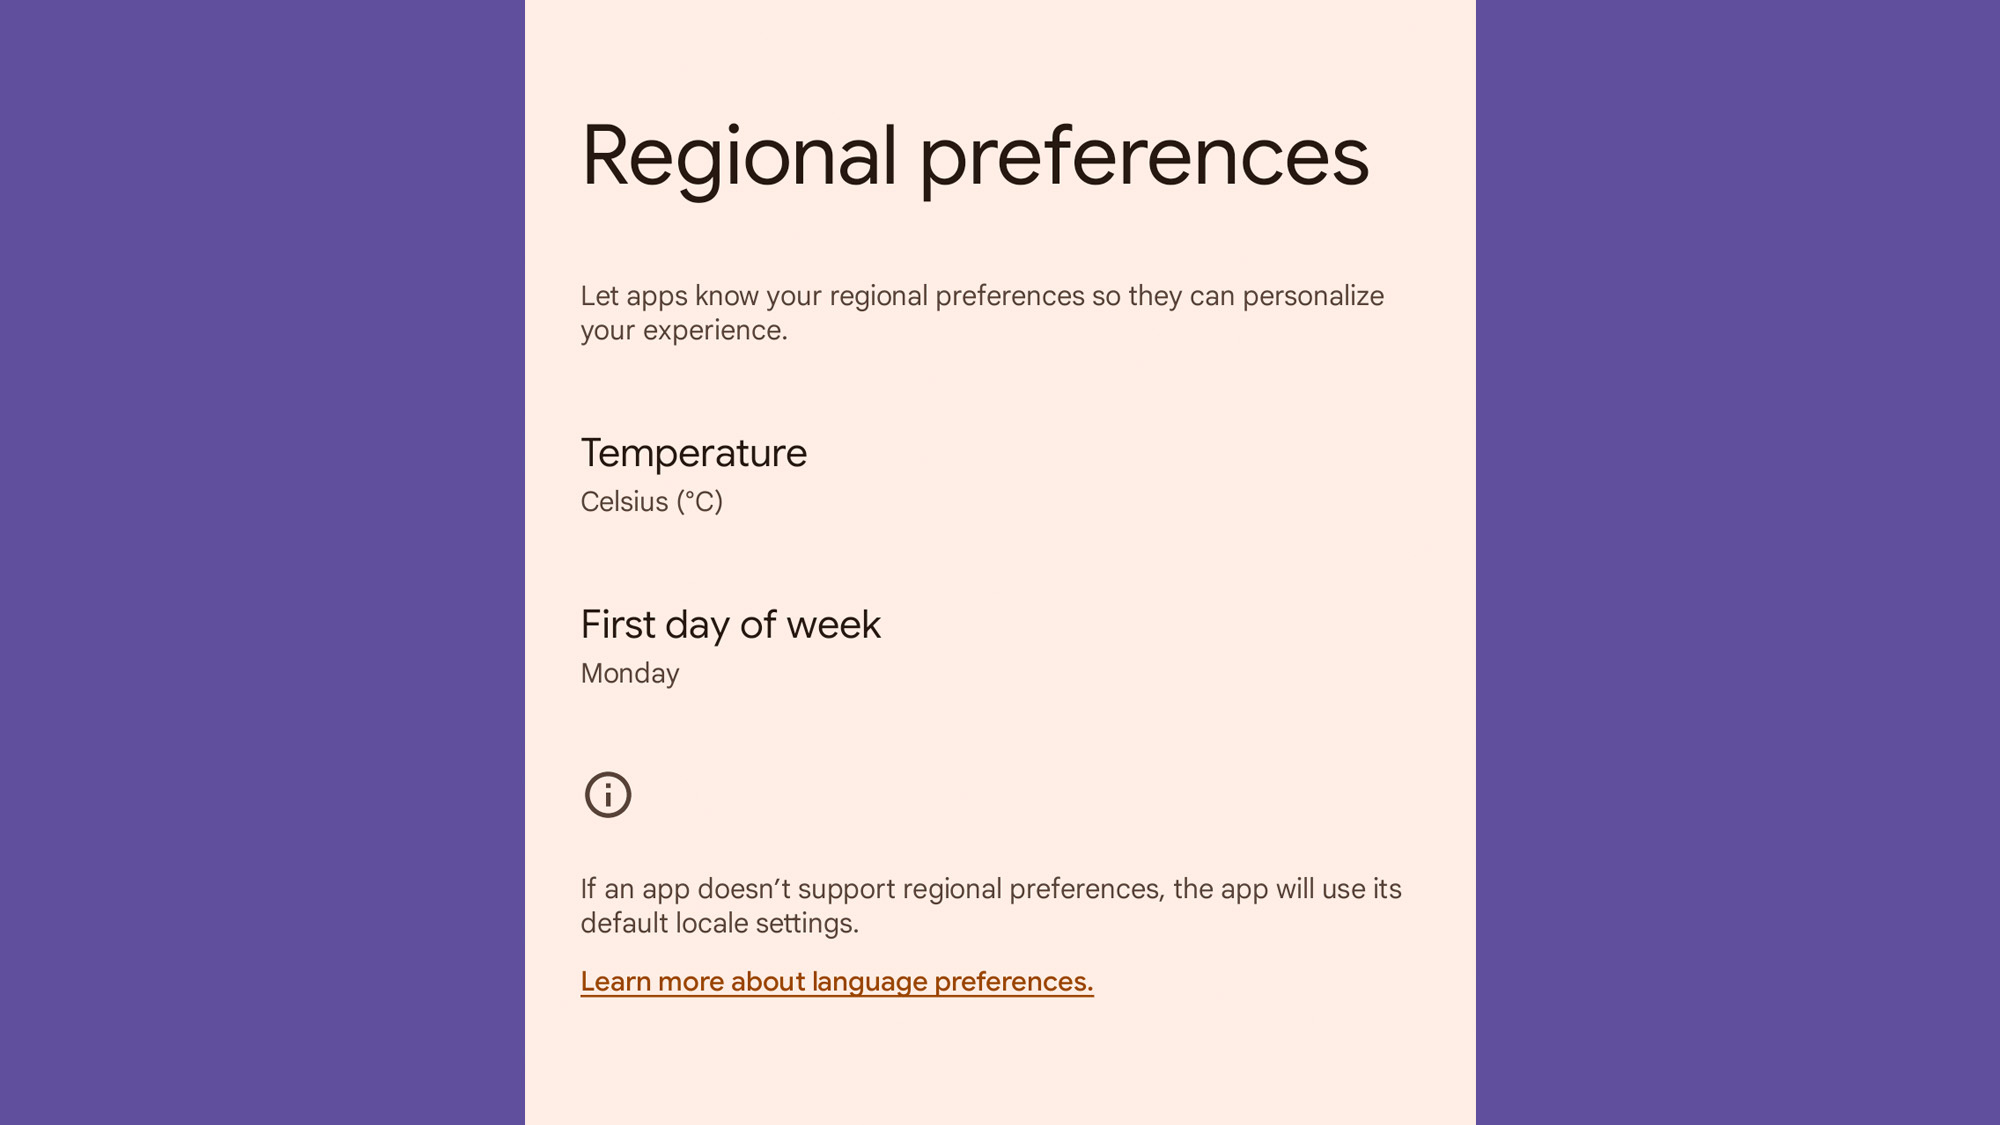
This is why Android 14 debuted Regional preferences, a menu where you can change these settings at a system level so you don’t have to dive deep into each individual app. Find this feature by going to Settings, System, and then Languages. Once you’re there, open Regional preferences—you’ll be able to pick temperature units, number preferences, and the first day of the week. These changes will apply wherever possible within your device.
6. Choose new default apps

One of the differences between Android and iOS is that Google’s mobile operating system lets you choose different default apps for web browsing, texting, viewing photos, etc. A default app is the one that opens automatically when you try to do something on your phone—so when you click a link, for example, your default web browser app will automatically open it.
Take advantage of this flexibility by setting up the defaults as you want them. Head to Settings, go to Apps and choose Default apps. Select any of the categories on screen to see a list of installed apps that can take over default duties. For example, if you’d prefer to chat with friends via Facebook Messenger, rather than your phone’s built-in SMS app, you can make Facebook’s product your default messaging app.
7. Cast your Android screen

For a number of years, you’ve been able to broadcast your Android phone or tablet’s display to the larger screen of a television using a Chromecast. In addition to beaming video from all the usual movie and TV apps, this streaming device can mirror your phone. Take advantage of a shortcut in the Quick Settings pane especially made for this feature, which you can access by dragging down from the top of the screen with two fingers. You should find a Screen Cast option in this menu. If it doesn’t show up, swipe left on the Quick Settings menu for more options, or tap the pencil icon at the bottom to add the shortcut.
[Related: How to put video calls on your TV]
There’s also another way to set up mirroring. First, check to make sure you’ve installed the Google Home app for Android—you probably already used this program to set up your Chromecast. Open the app and choose your Chromecast and your device’s display should appear on the big screen. On your phone, tap Media and choose from Music, Video, Podcasts, or Radio and select a service to start streaming.
8. Make text and images more visible
If you’re struggling to see what’s on the screen—or, alternatively, if you want to cram as much content as possible onto the display and don’t mind doing a bit of squinting along the way—you can zoom in or out on text and objects. Not all apps will respond to these adjustments, but most of them will.
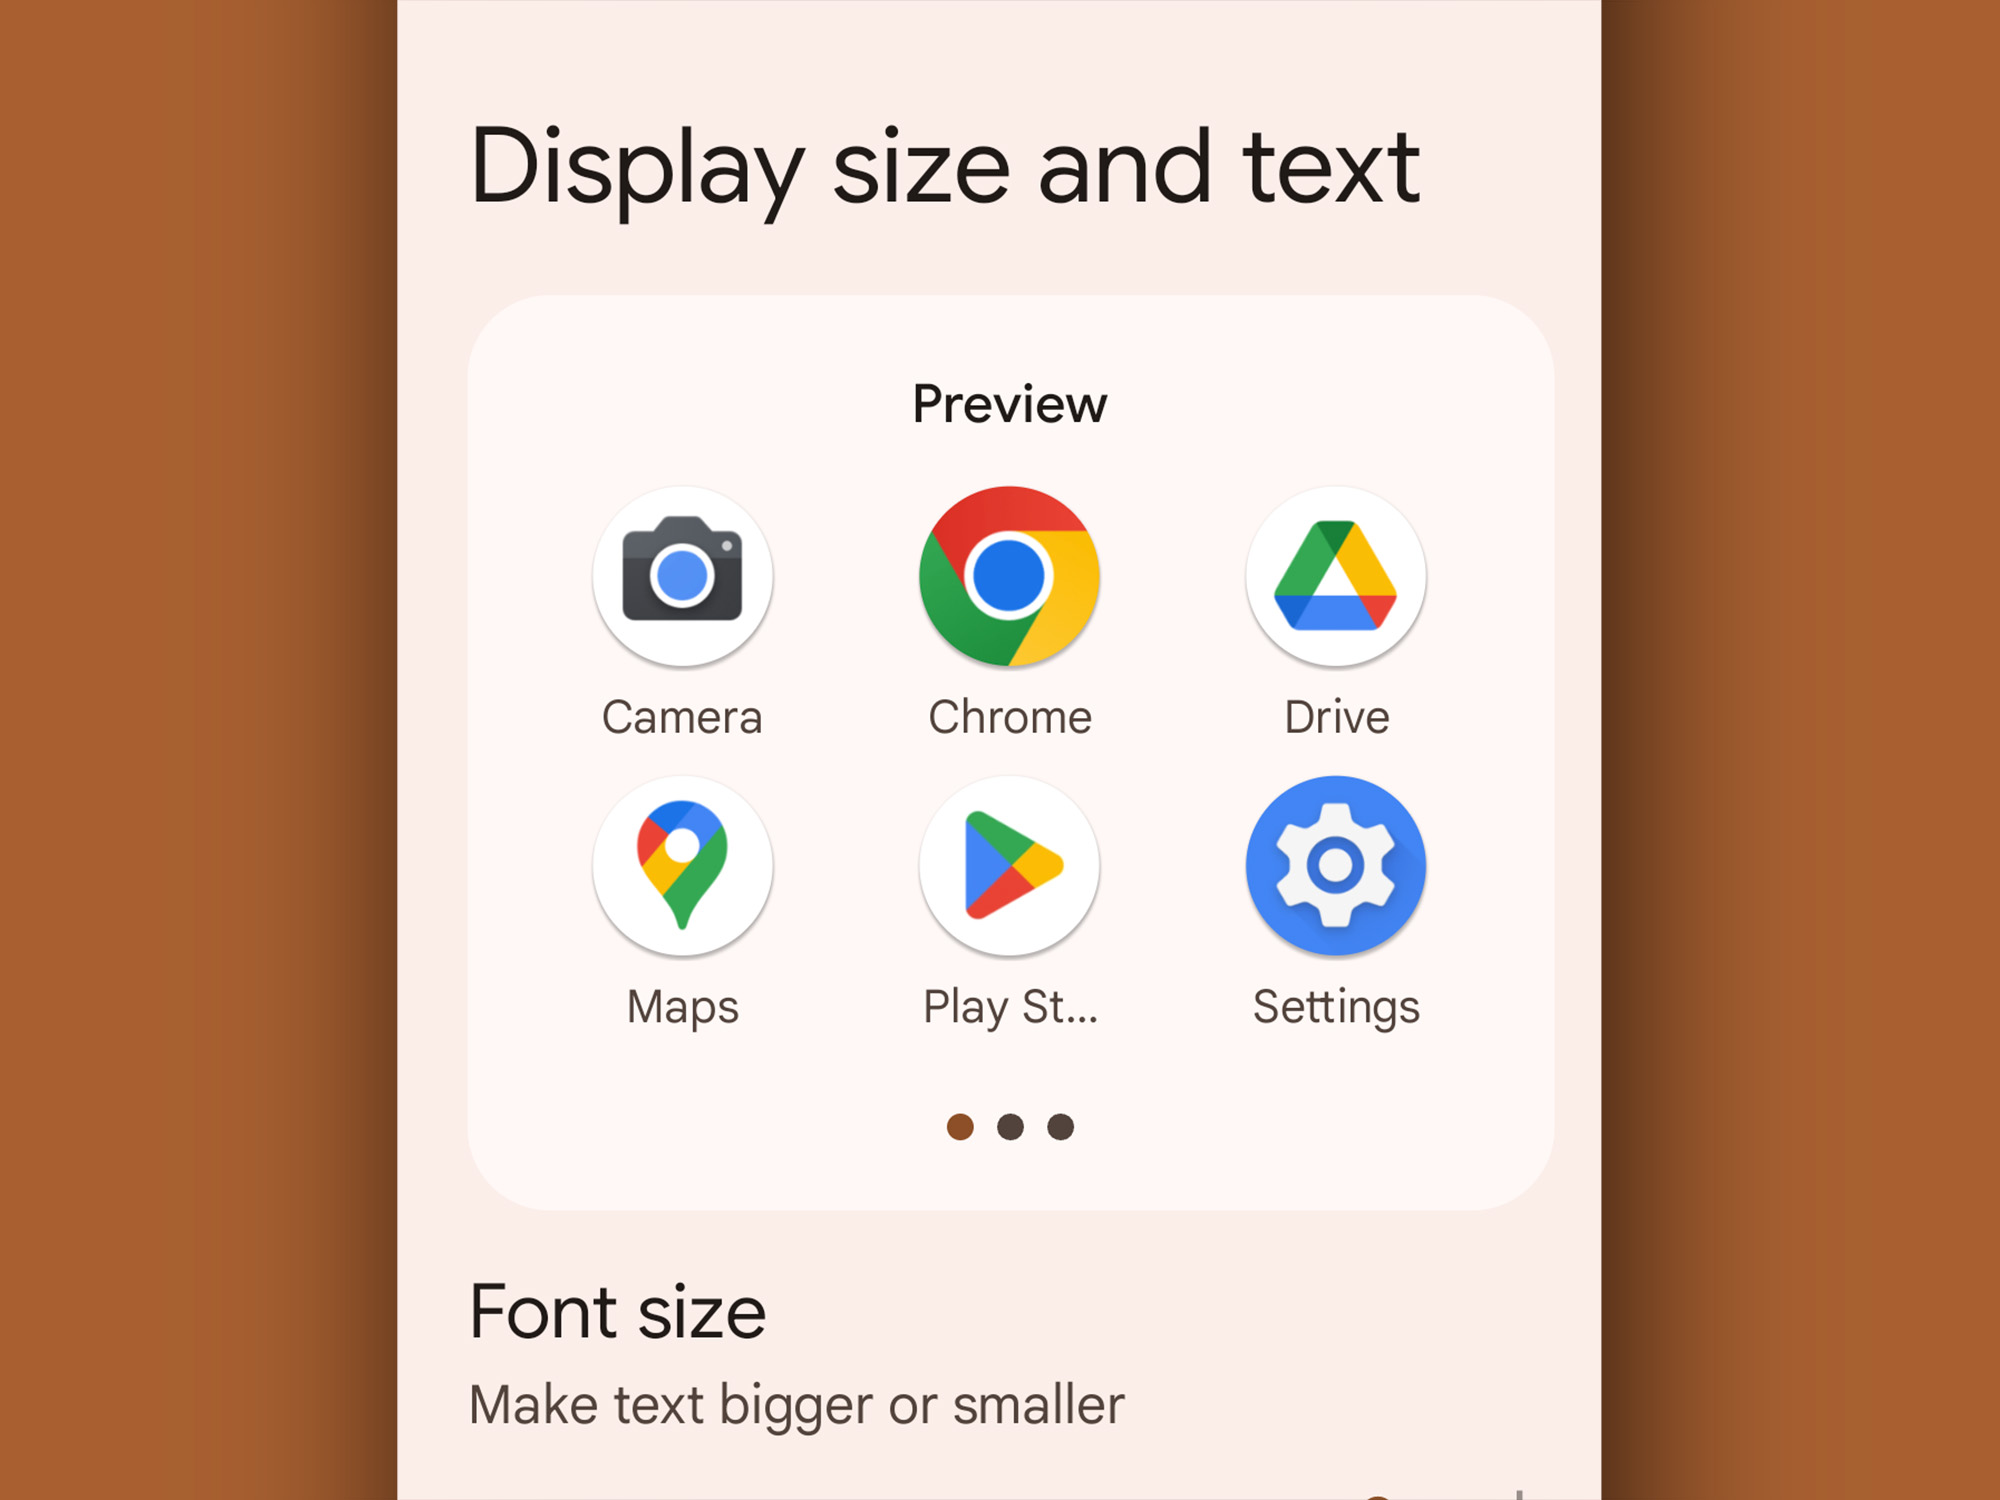
To change size settings, open Settings and go to the Display heading. From there, tap the Display size and text and drag the slider under Font size to make text larger or smaller as needed. Android 13 introduced a new slider on this menu—Display size. You can play around with it to make icons and the Google search bar chunkier.
9. Disable the lock screen at home
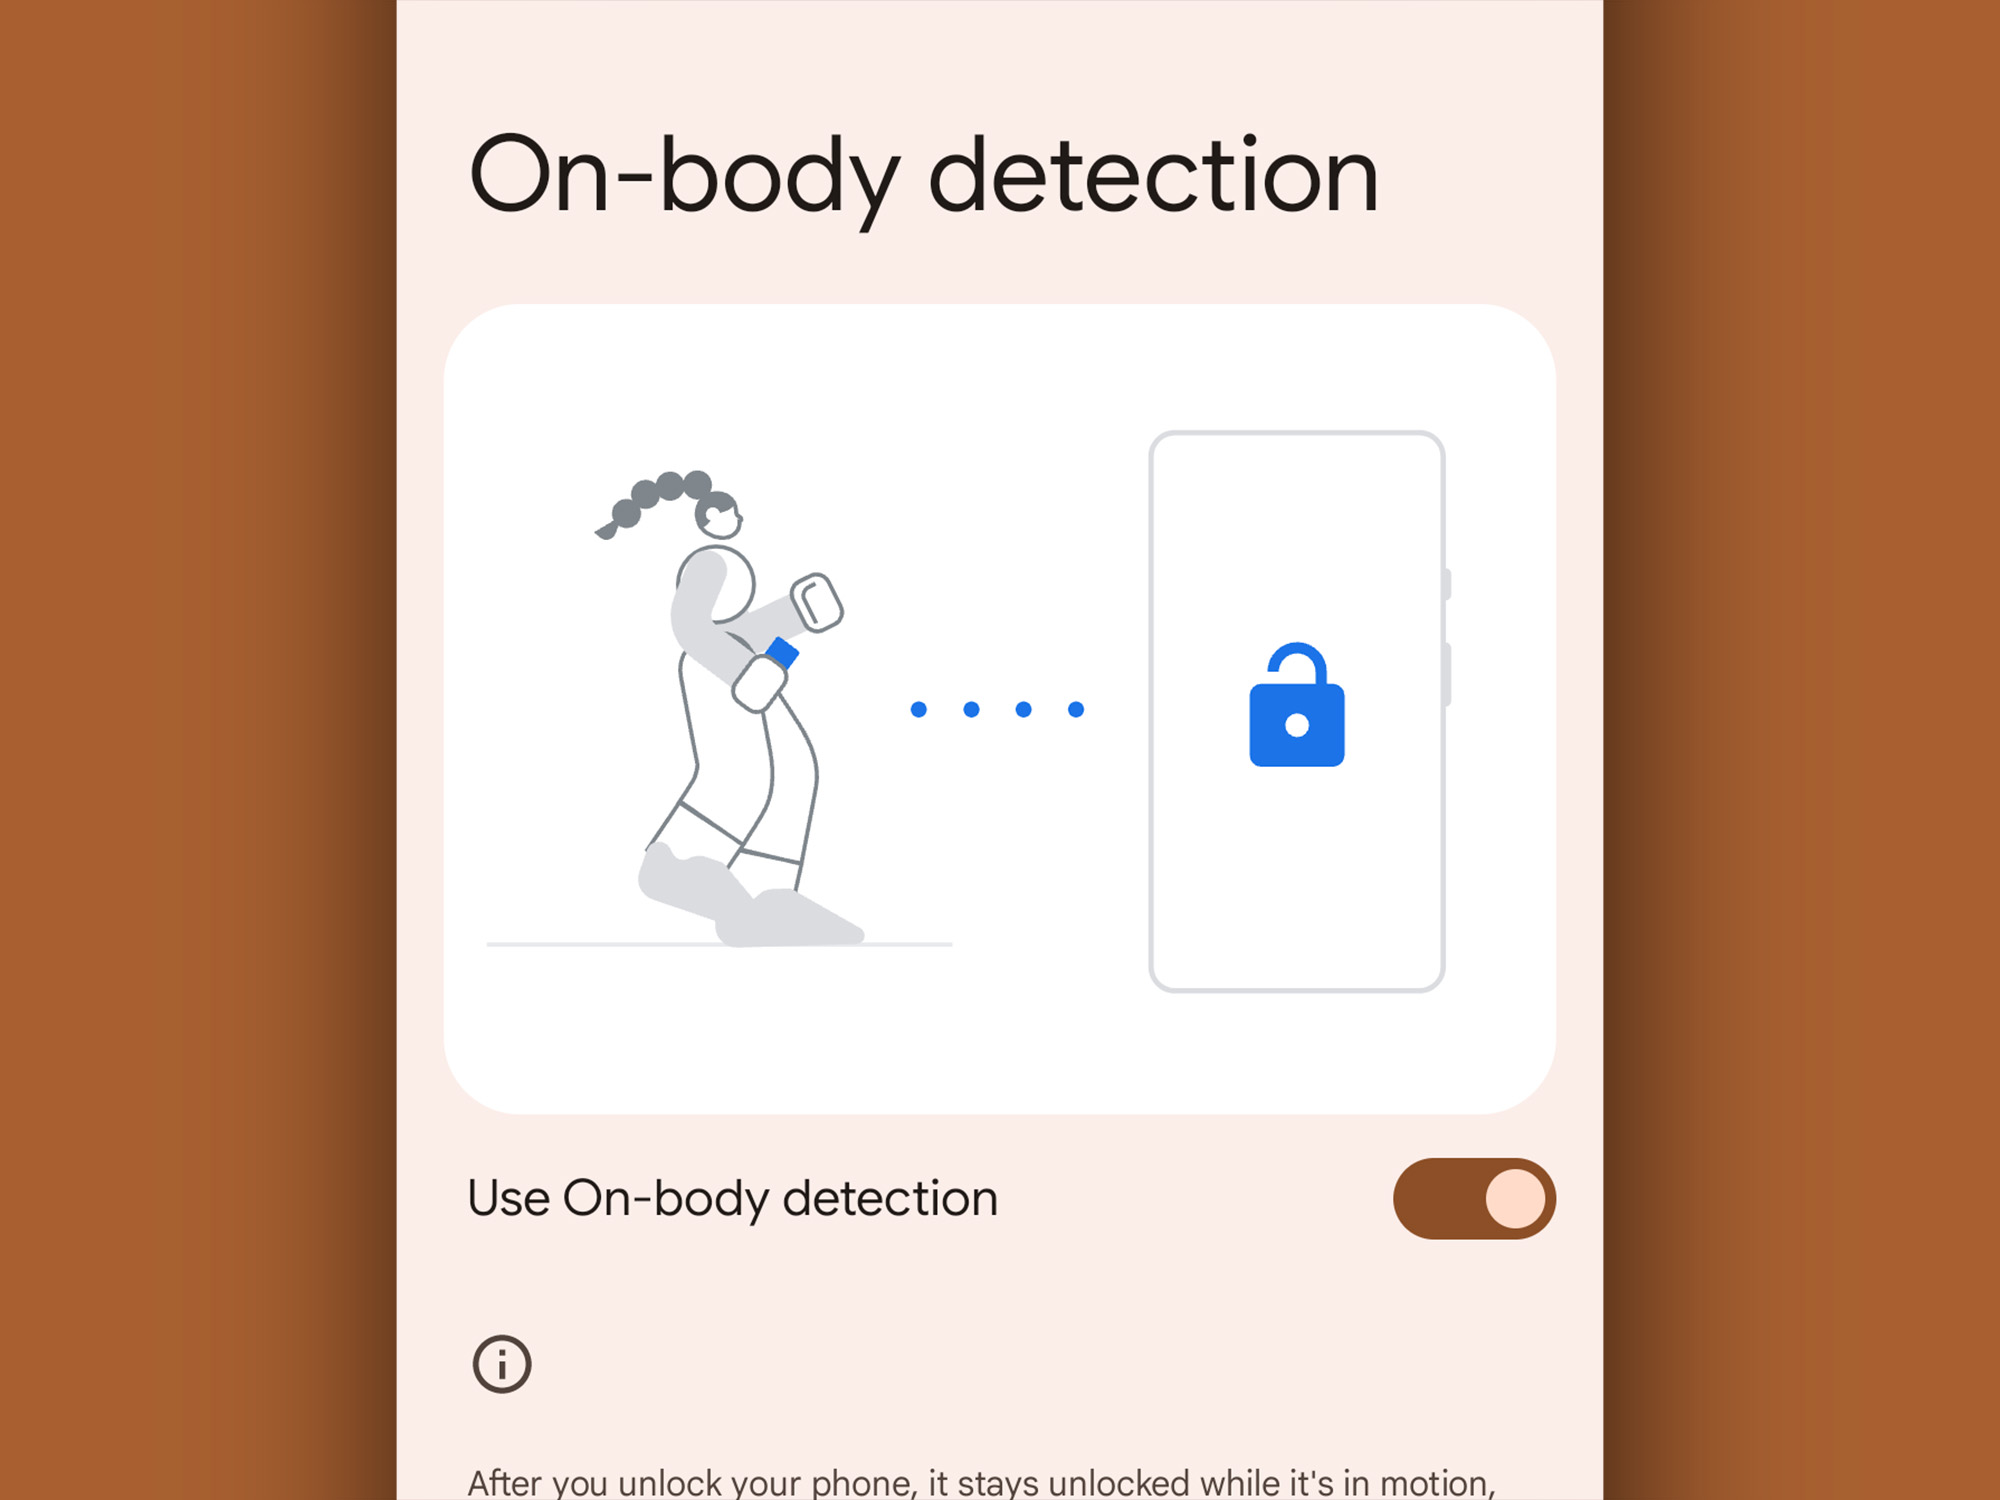
To keep your device safe, you need to set up a PIN code or biometrics scan to unlock your phone. But this makes it more inconvenient to access your apps. Google’s Smart Lock feature lets you remove this obstacle, giving you instant access to your phone—but only when you’re safely at home.
From Settings, tap Security & privacy, go to More security settings and choose Smart Lock. As well as disabling the lock screen when you’re at home (that’s the Trusted Places option), you can also disable the screen when your phone’s Bluetooth is connected to a trusted device, such as your car stereo unit, or when it detects you have it on you.
10. Change volume settings independently
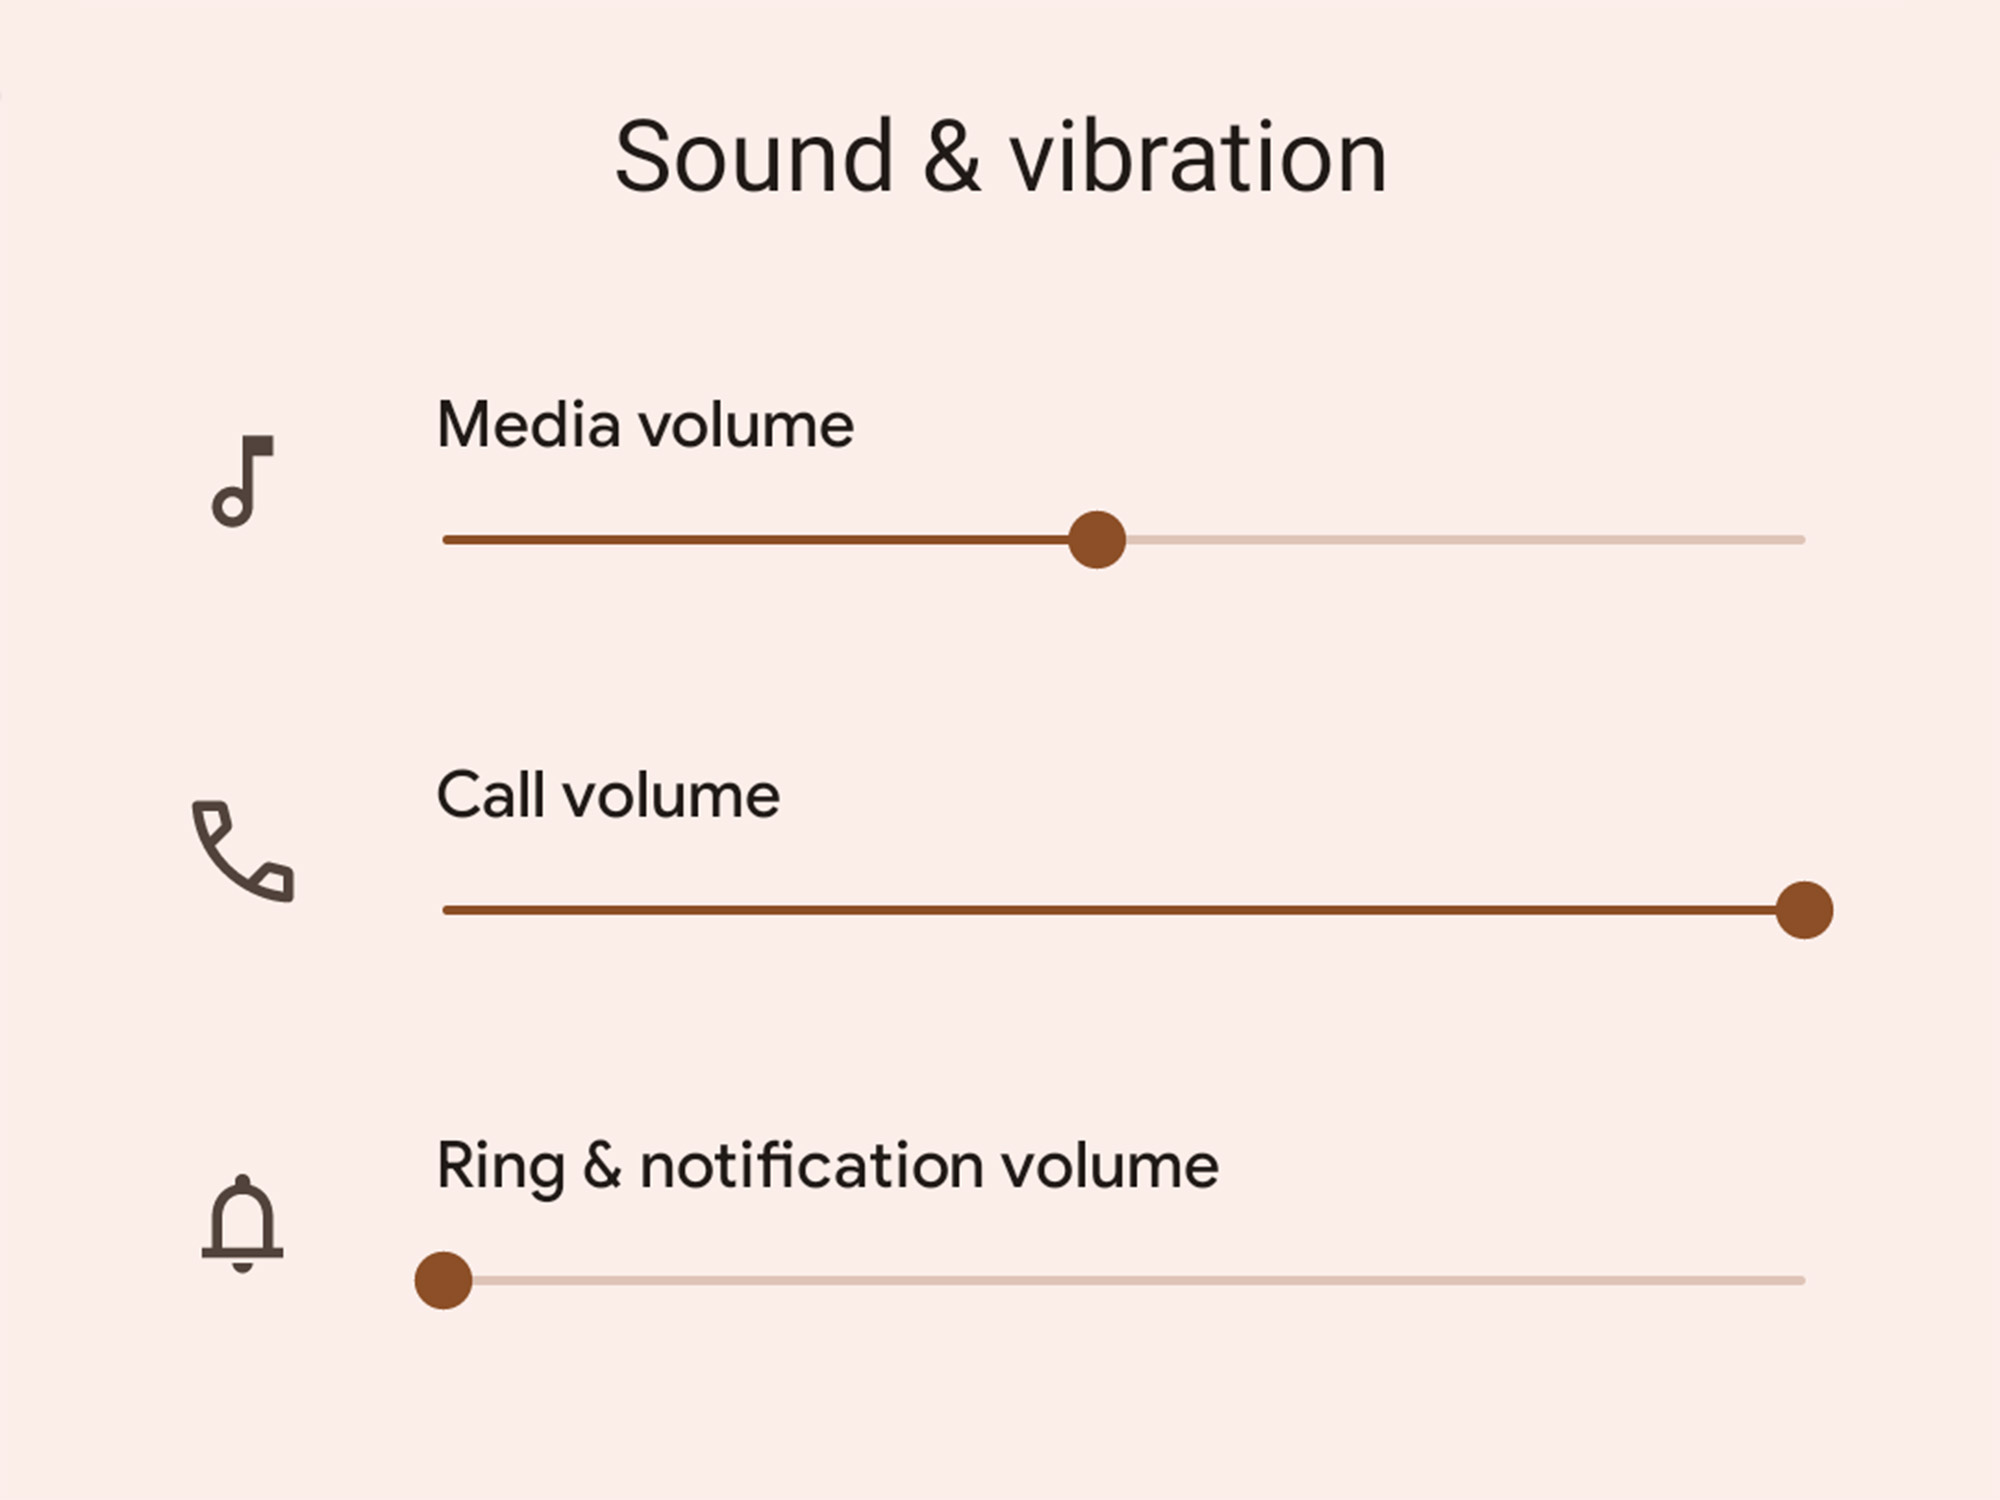
Your device plays several different types of audio—including ringtones, notifications, alarms, phone calls, and media. If you’ve ever gone to the Settings menu and opened Sound & vibration, you’ll have seen that you can use individual sliders to adjust these audio types individually.
However, Android gives you a quick-and-easy shortcut. Tap the physical volume buttons on the side of your device to make whatever’s currently playing quieter or louder (if no media is playing, this action will adjust your ringtone volume). When you do, a small box will pop up on the screen, showing which volume setting is changing and how. At the bottom of that box, you should see three dots. Tap them, and the box will expand to show multiple volume sliders at once. This can save you a trip to Settings.
11. Bring back lost notifications

So you accidentally swiped away one of the notifications that you wanted to read fully and now you have a nagging sense someone emailed you, but are not sure. It happens. If you want to review all of your recent notifications on Android, you’re in luck. This ability is possible—though the option isn’t easy to find.
[Related: Switching from iPhone to Android has never been easier]
Tap and hold on an empty part of the home screen, and a screen-adjusting mode will pop up. Choose Widgets, and find the Settings shortcut. Drag this icon to an empty space on one of your home screens, drop it in place, and a list will automatically pop up. Choose Notification log from the list and tap the icon to open up Android’s notification history.
12. Get an always-handy magnifying glass

Other than changing display options and making icons and text bigger, Android 14 introduced a new feature that lets you magnify specific parts of your screen. To enable it, go to Settings, Accessibility, and Magnification. Start by toggling on the switch next to Magnification shortcut, which will introduce a red magnifying glass button to the right of your screen.
Whenever you need a little help looking at text, pictures, or animations, you can summon the Magnification tool by tapping the red icon. An orange frame will appear on screen, zooming into the display portion underneath it (just like a magnifying glass), and you’ll be able to move it wherever you need it. If the default zoom is not enough, use your thumb and index fingers to expand the view even more. Tap the red icon again to disable the tool.
This story has been updated. It was first published in 2017.
