
We may earn revenue from the products available on this page and participate in affiliate programs. Learn more ›
This story has been updated. It was originally published on October 31, 2019.
Apple has pushed the idea of iPads as laptop replacements for years now, but the 2019 release of iPadOS made the device more laptop-like than ever. And now the company is beta-testing its fourth version of the operating system, iPadOS 16, which should be released later this year.
Overall, this tablet-specific software features a wealth of useful multitasking options and utilities that make iPads a very capable alternative to laptops—whether it’s just for one plane trip or on a more permanent basis.
Add some hardware

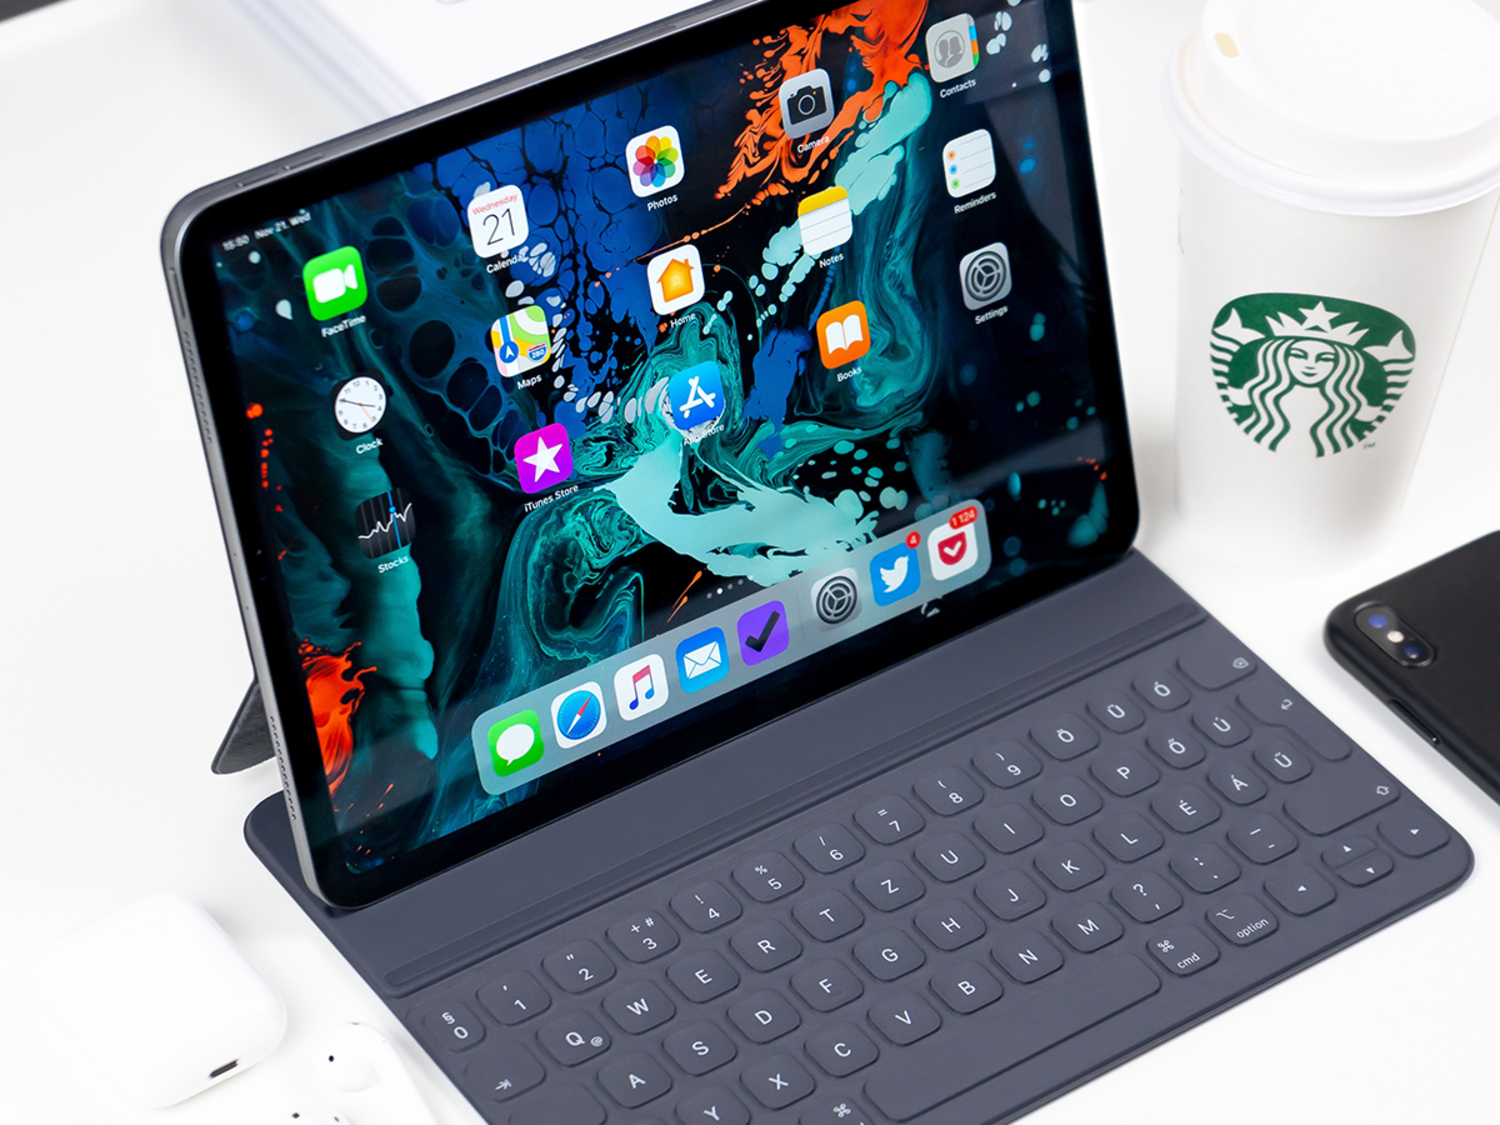
Before you dig into the functionalities of this new operating system, you’ll need to add some hardware—you can’t use your iPad as a serious laptop replacement without a keyboard attachment. Apple makes official keyboard covers for all current iPad models, starting at $160, but more affordable third-party keyboards are also available, like the Logitech Slim Folio (for around $100 on Amazon), or the Brydge Pro (for around $140 on Amazon, depending on the model).
Not only do these keyboard accessories make it much easier to type on an iPad for extended periods of time, but they also tap into the tablet’s support for keyboard shortcuts. As with any Mac computer, you can use Cmd+C to copy text and Cmd+V to paste text, and the arrow keys will give you greater control over text editing selections as well.
For the ultimate laptop experience, you can also add a mouse or trackpad to your iPad, either via Bluetooth or a USB-C connection. Just go to Settings, select Accessibility, Touch, AssistiveTouch and then Devices.
Customize your iPad’s Dock

Until iPadOS went live, Apple’s tablets looked and felt more like an iPhone because they used the same same operating system. But moving away from iOS has made iPads look a lot more like MacBooks. The main feature responsible for this is the array of icons displayed on the bottom of all Apple screens: the Dock. On iPadOS, you can find it when you’re inside an app by swiping up from the bottom of the screen. To add an app, press and hold its icon, then drag it down to the Dock, and hit Done in the upper right; to remove a shortcut, press, hold, drag the app icon out, and hit Done.
From Settings in iPadOS, tap Home Screen & Dock to access a handful of options. For example, you can choose whether to keep recently opened apps on the right-hand side of the Dock or not (we suggest you keep them in place).
[Related: How to tap into iPadOS’s new widget and multitasking features]
Another option you’ll want to keep enabled is Picture in Picture (under General in your iPad’s Settings app). This will allow video playing in apps such as FaceTime or Netflix to continue playing in a smaller window when you launch another app or go back to the home screen. It’s a handy feature if you’re trying to do some serious multitasking on your iPad.
Use Split View

Like on a laptop, Split View mode on an iPad lets you get two apps on screen side by side. With one app open, slide up from the bottom of the screen to see the Dock, then press and drag another app icon to the left or right edge of the screen. Release the app icon when the screen splits, then drag the black partition line to set how the screen is divided.
Split View will come in handy when you need to compare two websites, or compose an email while referencing another one. To see all of the open apps and split windows currently running on your iPad, drag up from the bottom of the screen, then keep dragging into the middle of the display—this opens the main multitasking view that lets you quickly jump between apps.
If you like to tap instead of drag, you can also access Split View by touching the three dots at the top of an applicable app window. A bubble with three icons will appear—tap the middle one (it looks like an equally divided rectangle) to choose Split View, and use the next set of icons to decide which side of the screen you want the app to stick to.
Get comfortable with Slide Over

In a similar vein, Slide Over lets you run apps in little floating windows on top of each other—it’s a bit like having a mini iPhone interface open on the right side of your iPad screen. To put an app in Slide Over mode, tap the three dots at the top of the app window and select the icon all the way to the right (it looks like a white rectangle with a thin black bar on its right side). Then choose any other app, and it will open full-screen, keeping the smaller window on top.
Press and hold one of the top corners of a Slide Over window to drag it to the left or right side of the iPad display, or just swipe it off screen hide it entirely. When you want to bring a Slide Over window back back, swipe in from the edge of the screen where it’s hiding. To use multiple apps in Slide Over, just press, hold, and drag another icon on top of the window that’s already floating on screen.
[Related: Learn to use picture-in-picture on all your devices]
If you have multiple apps in play in Slide Over, swipe left or right on the narrow bar at the very bottom of the floating window to quickly jump between them. Swipe up on that same bar to fan out all the apps currently in Slide Over mode (just as you’d see when swiping up on your iPhone). Tap a window to jump to it, or touch and swipe up to close it.
Learn to use drag and drop

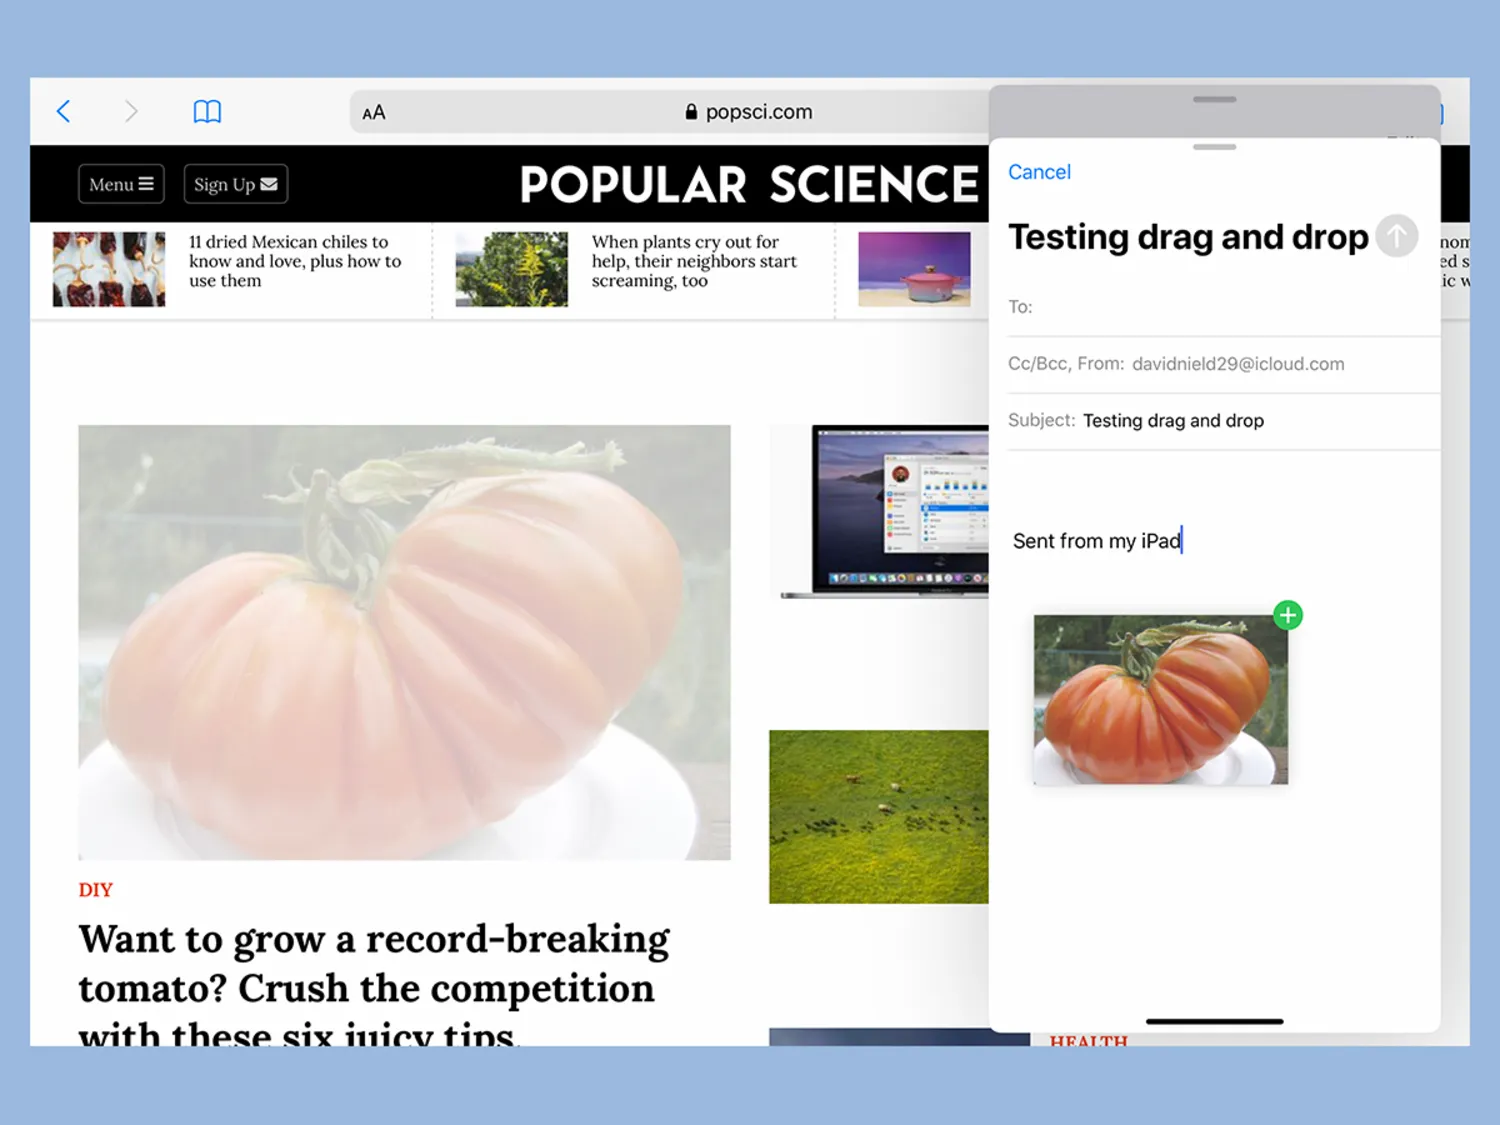
When you’ve got apps up in Split View or Slide Over mode, try dragging any item you want to transfer from one app to another, like an image from Photos into Mail, or a link from Safari into Messages.
Support for this feature, Slide Over, and Split View can be a little hit or miss in apps that aren’t made by Apple, because developers won’t necessarily have added the necessary flexibility into their apps. However, plenty of third-party apps can work with these modes, and more should fall into line in the future.
