This story has been updated. It was originally published on November 22, 2019.
In terms of boosting productivity, one of the best upgrades you can give your laptop or desktop computer is not a faster processor, more RAM, or extra storage space—it’s adding a second screen to your setup.
Having double the screen space might not immediately seem like it could revolutionize how quickly you get stuff done, but consider how often you have two or more programs open, and how long it takes you to jump from one to the other.
Comparing websites, spreadsheets, documents, hard drive folders, emails, or photos side-by-side is way more comfortable and can save you a ton of time as you replace all those seconds spent clicking, dragging, and moving the mouse, with a near-instant flick of your eyes.
Even better, this is an upgrade that’s relatively easy to do, once you’ve swallowed the cost of the extra hardware. Both Windows and macOS are set up to immediately recognize and make use of an additional monitor, so you won’t have to spend long configuring your second screen.
Buying and using a second screen

Monitor prices range from budget to very, very expensive, so take some time to shop around for the best deal when you’re deciding where to spend your money. Unless you’re working in graphic design or video editing, a mid-range budget monitor will do just fine.
The two key specifications to watch out for are the monitor size in inches (how big the screen is), and the resolution in pixels (how sharp the screen is). As with most things, the bigger and sharper, the better, so a good way to choose is to go as high as possible on those two metrics while staying within your budget.
Brightness levels and contrast ratios are important, too (again, the higher the better), as is the underlying tech that the screen is made from. For general use, look for a vertical alignment (VA) LCD monitor, though professionals might want to upgrade to an in-plane switching (IPS) LCD display instead. Picture quality varies from display to display, but IPS typically offers better-quality blacks, at the expense of a wider viewing angle.
[Related: Best monitors for home offices in 2022]
We don’t want to dazzle you with too many tech terms and specifications, though, because besides the size and resolution, this is one of those hardware purchases where you don’t really need to agonize too much over your choices. Checking online reviews or—even better—going out to physically look at computer displays in a store will usually be more informative than a specs sheet.
What is crucial, though, is that you get a second screen that can connect to your desktop or laptop. HDMI, DisplayPort, Thunderbolt, and USB-C are the key connection standards to look out for, so make sure the outputs on your computer match at least one of the inputs on your monitor.
If you’ve set your heart on a monitor that doesn’t match your computer’s video outputs, you can often get a dongle or an adapter to get everything working—like this $70 Apple adapter that’ll take the USB-C output from a MacBook and turn it into an HDMI feed compatible with most monitors. You can also get a hub adapter, like this one from Anker, that for $50 will give you three standard USB ports, an HDMI port, and an ethernet port.
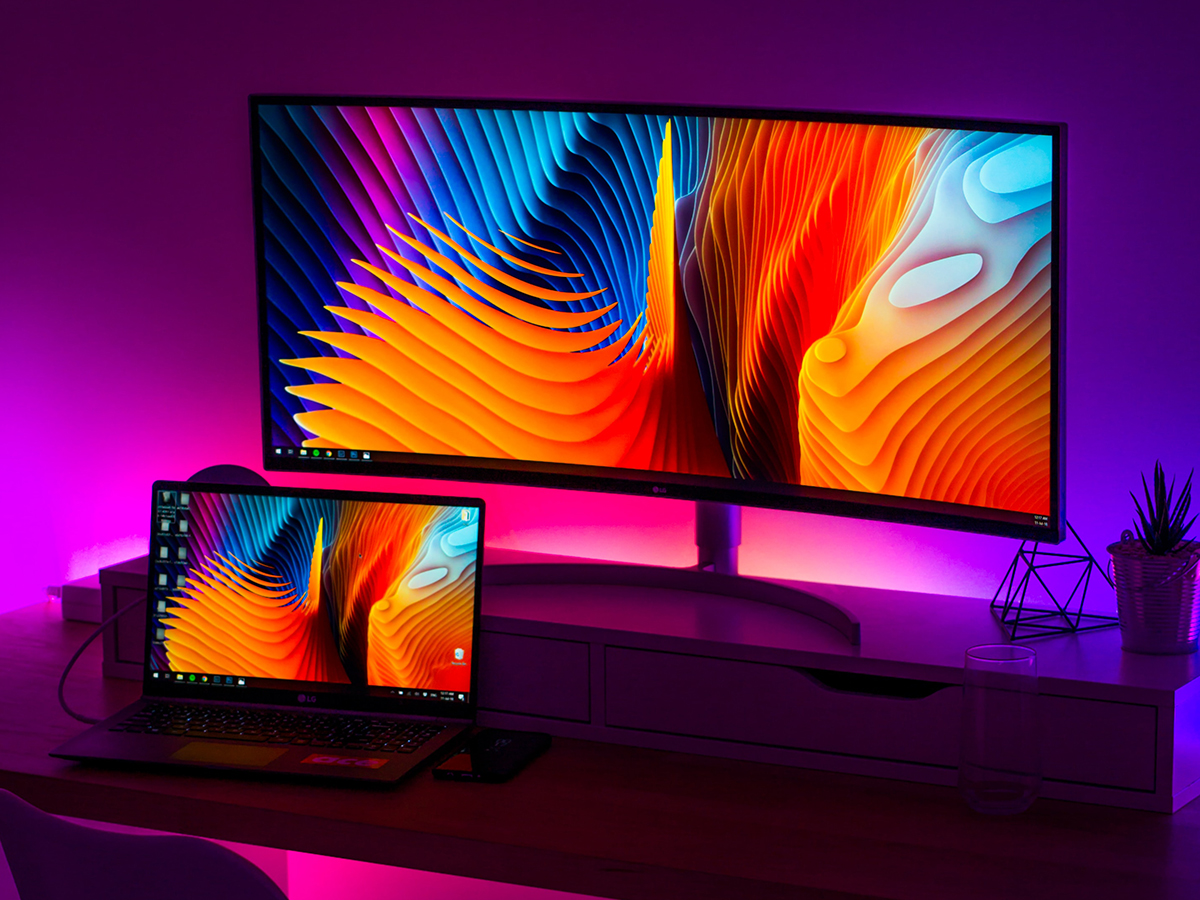
If you’re adding a second screen to your desktop, try to get something that matches the size of your original display—it’s easier on your eyes to keep flicking between two displays with identical dimensions. If you’re using a laptop, more screen space on your second screen is usually better, within reason.
How to add a second screen on Windows

All you really need to do to add a second display to Windows is to power up the monitor and connect it to your laptop or desktop. Windows will instantly recognize that you’ve added a second screen, and extend your desktop wallpaper across the new display accordingly.
If this auto-configuration hasn’t quite worked properly, or you just want to fiddle around with your options, go to Settings (click the cog icon on the left-hand side of the start menu), then choose System and Display. You should see your two screens represented in the next dialog box, labeled 1 and 2 (click Identify to work out which is which). If you don’t, you can click Detect to ask your computer to look for the connection.
If you need to, click and drag the display icons around and make sure they match your physical setup—so you’ve got the left and the right monitor identified correctly, for example. Further down you can set the resolution and orientation of each display (most of the time it’s best to simply leave the recommended settings in place here).
Use the Make this my main display checkbox to set which of your displays counts as the primary one—that is, the one that shows the Start menu and the taskbar, and where most of the pop-up dialog boxes are going to appear.
With the displays correctly configured, you can simply drag open app windows from one display to another to get them correctly positioned. Have one screen for your social media feeds and one for your emails, for example; or one screen for watching videos and another for browsing the web. If you maximize any of the windows on screen, they’ll take up the entirety of the display they’re currently on.
As an added bonus, we’d like to mention DisplayFusion ($30 with free trial). It adds on a host of extra features for multi-monitor setups on Windows, including options to duplicate the taskbar on both screens, save your open window configurations, dim the display that’s not currently in use, and more.
Adding a second screen on macOS

Setting up a second screen on macOS is just as simple as on Windows—power up the second display, plug it into your Mac, and your computer should detect it. To change the position of the monitors (which is left and which is right), open the Apple menu, then choose System Preferences, Displays, and Arrangement, then drag the windows into place.
To see which display is which, click and hold on one of the windows, and a red border will appear around it (in the dialog box and on the monitor). You can set the resolution and scale of your screens by switching to the Display tab in the same dialog box (actually, two dialog boxes will open up, one for each screen).
[Related: 23 useful Mac settings hiding in plain sight]
As with Windows, just drag your open windows and browser tabs between the displays to move them from one screen to another. Again, maximizing any of the open app windows will fill the display it’s currently on.
We’d like to plug another utility here: Magnet for macOS, which will set you back $8. It makes arranging open windows much easier, whether you’re using them on one display or two. You can swap windows to the sides and corners of the screen, for example, as on Windows, by dragging them to the edges of one of your displays.
Since macOS Catalina, Apple has also offered the ability to use an iPad as a secondary display, a feature known as Sidecar. You can use the feature wirelessly, if your Mac and iPad are on the same WiFi network, or you can plug your tablet into your computer with a charging cable. You do need a fairly recent iPad and Mac for this to work—check here for a full list of supported devices.
To enable the second display, click the AirPlay button (an arrow and a rectangle) in the menu bar on macOS, then choose your iPad from the list. If you don’t see it, you might have to go to System Preferences and Displays to turn on the AirPlay Display option. The iPad works just like a second monitor, so you can drag windows to and from it, and use the Displays option in System Preferences to configure its position.
