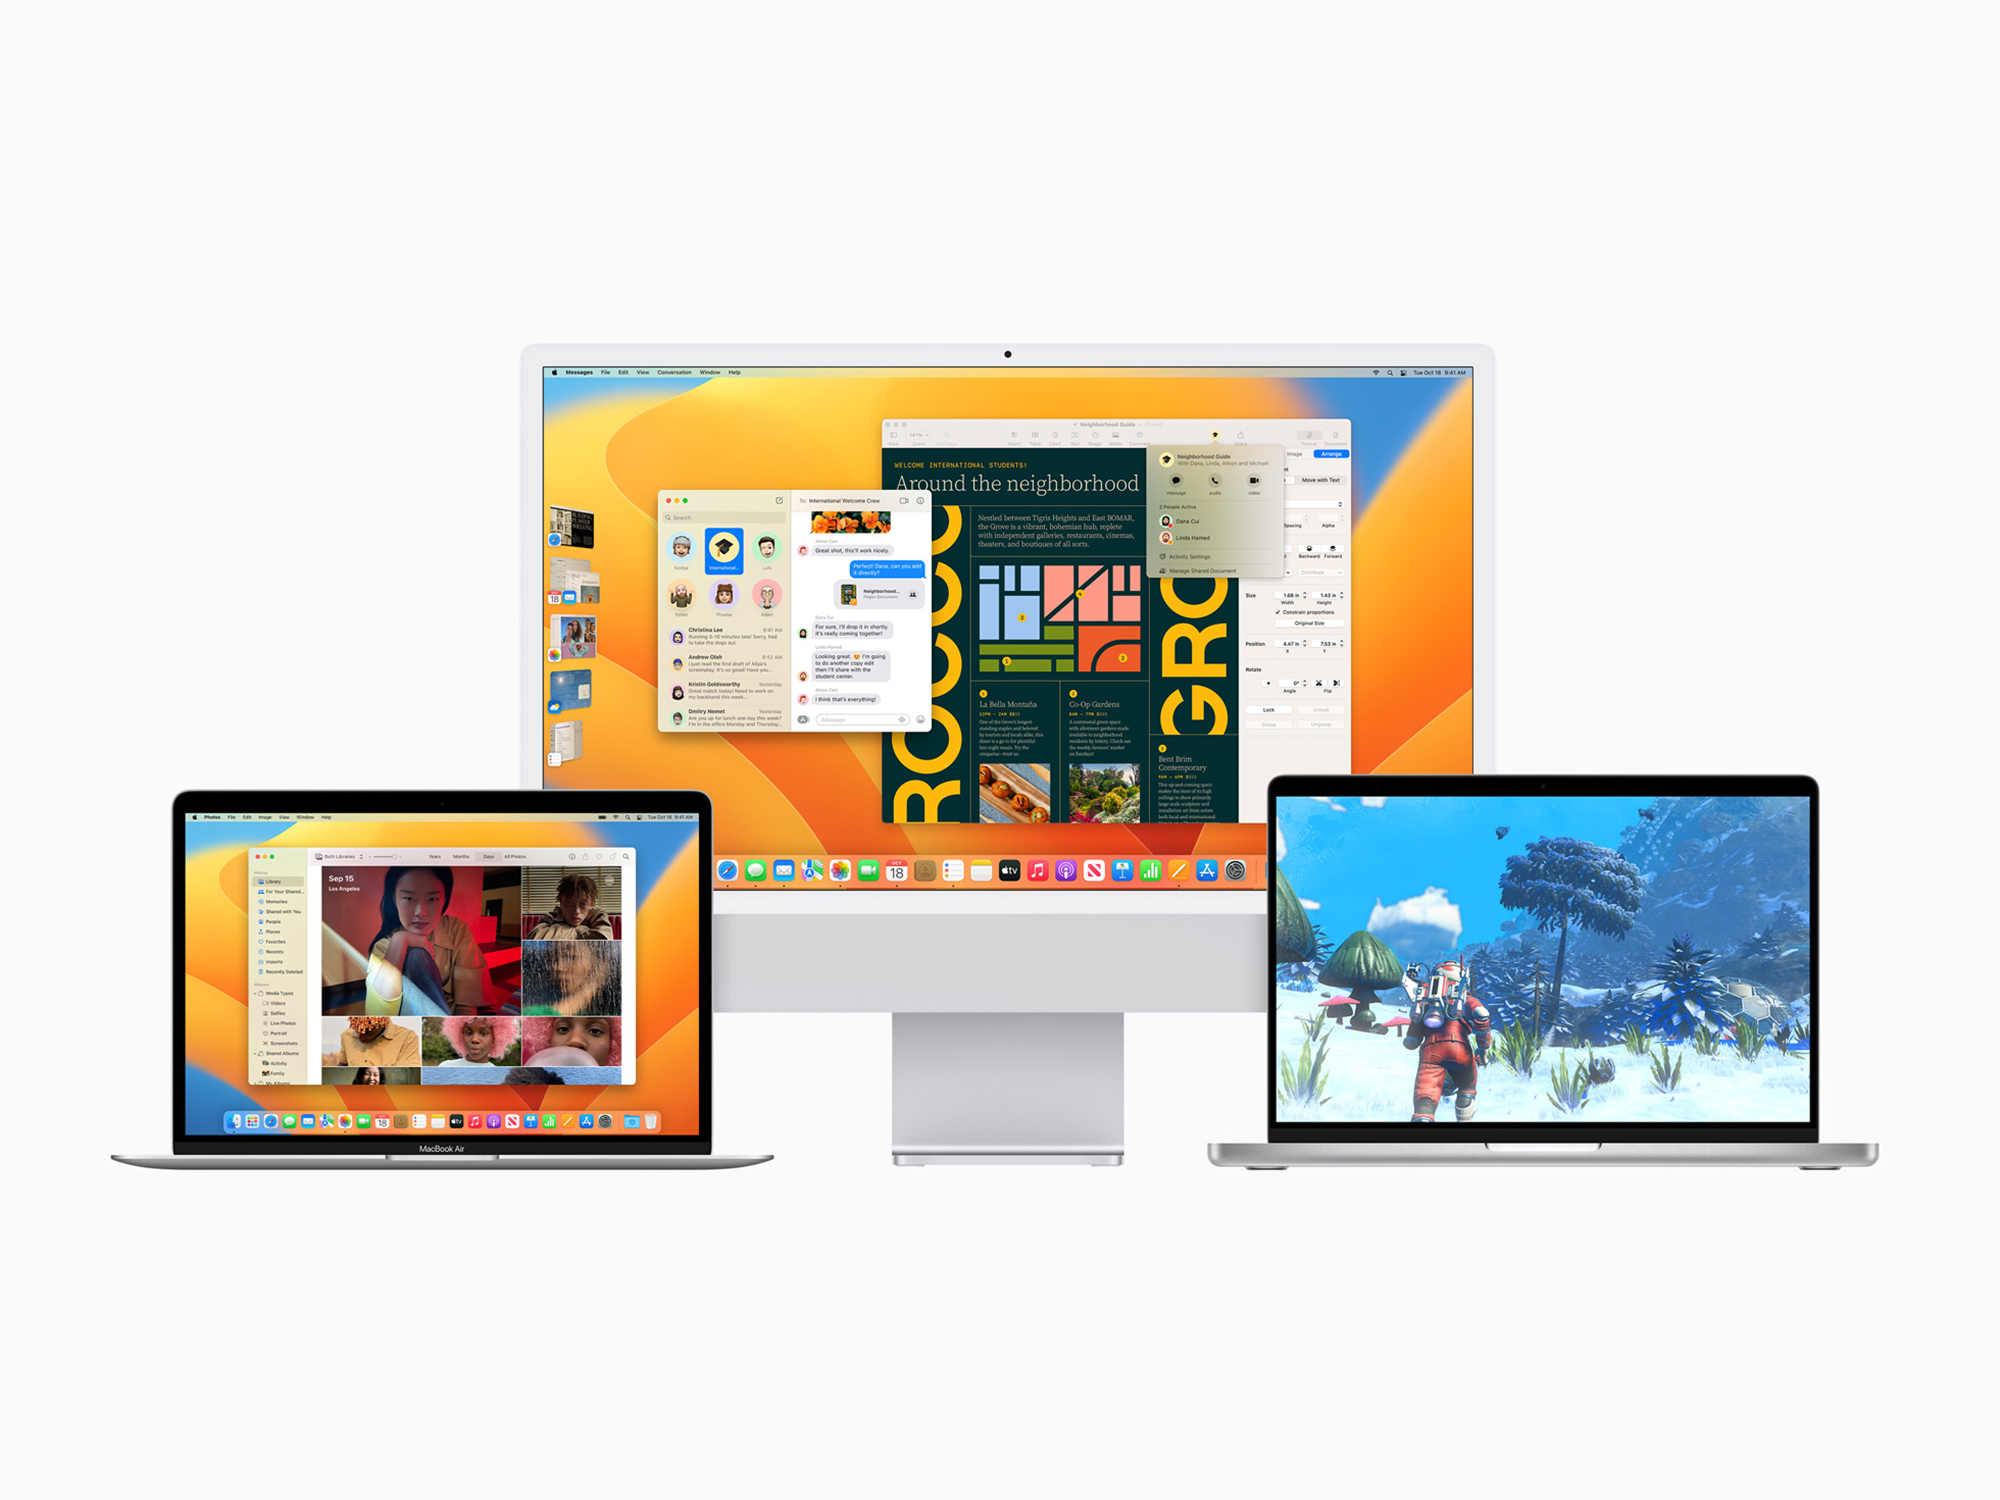

Apple’s latest major desktop operating system update, macOS Ventura (aka macOS 13), is available now and comes with a host of new features that will add convenience and productivity to your hours in front of a screen.
If you’re running macOS Monterey, your computer should soon prompt you to download and install the free software update, if it hasn’t already. The computers compatible with macOS Ventura are the 2017 MacBook Pro, the 2018 MacBook Air, the 2019 Mac Pro, the 2017 iMac, the 2018 Mac mini, the 2019 Mac Studio, and all more recent versions of those models. Also compatible: the 2017 iMac Pro and 2017 MacBook.
As always, there are some major upgrades you should check out first.
1. A different way to organize your windows
Stage Manager is a new feature for both macOS and iPadOS that changes how you manage your open windows: It displays thumbnails of all open programs in a column down the left side of the screen, making them easier to switch between.
To enable it, open Control Center from the menu bar and click Stage Manager. You can also turn it on and off by opening the Apple menu and choosing System Settings, Desktop & Dock, and Stage Manager. Within the feature’s options, you can click Customize to change how Stage Manager works—whether or not it groups windows from the same application, for instance.
Essentially, you can switch between applications by clicking their thumbnails on the left, rather than having to open the dock. The Cmd+Tab shortcut on the keyboard still works for cycling through open programs, too.
2. Use your iPhone as a webcam

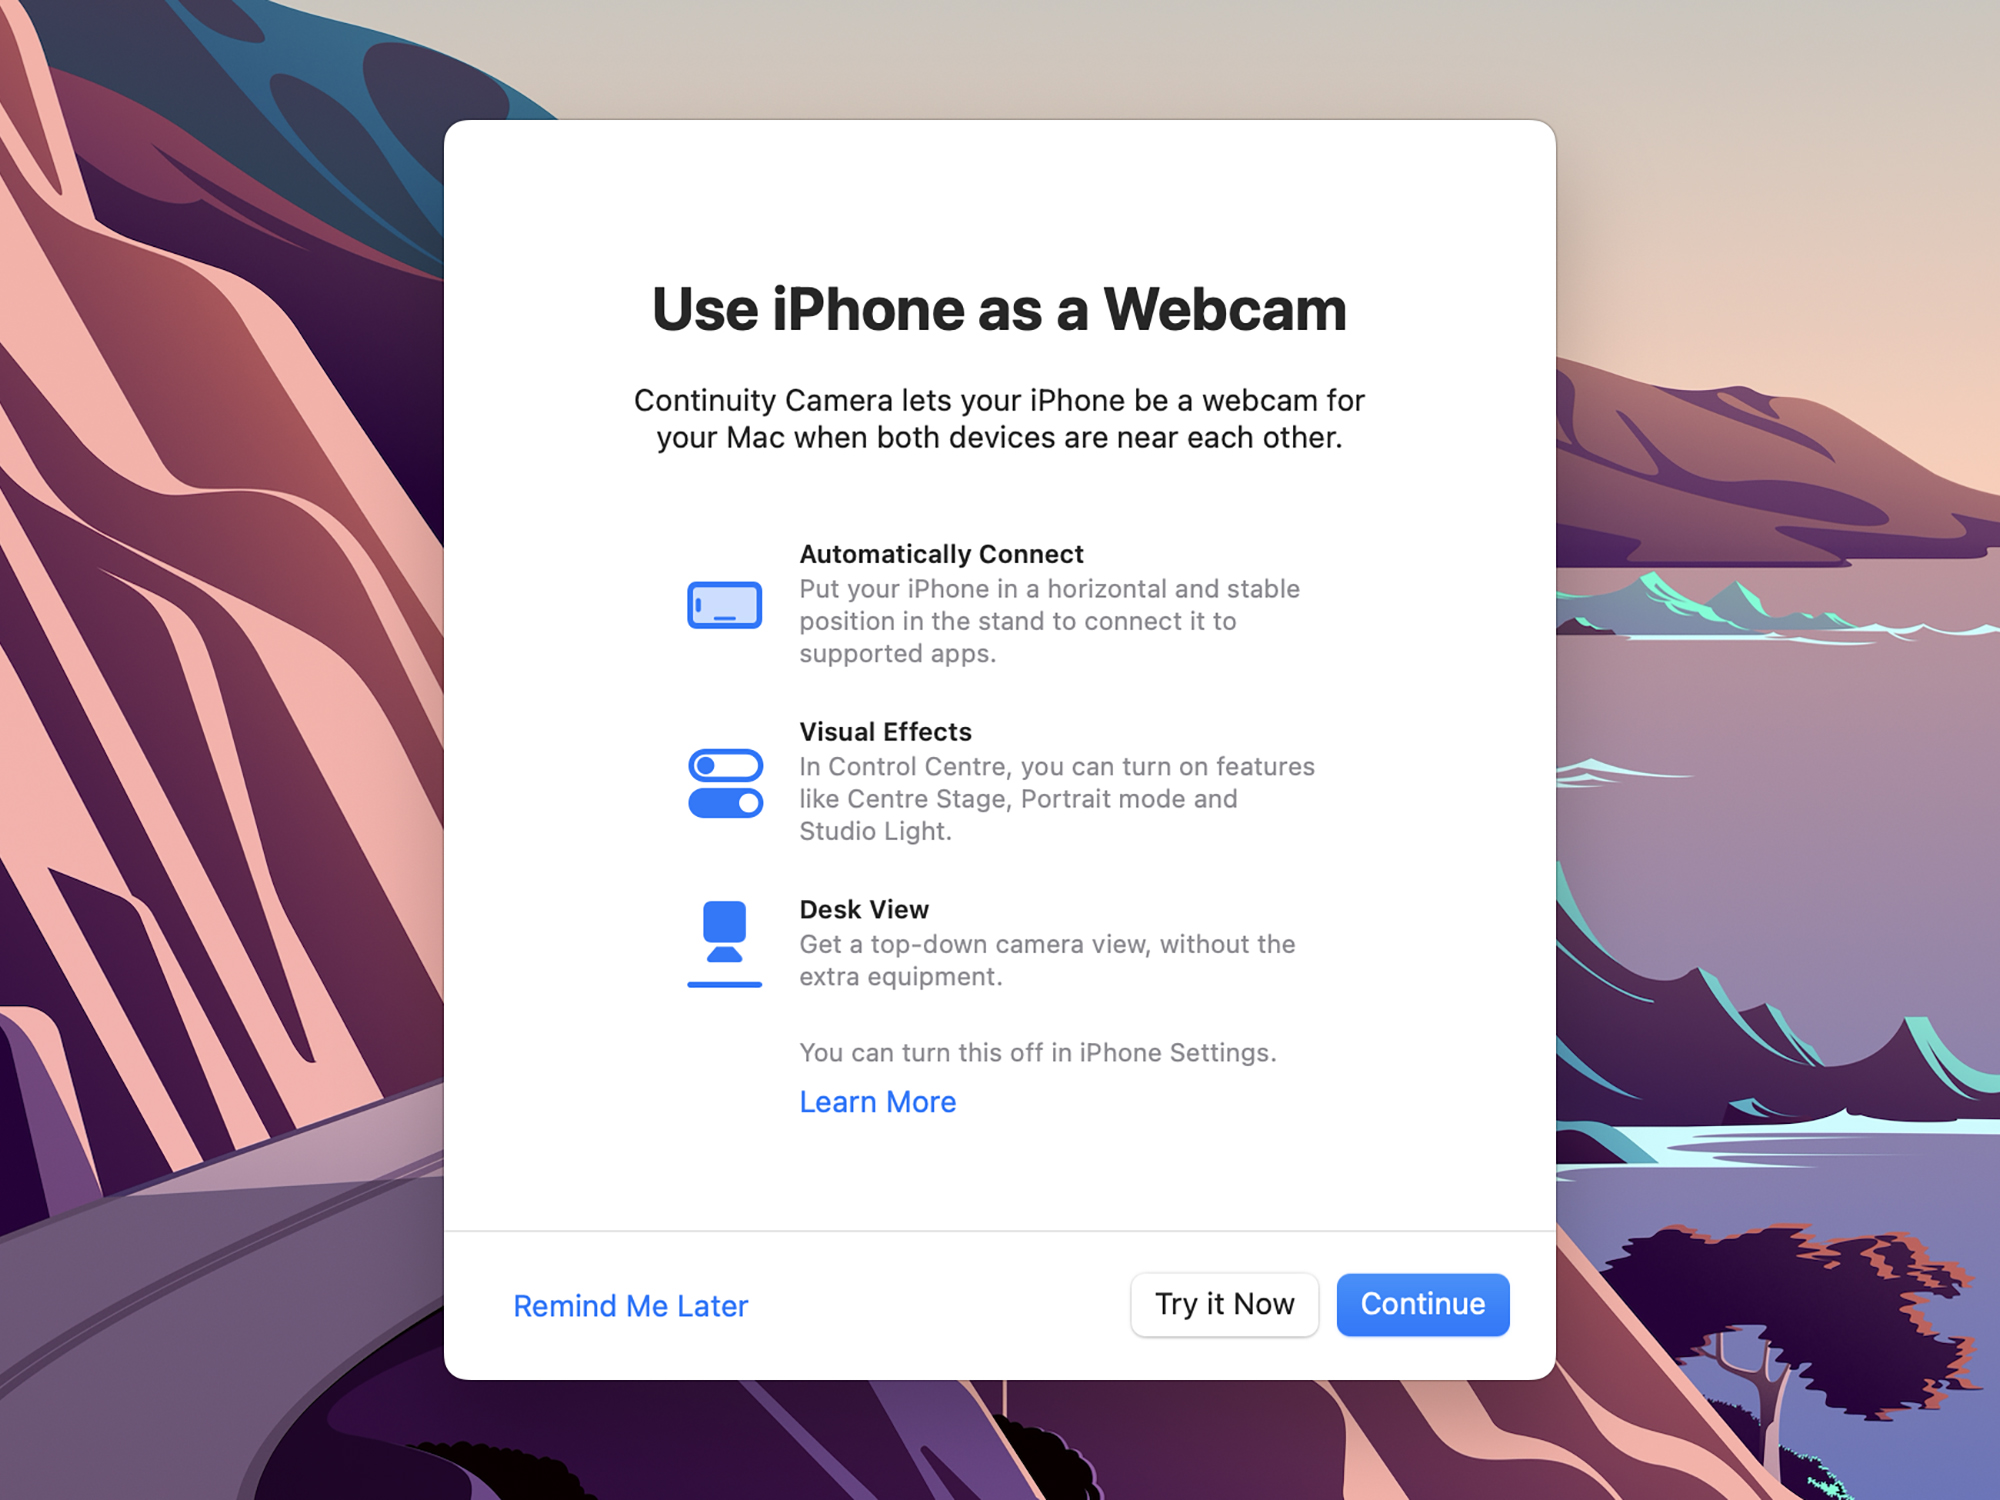
Macs, iPads, and iPhones already work well together, but macOS Ventura still managed to introduce a new feature that links these devices even more closely: Continuity Camera. Essentially, this tool allows you to use the advanced camera system on your iPhone as a webcam for your Mac.
Continuity Camera couldn’t be any simpler to use, either. Make sure WiFi and Bluetooth are enabled on both your iPhone and Mac, check that they’re both signed into the same Apple ID account, and you’re almost ready to go. All you need to do next is launch FaceTime and bring your iPhone close to your Mac. The first time you do this, your Mac will ask if you want to use your iPhone as a webcam, but after that it’ll work automatically.
[Related: Look better on video calls using pro photography techniques]
Open Control Center from the menu bar and choose Video Effects to enable features such as Center Stage (which keeps your face in the middle of the frame). To go back to your Mac’s webcam, select it as an input from the Video menu.
3. Mac-based alarms and timers
Ventura brings a native clock app to the macOS desktop for the first time, giving you access to the same features within the Clock app on iOS and iPadOS. As you’d expect, the app includes timer and alarm functions.
Along the top of the program’s interface, you can switch among its various sections: World Clock (where you can set up clocks for cities around the world), Alarm, Stopwatch, and Timer. Note that any iPhone alarms you’ve set won’t sync over.
Everything integrates neatly with Siri on macOS as well. If you want to use voice commands, you can say, “Hey Siri, set a timer for 5 minutes” or “Hey Siri, set an alarm for 8 a.m.,” for example.
4. System Settings is the new Preferences
One of the biggest changes macOS Ventura brings with it is that System Preferences is now System Settings. Not only does the main settings hub have a new name, it also has a revamped design.
It’s in the same place though: Open the Apple menu and select System Settings. You’ll see that a lot of the sections are the same as before, though some have been rearranged and relabeled—there’s a new Lock Screen page, for example.
After you install Ventura, we’d recommend spending a little time getting familiar with the new System Settings dialog. If there’s a setting you can’t locate, use the search box in the top left corner.
5. Schedule emails to be sent in the future

Apple’s individual desktop applications got their share of macOS Ventura upgrades too, and one of the improvements in Mail is the ability to schedule emails to be sent at some point in the future.
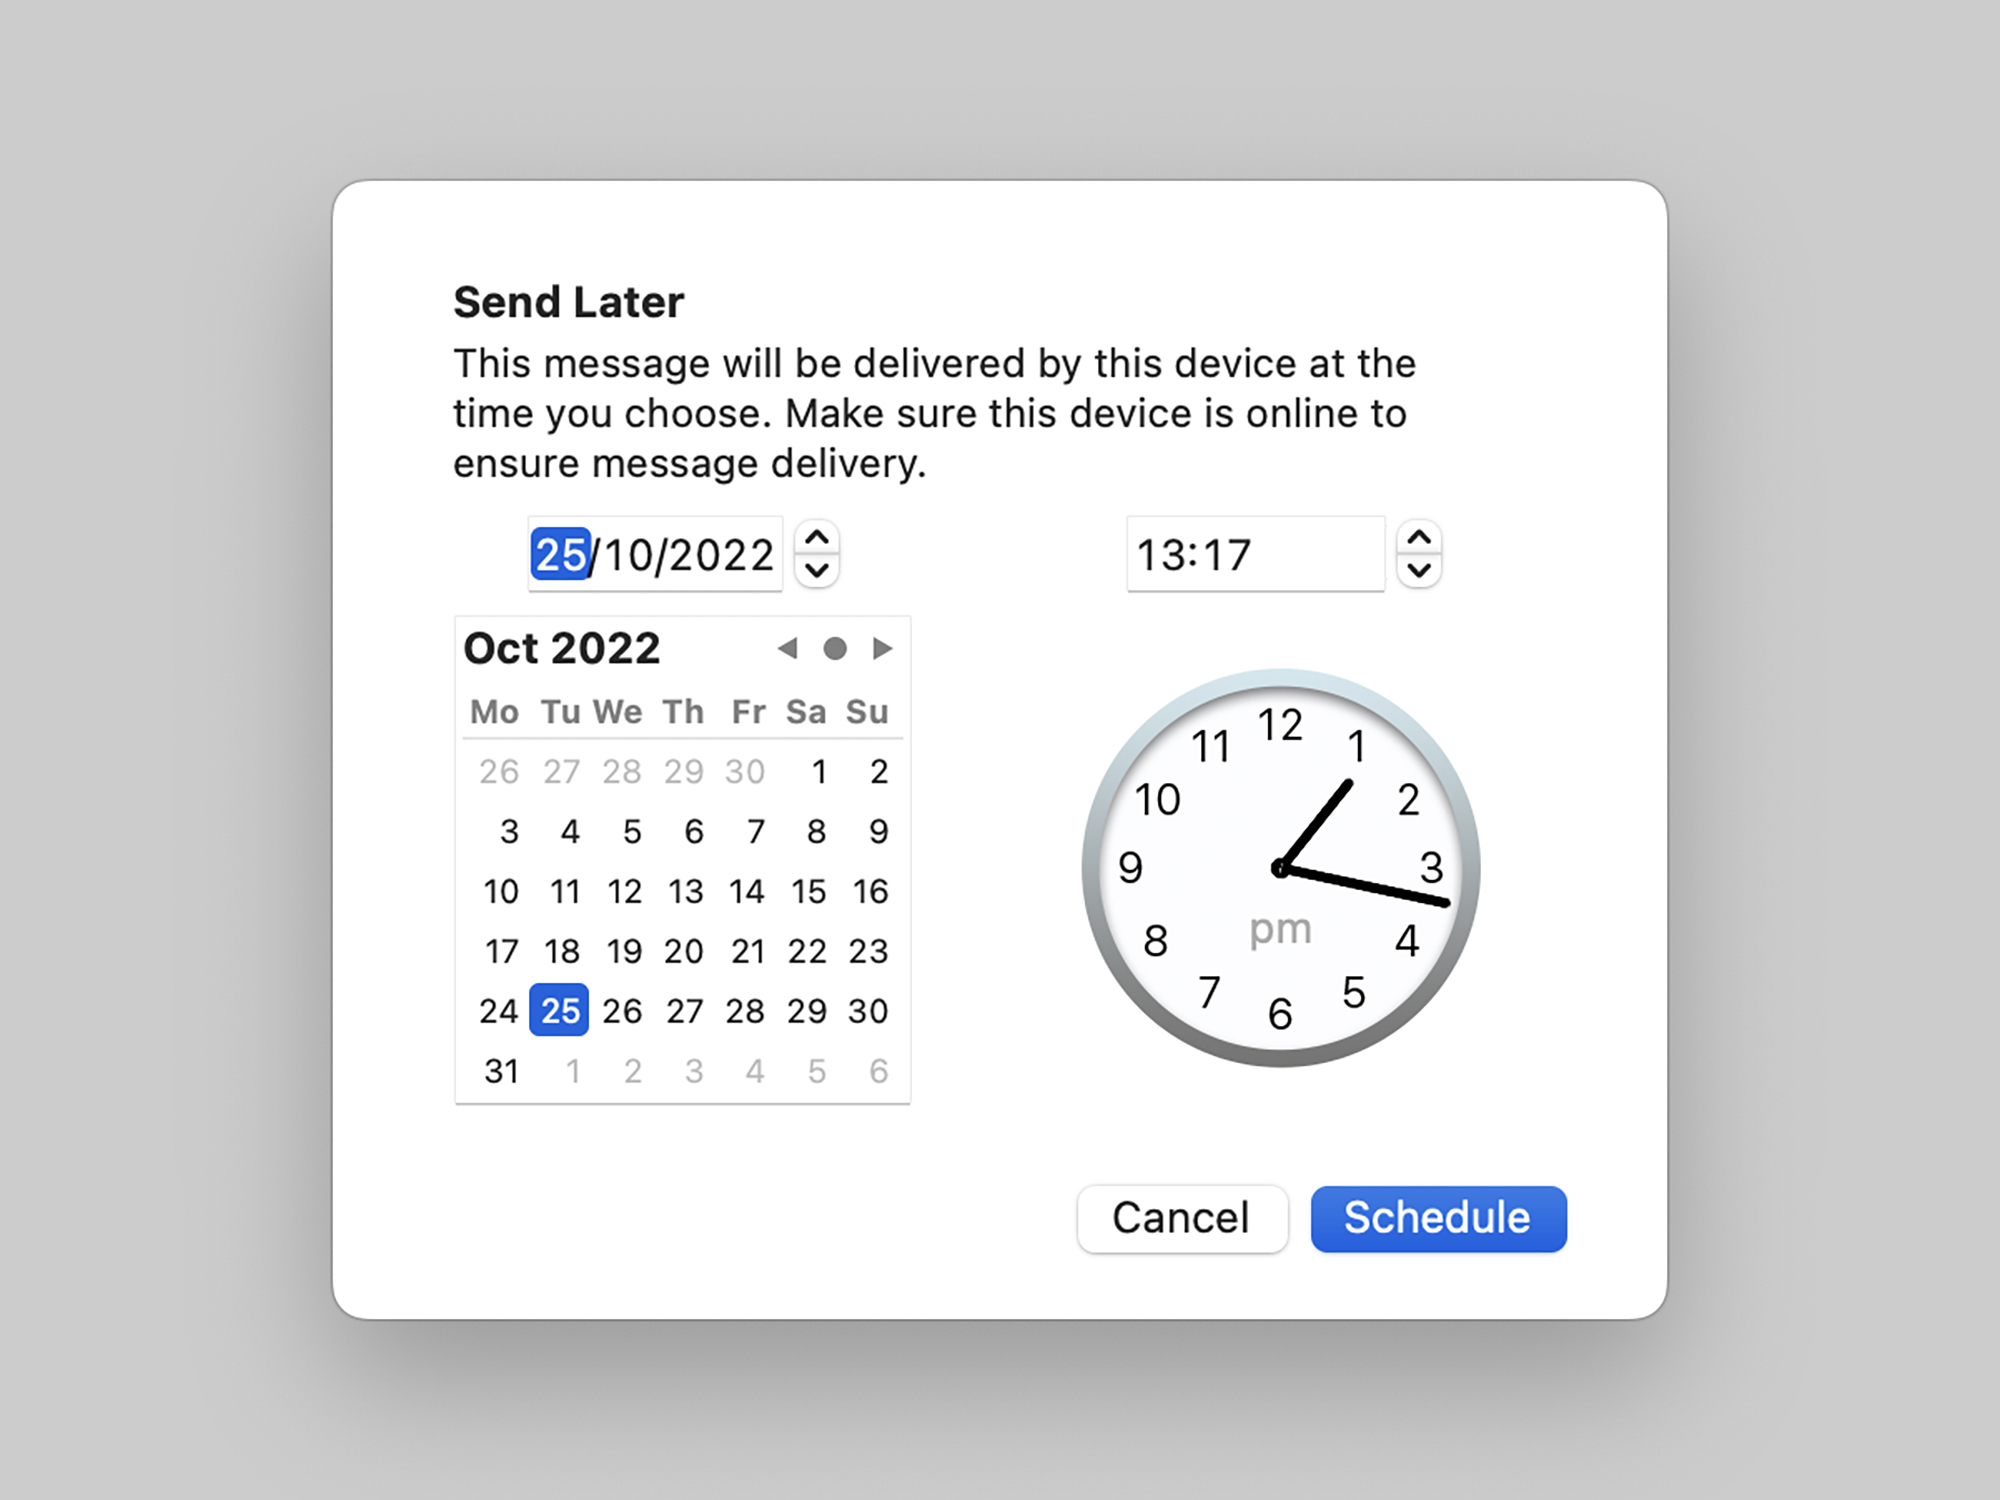
When you finish composing an email, don’t click the send icon (the paper airplane symbol), click the small arrow next to it. You’ll get a few scheduling suggestions from Mail, which will vary depending on the time of day. You might see options to send the email later in the evening or first thing in the morning, for example.
[Related: How to turn on Apple Mail Privacy Protection]
Choose Send Later to pick your own date and time. You’ll need to make sure your Mac is on and online at the designated time for the email to go out, and you can find scheduled emails by clicking the Sent Later folder in the left-hand navigation pane.
6. Edit and unsend messages
The same editing and unsending options that were introduced on the iPhone with iOS 16 have made their way to the desktop with macOS Ventura. These features are only available for messages sent through Apple’s iMessage, not standard SMS text messages.
If you’ve sent a message you’d like to change, right-click on it and choose Edit. Make your changes as required, then hit Enter. There will be evidence of the edits, with a little Edited label underneath the message—anyone in the conversation can click on this to see what the original message said.
Bringing back messages you’ve sent through the Messages app works in a similar way: Right-click the message and choose Undo Send. You’ve got a window of 2 minutes to unsend a message.
7. Share a photo library
The Photos app has always given you several options for sharing images and videos, but with macOS Ventura you can create an entire media library that up to six people (including you) can access.
Sharing a library this way offers more flexibility: Everyone with access to the shared library can view, edit, and delete photos and videos. It’s ideal if you want to, say, curate a collection of shared pictures and clips between a few members of your family, or a few close friends.
To begin, open the Photos app in macOS Ventura and click Photos, Settings, and Shared Library. Choose Get Started, and you can choose the people you want to share the library with, as well as the photos and videos to include.
