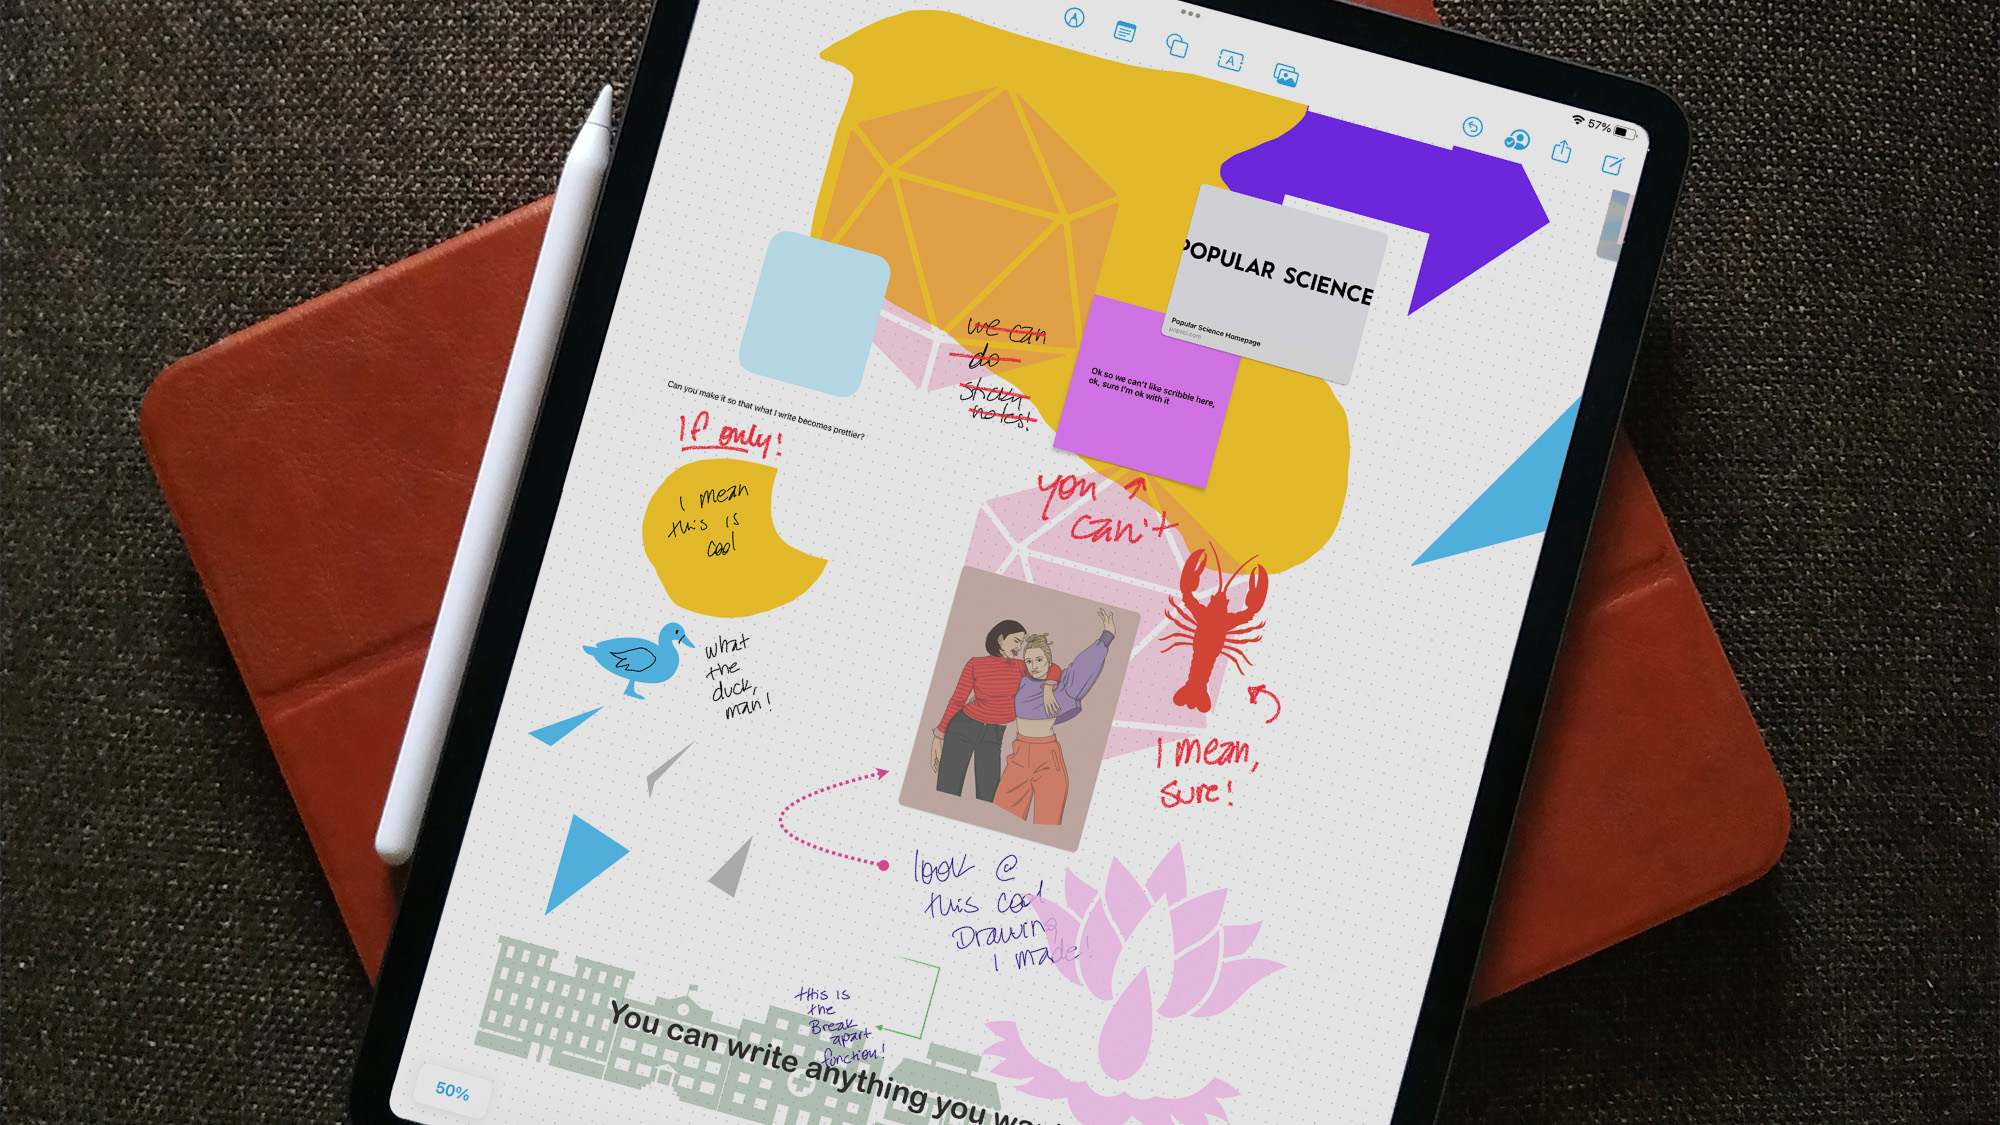
If you’ve upgraded your Apple devices to iOS 16, iPadOS 16, or macOS Ventura 13, you may have seen a new app floating around. It’s the collaborative Freeform, and it’s essentially a blank canvas. You just have to know how to make it come alive.
The tool was announced at the 2022 Worldwide Developers Conference and hit iPhones, iPads, and Macs six months later. You can use it for brainstorming, journaling, stylized note-keeping, or just plain old doodling. Freeform, as its name suggests, lets you do pretty much whatever you want, but if you get a bit overwhelmed, we’ve chosen five ways to start exploring the app.
1. Create customized shapes

Just like Google Slides and Microsoft PowerPoint before it, Apple’s Freeform has a wide range of shape presets you can use as if they were digital stamps. You can browse the available options by tapping the shapes icon at the top of the screen—it looks like a square in front of a circle. Choose a category by sliding their names to the left or right along the top of the window, select the shape you want, and move it around the canvas as you see fit. You’ll be able to easily resize it and change its color by tapping on it and tweaking the options on the emerging menu.
Out of all the available categories, Basic (which you’ll find all the way to the left) has the fewest shapes to pick from, but it offers many more customization options. For example, choose a star and notice that, when you select it on the canvas, two green dots appear on top of it. The one closest to the center of the shape will allow you to edit its radius—slide it all the way inward to get a small star with very long points; slide it all the way out outward to get a decagon.
[Related: Right on cue, Apple Music Classical is here to liven up your music library]
You can use the other green dot as a dial to edit the number of points on your star—slide it clockwise to get up to 20 points, and counterclockwise to go as low as three. Using these two functions, you’ll be able to create a wide range of stars and sparks to customize your canvas.
All shapes in the Basic category will have one or more green dots: the ones on dialogue bubbles allow you to round up corners and play around with the shape and width of its point, while the one on arrows will let you adjust the thickness of the shaft.
2. Add descriptions for a more accessible Freeform file
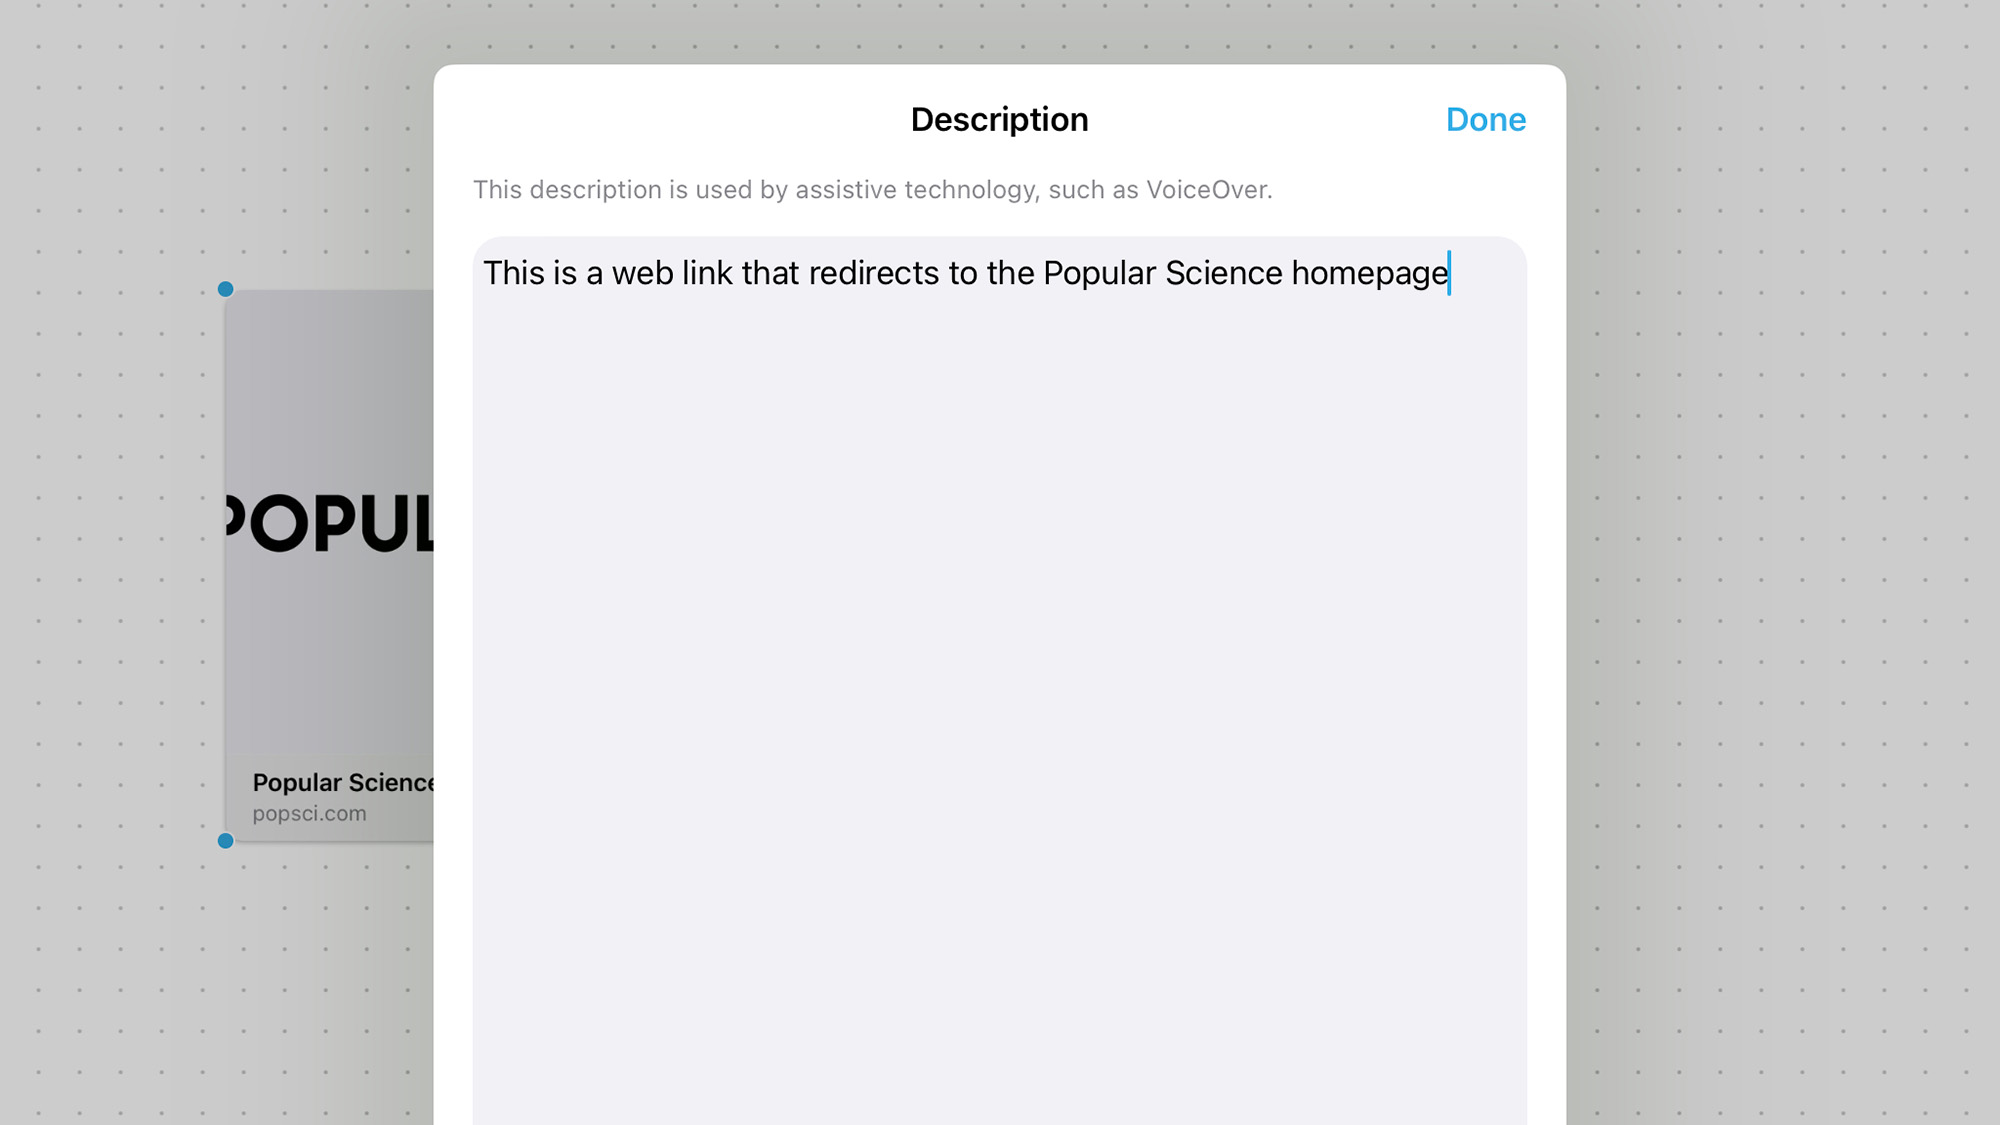
To make your Freeform canvas more accessible, you can write descriptions for each item you add to it. This allows Apple’s VoiceOver to help people with visual impairments navigate Freeform documents by using Siri to describe what’s on the screen.
To create a description, tap on any element on your canvas. From the emerging menu, tap the three dots on the right to see more options. Pick Description, and a text box will emerge where you can add details about the selected element. You can do this at any time and can always go back to edit your description as necessary.
3. Break shapes apart

While the elements in the Basic category are the most customizable, the “break apart” function will let you play around with shapes in other categories as well.
As you might imagine, this option lets you treat each piece of a shape independently, so you can color, resize, reshape, and relocate them around your canvas. This feature is not available for all shapes though—you’ll only find it associated with objects made from multiple, smaller pieces.
To use it, pick a breakable shape. The Geometry category, for example, has a bunch of fun ones you can choose from. Insert the element into your canvas, tap it, go to the three-dot menu, and choose Break Apart. Immediately, Freeform will give each piece of the shape its own customizable features. Notice that once you tap the option, all the pieces will be selected, so trying to move one will move all of them. Deselect everything by tapping on blank space, then tap a piece individually to work on it. As with any shape, you can tug the corners of the selected piece to resize it and tap on it to summon a menu that will let you add an outline, change its color, and even add text on top of it.
4. Use Freeform in Split View
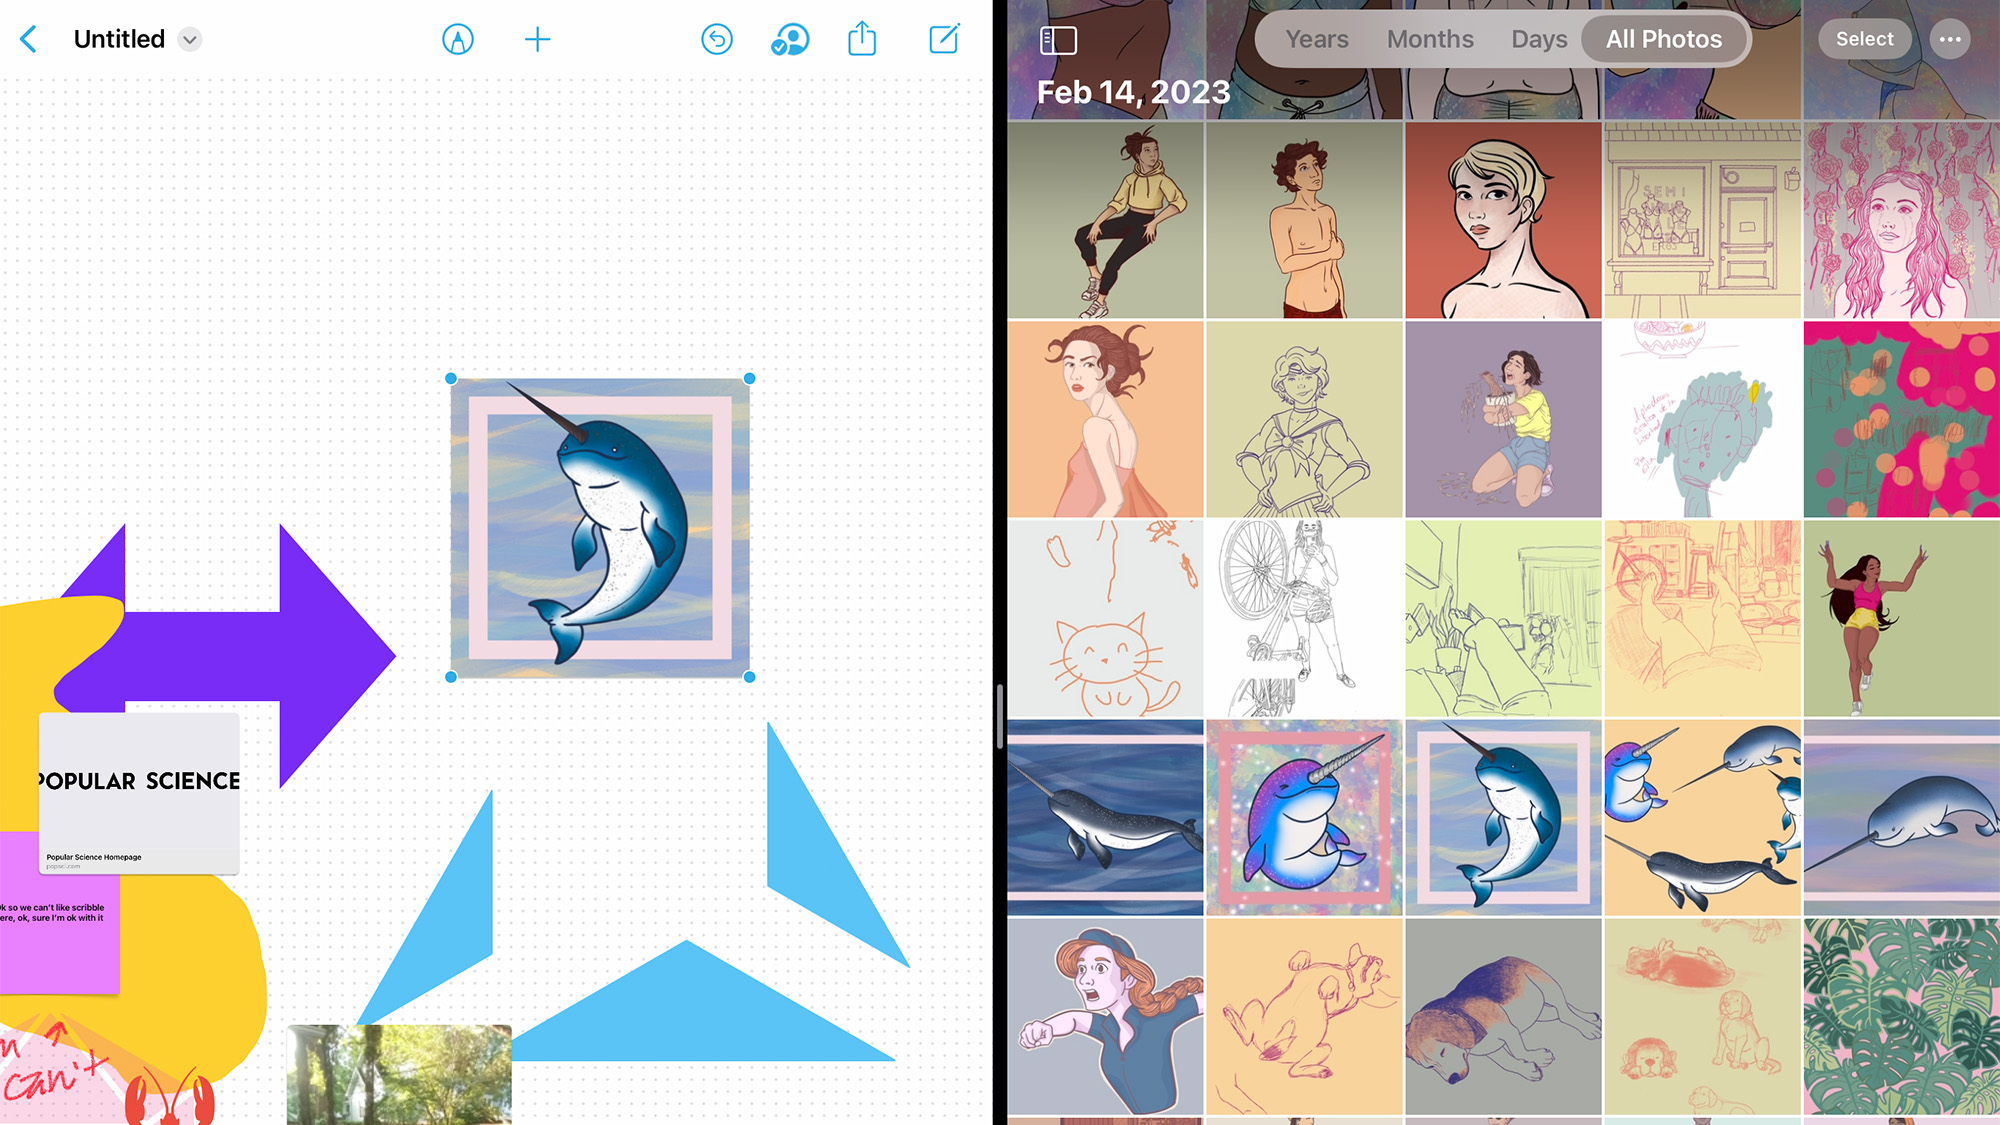
Apple introduced Split View for iPadOS in 2015, and four years later expanded support for it to macOS. The feature allows you to use two apps at once, and if both are native to the company’s ecosystem, you can seamlessly drag elements from one to the other.
Using Freeform in tandem with Apple’s Photo app, for example, allows you to insert images and videos from your local storage. To open Split View on an iPad, open Freeform and tap the three dots at the very top of the screen and choose Split View from the emerging menu. On a Mac computer, open Freeform and hover over the green button in the top left corner of the window. Then, from the emerging menu, choose either Tile window to the left of screen or Tile window to the right of screen, depending on what you want. On both operating systems, your screen will unsurprisingly split in two, and on the second half you’ll see your desktop (macOS) or your home screen (iPadOS), where you’ll be able to choose the Photos app.
From there, you can use the grid view on Photos to choose whatever item you want to use in Freeform and just drag it into place. As you’d expect, you’ll be able to reposition and resize it however you want. Opening other native Apple programs will give you similar options. For example, open Notes and you’ll be able to select text or images and drag them into Freeform.
5. Select multiple elements at once
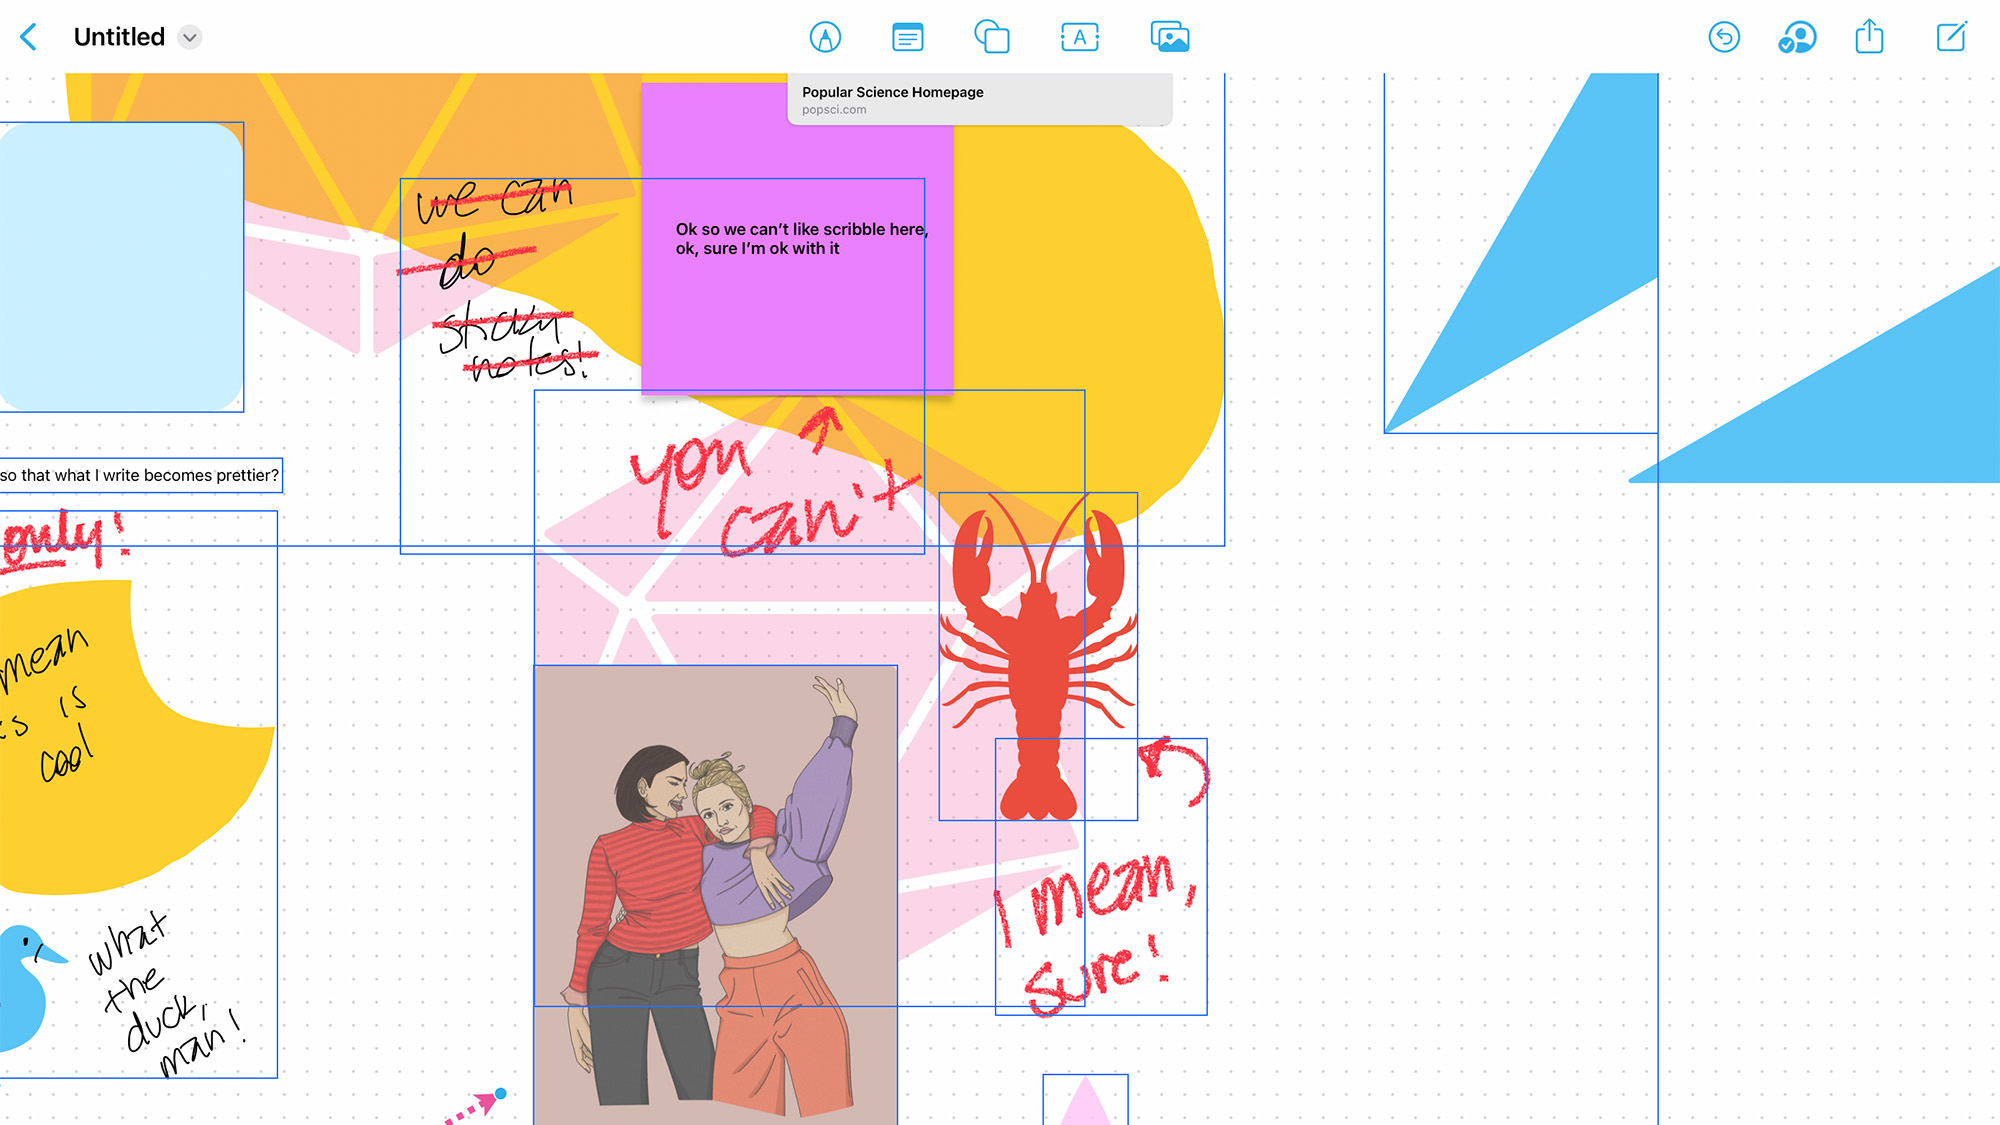
Your Freeform canvas will likely get pretty busy pretty quickly. With all the shapes and color options you get, plus anything you scribble on your iPad with the Apple Pencil, being able to edit elements in bulk can make your work a lot easier.
[Related: Which iPhone 14 should you pick for your next upgrade?]
To do this, tap and hold on an item, then use your free hand to select other elements. Once you’re done, let go of your selection and tap it again to see what you can do with it. Tap the three-dot menu and go to Select Objects to add more elements to the group—this comes in handy if you realize you forgot something and you’ve already let go of your selection. Just tap on anything you want to add and finish by touching Done.
