
Burgers: check. Hotdogs: check. Beers: check. Fresca: sure, why not? You’ve got everything ready for your big BBQ. But are YOU ready? No pressure, but you can’t blame the steak if it comes out tasting like a hockey puck. Better read up a little, and make sure you’re getting the best possible food out of that grill. We got you:
1. Dry your meat
Whether you’re cooking steaks, chops, chicken, or fish, the drier your meat’s surface, the better it will crisp up. “Until all the water on your meat’s surface is evaporated, you can’t brown it,” says Chef Lord of the Internet J. Kenji Lopez-Alt. That’s because in order to activate the Maillard reaction (which causes that delicious nutty brownness) you need to raise the surface temperature of the meat—and water will get in the way by hijacking all the energy you’re directing there. “It takes about five times more energy to evaporate a gram water from the surface than it does to bring that gram of water from 0 degrees to 100 degrees celsius,” Lopez-Alt says. The quick solution is to carefully blot your protein dry; if you want to do it right, though, Lopez-Alt, who won a James Beard award for his cookbook The Food Lab: Better Home Cooking Through Science, recommends leaving your meat on a rack (like this one) in the fridge, uncovered, overnight.
2. Medium-rare is a number, not a feeling
You know those chefs who can tell how done a steak is by feel? Yeah, they can’t. If you cooked the exact same piece of meat the same way every day, you might be able to develop a feel for your desired doneness, but every piece of meat is a little different from the one that graced your grill before. “Medium-rare is 125 to 130 degrees [Fahrenheit],” says Meathead Goldwyn, founder of the truly awesome amazingribs.com and author of the New York Times Bestseller Meathead: The Science of Great Barbecue and Grilling. “Steak is too expensive and delicious to overcook,” he says. “And more importantly, you don’t want to spend the 4th of July in the emergency room,” so get a good instant-read thermometer, and remember to bring your chicken up to 165 degrees.
3. Flip it (And flip it good)
The old myth that you should set your meat on the grill and leave it alone is exactly that: a myth. For optimum crispybrowndeliciousness, flip the object of your grilling attention constantly. “The more you flip it, the more you’re approximating cooking it with moderate heat on all sides,” says Lopez-Alt. This cooks your food more evenly, and, even though you’re basically simulating cooking at a lower temperature, it’ll cook faster, too—about 30% faster, according to Lopez-Alt’s testing.

4. Set up a two-zone grill
You have made fire; now make your hominid ancestors proud and use it properly. “There are three basic types of heat on your grill,” says Goldwyn. “There’s conduction—when hot metal comes in contact with your food; radiant, which is direct infrared radiation from the charcoal or the gas flame; and finally, there is convection heat, which is warm air circulating.” You are probably not using convection very well, but it’s a powerful tool. To set up a grill in two zones, concentrate all the heat on one side, either with a big pile of coals or just by not turning on all of the burners. (Who knew that was possible!) That way, you can gently bring your food up to temperature via convection on the cooler side, and finish it quickly on the hot hot side with all that conduction and radiant goodness. Paired with a thermometer, this method produces the juiciest, bestest grill goodies.
5. Know when and how to use salt
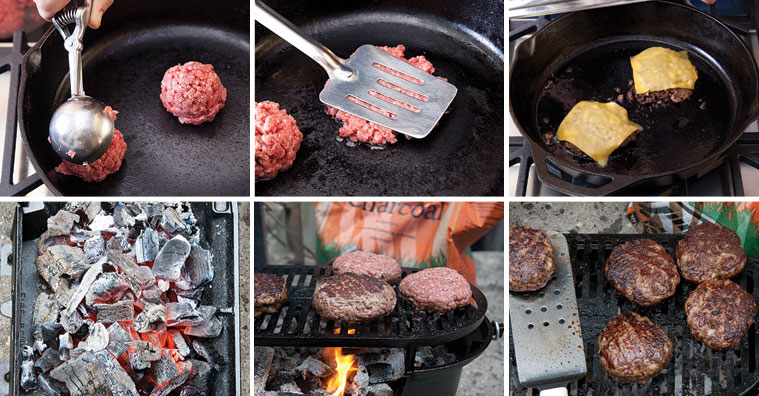
If you’re cooking chicken or pork, do everyone at the table a big favor and brine it beforehand. Lopez-alt has an exhaustive guide to brining over at Serious Eats, but let’s talk about hamburgers for a minute. Griddle me this: What is the difference between a hamburger and a beef sausage patty? Answer: when and how you salt it. If you knead salt into your burger before you form the patties, “some proteins inside will dissolve and cross-link,” Lopez-Alt explains. This creates that super firm consistency we associate with a sausage. “To me, a burger should be loose, almost falling apart as you eat it,” he says. If you agree, add salt to your burgers after you form the patties. And if fally-aparty burgers bother you, you can always hold them together with American cheese like a true patriot.
6. Clean your grill!
Anyone ever tell you that they don’t clean their grill because it adds flavor? “If you leave your grill greasy, you’re going to flavor your food with grease smoke,” says Goldwyn. Gross. Russ Faulk, Chief Designer and Head of Product at Kalamazoo Outdoor Gourmet—a company who makes incredibly high-end grills— agrees: “Oh hell no,” he says. Faulk emphasizes that you can’t just run a wire brush over the top of your grill grate; you have to clean the underside as well, or crusted-on gunk will drip down into the flames. And if you don’t do this, you can get…
Maiden cook on the #webersummitcharcoal
68 Likes, 3 Comments – Joe Brown (@joemfbrown) on Instagram: “Maiden cook on the #webersummitcharcoal”
6a. Impingement. Beware Impingement!
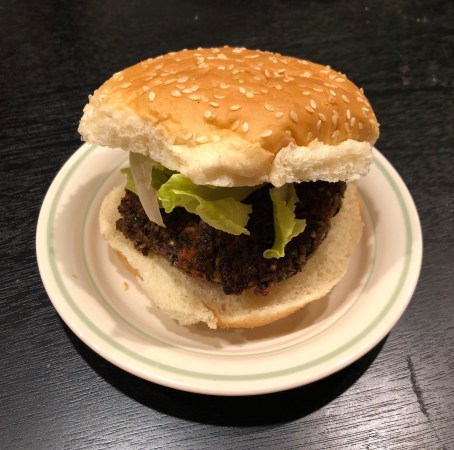
“Impigement happens when an open flame touches something before combustion is complete,” says Faulk. Who cares? You cares: When you get a flare-up from dripping grease or oil, and the tip of that flame touches your food, it leaves soot behind. (See above, where I was trying to brag about my grill-skills but instead showed how much I have to learn.) Even if you have a lovely brown crust developed, the flame will make your gorgeously grilled meat taste like coal dust. (If that’s your jam, pour grease on your fire and let just the tip of it paint your grillables with soot.)
7. Assume that your grill’s thermometer sucks
The temperature gauge mounted in the lid of your grill is not something you should rely on. “That thermometer is six to eight inches above your food,” says Goldwyn. “If you’re going to eat the dome, that’s ok, but if you’re going to eat the meat, you want a thermometer at its same level.” You can buy a thermometer that clips into the grill grates and takes a temperature there, but you can also hack one together out of aluminum foil and a regular leave-in thermometer. (Caution! Not all leave-in thermometers are designed to handle high heats like a grill kicks out. I have melted several.) If you’re using this method, make sure the tip of the probe extends out beyond the foil, so it’s actually measuring the air temperature.
8. Close the lid. Don’t close the lid.
The lid of the grill can actually have drastically different effects depending on the fuel you’re using. “When you’re cooking with charcoal, leaving the lid up will make a hotter flame,” says Lopez-Alt. Makes sense: More oxygen = more fire. “So when I’m searing over charcoal, I generally leave the lid off.” Gas grills are different: “They’re designed to burn efficiently even when the lid is closed,” so Lopez-Alt will shut the lid on a gas grill when searing because it boosts the temperature inside and doesn’t dampen the flame.
9. Grilling over charcoal is objectively, scientifically better than grilling over gas.
This is a settled fact, as incontrovertible as the shape of the Earth (round).


