Woodworking sometimes feels like it’s as much about collecting tools as it is about creating something beautiful and functional. However, “tools” aren’t all expensive table saws and fancy router bits. Many everyday household items can make your woodworking projects easier, cleaner, or faster, and there’s nothing more satisfying than figuring out how to solve a problem with a completely unexpected tool.
Rubber cabinet liner
Keeping wood still while you work can be an annoying challenge. Some projects are too small to clamp, and other times clamps get in the way. That’s where rubber cabinet liners come in, providing a grippy surface that will keep wood in place for sanding or routing.
Lay the cabinet liner on your workbench, place the wood on top, and start working. Depending on how heavy the piece is, you may need to hold it in place with your forearm or free hand, but it should mostly stay put. If the liner slides a bit, try wrapping it around a medium-sized scrap of plywood, around 20 by 12 inches, using staples to fasten it. This creates a secure surface you can then clamp down.
These liners are also a good cushion for near-finished pieces to rest on so they don’t get scratched.
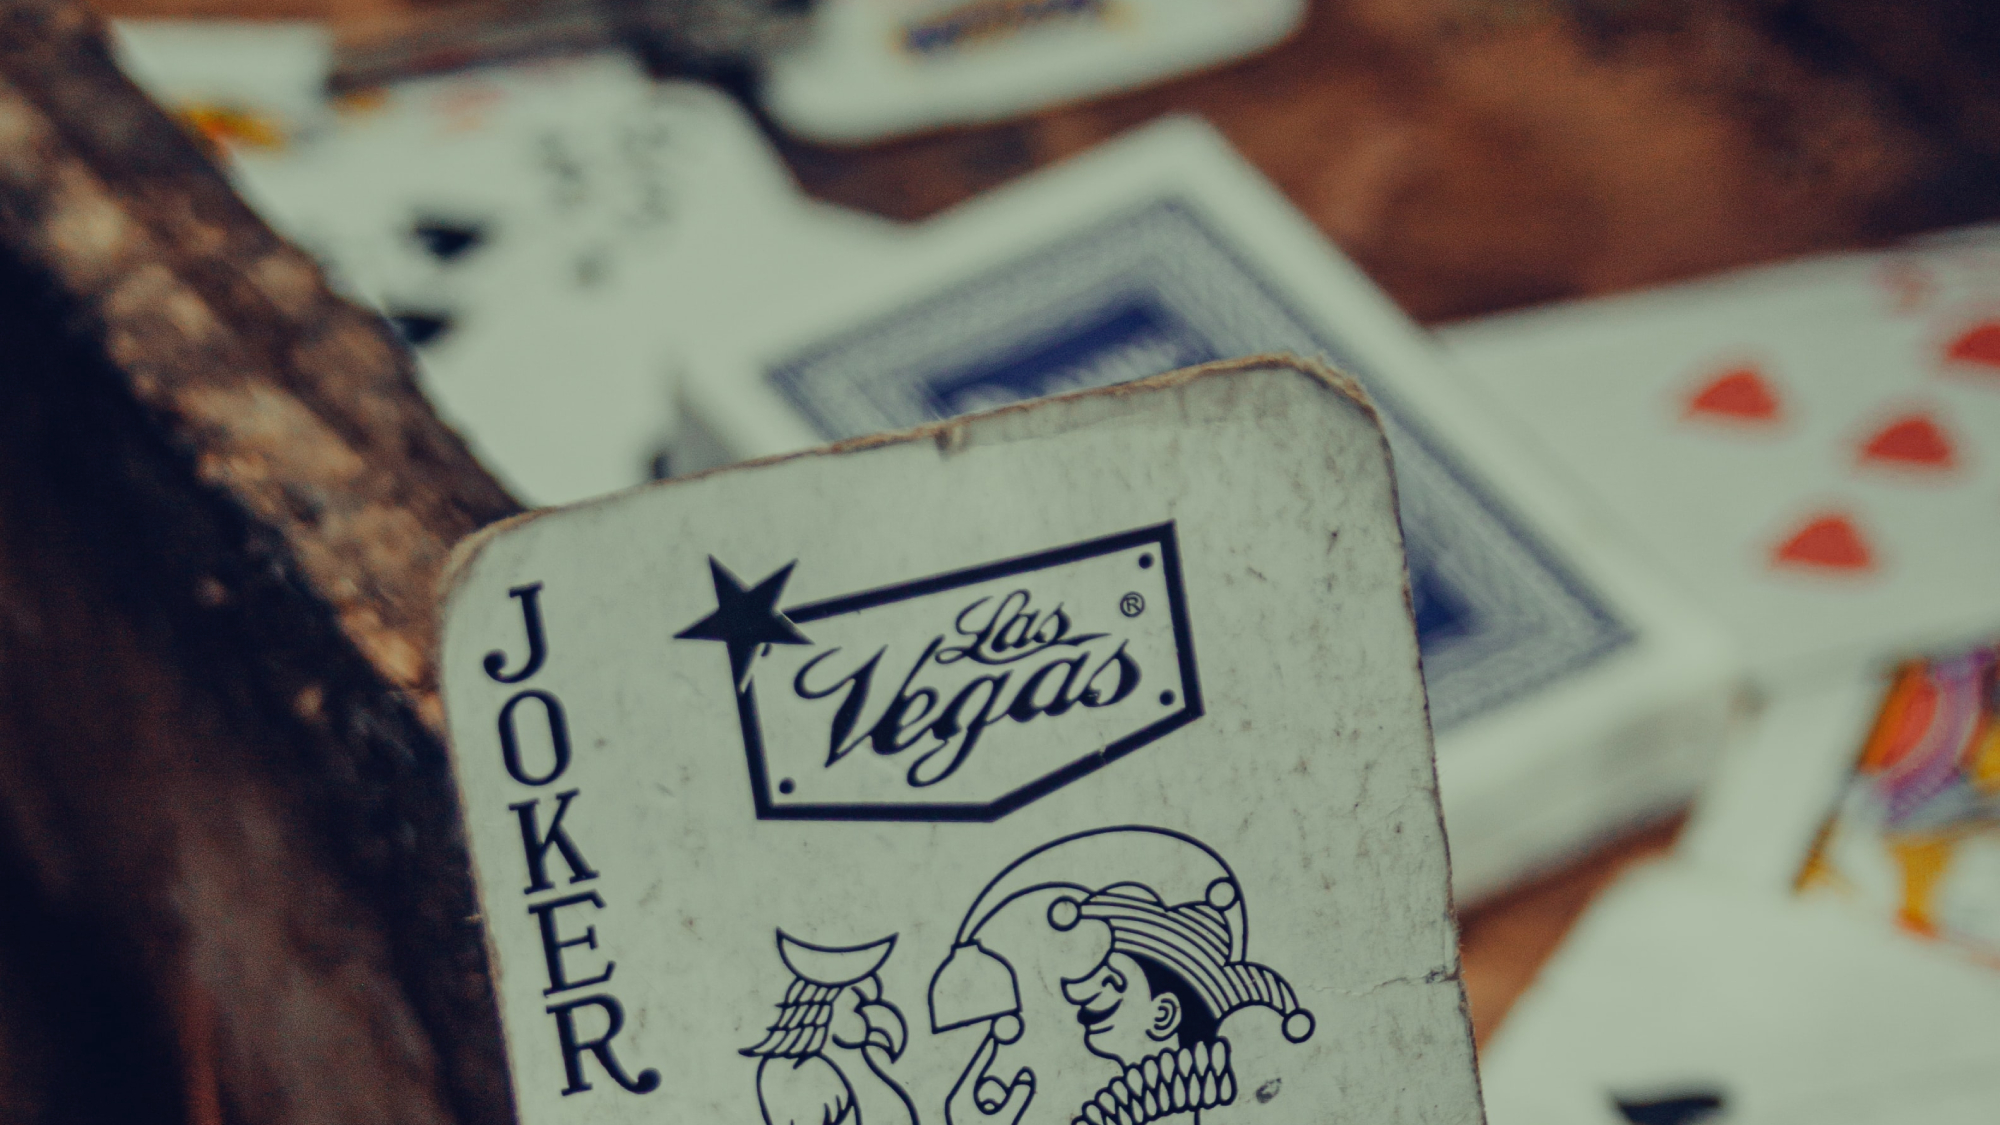
Playing cards
Consistent spacing between elements is often the difference between a piece that looks good and one that feels uncomfortably… off. This is particularly noticeable on doors or drawer faces—aesthetically you usually want equal space on all sides. Playing cards make excellent shims for this purpose, as they’re thin enough that you can make minuscule adjustments by stacking cards until you get the exact spacing you want. Keeping an old deck on hand will make the precision we’re all looking for easier to achieve.
Plus, you’ll have something to play with while you’re waiting for the glue to dry.
Silicone utensils
Silicone baking utensils are perfect for spreading glue, because nothing sticks to them. Cleanup is easy and fast: the glue wipes right off with a paper towel. If the glue has dried, flex the spatula back and forth a few times and the caked-on adhesive will crack and fall away.
I keep several sizes on hand for gluing different widths of wood. They get in tight to the nooks and crannies of projects, and spread the glue smoothly and evenly. Just make sure they don’t somehow end up back in the kitchen.
[Related: Get your scratched wooden cutting board looking bright and new]
Old IDs and credit cards are also great for spreading epoxy and wood putty, so don’t feel the need to buy a brand new set of spatulas just to slather them with glue.
Paper bags
Obviously, paper bags are good for storage—I keep my shop rags in one. But they are surprisingly useful as a finishing tool for polyurethane, which is my go-to finish on most projects. Tear off a piece of paper bag about as big as your hand and rub it over the final polyurethaned surface. The paper will knock down bumps, nubs, and brush marks without scratching the surface like sandpaper would. You’re left with a perfectly smooth finish, every time.
Old jars and condiment containers
If you’re like me, you’ve got memories of countless coffee cans and peanut butter jars holding nuts, bolts, screws, nails, and an assorted mishmash of other hardware in your grandfather’s workshop. This is, of course, an excellent way to upcycle containers, though most people already know about it.
What might be less common knowledge is that mustard and ketchup squeeze bottles make excellent glue bottles, after being thoroughly cleaned, of course. Just make sure to keep the opening clear of dried glue by sliding a nail in there when you’re not using it.
Compressed air
That can of compressed air that you use to blow the dust, cat hair, and cracker crumbs out of your computer keyboard is also an excellent way to blow the dust off of a project before applying stain or finish. An air compressor is better for large projects, but not everyone has one, or wants to go through the effort of setting it up just to knock the dust off of something small. That’s when I turn to a can of compressed air. Quick and easy.
Painter’s tape
Admittedly, it’s not weird to have painter’s tape in a woodshop. However, there are so many more uses for the stuff than simply covering parts of your project while painting.
First and foremost, painter’s tape can make it easier to clean glue out of a freshly fastened corner—you just have to plan ahead. If you tape along the edges of a seam or joint before you put the wood together, the glue will squeeze out onto the tape instead of the wood. Then you can just peel the tape up to remove the excess glue. Do this while the glue is still wet—if you let it dry, the tape will just get stuck under dried glue and you’ll have to chisel it out anyway.
[Related: Adam Savage’s definitive guide to every kind of glue]
Painter’s tape can also serve as a clamp replacement for small or oddly-shaped projects—this is great for boxes with mitered corners, for example. Because the tape stretches slightly, you can achieve decent clamping pressure with it. Just make sure you really pull on the tape as you wrap it around your project to get the most pressure on the joint as the glue dries.
A final use for painter’s tape is to temporarily connect two pieces of wood face to face. Stick a piece of tape on one board, and another on the second board so the two pieces of tape will touch when you put the boards together. Apply a few dabs of cyanoacrylate (CA) glue to one piece of tape and spray the activator onto the other. When you sandwich the two boards together, making sure the tape touches, the glue will bond and harden, holding the boards in place. When you’re done working, just pull the boards apart. The CA glue will hold firm and the two pieces of tape will stick together, but the tape adhesive itself should peel right off, leaving little to no residue and no hardened CA glue for you to chisel or sand off. If you don’t have painter’s tape or CA glue, you can also use double-sided tape the same way. Using tape to hold boards together is an effective strategy if you’re flush routing two boards, building a temporary tapering jig for your table saw, or trying to hold a spacer in place without screws.
