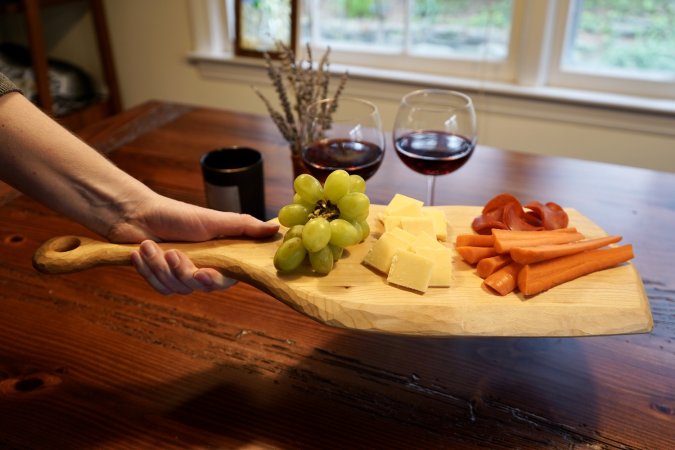

A wooden cutting board is a functional, eye-catching part of any kitchen, but it’s also one of the culinary tools that shows the most signs of wear. Every time you use it, your knife scratches and gashes the surface, gradually diminishing the beauty of the wood. Even worse, miniscule pieces of food can get trapped in those cuts, making it harder and harder to wash.
Fortunately, removing those gouges and restoring the wood’s original luster is a fast, easy project that anyone can handle. When you’re done, your cutting board will look as great as the day you got it—maybe even better.
Stats
- Time: less than 1 hour (not including drying time)
- Material cost: $10 to $20
- Difficulty: Easy
Materials
Tools
- Orbital sander
- Sanding discs (80-, 120-, 150-, and 220-grit)
- Lint-free rags
- Anti-slip mat
- Face mask
- Tack cloth
Instructions

1. Prepare your work area. No matter how careful you are, sanding creates a lot of dust. Make sure you’re working somewhere that can get dirty: a basement, a garage, or even outside.
Rather than clamping or holding the cutting board by hand, I like to sand atop an anti-slip mat to avoid working around and repositioning clamps. Cabinet liners work great. Lay the mat flat on your work table, and make sure there is nothing beneath the mat that could scratch or damage your board, like splinters of wood or screws.
2. Start sanding. Slap an 80-grit disc on your sander and focus on the scuffed and damaged parts of the board. The coarse grit should chew through the scratches and knife marks in just a few minutes. Keep the sander moving across the entire cutting board so you don’t create an uneven surface. Make sure you remove every blemish with the 80-grit paper—higher grits likely won’t eliminate them.
If your board also has scratches, scores, or chips on its sides and bottom, you can hit those spots too. If not, though, there’s no need to touch the undamaged parts of the wood.
- Warning: Always wear a face mask when sanding. Breathing sawdust can lead to health problems such as congestion, sneezing, coughing, irritated airways, and even cancer.
- Note: You can sand by hand with regular sandpaper and a sanding block using the exact same process, but it’s a lot more work. Get an orbital sander. Your wrists will thank you.
3. Work through the other sandpaper grits. Once you’ve removed the knife marks, proceed through the remaining grits: 120, 150, then 220. The goal here is not to remove any knife marks—there should be none left after the previous step—but to eliminate the whorls and roughness left behind by the grit before. Depending on the size of your board, sanding with each grit should take less than five minutes.
- Pro tip: If your board has a juice groove, wrap some sandpaper around a wooden dowel that’s close to the diameter of the channel. This will keep your fingers from getting exhausted and preserve the shape of the trough.
- Note: Unless there’s a defect that needs to be removed, I only sand the sides and bottom of the board with 150- and 220-grit sandpaper.
4. Spray the board with water. When wood gets wet (as your board will when you wash it), the fibers absorb water and swell. This will make it feel rough, even if you’ve sanded it perfectly. To avoid this and keep a smooth finish on the board, you’ll need to go through a process called “raising the grain.”
[Related: Your home build projects are only as good as the lumber you choose]
After the 220-grit sanding, spritz the cutting board and let it dry. It should feel rougher than when you finished sanding. Once the wood is dry, lightly hand-sand the entire board again with 220-grit paper. This will knock down that raised grain and leave a polished finish, even after the board gets wet again.
5. Rinse all the sawdust off the board. Get the wood as clean as you can. I usually rinse mine under a sink faucet and let it dry overnight. Doing this gives you a chance to test your grain—if it’s still rough after you rinse it, repeat Step 4.
If you can’t wait for the board to dry again, you can use rags and a tack cloth to wipe away the residual sawdust.
6. Apply butcher block conditioner. Butcher block conditioner is a food-safe mixture of mineral oil and wax. I personally use Howard’s, because it’s readily available in my area, but any brand should be fine. In addition to making the colors of your wood pop, this mixture will protect the wood, keeping it from drying out and cracking.
To apply, squeeze a quarter-sized dollop onto the board and rub it into all surfaces of the wood with a lint-free rag (an old cotton T-shirt also works well for this). Add more as needed. You don’t want the conditioner to puddle on the board, but you do want the surface to look and feel wet. Let the board absorb the conditioner for 15 to 20 minutes, then wipe away any excess. Usually, one coat on a well-maintained board is sufficient, but consider applying a second, thinner coat if it hasn’t been oiled in a long time.
- Pro tip: It’s actually best to re-oil your wooden cutting boards every month or so to keep them in top shape, even if you don’t sand them.
7. Let the board dry and get chopping. Once the wood is dry, it’s ready for use. Don’t be afraid to mark it up as you create culinary masterpieces in the kitchen, because every time you refinish a board, you only get faster.
