Ever since I got a phone with wireless charging, it’s been hard to go back. Plugging my phone into the wall feels time-consuming and archaic, and with rumors of a port-less iPhone on the horizon, it’s clear that wireless charging is here to stay. It’s too bad those little circular pads are so ugly.
While there are chargers that disguise themselves as regular decor (like lamps or picture frames), I wanted something even more invisible. So I grabbed the end table next to my couch, carved a hole in the underside, and glued in a wireless charger. Now I can juice up just by plopping my phone on the table.
Stats
- Time: 3 hours
- Material cost: $50 (not including the table)
- Difficulty: easy
Materials
Tools
- A chisel and mallet
- A hot glue gun
- Pencil
- Tape measure
- (Optional) a woodworking router
Before you start

1. Choose a table. Obviously, you’ll need a surface to convert to a wireless charger. I used this end table I had in my office, since it was cheap enough that I didn’t have to worry about ruining it if I messed up. You can use any table you have on hand, though I wouldn’t necessarily do this with a valuable family heirloom. Alternatively, you could build your own table or computer desk and integrate these steps into the process.
2. Select a wireless charger. I’m using an inexpensive charging pad from Anker with a QC 3.0 adapter for fast charging, plus an extra-long cable to reach the outlet a few feet away—but any charging pad should do the job, as long as it still works if there’s a few millimeters of space between the pad and the phone. Aukey even has one with multiple coils, so you don’t have to hit a specific “sweet spot” for your device to charge (though I haven’t tested that pad myself).
3. Plan your pad placement. Put your table in its home—mine’s next to the couch in my office—and think about where you want to put your phone for charging. For me, it was the corner closest to the couch, though you may want it a bit more out of the way if you want room for drinks or other knickknacks. Figure out where that spot is on the other side of the tabletop, and trace the outline of your charging pad—be sure to include some room for the charging cable’s micro-USB end, too.

Carve your housing
I recommend doing this outside or in the garage, since you will be making a little bit of a mess (even if you aren’t using power tools). The exact steps for this project will vary a bit, depending on your table’s construction and the tools you have available. Get your tools ready—it’s time to start carving.
4. See what your table is made of. Head out to your workspace and put something soft down so your table doesn’t scratch against the ground. Then flip your table over, grab your chisel, and hammer it into the underside just a little bit, prying it up to see what’s inside. This is how I discovered that my table, like many inexpensive tables, was made of extremely cheap particle board—almost like cardboard—that came apart pretty easily. Some tables are nothing but honeycomb cardboard inside, which would make this project incredibly simple.
- Note: If your table is real wood, or you’d rather use a power tool than some elbow grease, you can use a router in the next step to finish the job in no time. If you aren’t familiar with the tool, there are plenty of YouTube videos that can get you started.
5. Carve a hole for your charging pad. I wasn’t sure how my table’s material would react to power tools, so I stuck with the chisel. When you begin scraping, make sure your off hand isn’t in the line of fire should your chisel slip, and start taking off just a little bit at a time from inside the area you traced in Step 3.
- Tip: If you haven’t used a chisel before, there are a ton of great videos on proper technique, but I really like this one, which shows all the different ways it can be used to dig a big hole in a piece of wood. That said, I was working with cheap, crumbly particle board, so I didn’t need my mallet much, nor did I need it to look super pretty. No one’s going to see the underside of my table anyway.

6. Test fit, and keep carving if necessary. Once you get deep enough, see if your charging pad fits flush in the hole—you may find you need to take a bit more off the sides. Again, it doesn’t have to look perfect. If your table is anything like mine, it’ll be pretty difficult to get a clean edge, so just make it functional.
- Tip: To stay clean, vacuum up the dust and shavings as you go with a shop-vac.

7. See if your phone charges. Once you start feeling like you’ve chiseled through to the other side of the table, hold your charging pad in the hole, plug it into the wall, and see if your phone will charge through the surface. If it doesn’t, you’ll need to go a little deeper. Keep checking its charging ability as you go, and be careful—if you punch a hole through the table, it’s all over!
8. Glue the charging pad in place. Once your phone can charge reliably through the table, spread some hot glue around the edges of the hollow and press the charging pad in place. Do this quickly, as hot glue sets within seconds. When it’s done, flip your table back over. It won’t look any different than when you started, but now it has some secret superpowers.
- Note: There are a few ways to attach your charging pad to the underside of your table, but I went with hot glue—it’s easy and strong while remaining removable if you have to adjust things.

Tidy up and plug in
With your table all finished, put it back inside and plug it in—you now have a table with built-in wireless charging.
There are a few other things I recommend at this stage. First, grab a few zip-ties or cable clips to route your charging cord under the table and down one of the legs—the better you can hide this, the more impressive the final product will look. I was able to get the cable running down the back leg and under the couch for a barely-visible tether.
You’ll also want something on the surface of the table to denote where the charging pad is, since your phone needs to be right on the center “sweet spot” in order to charge. You have a few options here: you can mark the edges of where your phone should lie, or mark the center of the charging pad. The former makes it easier to “aim” your phone as you place it down, but the latter looks a bit cleaner, so that’s what I went with. I put this fun little Space Invaders decal on my table, but you can do anything—a little carving, a spot of clear nail polish, or a little cross cut out of electrical tape.

If you want to get really nerdy, you could even use a small Wi-Fi QR code, so your friends can charge their phones and connect to your Wi-Fi in one fell swoop. Just make sure you put it in the right spot—I used a tape measure on the underside of the table to find the center of the charging pad, then used those measurements on top to find the sweet spot for my sticker.
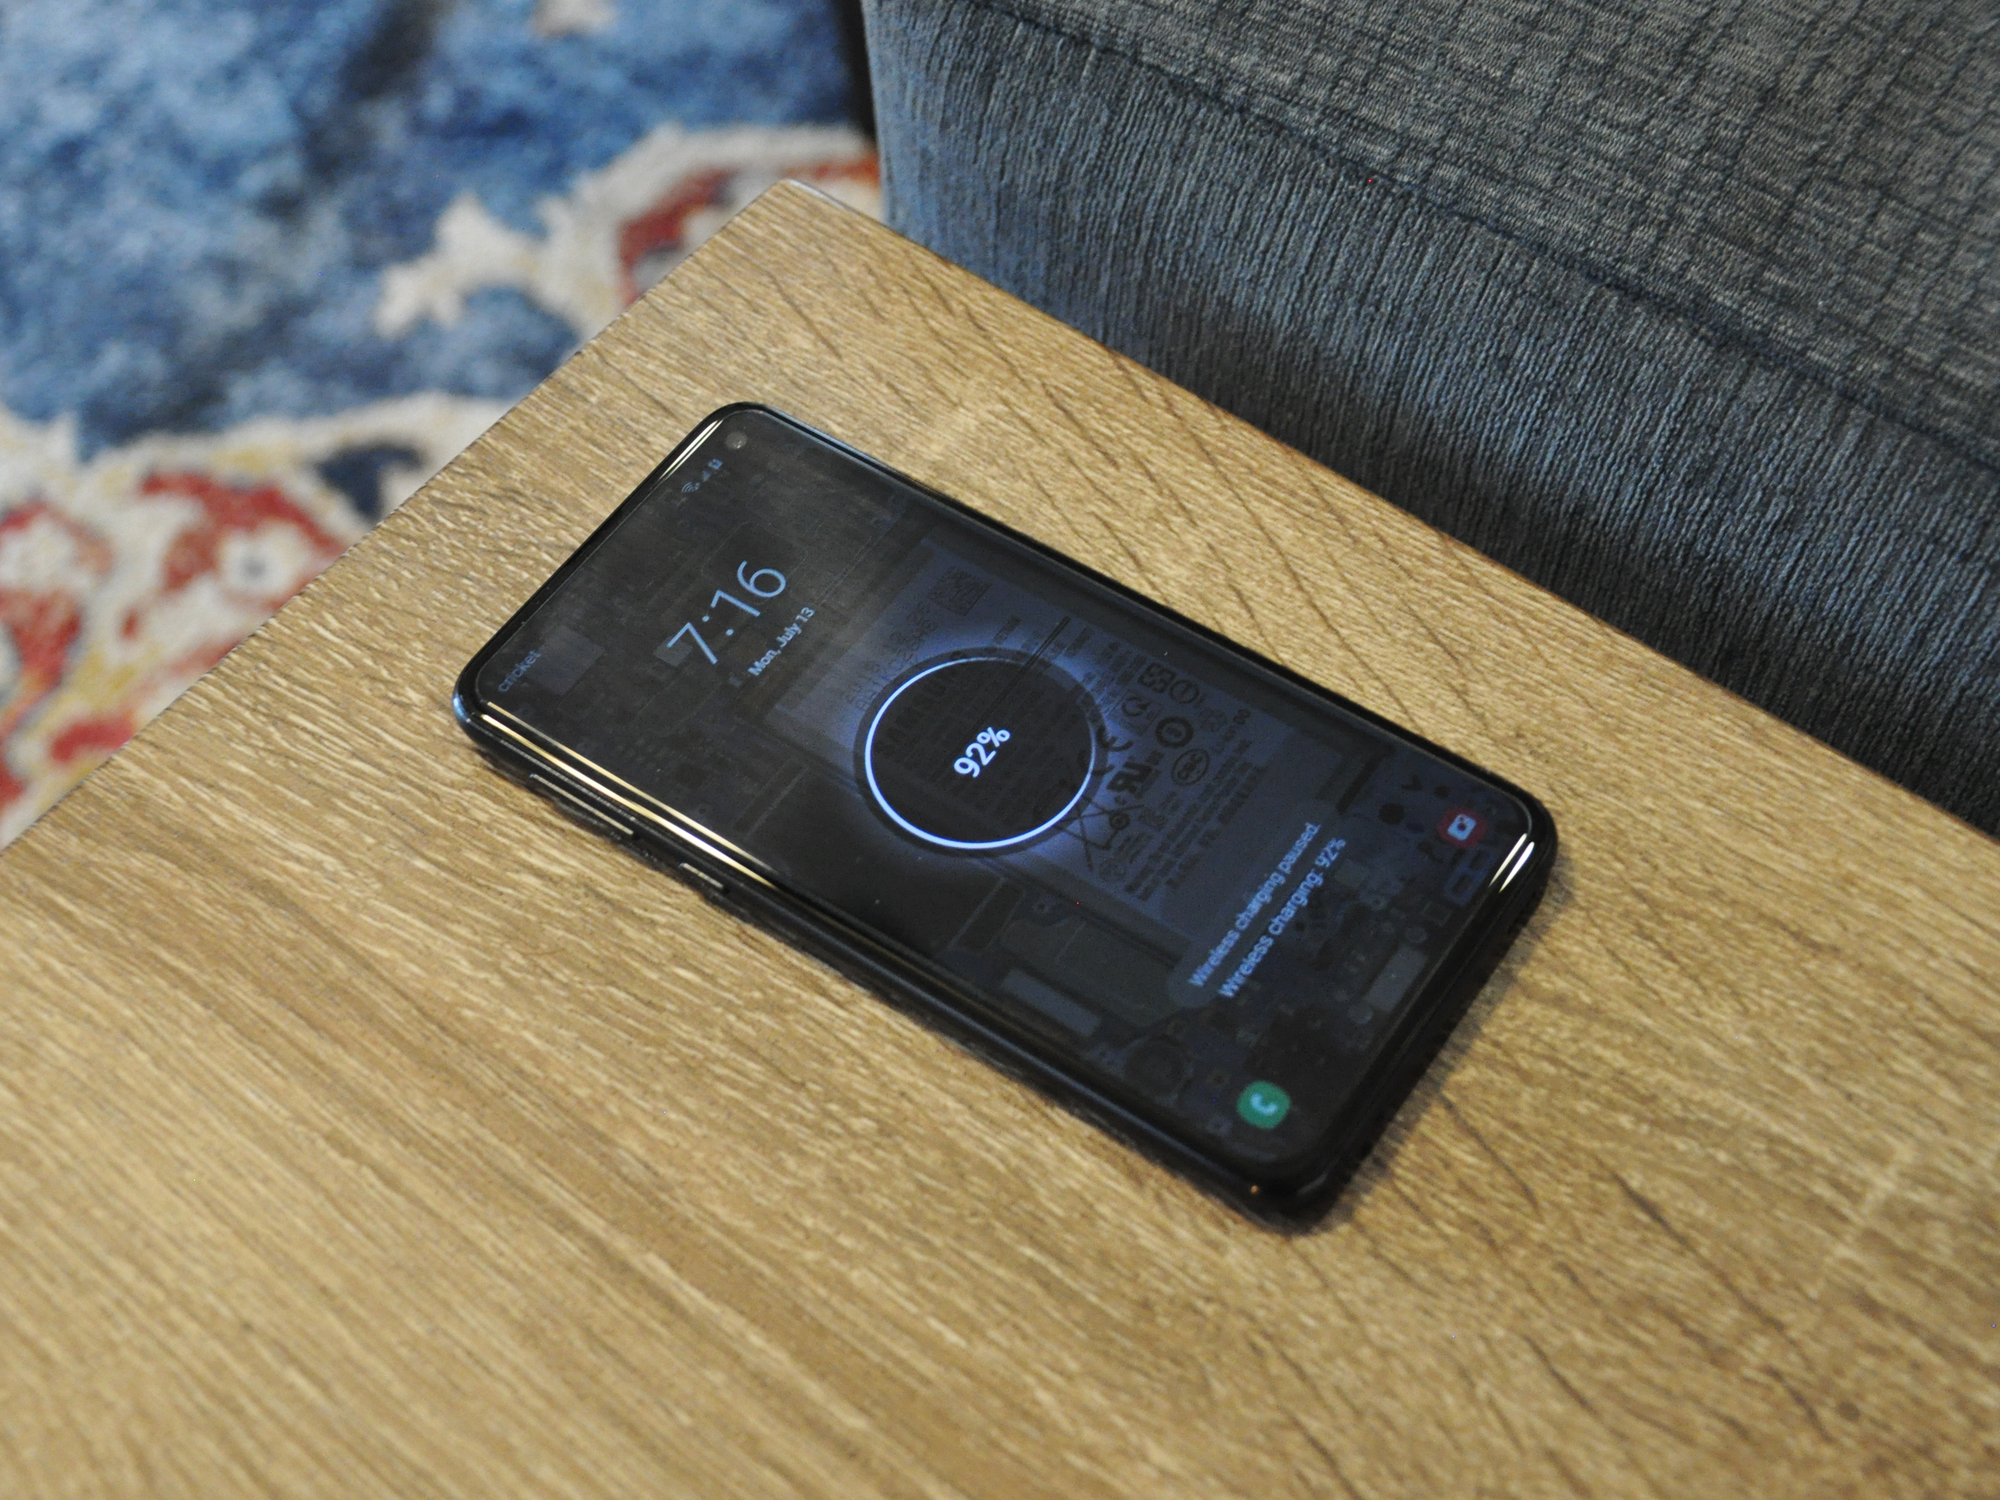
I have to admit, as rough as the underside of my table looks, the finished product looks fantastic in my office, and I get all the convenience of wireless charging without losing space on my table. It even works with a case on my phone, though your mileage may vary with thicker coverings.
