If you’ve got access to a 3D printer, some concrete, and a few days to let it dry, you won’t have to buy flower pots ever again. With a 3D-printed mold, you can create custom vessels that are exactly the size and shape your plants need. Once you have the process down, you’ll be able to cast multiple containers and even design unique homes for a whole garden of potted plants.
Stats
- Time: 1-2 hours working, 4-5 days waiting
- Material Cost: $10
- Difficulty: moderate
Materials
- Concrete
- Water
- 200 grams of clear PLA filament for 3D printers
- XTC-3D print coating
- Petroleum jelly
- 7 binder clips
- Orbital sander (or any vibrating tool)
- Sealer or paint (optional)
Tools
- 3D printer with a print area of at least 150 by 150 by 100 millimeters
- Slicing program (such as Cura)
- Large, sturdy cup or bucket
- Mixing utensil (such as a scrap of wood)
- Strainer (optional)
Download the model, slice, and print the mold
1. Download the model I created—here—either as a combined structure that can be printed as one piece and separated, or in two parts.
2. Slice the model with a program like Cura. Printer settings will vary widely between models, but it’ll eventually come down to a choice between smoothness and how long you want the print to take. Generally, the smoother a print comes out, the longer it took to produce.
3. Print. Once everything is set up correctly, transfer the file, start the print, and wait several hours for it to finish. This waiting process is good practice for when you actually pour the concrete, as you’ll need to leave it alone for several days.

4. Process your mold. If you decided to print the combo version, manually split the mold into inner and outer pieces, cleaning off as much support material as possible. Depending on your printer’s abilities and settings, your print(s) will have ridges that will make it hard to remove your pot from the mold. You could sand (and sand and sand and sand) the surface, but it’s much easier to use a coating like XTC-3D to smooth the surfaces that will touch concrete. Just follow the directions and wipe it on. Once it’s dry, coat the areas you’ve smoothed with a layer of petroleum jelly, which will help the mold slide off after the concrete has cured.
5. Attach the inner and outer section using binder clips. The outer section will be on top of and coaxial with the inner section, and while it doesn’t have to be water-tight, be sure to close the gaps as well as you can.
Mix concrete and pour
6. Mix your concrete. Do so in whatever is handy, following the directions on the bag and scaling the ratio of water to concrete mix according to the amount you’re using (don’t add water until you’ve got a little less than 2 pounds of mix in your container). You’ll want a mixture with the consistency of thick pancake batter. If the amount of water in your initial pour isn’t enough, don’t be afraid to add more. Mix with a scrap piece of wood or something similar to ensure even moisture distribution.
7. (Optional) Use a strainer to filter out any aggregate (bigger stones) in the mix. However, this doesn’t make as big a difference as it would seem (a printable strainer model is available with the mold files).

8. Pour the mixture into your clipped-together mold. If it doesn’t pack in well initially, push lightly with your mixing stick and vibrate the assembly with the handle of an orbital sander or another tool. If you want to get really fancy, you can splurge on a purpose-built vibrating table, but expect this to increase your project budget by a significant amount.
9. Continue vibrating the mold. As you do so, work your way around the outside with your tool. Bubbles will rise to the surface during this process—pop them and smooth the mix out with your stick.
Wait, and wait some more
10. Wait. Certainly the most difficult part of the process is waiting for things to cure. Once you’ve deposited your concrete, wait approximately 24 hours, then unhook the outer mold to expose the outside surface to the air.
11. Wait another 24 hours for your planter to cure further. After this time has passed, turn the inner mold over and grip the outside of the concrete pot securely around its perimeter. Repeatedly knock the assembly’s protruding central printed nub on a solid surface until the concrete portion slides out.
12. Turn the pot right-side up, and—again—wait. This time you’ll need to let it set for around 48 hours. If you’re satisfied with how it looks, you can skip to step 14.
13. (Optional) Finish your pot with a coat of sealant, or apply spray paint. I used one coat of polyurethane waterproofing sealer normally meant for rocks, but actual concrete sealer might do an even better job.
Move your plant into its new digs
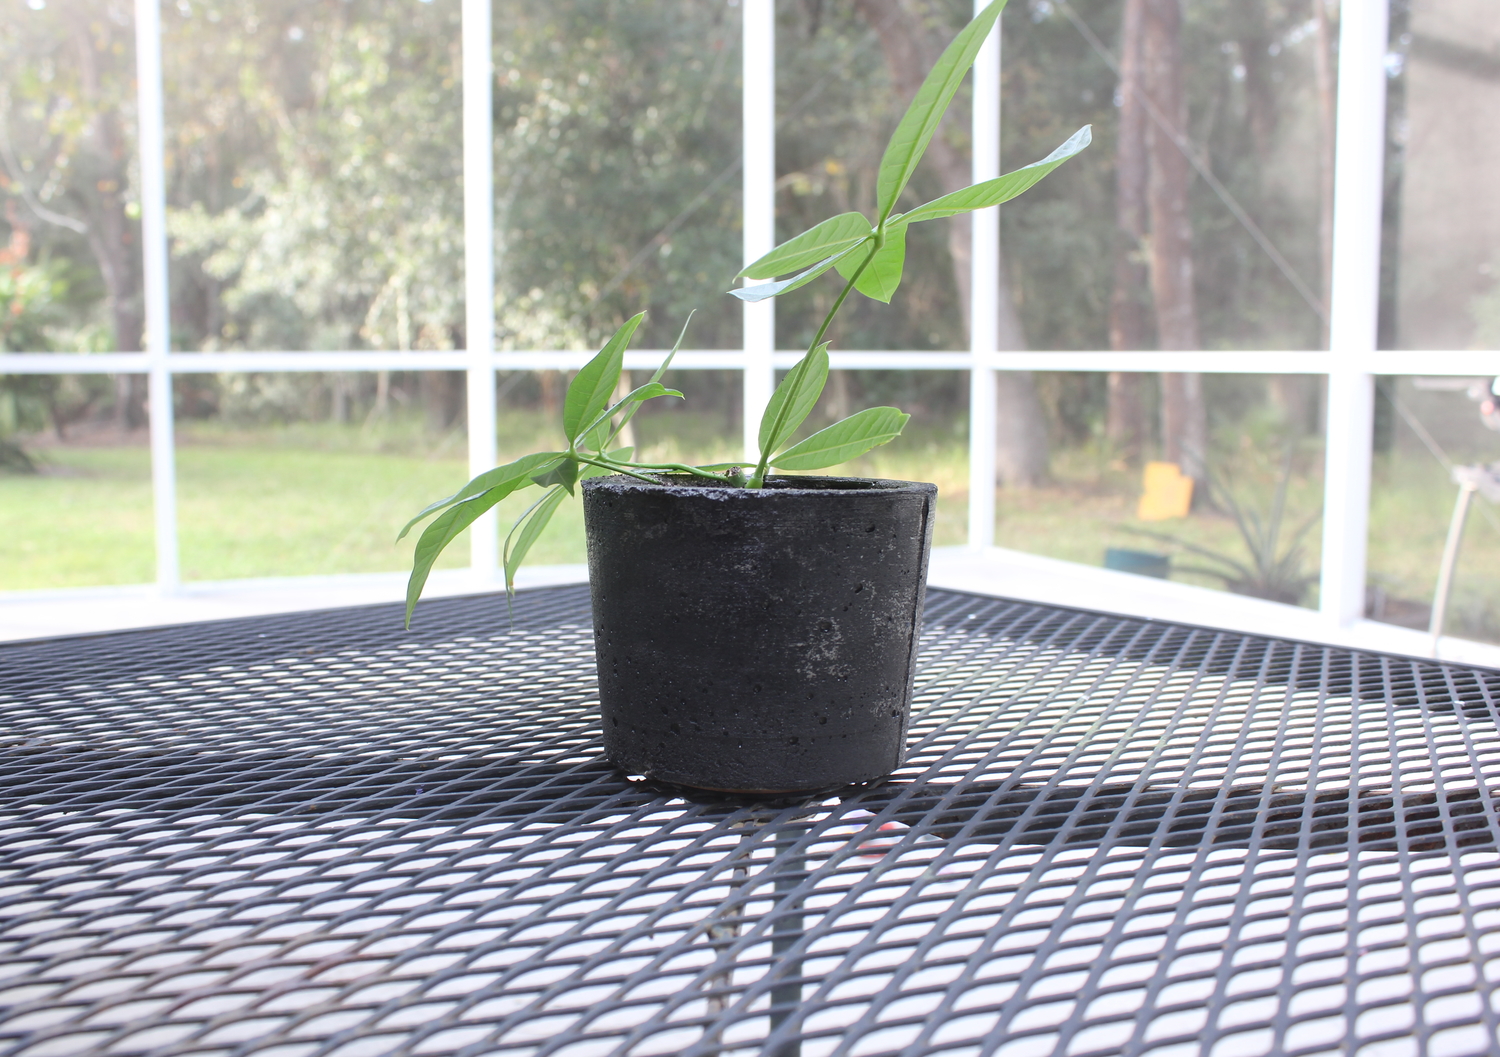
14. Plant. Add dirt, a few rocks, and whatever plant you’ve decided will call it home, and you’ll have an item that will liven up an indoor or outdoor space.
If you want to make another planter, all you need to do is mix up a bit more concrete and pour it in—though the mold will eventually wear out. You can scale the model in your slicer to make larger or smaller planters if you so desire, and once you have this technique down, there’s no reason you can’t design your own. Just remember to keep the sides smooth, and to angle the walls like a traditional pot so your cured concrete can escape.
