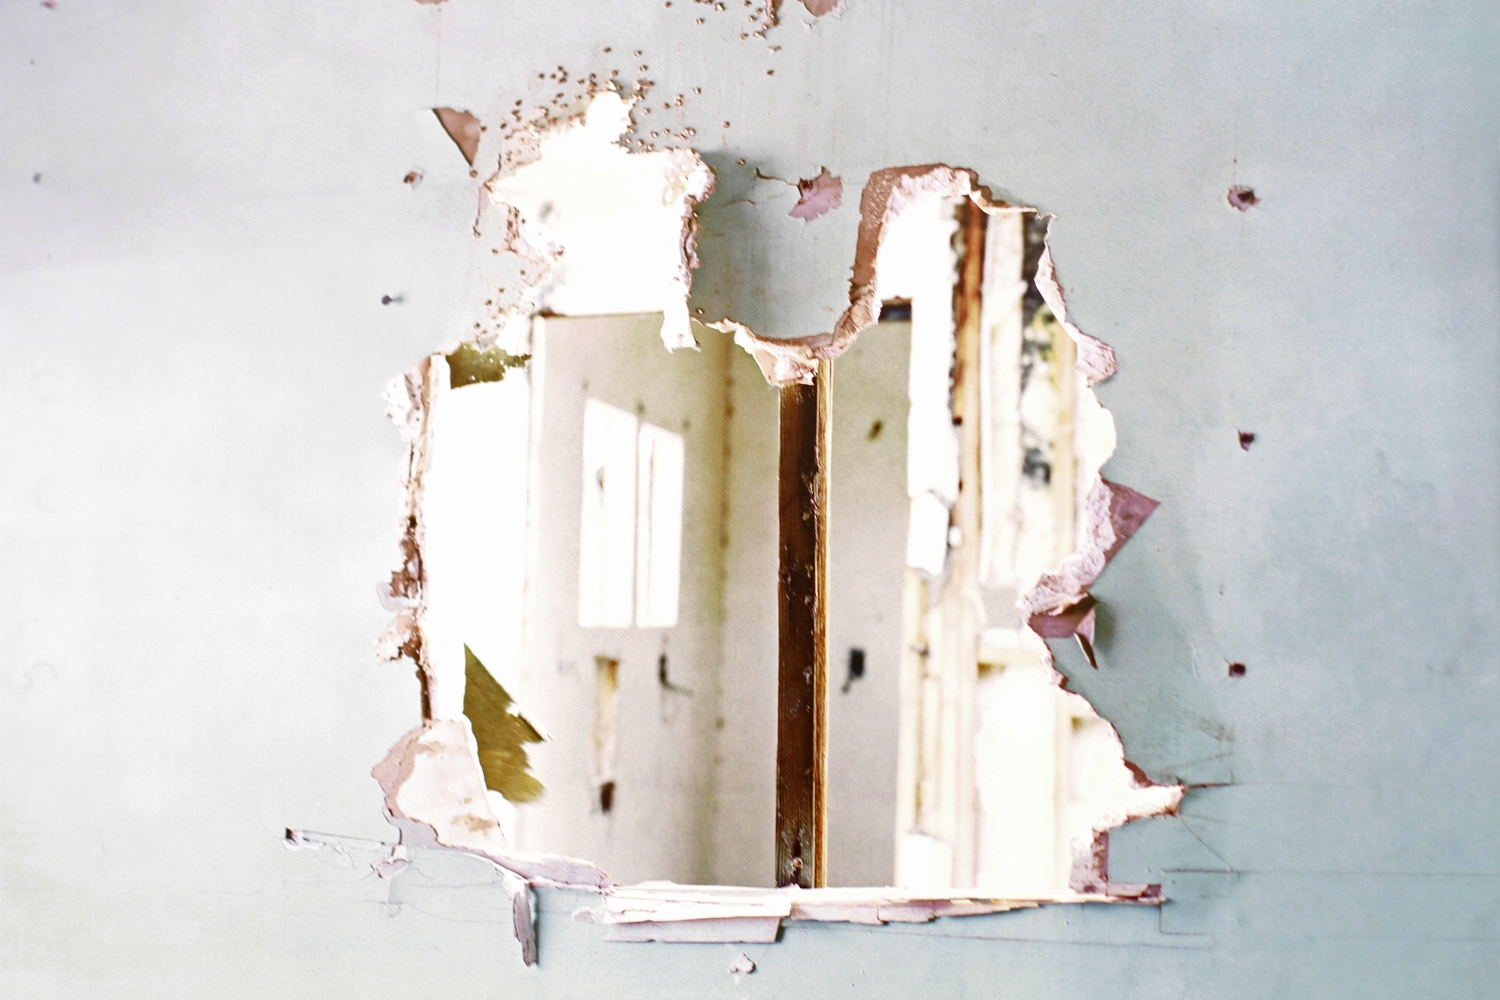
My home recently received a few additional electrical outlets, plus an overhead projector in the living room. As you might have guessed, that work left a few unsightly holes in the walls and ceiling. Luckily, drywall is versatile, so fixing both small and relatively large holes is quick and simple.
What you’ll need:
For all holes:
- Sandpaper
- Putty (spackling, plaster, or whatever you want to call it)
- Putty knife
- Paint
- Paper towels (or a cloth)
For larger holes:
- Wire mesh patching kit
- Scissors
Optional
- Drop cloth
- Heat gun (or hair dryer)
- Marker
If you don’t have a putty knife, just about anything with a flat edge and at least one smooth side will work—a butter knife, a paint stirrer, or even a ruler.
You’re also going to create a fair amount of dust while patching holes, so it’s worth considering how you’ll handle it. For a small hole, you can simply tape a catchment system (like an envelope) underneath to collect falling dust. For a large hole, it’s probably worth buying a drop cloth, which will pull double duty as protection against dripping paint when you touch up the repaired wall later. Or, you can just clean it all off the floor when you’re done.
How to repair small holes
Patching small holes—those the size of a nail or screw—requires little to no skill.
1. Sand the area around the hole and the hole itself. You’ll need a smooth surface to work with, as any imperfections on the wall are going to make the patch job look a little shoddy when it’s done. An ounce of prevention, right?
2. Get rid of any sanding dust. Start by wiping the area down with a damp paper towel, but be sure to dry it before you start filling the hole, or you’ll have problems getting the putty to adhere to the wall, and it’ll take longer to dry.
3. Open the putty and give the top a quick stir with your putty knife. It’s not paint, so you don’t need to mix it from top to bottom to ensure even coverage. The goal here is to smooth out the consistency, as you’ll often get bits that are more dry than others—especially in an older container.
4. Spread the putty on the wall. Once it has been mixed, add a small amount of putty—you probably won’t need more than a quarter-sized dollop—to the end of your putty knife, then apply it to the wall as if you were buttering bread. Too much putty will create a mess on both your wall and floor, and you can always add more. For a small hole, you can start in the middle of the hole itself and spread the putty outward on each side.

5. Tidy up. Once you can no longer see the hole, spread the excess putty away from the hole, then scrape off any large clumps that remain. You can put these back in the putty container to use later.
6. Let the putty dry. Most spackling claims it takes around an hour to dry, but it may be longer—especially in areas with cooler temperatures or a lot of humidity. You’ll know it’s dry when the color of your patch has turned entirely white. Some putty brands recommend using two coats. That’s rarely necessary on a small hole, but it makes all the difference when you’re fixing a larger one.
7. Sand the patch smooth. I find a circular motion works best on smaller holes, while a back-and-forth action is better for larger ones. It really doesn’t matter how you do it, so long as you’re removing the blemishes and leaving a smooth finish.
8. Clean the area with a damp cloth. You’ll need to remove all the fine grit left over by the sandpaper and then dry the area thoroughly. You can wait it out, or grab a heat gun or hair dryer to speed up the process.
9. Touch up the affected area with a bit of paint. If the wall is already white, you could get lucky with putty that matches the rest of the wall, but don’t count on it.
How to repair larger holes

Covering a larger hole is much like patching a smaller one, with the only notable difference being that you’ll need some help ensuring the putty doesn’t fall into the wall itself. It’s here that a good wire mesh patch kit comes into play.
1. Sand the area and get rid of any rough edges.
2. Clean the area thoroughly with a paper towel or a wet washcloth. If you get the wall wet, you’ll need to let it dry before moving on to the next step.
3. Open the mesh and place it over the hole. Leaving at least a half-inch around the edge of the hole, start cutting. Scissors worked great; better than a utility knife, in fact. You can also trace the patch with a marker while holding it in place and then remove it for trimming. But in my experience, it’s easier to just hold it up to the hole and cut as you hold it in place. You don’t need to be super precise, so long as you leave enough mesh overlapping the outer edges of the hole.
4. Pull off the adhesive backing and stick the mesh to the wall. Press firmly and hold until it forms a tight bond—some patch kits will begin peeling away from the wall almost immediately.
5. Begin applying putty. Start with the edges of the patch, spreading putty over them and toward the middle of the hole as you go. Don’t use too much here, or both the putty and the patch may end up inside the wall. By starting with the edges, you’re also helping the mesh stay in place while you work on the middle—the adhesive, in my experience, isn’t the best.

6. After you’ve covered the entirety of the mesh, use your putty knife to smooth out any rough spots. You’re not looking for a perfectly smooth putty job (because you’re not done yet), but you don’t want major blemishes, either.
7. Let the putty dry. Much like the smaller hole, once it turns completely white, you should be able to move on.
8. Sand down any rough spots to ensure an even finish.
9. Use a cloth to wipe away any dust or residue caused by sanding. Start with a damp cloth, then use a dry one to remove any excess moisture.
10. Add a second coat of putty. This time, start in the middle, spreading the putty outward, much like you would for a smaller hole. It’ll help ensure the patch is as even with the wall as possible, as opposed to a glob of protruding putty.
11. Smooth the putty once more before letting it dry.

12. Sand down any rough spots. Level the area as much as possible, getting it flush with the wall.
13. Wash and dry the area with paper towels, then let it dry. Again, you can grab a heat gun or hair dryer to speed up the process.
14. Paint over the patch. Unfortunately, painting only the patch is hardly ever going to blend nicely with the wall. Typically, you’ll need to repaint the whole wall.
