Snacks are essential for every hiker’s backpack. They keep your energy up, your mind focused, and give you something to do while contemplating the majesty of Mother Nature.
But store-bought snacks and bars are expensive, and often contain huge amounts of sugar or preservatives that can seem excessive, even to someone walking for three to four hours straight. And then there’s the wrapping. Each snack is individually packaged to make it easier to transport, but ironically, this just means more trash for you to carry around until you find a garbage can.
Making your own trail snacks, though, is much better. You’ll take better control of what you’re eating and forgo a lot of unnecessary wrappers. And the best way to do it is easy—dehydrating your favorite foods.
Ways to dehydrate

There are three main ways to dehydrate your food: in the oven, with a dehydrator, or by building your own dehydrator.
Pretty much everyone has an oven, so it’s no surprise that this appliance is one of the most commonly suggested dehydrating tools. Simply heat your oven to the lowest setting—often 175 or 200 degrees Fahrenheit—and put your snacks inside. Check on them every 30 to 60 minutes to make sure they aren’t burning or becoming too tough to eat.
Compared to the other two methods, an oven gets the job done fastest. But since it uses heat, the food often gets cooked during the dehydration process. This is fine unless you prefer to eat mostly raw foods.
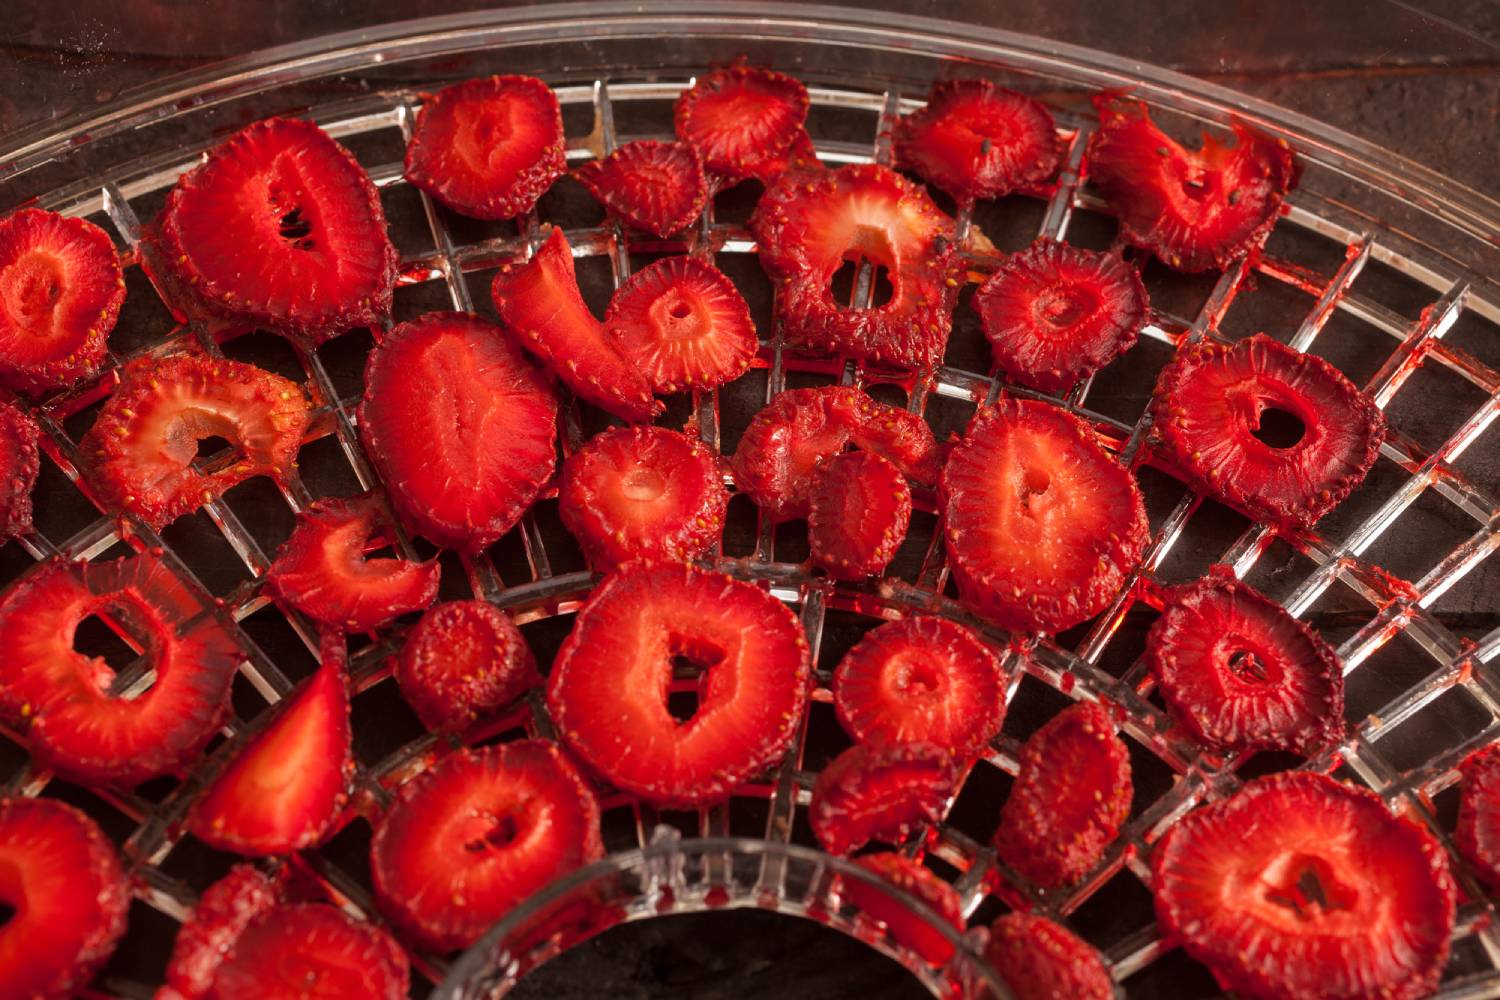
Dehydrators, meanwhile, come in all shapes and sizes, cost between $30-$150, and usually allow you to dry a plethora of ingredients at once. Using one is simple and, typically, a hands-off process. Other than preparing the ingredients, setting a timer, and pressing the start button, there’s really not much else to do. It’s so low-effort that, unlike other methods, you can leave the house, let the machine run overnight, or stash it in a corner while it does its thing.
Dehydrators preserve foods by warming them—usually to temperatures that aren’t that hot—and blowing air to remove moisture without fully cooking them. This is why you can still consider whatever you’re dehydrating to be raw food.
The third, more radically DIY method for drying out your food involves creating your own dehydrator with a box fan, clean air conditioner filters, and dehydrator sheets.
Simply lay the unplugged box fan on the ground with one edge propped up 4-6 inches, its power off and airflow directed toward the ceiling. Then, place one of the air filters on top. On a dehydrator sheet or plastic canvas—the kind kids use for needlepoint crafts—spread out your food and place another dehydrator sheet on top. Put a second air filter on top of that.
If you’d like to dry more than one layer of food, place another dehydrator sheet on top of the uppermost air filter, followed by one more layer of food, another dehydrator sheet, and another air filter—you’ll be able to stack up to four layers of food on top of the fan in this manner. Use bungee cords to secure it all to the fan, plug it in, and let it run.
Since it doesn’t involve any heat, this method may take up to two days. Check on your food roughly every 2-3 hours.
Tips for dehydrating food

There are a few good ways to ensure you end up with the best batch of homemade dehydrated trail snacks. For starters, you can dehydrate multiple types of foods at the same time—as long as they require the same cooking temperature.
Foods will dry at different rates—even if they are similar in size—so remove the pieces that dry first if you can. If you’re using an oven, doing so will prevent them from burning. You can also use this knowledge to your advantage by making thicker pieces out of foods that dry more quickly. And when you arrange your ingredients, make sure they don’t overlap, as this will slow the drying process.
When a batch is complete—meaning it’s no longer sticky or spongy—store the snacks in an airtight container to keep them from being exposed to moisture and humidity. This will prevent your food from spoiling. The drier the food is, the longer it will last, and storing snacks in the fridge or freezer will extend the life of your snacks even further.
Dehydrator Recipes
Nearly every food can be dehydrated, including beef strips, tofu, and even pancakes. The most common items dried out for trail snacks are meat, fruit, and vegetables, as they pack a highly nutritional punch and taste great after the process.
You can try combinations of your favorite foods and create custom trail snacks perfect for you, but if you need a little inspiration, here are three recipes to get you started.
Fruit leather

A healthy staple on the trail, fruit leather is an excellent way to get vital nutrients when you don’t want to carry the weight of fresh fruit.
Ingredients
- ½ cup of raspberries, fresh or thawed from frozen
- ½ cup of blueberries, fresh or thawed from frozen
- 1 cup of unsweetened applesauce
- A pinch salt
Preparation
1. Puree your food. Put all the ingredients in a food processor or blender and run it until you’ve got a puree. If you don’t like raspberries or blueberries, you can replace them with the same amount of any other fruit.
2. Dehydrate. If you’re using an oven, heat it to 200 degrees or as low as your oven temperature will go. Line a baking tray with parchment paper or a non-stick silicone mat. You’ll want to make sure your tray has a raised edge all the way around to prevent any liquid from escaping. Pour the puree onto the tray and spread it evenly. It should be around a quarter of an inch thick. Place it in the oven and cook it for about four hours, or until the leather is no longer sticky. Remove it from the oven, then slice it into strips between 1 to 2 inches wide. Roll it up or keep it flat—your preference—and store it in an airtight container.
If you’re using a dehydrator, you’ll also want a tray with edges. Wipe the surface with a small amount of oil to prevent the puree from sticking and pour the mashed-up fruit into the tray. Spread it evenly to about a quarter of an inch thick. Dry it at 130 to 140 degrees for four to six hours—the time will depend on how much puree you put on the tray and the amount of water in the fruit you used. The process will be done when the puree is leathery and no longer sticky. Take it out of the tray, then slice it into strips between 1 and 2 inches wide. Roll it up or keep it flat, and store it in an airtight container.
Kale chips

Kale chips are a great, ultra-light way to get your veggies on the trail. Crispy and flavorful, they’re also easy to dehydrate yourself—and a lot cheaper than the store-bought stuff.
Ingredients
- 1 bunch of fresh kale with the stems removed
- 1 tablespoon of olive oil
- 1 teaspoon of salt
- (Optional) 2 tablespoons of nutritional yeast
- (Optional) 1 teaspoon of crushed red pepper
- (Optional) Other seasonings to taste
Preparation
1. Tear the kale leaves into pieces. Keep them about the size of tortilla chips. Rinse and dry.
2. Season the kale. Mix the olive oil, salt, and seasonings, then pour the mixture over the kale. Use your hands to massage it into all the nooks and crannies.
3. Dehydrate. If you’re using an oven, heat it to 300 degrees. Arrange the kale on a baking tray and cook it for 10 to 15 minutes. Keep a close eye on the kale while it’s in the oven, as it will turn from green to black in a matter of minutes. When the edges of the leaves begin to brown, remove them from the oven. Allow the chips to cool, and store them in a rigid airtight container to prevent them from getting crushed.
If you’re using a dehydrator, transfer the kale to one of its trays and dry at 125 degrees for four to six hours, or until the kale is completely dry and crispy. Remove it from the dehydrator and store it in a rigid airtight container to prevent it from getting crushed.
Mushroom Jerky

Jerky is a trail food staple. Ditch the expensive beef varieties and try this easy and flavorful mushroom jerky instead.
Ingredients
- 4 Portobello mushroom caps sliced into ¼-inch strips
- ½ cup of your favorite barbecue sauce
- 1 tablespoon of olive oil
- 1 tablespoon of apple cider vinegar
- ¼ teaspoon of salt
Preparation
1. Make the marinade. Mix all ingredients except the mushrooms in a flat-bottomed dish.
2. Add mushrooms. Mix everything to ensure an even coating.
3. Marinate the mushroom strips. You can let them sit for two hours, but ideally, you’ll leave them to marinate overnight. When they’re done, remove the mushroom strips from the marinade and shake them lightly to remove any excess sauce.
4. Dehydrate. If you’re using an oven, arrange the mushroom strips on a baking tray and cook them at 200 degrees for two to three hours, or until they’re dry and chewy. Store them in an airtight container.
If you’re using a dehydrator, arrange the mushroom strips on a tray or two and dry at 145 degrees for four to six hours, or until they are dry and chewy. Store them in an airtight container.
