Few Thanksgiving staples strike fear into the hearts of bakers everywhere like pie from scratch. Frankly, pie gives you plenty of room to really screw things up, and knowing how to avoid disaster usually comes from a lot of trial and error. But we don’t have time for teachable moments—this is Thanksgiving, and everything has to be perfect.
Speaking as someone who has made a lot of really bad pie, getting it right is far simpler than it’s made out to be. With the right techniques and a little patience, you can turn just about any recipe into sheer pie perfection, even if you never have before.
Equipment matters, but it doesn’t have to be fancy
Besides your hands, you need exactly three tools to make pie: a big mixing bowl, a rolling pin, and an aluminum pie plate. No, not the disposable kind from the corner store—an 8- or 9-inch anodized aluminum plate, which you can get online or at a kitchen supply store for about $6. If you don’t own a rolling pin, don’t worry, you won’t have to buy one: A wine bottle or a cheap wooden dowel from the hardware store will work just as well.
I think it’s important to talk about why aluminum pie plates are the best choice here. Pie crust contains a ton of fat, usually butter, which is extremely heat-dependent. Perfect crust depends on the fat going from fridge-cold to bubbling hot as quickly as possible—if it spends too long in that melted, in-between state, the crust melts, too.
While glass and stoneware plates can work, they heat up slowly and retain heat rather than transferring it, making the margin of error that much wider. Aluminum heats up super-fast and conducts heat efficiently, so your pie starts cooking right away. If you’re new to pie, trust me: aluminum is your friend.
The word of the day is: “cold”

Even if you’ve never made pie crust before, you may know that your butter needs to be cold. So, before you do anything else, clear a spot in your freezer for the pie. You’ll need to chill your butter and the pie itself, and getting this out of the way will save you headaches down the road.
It’s not just the butter, either: your water, flour, tools, and countertop all need to be as cold as possible, too. I pop my cubed butter in the freezer for a few minutes and fill a measuring cup with ice water while I measure the dry ingredients; winter weather takes care of the rest. If your kitchen is especially warm, check out Stella Parks’ tips for baking in a hot environment—she recommends refrigerating tools and dry ingredients and chilling counters with ice packs to prevent a crust meltdown.
Mix smarter, not less

When it’s time to actually mix the dough, you must first let go of fear. I’m only half-kidding; there’s so much pressure and hype built up around the finicky nature of pie dough that it’s easy to feel a little scared.
Don’t panic. The secret to perfect pie dough is handling the butter as little as possible. Regardless of what your recipe says, don’t cut the butter into the flour until it “looks like coarse meal,” whatever that means—just smoosh the cubes between your thumb and forefinger to flatten them into chubby flakes. That’s it.
From here, add the (ice cold) water your recipe calls for and gently knead the dough in the bowl or on a lightly floured counter until it holds together. This should take 30 seconds, tops. Divide the dough up as needed, press into disks, and wrap tightly in plastic. Chill according to your recipe. Look at you—you just made pie dough!
Roll out a crust like a pro

Pie dough is easiest to roll out when it’s straight from the fridge, so let it chill for at least an hour before proceeding. Flour your countertop and your rolling pin, unwrap the dough, and give it a couple firm but gentle thwacks with your rolling pin. (If you’re using a wine bottle, be extra gentle.) Rotate it 90 degrees and repeat the process until the disk is noticeably larger and flatter. If the edges start to crack, roll them on the table or press the dough together with your fingers to seal them up.
Now comes the scary part: rolling it out into a circle. Don’t worry—you got this. All you have to do is rotate, rotate, rotate. Keep the pressure light and turn the dough 90 degrees after every single pass with the pin. Flip the dough over occasionally, too, adding extra flour if it starts to stick. All that turning and flipping distributes the pressure from the rolling pin, so your crust rolls out evenly and with minimal edge crackage.
When your dough is rolled out to the appropriate size, press it into your pie plate and pop it in the freezer to set up while you prepare the filling.
Tips for the perfect filling

Pie filling is extremely recipe dependent, but there are a few rules of thumb to set you in the right direction.
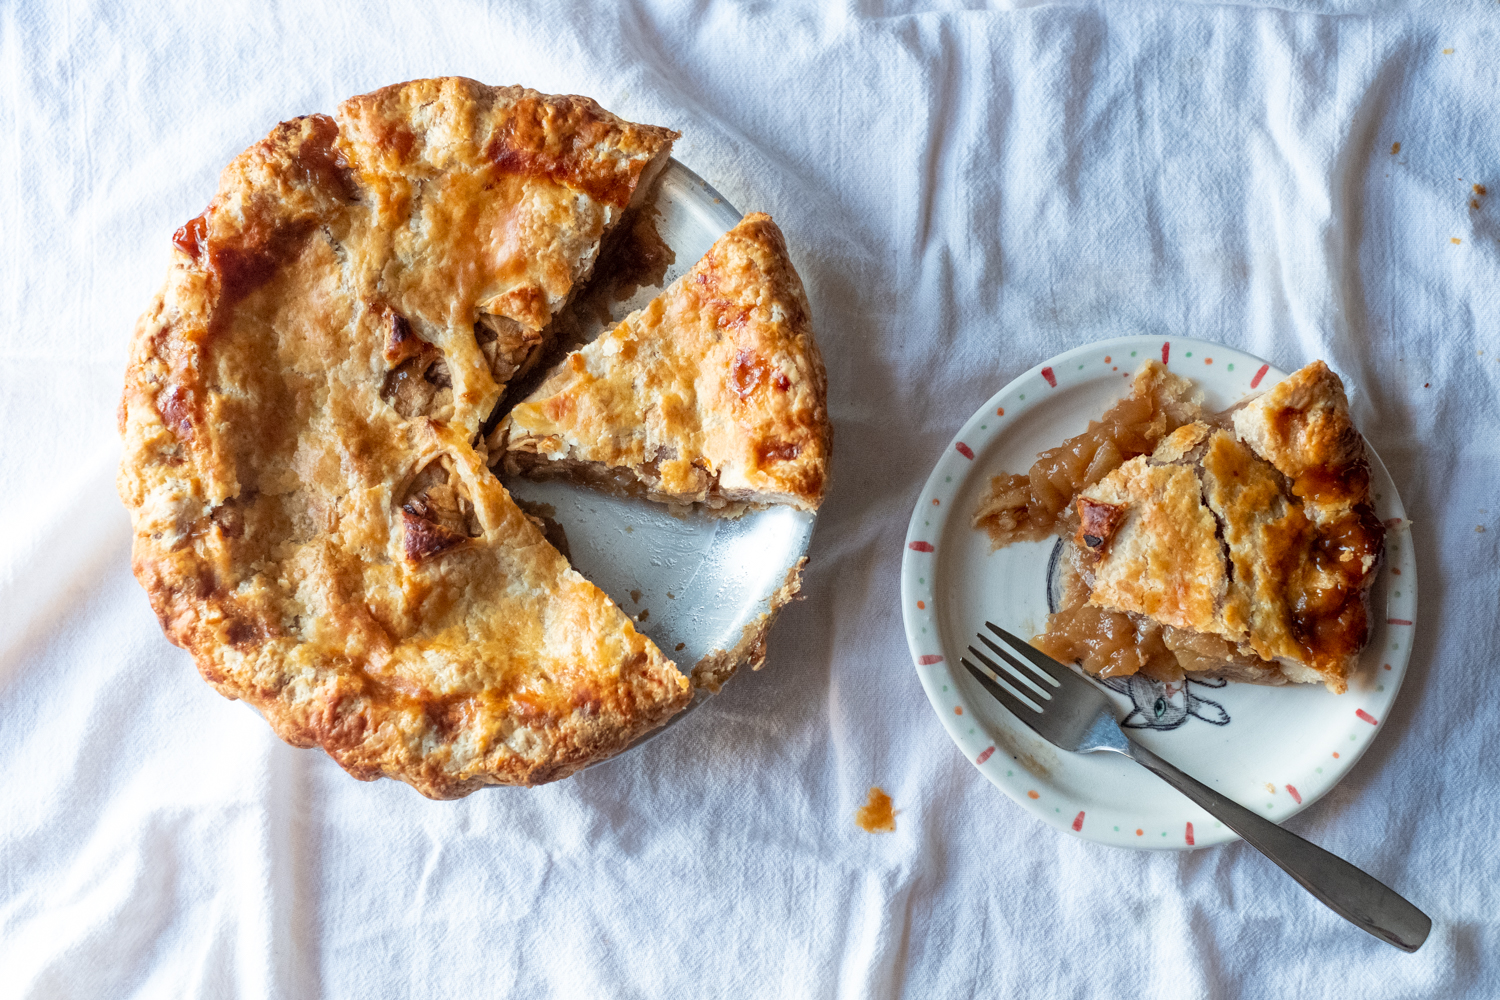
If you’re making a fruit pie, you’ll want to really cram that sucker full of fruit because it will shrink considerably in the oven. Seriously, you want a mound—it’s going to look insane, but it’s so right. Buy extra filling ingredients just in case, and slice apples super-thin so you can really pile ‘em in.
For custard pies—basically anything with eggs—be sure to match the temperature of your crust with the temperature of your filling before it goes in the oven. A temperature mismatch creates this weird, unevenly cooked situation where filling meets crust. If you’re making a cooked custard, cool it down before pouring into a cold crust or bring the crust up to temperature before pouring in hot filling.
To blind bake, or not to blind bake? (Spoiler: probably not.)
This brings us to a slightly controversial topic: blind baking. This means lining an empty pie crust with parchment or foil, weighing it down with something, and baking until the crust is partially or fully cooked. And yes, it’s a mild to moderate pain in the neck.
The good news is that blind baking is only truly necessary for chilled, no-bake pies that don’t otherwise see the heat of an oven. If your recipe calls for blind baking, do it—but promise me you won’t spend your money on “pie weights.” They’re either overpriced ball bearings or overpriced ceramic balls, neither of which work all that well. You can save your dried beans and rice, too—author Stella Parks weighs down crusts with granulated sugar, while Deb Perelman of Smitten Kitchen presses greased aluminum foil onto the surface.
Finally, it’s oven time

After all that careful mixing and rolling and filling and chilling, it’s finally time to crank the oven and slide that pie right in.
But not so fast. Before you turn on your oven, set your fully assembled pie in the freezer, an aluminum sheet pan in your oven, and then preheat to the appropriate temperature. Giving your pie a solid half hour to chill locks the crust in place, while the preheated sheet pan kickstarts the cooking process (and keeps drips off the floor of your oven).
When your pie is baked, crack the oven door and let the pie cool down with the oven. A long, slow cool-down helps the filling set up, so you get the picture-perfect slices you deserve. With any luck, you should be gazing upon the most beautiful pie you’ve ever seen in your life—and you made it.
