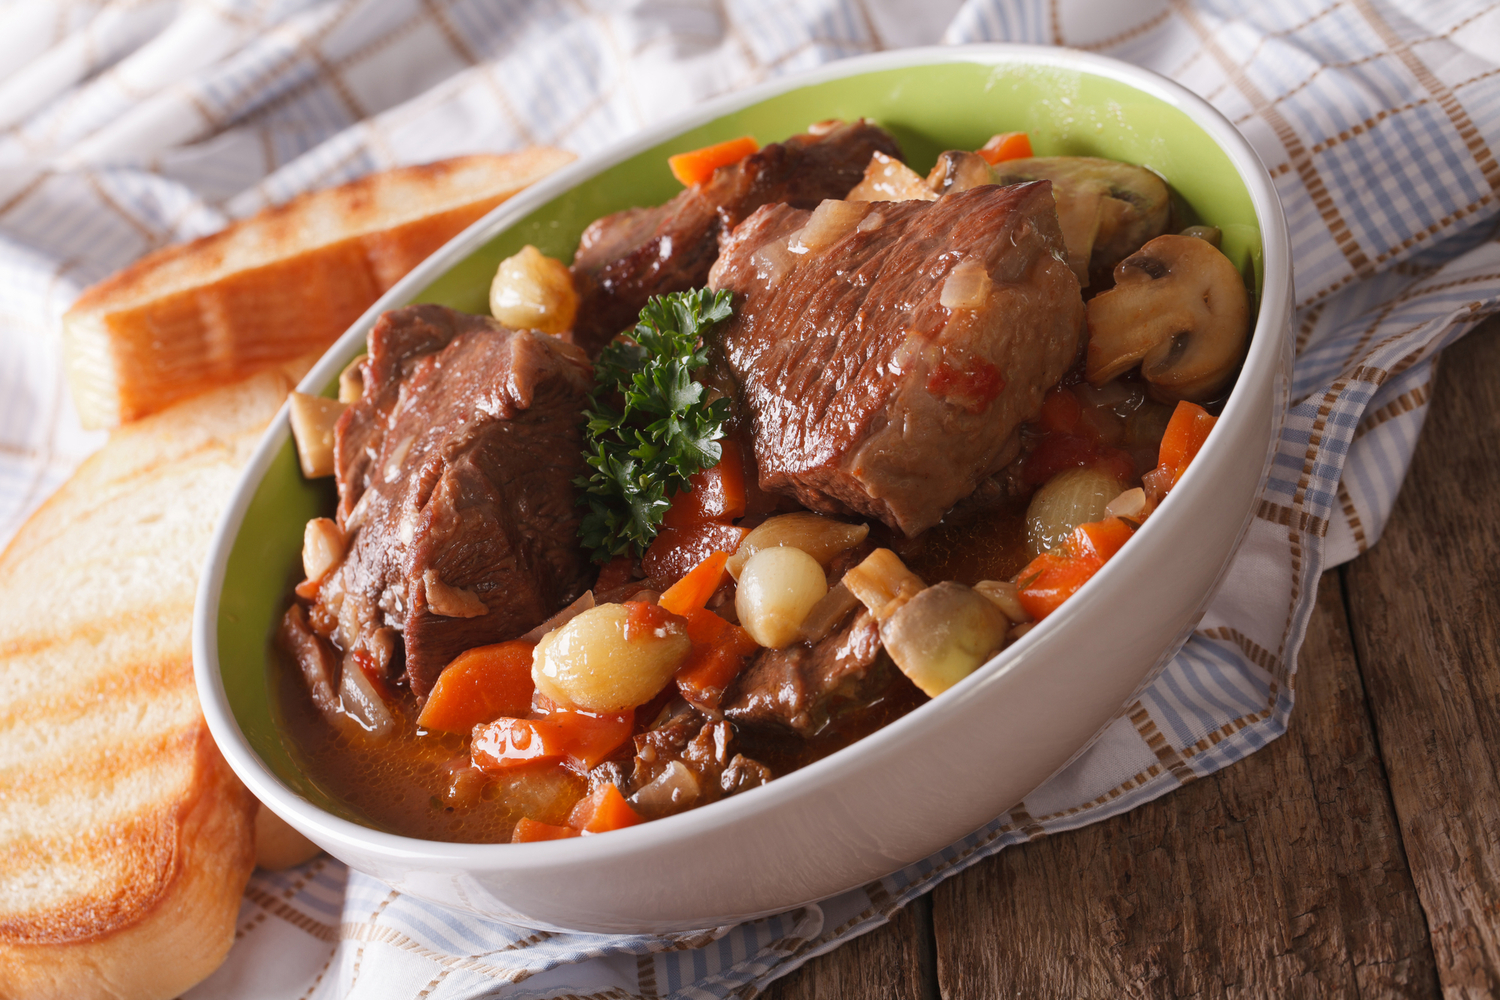

Sweater weather is once again upon us, and not a moment too soon. If soups and stews make your heart go pitter-pat, you owe it to yourself to make this the year that you master the art of the braise.
Braising is a method for cooking food very slowly in a closed pot with a bit of liquid until it’s tender. The process is straightforward in theory, but the sheer volume of recipes out there means it’s hard to know what you’re getting into until it’s too late.
Braising is commonly used to cook tough cuts of meat, and though they’re cheaper than steaks, that doesn’t mean they’re budget-friendly wonders. Plunking down $20 for grass-fed, bone-in short ribs should feel like the luxury it is, and if it’s one you don’t often indulge in, you’ll want to be damn sure you’re getting your money’s worth. These tips and tricks will surely get you there.
Get your equipment right

Braised meats are a democratizing force of good, and nowhere is this more evident than in the variety of ways people go about cooking them: on the stove, in the oven, over an actual campfire, in a pressure cooker or slow cooker, to name a few. A heavy, lidded pot like a Dutch oven is an excellent all-purpose choice because it works on the stove and in the oven, but it’s not required. Professional kitchens knock out ridiculous braises every day in cheap aluminum pans covered with foil, and so can you. All you really need is a close, airtight-ish seal for the long cooking process—whether you get that from a lid or a piece of foil makes little difference.
Don’t skimp on prep
The easiest way to make a stew that’ll blow your mind is to start prepping it the day before. I know, I know—that’s obnoxious advice, but it’s the truth. Letting the meat rest and absorb seasonings makes it noticeably more tender and flavorful than cooking it straight out of the package.
Mix up a simple seasoning blend and add it to your cut and trimmed meat. I always cure mine overnight in a mixture of salt, spices, and a little sugar. This process tenderizes the meat and brings moisture to the surface, where it can be easily blotted off to encourage even browning. More importantly, though, curing seasons the meat inside and out so it flavors the entire stew as it cooks.
My go-to cure for everything, from pork to lamb, is a 4:1 mixture of salt and brown sugar with lots of fresh black pepper. I usually add a thinly sliced onion and some smashed garlic to the meat, then toss everything together in a mixing bowl with just enough of the cure to lightly coat each piece. From here, you can tightly cover the bowl with plastic wrap or spread the seasoned meat on a cooling rack set inside a sheet pan before refrigerating overnight. Either way works great, but the cooling rack really helps dry out the surface, which makes searing it that much easier.
Sear your meat—just not all of it

Browning stew meat is an important step, but not because it “locks in the juices” or anything—it’s purely about building flavor. Meat with a gloriously golden-brown crust has a deeper, more complex taste than meat that doesn’t. However, the latter will produce a richer, more unctuous stew, given that its fat hasn’t been rendered off in the searing process. For this reason, as well as being quite impatient, I like to brown some of the meat and leave the rest as-is. It’s the perfect compromise.
Most meat browns up nicely in hot oil, but for skin-on cuts like chicken thighs, it’s best to start them skin side-down in a completely cold pan. As the pan slowly heats up, the fat and collagen under the skin render out slowly without seizing up and wrinkling the way bacon does in a hot skillet. This ensures maximum contact between the meat and the pan—more contact means more browning, and more browning means more flavor.
Never, ever skip the boil
Nearly every long-simmered recipe instructs you to bring the pot to a boil before reducing the heat, and for good reason. Food is mostly water, which means that lots of important physical changes happen at 212 degrees Fahrenheit. Proteins seize up, fat melts, connective tissue starts to break down, flavor compounds dissolve and mingle with each other—it’s a beautiful thing, and none of it happens without a full, hard boil. So when a recipe says “bring to boil; reduce to simmer,” it’s not a suggestion. Make sure you follow it.
Be patient: slow and steady wins the race

When your cauldron of stew is finally bubbling away, your next move is to cover the pot, turn the heat way down, and walk away for awhile. You can do this entirely on the stove, but I’m a huge fan of an oven braise. Cooking anything meaty at 300 degrees Fahrenheit (or lower) for a minimum of two hours yields the most insanely succulent, falling-off-the-bone results every time. To be honest, I can’t think of a stew or braise I’ve made that wasn’t improved by the oven. If you have the time, pop that stew in the oven, curl up with a book or a movie, and get cozy—I promise dinner will be worth the wait.
