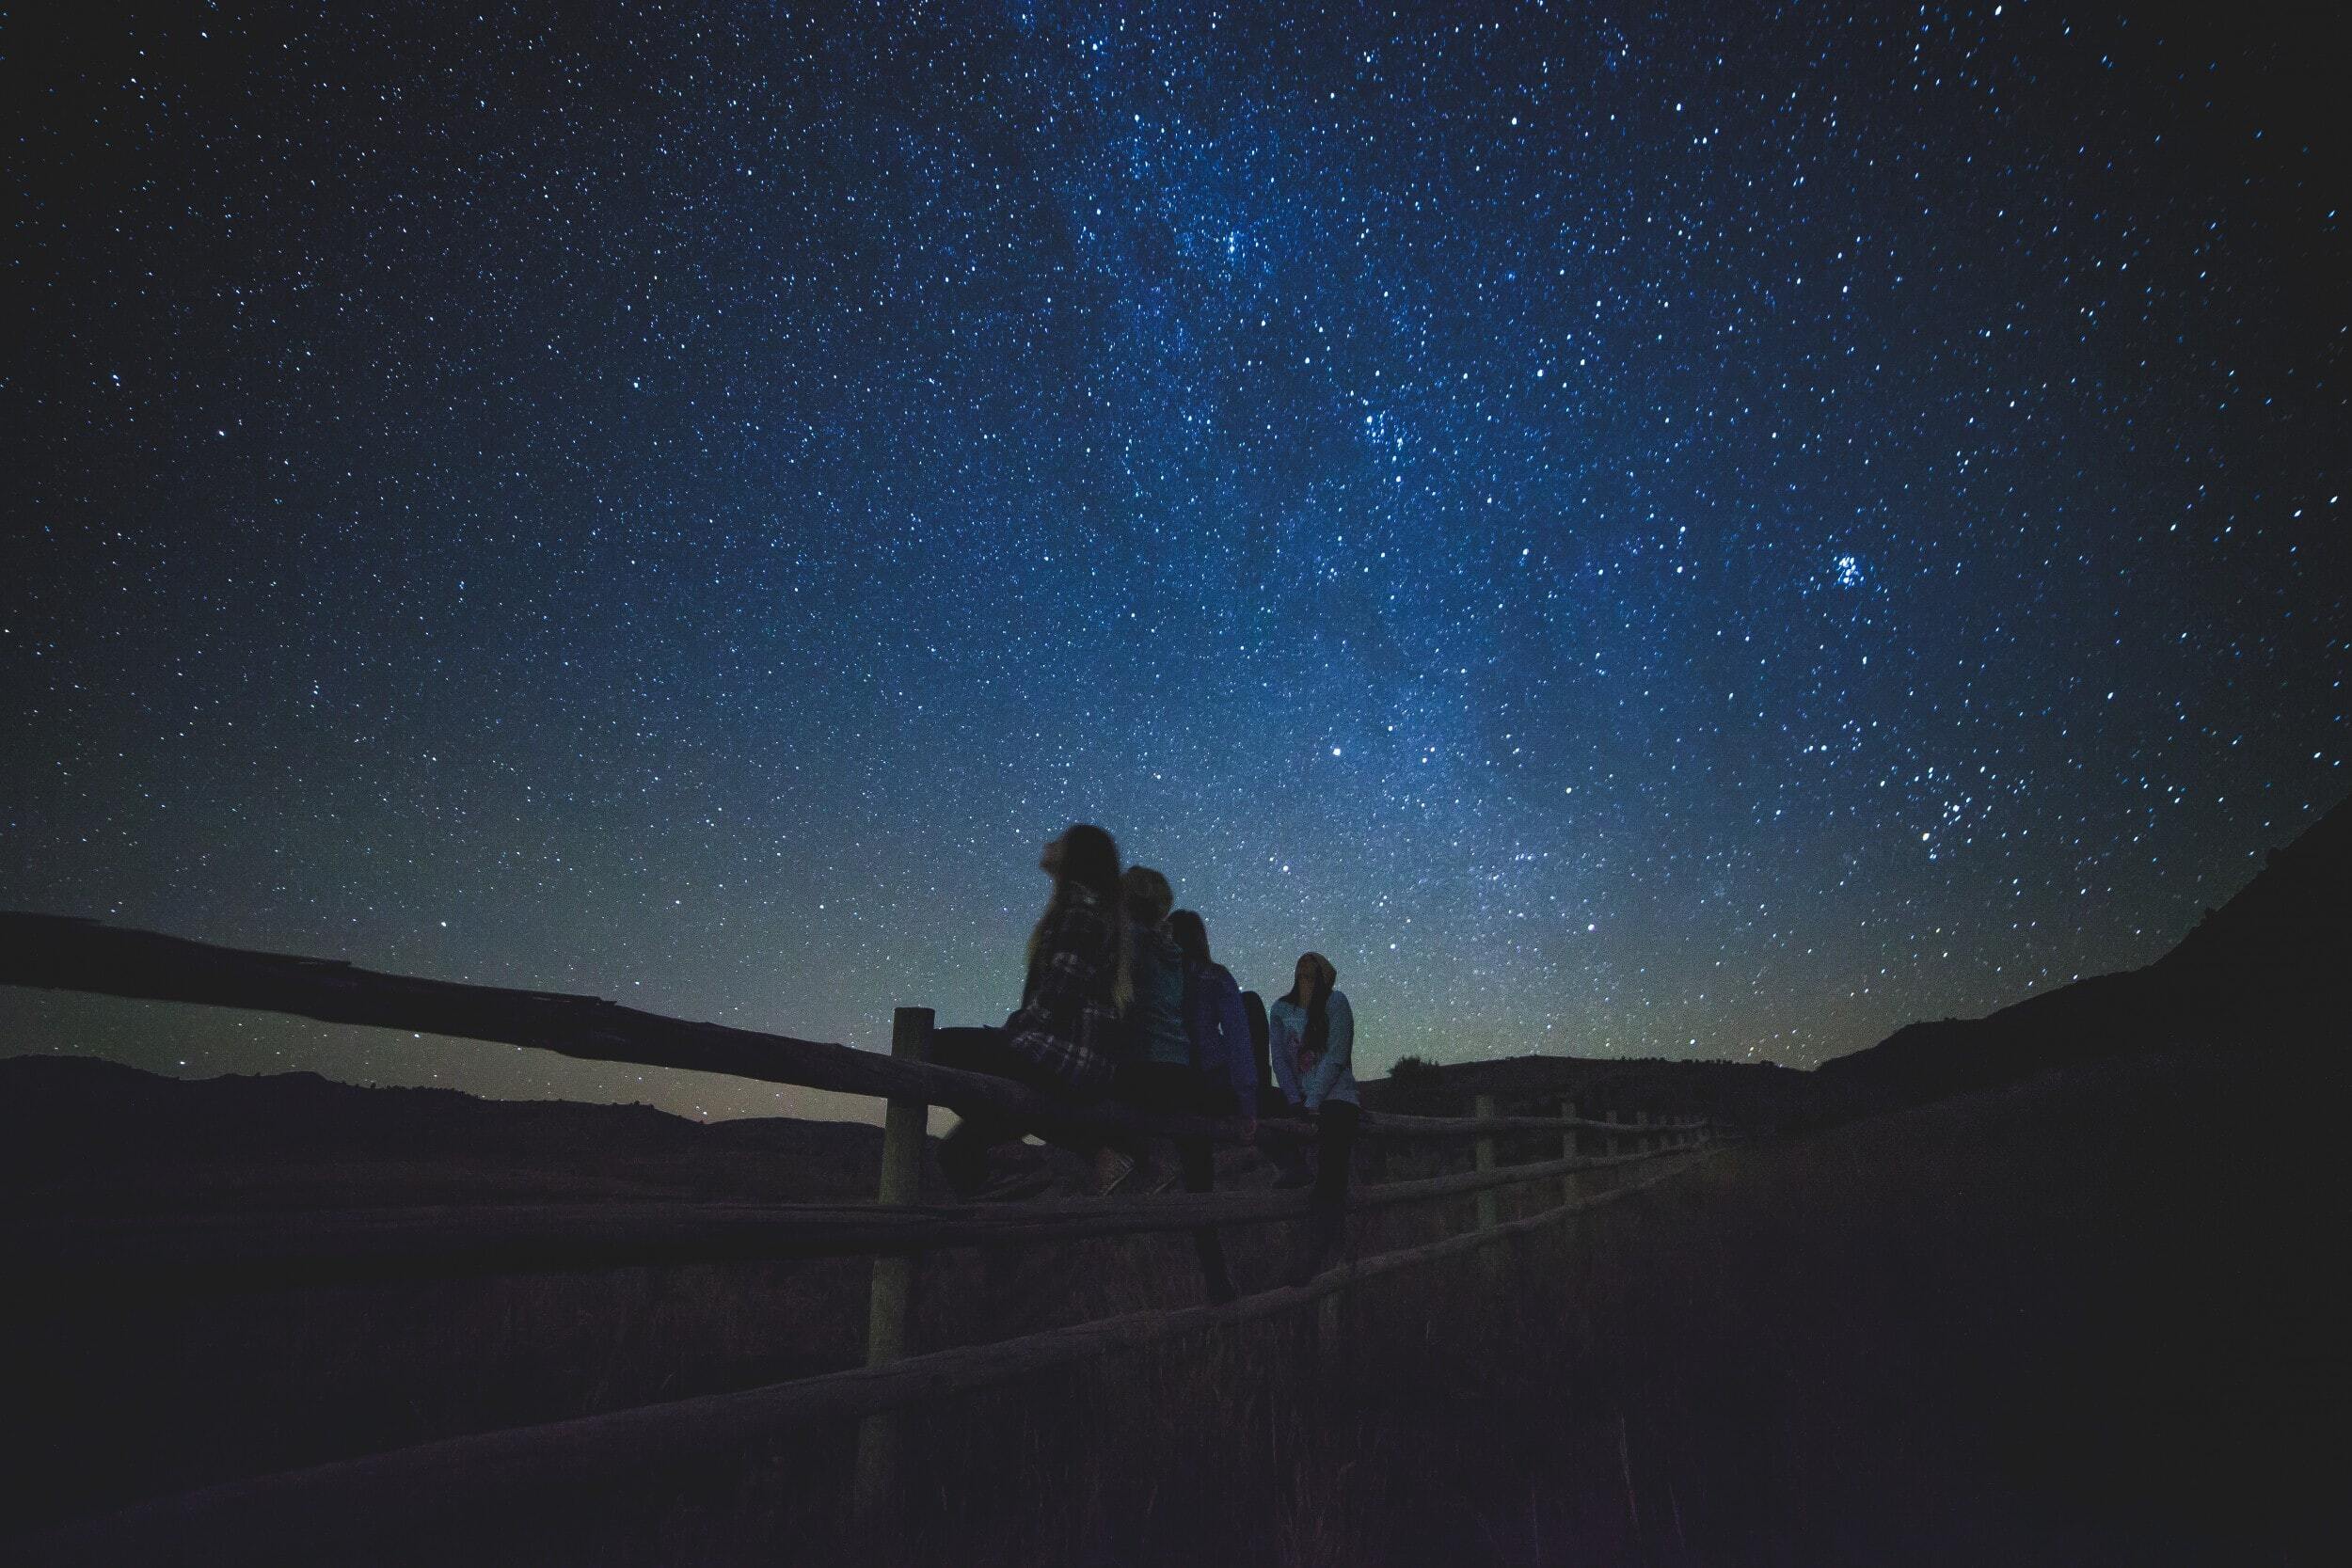
Everyone has gazed up at the stars in absolute wonder. But the second you label looking at celestial bodies “astronomy,” some newbies get immediately intimidated. (Which makes total sense, since there’s an entire universe up there.)
But you don’t need to invest a ton of money or time to start stargazing, says Irene Pease, a physics professor at CUNY York College who serves on the Amateur Astronomers Association of NY Board of Directors.
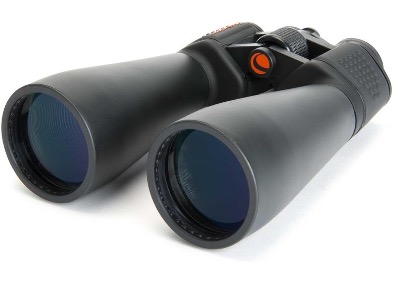
She always tells beginners to start with a simple pair of binoculars to get acquainted with the night sky. “The first step is to figure out what it is you like to look at,” she says. Maybe you want to see Saturn’s rings, or Jupiter’s moons or craters on our own moon. “These preferences will lead you to some reasonable options for your first telescope.”
Below, she lays out the most common mistakes that brand-new stargazers make—and how to avoid them.
1. Buying the biggest and most expensive telescope you can
It’s tempting to go all-in when it comes to gear. Who doesn’t want the splashiest, shiniest object? No matter what your budget, Pease suggests looking for an easy-to-use first scope. “Make sure it’s straightforward to set up,” she advises.
Before taking the plunge, Pease suggests going to a free observation site or an astronomy meet-up and looking through other people’s scopes. “Talk to people who own them,” she says. “You wouldn’t just buy a car without test driving it first.”
When it’s time to shop for your own scope, focus on the light gathering ability and make sure to select one that you can comfortably handle—within a comfortable price range.

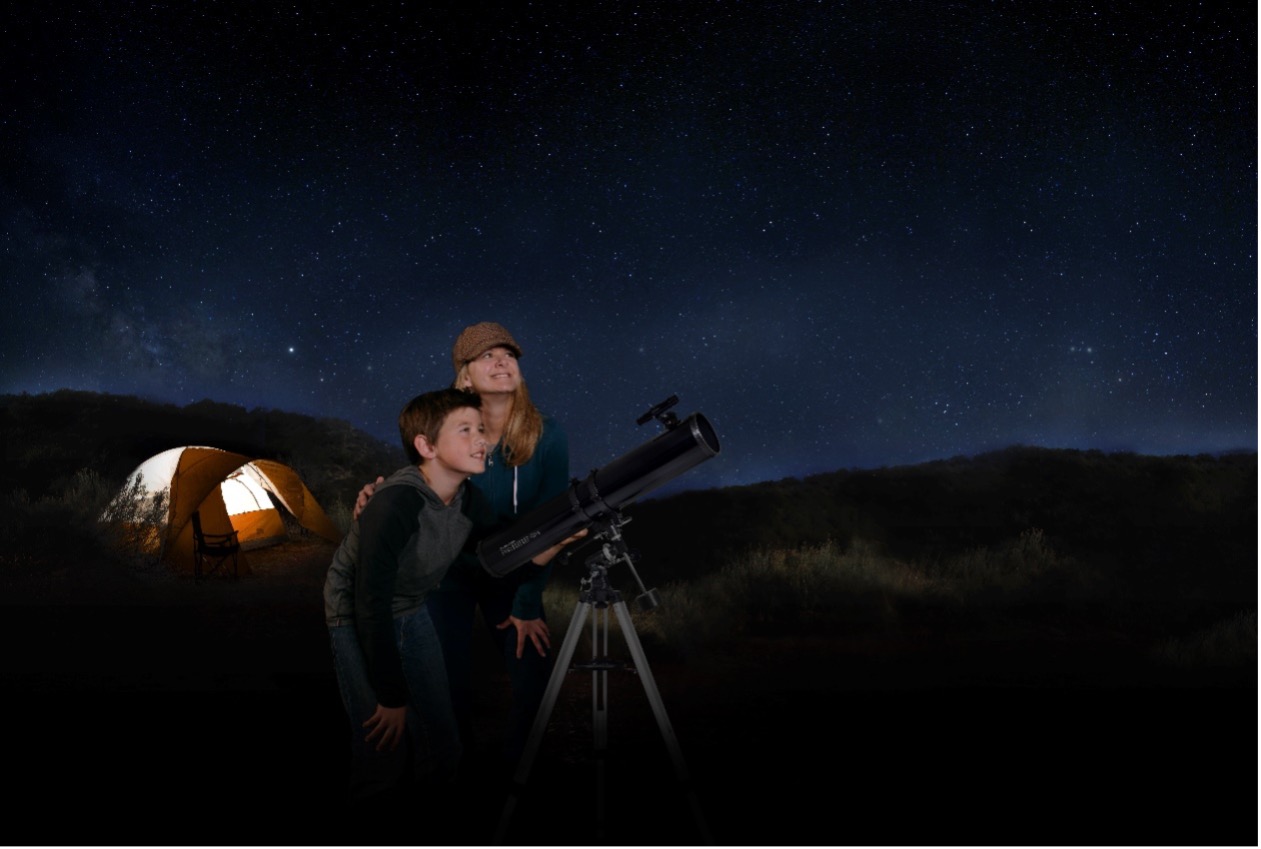
For a good starting point, try the award-winning Celestron StarSense Explorer DX 100A telescope. It’s the first telescope that uses your smartphone to analyze the night sky and calculate its position in real-time. A large 100mm objective lens has enough light-gathering ability to bring out impressive detail in celestial objects. And the app’s intuitive interface makes it easy to use—it’s like having a tour guide of the night sky. You’ll be up, out, and observing in no time.
2. Expecting colorful and detailed views
Sorry, but it’s not like the movies. “You didn’t just purchase the Hubble Space Telescope,” says Pease, who often tempers first-timers’ expectations.
Perspective check: It’s not fair to compare a beginner’s telescope to a billion-dollar telescope that views the cosmos in perfect seeing conditions from space. Plus, the human eye is not sensitive enough to detect color in faint objects compared to a camera’s sensor that can gather light over long periods.
But don’t worry. You can still see so much through a beginner scope, like Saturn’s rings and even the Orion Nebula in a 50mm refractor telescope.
3. Overpowering the telescope
In their eagerness to see everything, many beginners think that observing at high power from the jump is the way to go. But if the conditions aren’t right, views will degrade in high power. That’s because magnification also amplifies a mount’s instability, enhances any atmospheric turbulence, and limits the field of view. Objects such as the Andromeda Galaxy, Orion Nebula, and the Pleiades often look better at low power. That’s because the entire structure will be visible, rather than just parts of it. Plus, it’s more pleasing to view smaller and sharper objects than magnified and blurry ones.
Pease suggests finding an object without electronic assistance, then start using low power and work your way up as conditions allow. “I’m old-school,” she says. “If you’re looking for stuff in a sky, it’s easier to look at a large portion of the sky in low power. If you see something interesting, then you can start increasing the power.”
A cost-effective eyepiece and filter kit option is the Observer’s Accessory Kit – 1.25”, it contains all the lenses and filters you need to observe planets and stars.
4. Trying to take pro-level astrophotography
Maybe you started dabbling in stargazing because you wanted to take pretty pictures. There’s no shame in doing it for the likes. Still, if you’re not already an experienced photographer, it can be tricky (and expensive) to capture a good photograph of the sky.
But it doesn’t have to be complicated or wallet-busting to take some cool pics. You can get started with a smartphone adapter or a modestly priced planetary camera. The Celestron Explorer DX 5 helps you capture images and video through your via a smartphone adapter and Bluetooth remote shutter release.
“The best way to get good photos is first to get a handle on how to operate your telescope correctly and navigate the night sky ,” says Pease. Then, look for an online group, class, or in-person star parties centered around photography. “There are great online communities of people who can do this, and you can ask them what kind of things they use for imaging,” she adds. “They’ll show you how to get started without costing you an arm and a leg.”
Brands like Celestron offer robust technical support to help you answer any questions about your scope or astroimaging. (Budding photogs might want to check out their helpful guide to planetary imaging cameras.)
5. Observing through an open window–especially during winter
We get it: It’s cold out there. “Looking through an open window wouldn’t work,” says Peas. “If you’re going to look through a window, close it.”
When warm air gushes out the window, you create turbulence right in front of your telescope, making things appear blurrier, she adds. It’s only if the air temperature is the same both indoors and outdoors that will allow for open window viewing to be practical. (And that’s pretty rare.)

Suppose you’re taking your scope outside on a chillier night or, alternately, if you’re taking it from an air-conditioned room directly outside on a warm night. In that case, Pease recommends letting it sit for a half-hour to an hour to reach thermal equilibrium to get the clearest views.
6. Not allowing yourself enough time to dark adapt your eyes
Once again, patience is a virtue. Your eyes need to be dark-adapted to perceive faint distant celestial objects. “We get this a lot from beginners,” Pease says.
It takes more than 20 minutes for your eyes to get fully dark-adapted. And if you sneak a look at your bright phone screen, you immediately lose some of that adjustment, she adds. Plus, you’ll probably draw the ire of other stargazers in the area. Not a good look!
Pease suggests using red lights or as dim of a setting as possible. “Red light doesn’t ruin your dark vision,” she says. You can also use a red light flashlight or headlamp and a red light setting on your phone. This leaks as little light as possible.