It’s pretty basic of me to say that I have been obsessed with The Great British Bake Off for the past few years. But I, like many other amateur bakers and millennials, love to lose myself in that white tent, where the only thing that matters is whether meringue will hold the shape of a hot air balloon in the British summer heat.
I recently watched an episode where the contestants had to make rum butter, and I wondered how easy it would be to make regular butter at home. My mind flashed back to the 1800s, and I pictured myself having to purchase a wooden butter churn, clogs, and a bonnet in order to make my own spread.
Newsflash: It’s actually a simple process. No churn required; clogs and bonnet: optional. And now that I’ve learned how to stick it to Big Butter, I’ve decided to become more than just an amateur baker. I’ve decided to become an amateur pioneer.
What you’ll need:
Tools:
- 2 bowls
- 1 cup
- 1 Mason jar (alternatively, a stand mixer with a whisk attachment, a blender, or any wide-mouthed container with a lid)
- 1 strainer
Ingredients:
- Cold water
- Heavy cream (room temperature, and the higher fat content, the better)
Get churnin’
Take your mason jar, water bottle with a lid, or whatever else you have, and fill it halfway with heavy cream. Don’t overfill your container because you want the cream to be able to slop around against the top and bottom of the jar.
From here, set a timer for 10 to 15 minutes and shake. Hard. Really slam that cream. Basically, you’re forcing the fat molecules in the cream to clump together enough to become butter.
Don’t make the same mistake I did by trying this after kneading bread dough because, well, forearms get tired. I highly recommend you save this activity for the next day you want to skip the gym.
You can also use a stand mixer or blender on medium speed to cut down on the day-after-butter-making arm soreness, or if you’re unable to continuously shake a jar for 10 minutes.
Also, temperature matters. You want the cream to be around room temperature. Too cold and it’ll take forever to churn, too warm and the solid fats won’t separate from the liquid, leaving you with a gloopy mess.
Within two to three minutes of shaking or blending, your cream should be looking pretty solid. It’s essentially whipped cream at this point, so you’ve still got more churning to do to get that butter.
Around the five- or six-minute mark, you may start to see some separation happening as you shake. It’ll look like little yellow bubbles popping up in the cream. That’s butter, baby!
At this stage, if you’re going the blending route, it will still look like whipped cream, but the peaks of the cream will be stiffer.
Between 10 and 15 minutes—I churned for about 11—the fats will have separated from the liquid and you’ll have a nice, solid little lump of butter in a pool of buttermilk.
I successfully attempted both the hand-churning and stand mixer methods, but when I tried the former, my apartment was a bit too warm. I still got that desired separation, but my butter was a bit sloppy. With the stand mixer, I was able to control the temperature and fight the heat in my apartment by keeping the bowl and whisk attachment cool by soaking them in cold water before churning.
The finishing (buttery) touches
So now that you’ve got butter, grab the strainer and strain the liquid from the fat into one of the bowls and set it aside. You can save the buttermilk and use it for other recipes—maybe some delicious Irish soda bread that would go perfectly with your home-churned butter.
Put the butter in the other bowl and, using the cup, pour ice-cold water over the lump to rinse off any leftover liquid. Then, reach into the water-filled bowl and use your hands to wring out any extra buttermilk from the butter lump. Sort of like gently wringing out a towel, but the towel is butter. You’ll have to do this several times until the water runs clear. Removing excess buttermilk ensures your butter will last longer.
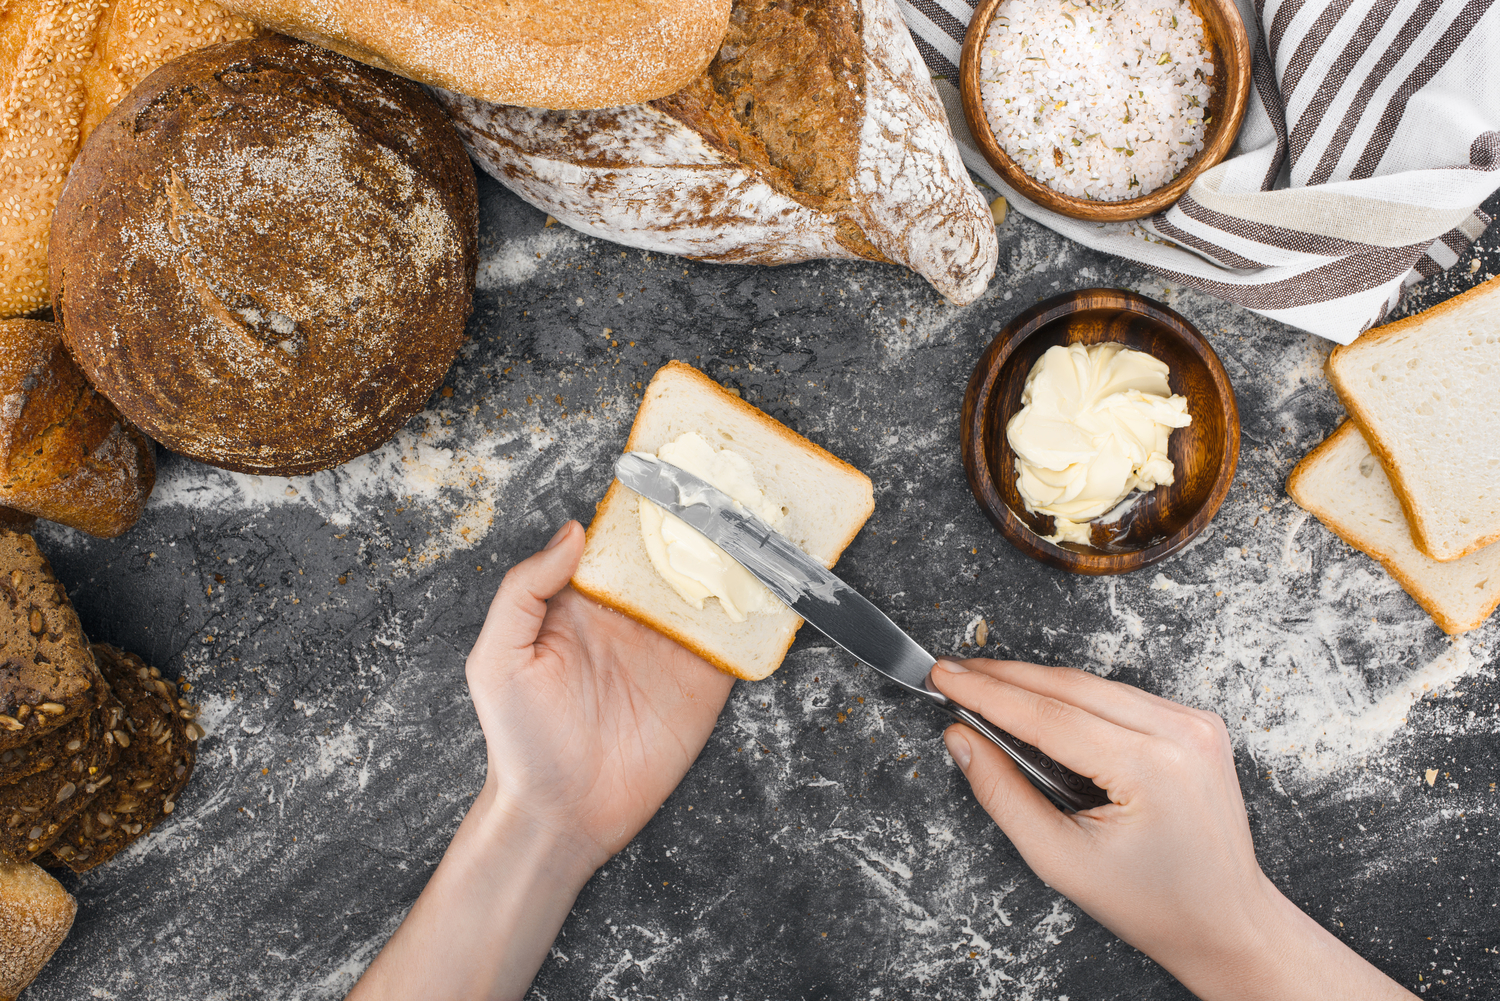
And voila—you’ve made butter. I added just a pinch of salt, a clove of garlic and a teaspoon of rosemary to make a fine spread for my homemade bread. You can pretty much mix any additional flavorings in once you’ve got the final product. If you’re planning on baking with your hand-churned butter, be sure to leave the salt out. Now go, fellow amateur pioneers, and churneth thine butter well.
