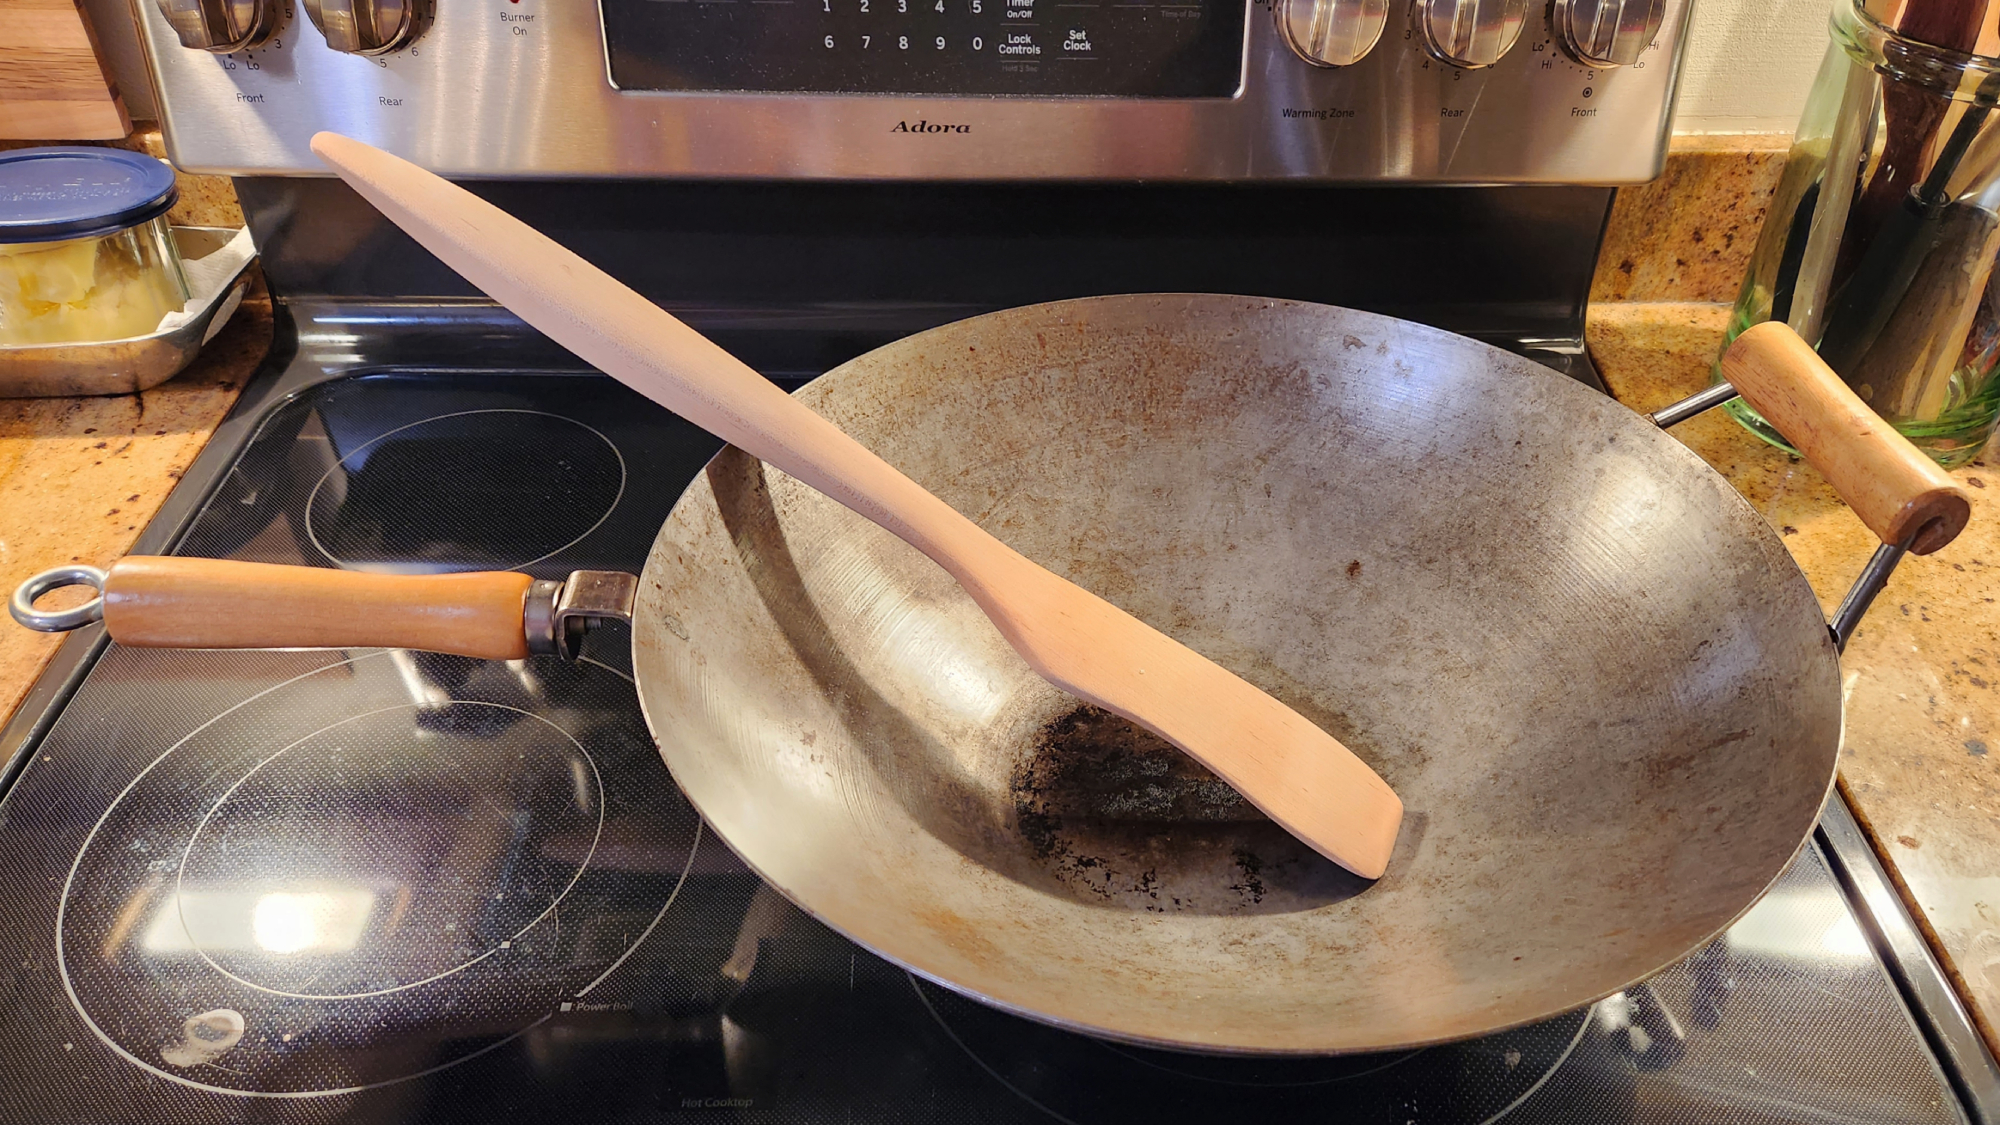
Sometimes being a woodworker is a lot like being a genie. The other day, my wife was using a curved wooden stirring spatula to make cheese sauce for mac ’n’ cheese. “I wish I had one of these, but way longer,” she said to me. So I went downstairs, found a scrap of maple about the size she wanted, and made her a bigger one. Though I’d never made a kitchen utensil before, it took about two hours, and was far easier than I had anticipated.
No matter your skill level, making a wooden spatula, spoon, or some other kind of utensil offers lots of options for creativity with a wide range of shapes and styles. You can copy something you already have like I did, find a template online to use as a base, or create a style that is completely new. Whether you’re looking for a relatively quick present or trying to enhance your kitchen arsenal, whatever you craft is sure to be a crowd pleaser.
Warning: DIY projects can be dangerous, even for the most experienced makers. Before proceeding with this or any other project on our site, ensure you have all necessary safety gear and know how to use it properly. At minimum, that may include safety glasses, a facemask, and/or ear protection. If you’re using power tools, you must know how to use them safely and correctly. If you do not, or are otherwise uncomfortable with anything described here, don’t attempt this project.
Stats
- Time: 1 to 2 hours
- Material cost: $5 to $10
- Difficulty: Easy
Tools
- Band saw
- Orbital sander
- Sanding discs (60-, 80-, 120-, 150-, and 220-grit)
- (Optional) tabletop belt and disc sander
- (Optional) spoon gouge
- (Optional) chisels
Materials
- 1 (1-foot) 1-by-2-inch maple board (or any hardwood board about the size of your soon-to-be spoon)
- Cutting board conditioner
- Painter’s tape
How to make a wooden spoon, or any other utensil
1. Draw your design on the wood. Because I made a larger version of an existing utensil, I freehanded the design with the original as a reference. If you purchased a template, cut it out and trace it onto your board.
Remember that a template has two profiles. There’s the main shape that you’d see when you put the utensil down flat, but there’s also the narrow edge profile. You’ll need to draw both of these.
- Pro tip: I always prefer drawing on the wood rather than taping a template to the board. This helps me avoid losing my design partway through if the paper falls off or gets shredded while I’m cutting.
2. Cut out the rough shape on the band saw. Start cutting the largest profile, as though the utensil is lying flat. Try to get the general shape in one or two large cuts, rather than many small ones—this will make the second profile easier to trim.
[Related: The surprising woodworking tools you already have around the house]
3. Tape the cutoff pieces back onto the rough-cut block. This may seem counterproductive, but putting these edge pieces back in place stabilizes the board so you can cut out the second profile more safely and accurately. You may need to redraw sections of the edge profile over the tape, but you’ll thank yourself later.
4. Refine the shape. Once you have the general shape, use your band saw to trim the more intricate and detailed areas. You can also use chisels or hand saws for this, depending on your comfort, the cuts required, and your access to tools. Notch out the tighter angles and corners, start to shape the handle, and form whatever curves you can. If you have a spoon gouge (I do not), scoop out the spoon head as needed.
Any material you remove now is material you won’t have to sand off later. If you’re using only an orbital sander, like I did, get as close as you can, because the orbital sander is slow. A belt sander removes more material faster, so if you have access to one of those, you can be a bit less precise with this step.
- Warning: Be careful while making these more intricate cuts, both for your physical safety and to avoid removing too much material. Better to spend 10 extra minutes sanding than to accidentally cut your handle (or fingertip) off.
5. Sand until you can’t feel your hands, then sand some more. Sanding will be by far the longest and hardest part of this project. Rather than simply smoothing the wood like when you’re building a cutting board or piece of furniture, you’ll be using sanding to actually finish shaping the utensil. I sanded my entire spoon using just an orbital sander and my quickly-cramping hands, so it’s absolutely doable if that’s all you have. However, manual sanding will take a long time, and—as I said above—a belt sander will definitely speed up the process.
Start with 60-grit paper to maximize material removal. Don’t be afraid to change sanding discs regularly when they start to dull. With this grit, your goal will be to remove all of the saw and chisel marks and refine the shape to near-finished dimensions.
Most of my time was spent working on the handle, trying to find a comfortable shape and size. I actually went back to the bandsaw to remove more material several times during the sanding process, just to speed it along.
Once you’re satisfied with the shape, move through the remaining grits, up to 220. I used 80-, 120-, 150-, and then 220-grit paper.
6. “Water pop” the wood. The first time your spoon gets wet, the wood fibers will absorb the water and expand. No matter how well you’ve sanded, this will cause the wood to feel rough and unsanded. The way to avoid this is called “water popping.” All you have to do is get the wood wet, then let it dry. Lightly hand-sand the resulting roughness off of the spoon with 220-grit paper, or whatever grit you finished with. This will knock down those bloated fibers, and bring back the nice smooth texture. You may have to water pop your project two or three times to achieve a perfect result.
- Warning: Don’t use a powered sander for this. If you do, you might take off too much material, and you’ll have the same roughness the next time your spoon gets wet.
7. Apply finish. Because this is a cooking spoon, you’ll need to use a food-safe finish. I use cutting board conditioner, which is a mixture of mineral oil and beeswax. Squeeze some on and gently wipe it all over the spoon with a clean rag. Let the oil soak in for 15 to 20 minutes, then wipe off the excess. If you find that the wood absorbed all of the oil and feels dry, apply another coat.
And with that, you’re done. Wooden spoons are a fun, relatively straightforward project that really impress. They’re excellent holiday gifts, and a good way to use up some of that scrap wood I know you have stacking up in various corners of your shop. So grant some wishes and help your friends and loved ones cook in style.
