Making a basic cutting board is almost a rite of passage for new woodworkers because it’s a relatively easy project and quite forgiving of mistakes. After all, it’s designed to be cut and scratched, so if you miss a few spots while sanding or the final product isn’t perfectly square, it’s no big deal.
But making a simple, rectangular board can be boring, especially if you’re churning them out for sale, or as gifts. Before you make yet another bland block, think about incorporating one or more of these easy upgrades to start setting your work apart.
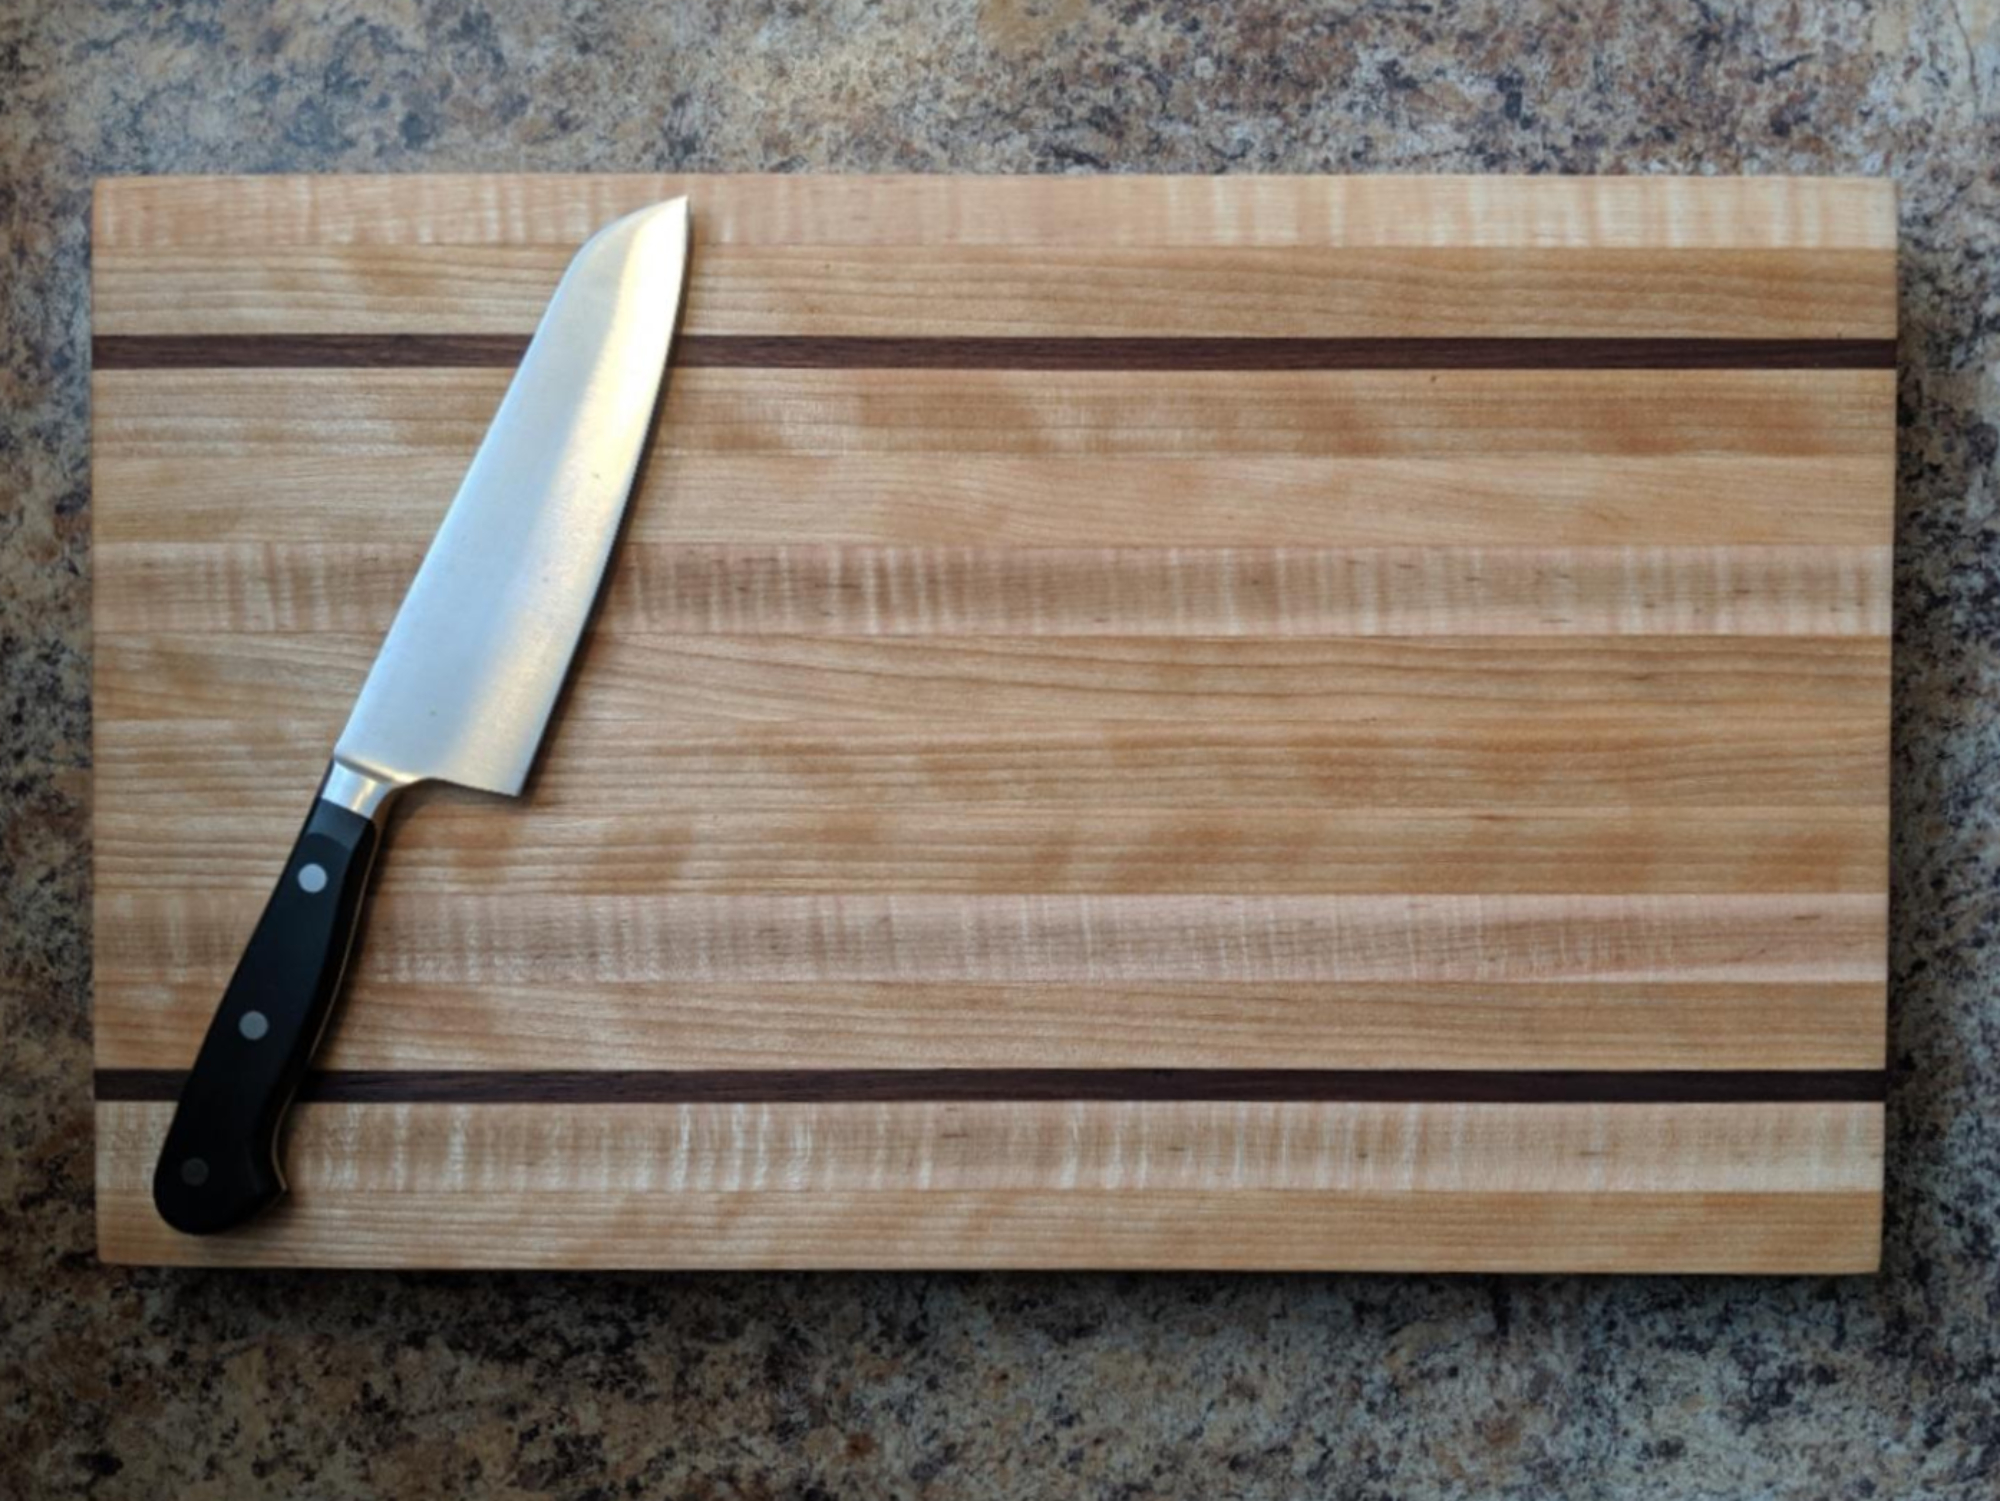
Use different kinds of wood
One of the easiest ways to bring a more refined aesthetic to your boards is to vary your wood choices. If you typically make your chopping blocks from solid maple or cherry, for example, consider adding walnut accent stripes. Walnut is widely available, easy to work with, and is on the less-expensive end of the fancier woods.
To start, use your table saw to cut a few strips of walnut the same length and height as your board, each around a quarter-inch wide. If you generally make face grain cutting boards, cut an inch-wide piece off of each long side of your existing cutting board, but don’t throw it away. Put the walnut strips along the freshly cut edges, then place the cutoff pieces back along the outside of the walnut and glue it all together. If you make edge grain boards, put the walnut strips in place near the outer edge during your regular glue-up process.
If you’re looking to get really fancy, consider upgrading the walnut to padauk, purpleheart, zebrawood, or some combination. And you can vary the widths of the accent boards until you find a design you’re happy with.
Once you’re feeling confident, you can even start to explore end grain, chaos, and woven boards, but those require much more work.
Change the angles of your edges
Another simple way to give a professional feel to your boards is to change the angles of your edges and corners. One of my personal favorite styles is to bevel the bottom of all four edges. To do this, set your table saw to the bevel angle you want—I use 35 degrees purely because I like the look of it—and cut a bevel on all four edges. If your table saw is large enough, use the miter gauge to keep the board stable while making the crosscuts on the shorter edges of the boards.
You can also change up your edges with a router and the right bit. On smaller, thinner boards, I like to use a quarter-inch roundover bit and my palm router to create a rounded edge. You can also use a V bit to create a 45-degree bevel with the router, or simply use any other bit that strikes your fancy. Test out several different designs on a piece of scrap wood to find the one that looks best to you.
Install handles to turn a cutting board into a charcuterie board

Everyone likes to say “charcuterie,” so everyone must love charcuterie boards. You can turn many cutting boards into one of these serving trays simply by adding handles. If you have a router, you can route handles into the sides of the board like I did while making my bathtub tray. You can also route handles directly into the sides of the board, which is a bit more work but makes a more functional board because food can’t fall through the handle holes.
[Related: Craft an impressive cutting board in 8 easy steps]
For my serving boards, however, I think cabinet hardware makes the biggest impact for the least effort. There are numerous styles to choose from, in all kinds of finishes, and they’re easy to install. Just drill holes through the board large enough to fit the hardware bolts, then screw the handles into place. It’s an instant upgrade, and you’ll only spend about five minutes measuring and a few minutes drilling.
If you make a lot of these, build a handle jig to position the holes rather than measuring every time. I made mine out of a piece of scrap half-inch plywood about 8 inches long. I drilled holes 3 inches apart and 1 inch inset from the edge of the board, then marked the exact center point between the two holes. To use the jig, I just mark the center of the cutting board, line up the centerline of my jig with that mark, and then mark the two hole positions. Perfect fit, every time.
Carve a juice groove to add function and flair
You’ll usually see juice grooves on larger boards, but you can install one on any board you want. These grooves are designed to collect the liquid that runs out of meat while you’re cutting it, so you don’t make a mess on the counter. They require a router with a cove bit, and while they’re simple enough to make, they can still be a bit tricky to pull off because the router can jerk and jump if you’re not careful.
Essentially, all you do to make a juice groove is run the router along a straightedge, cutting the groove about half an inch in from the edge of the board. However, cutting a juice groove is much easier if you take the time to build a jig. Don’t try to cut the whole groove in one pass, either. Take shallow, ⅛-inch-or-so passes until you reach your desired depth. I typically make mine between ¼ and ⅜ inches deep, but this is another design choice you need to make for yourself.
These ideas, of course, are just a starting place. Find the combination of looks, accents, and accessories that matches the aesthetic that you’re going for, and your cutting boards will never fall flat again.
