Refinishing a table sounds far more intimidating than it actually is. The process is not necessarily swift—the wait time between steps means it’ll take a few days to complete—but it also isn’t particularly time-consuming. Once you get the hang of it, no individual step will take more than maybe 30 minutes. And the result can turn a dingy throwaway piece of furniture into one of your favorites.
Crucial to this process is stripping wood. If that phrase seems technical, it helps if you think about the last time you moved heavy furniture from a carpeted spot it inhabited for years, revealing the spotlessly clean fibers below. That’s stripping wood. The finish protects the timber beneath, and you need only apply a few chemicals to strip it away and reveal the original beauty of the surface, a blank canvas for you to refinish to your aesthetic desire.
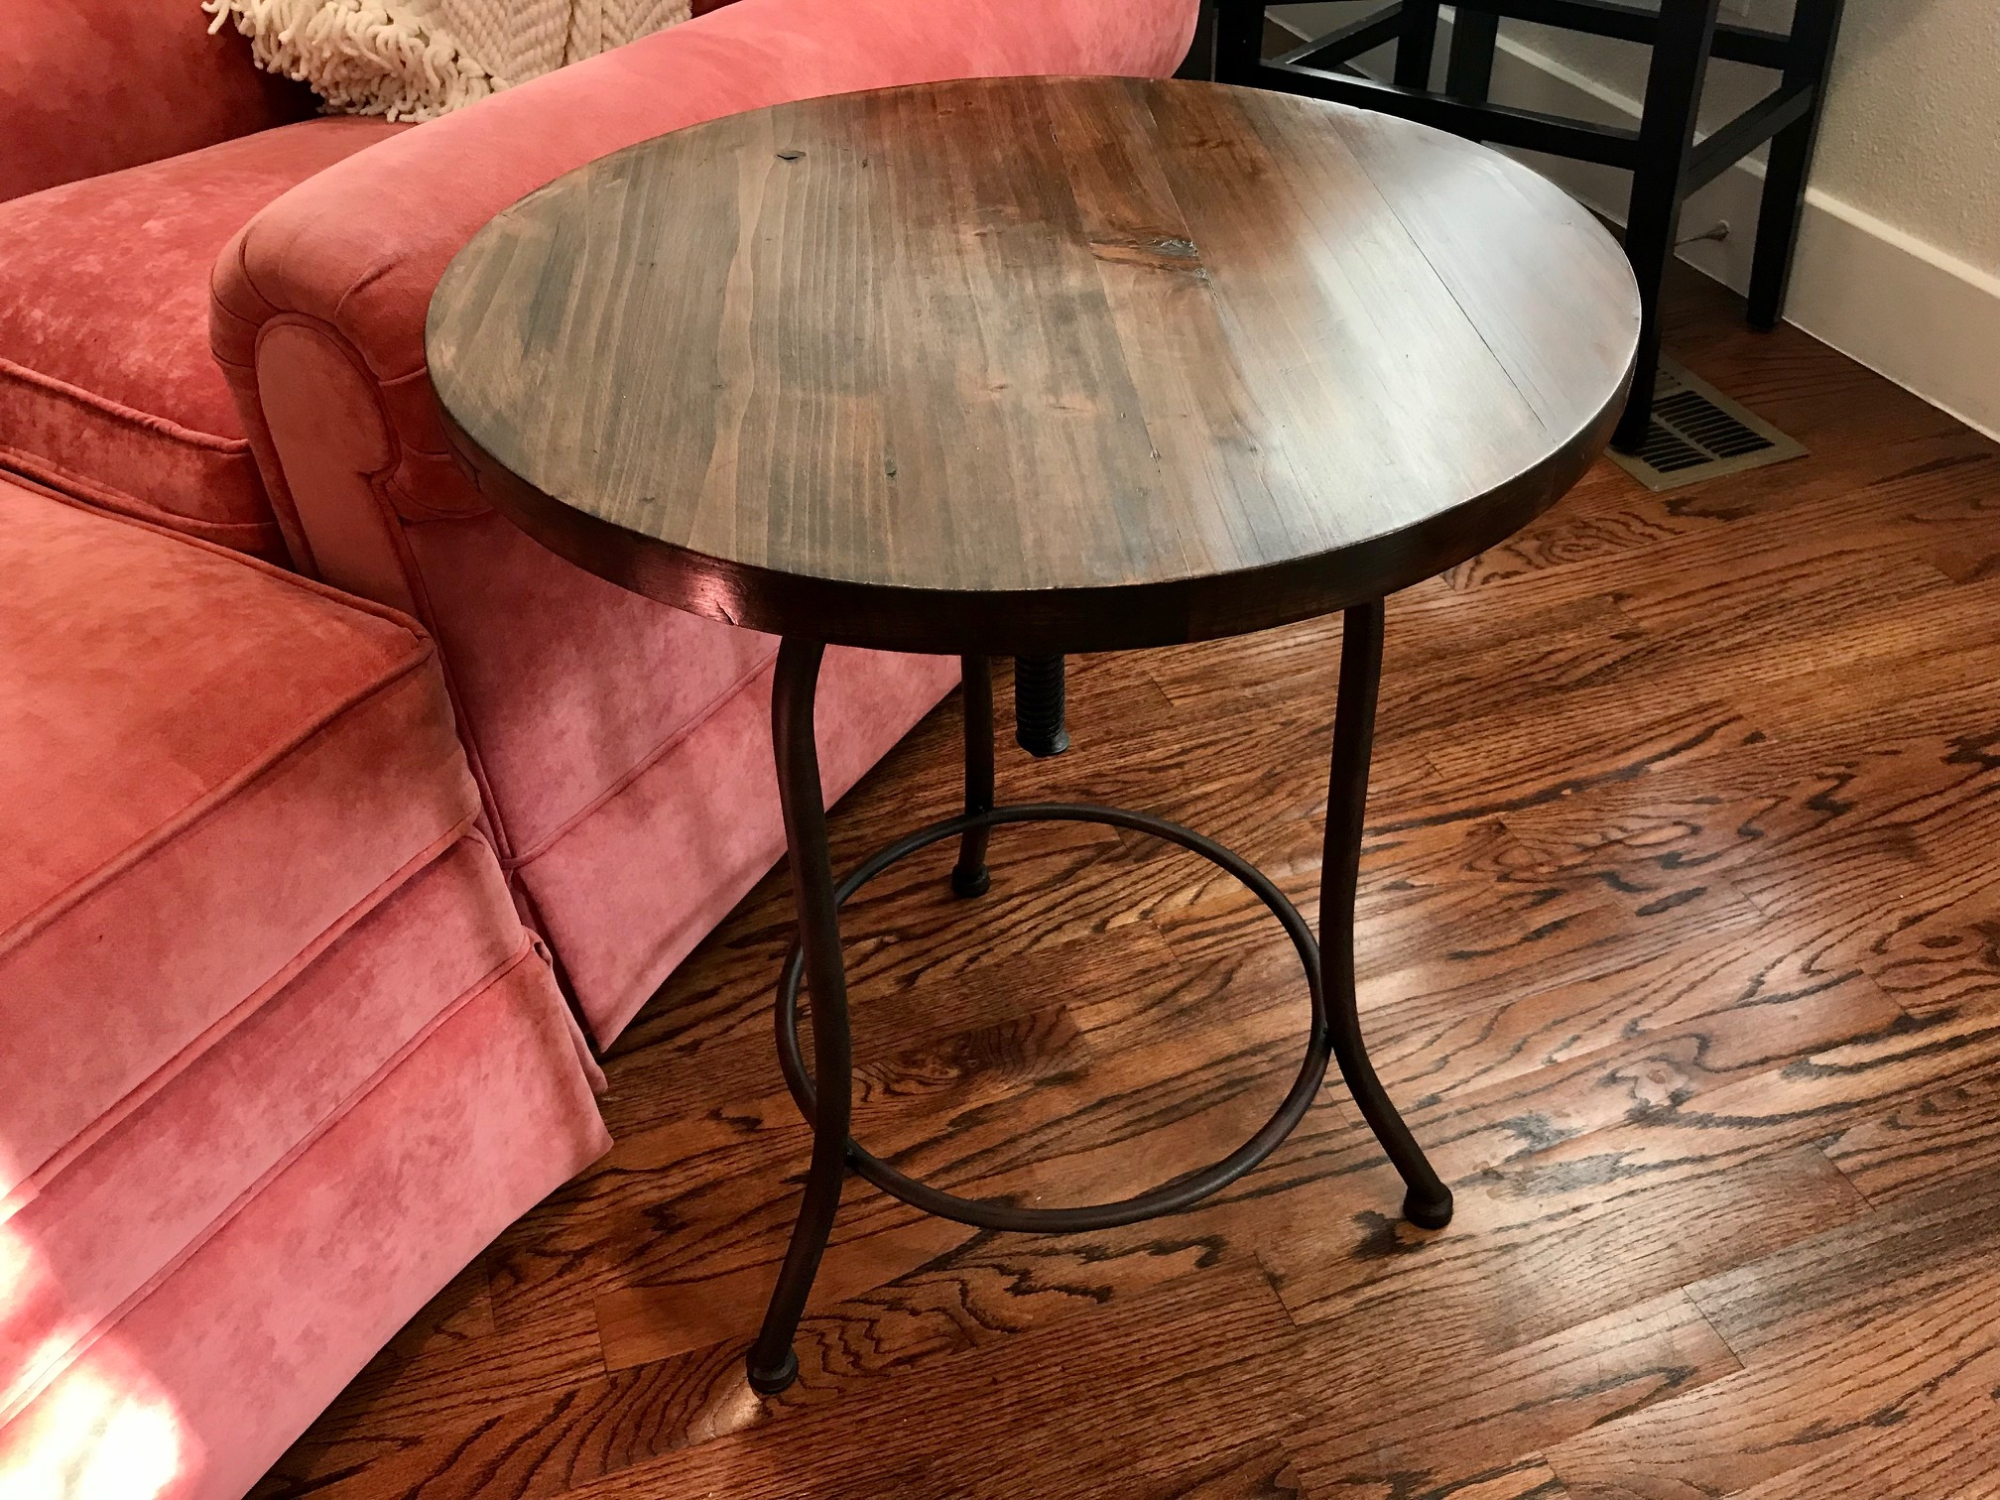
My target was a circular end table featuring an iron base and a tabletop that had taken on some nicks and stains. It was also a color that does not match the rest of my home’s furniture. It is not flawlessly constructed, but it was made of solid wood and I was sure a darker stain would bring it to life.
So, let’s get to it.

Stats
- Time: 2 to 3 hours (not including wait time)
- Material cost: $75
- Difficulty: Moderate
Materials
- Gel stripper
- Premium wood stain
- Polyurethane finish
- Paper towels
- Tape
- Floor protection paper (or a trash bag)
Tools
- Brushes (or foam applicators)
- Medium-coarse steel wool
- 120- and 220-grit sandpaper
- Scraper
- Work gloves
- Rags
- Old pan (or paint tray)
- Old, crusty paint brush
Instructions
1. Prepare your table. Simple: protect any areas of the table you’re not working on—say, the legs—by taping on some floor protection paper or a trash bag. Give the tabletop a quick swipe with a dry rag to knock off any loose debris. And we’re off.
- Warning: Make sure you’re set up in an open-air space, such as a garage with an open door, and consider a wearing safety goggles and a respirator mask. These chemicals are no joke.
2. Get stripping. Just like that, we’re into the most essential—and most fun—part of the process. With your gloves on and your old, crusty paint brush at the ready, pour a healthy glob of gel stripper directly onto the surface of the table. Use the hardened brush to push it around evenly, pouring a bit more stripper as you go, as needed. Keep an eye out for any dry spots, and cover them by using the brush to lightly pull stripper from pooled areas, leaving the gel evenly distributed. Check the time; you’ve got 15 minutes to wait. Maybe step outside for some fresh air.

[Related: 17 minutes outside each day keeps the doctor away]
3. Scrape the stripper away. Times up! Returning to the garage, you’ll find the stripper has bubbled and clumped as it pulled up the stain and finish. Time to deploy your scraper. Being careful not to dig into the softened wood, run the scraper from one end of the table to the other, collecting the gunk along the way as a snowplow would gather snow. At the table’s edge, push the mess into an old pan or paint tray you don’t care about, repeating until the table is scraped free of gel.
- Pro tip: Quick definitions for the uninitiated: The stripper is pulling up two different layers. The protective top layer is called finish or sealer and comes in various forms such as polyurethane, varnish, wax, and shellac. The layer below is the stain, which provides color.
4. Reapply some stripper. Now that you have the stain mostly removed, pour on another, smaller glob of stripper and scrub it into the table with a piece of steel wool, paying particular attention to any trouble areas where the layers of stain and finish haven’t yet rubbed away, as well as tough-to-get sides and crevices. As your steel wool gets clogged, turn it over or grab a new piece.
- Note: Always rub steel wool (and sandpaper) in the direction of the wood grain. If you don’t, you risk scratching the surface and ruining its look.
5. Neutralize the stripper. We’re done stripping, so spray some water onto the tabletop and wipe it down to neutralize the chemicals. Once you’ve wiped everything, give the surface another quick once-over with a fresh piece of steel wool to continue working away any remaining stain. You’re done for the day. Nice work.
6. Get sanding. After at least 24 hours, sand the entire tabletop with 120-grit sandpaper; a sanding block or some folded-over sandpaper with elbow grease is totally fine here, though you’ll end up preferring an orbital sander for larger jobs. Again, take care to go with the grain of the wood. This step will remove any remaining stain and brighten your piece to its original color. Blank canvas achieved.

[Related: Your home build projects are only as good as the lumber you choose]
7. Get your stain. After wiping off the sanding dust with a dry paper towel, you’re ready to slap on the stain.
- Pro tip: Many folks will recommend that you start by applying a wood conditioner to reduce blotchy-ness, and there’s nothing wrong with that approach. But to save time, a few bucks, and the nuisance of wetting another brush, I generally opt for buying a premium-level wood stain. These already contain conditioner and their label will confirm it, saving you a step. We’re splitting hairs, but at just a dollar or two more for a small can, and without having to buy another potion, the accounting math winds up in your favor.
8. Apply the stain. Grab a new brush or foam applicator and your ever-so-premium stain, and it’s time to get to business. This time, dip the applicator directly into the liquid and brush it on. There’s nothing to it, just paint on a generous amount and let it soak into the wood for five or 10 minutes—the longer you wait, the darker your end product becomes. When the time is up, take some paper towels, wipe away the excess, and enjoy the reveal of the surface’s new shade.
- Note: You can wait a day for the stain to dry and then repeat this step if you haven’t reached your desired color, but I’ve yet to need to do so.

9. Seal the wood. The stain can should say to wait just an hour, but in places of high humidity, I’d recommend waiting at least 24 hours after applying the stain to start this step. During a Texas summer, I’ve had to go a full two days. Although many pros opt for lacquer, I’ve only ever worked with a polyurethane finish and have found no reason to venture into other territory; it’s simple, easy to apply, dries fast, and looks good. For this project, I chose a semi-gloss version to provide just a little shine.
After carefully stirring your poly to keep from creating bubbles, use a new brush to apply the finish in the direction of the grain. Pockets of air are the enemy here, so move slowly and, if you notice bubbles, gently pull your brush across the top to smooth out. Finish with a light stroke across the length of the surface.
10. Wait, sand, and repeat. Give the finish at least eight hours to dry—preferably overnight—and then lightly sand with 220-grit sandpaper, by hand this time for a lighter touch. Wipe away the excess debris with a dry towel and apply a second coat of finish.
And that’s all, folks. You’re now the proud owner of a much nicer piece of furniture. Plus, now that you have one of these projects under your belt and have most of the necessary materials, you’ll be able to crank these jobs out on the cheap, without taking too much time out of your day.
