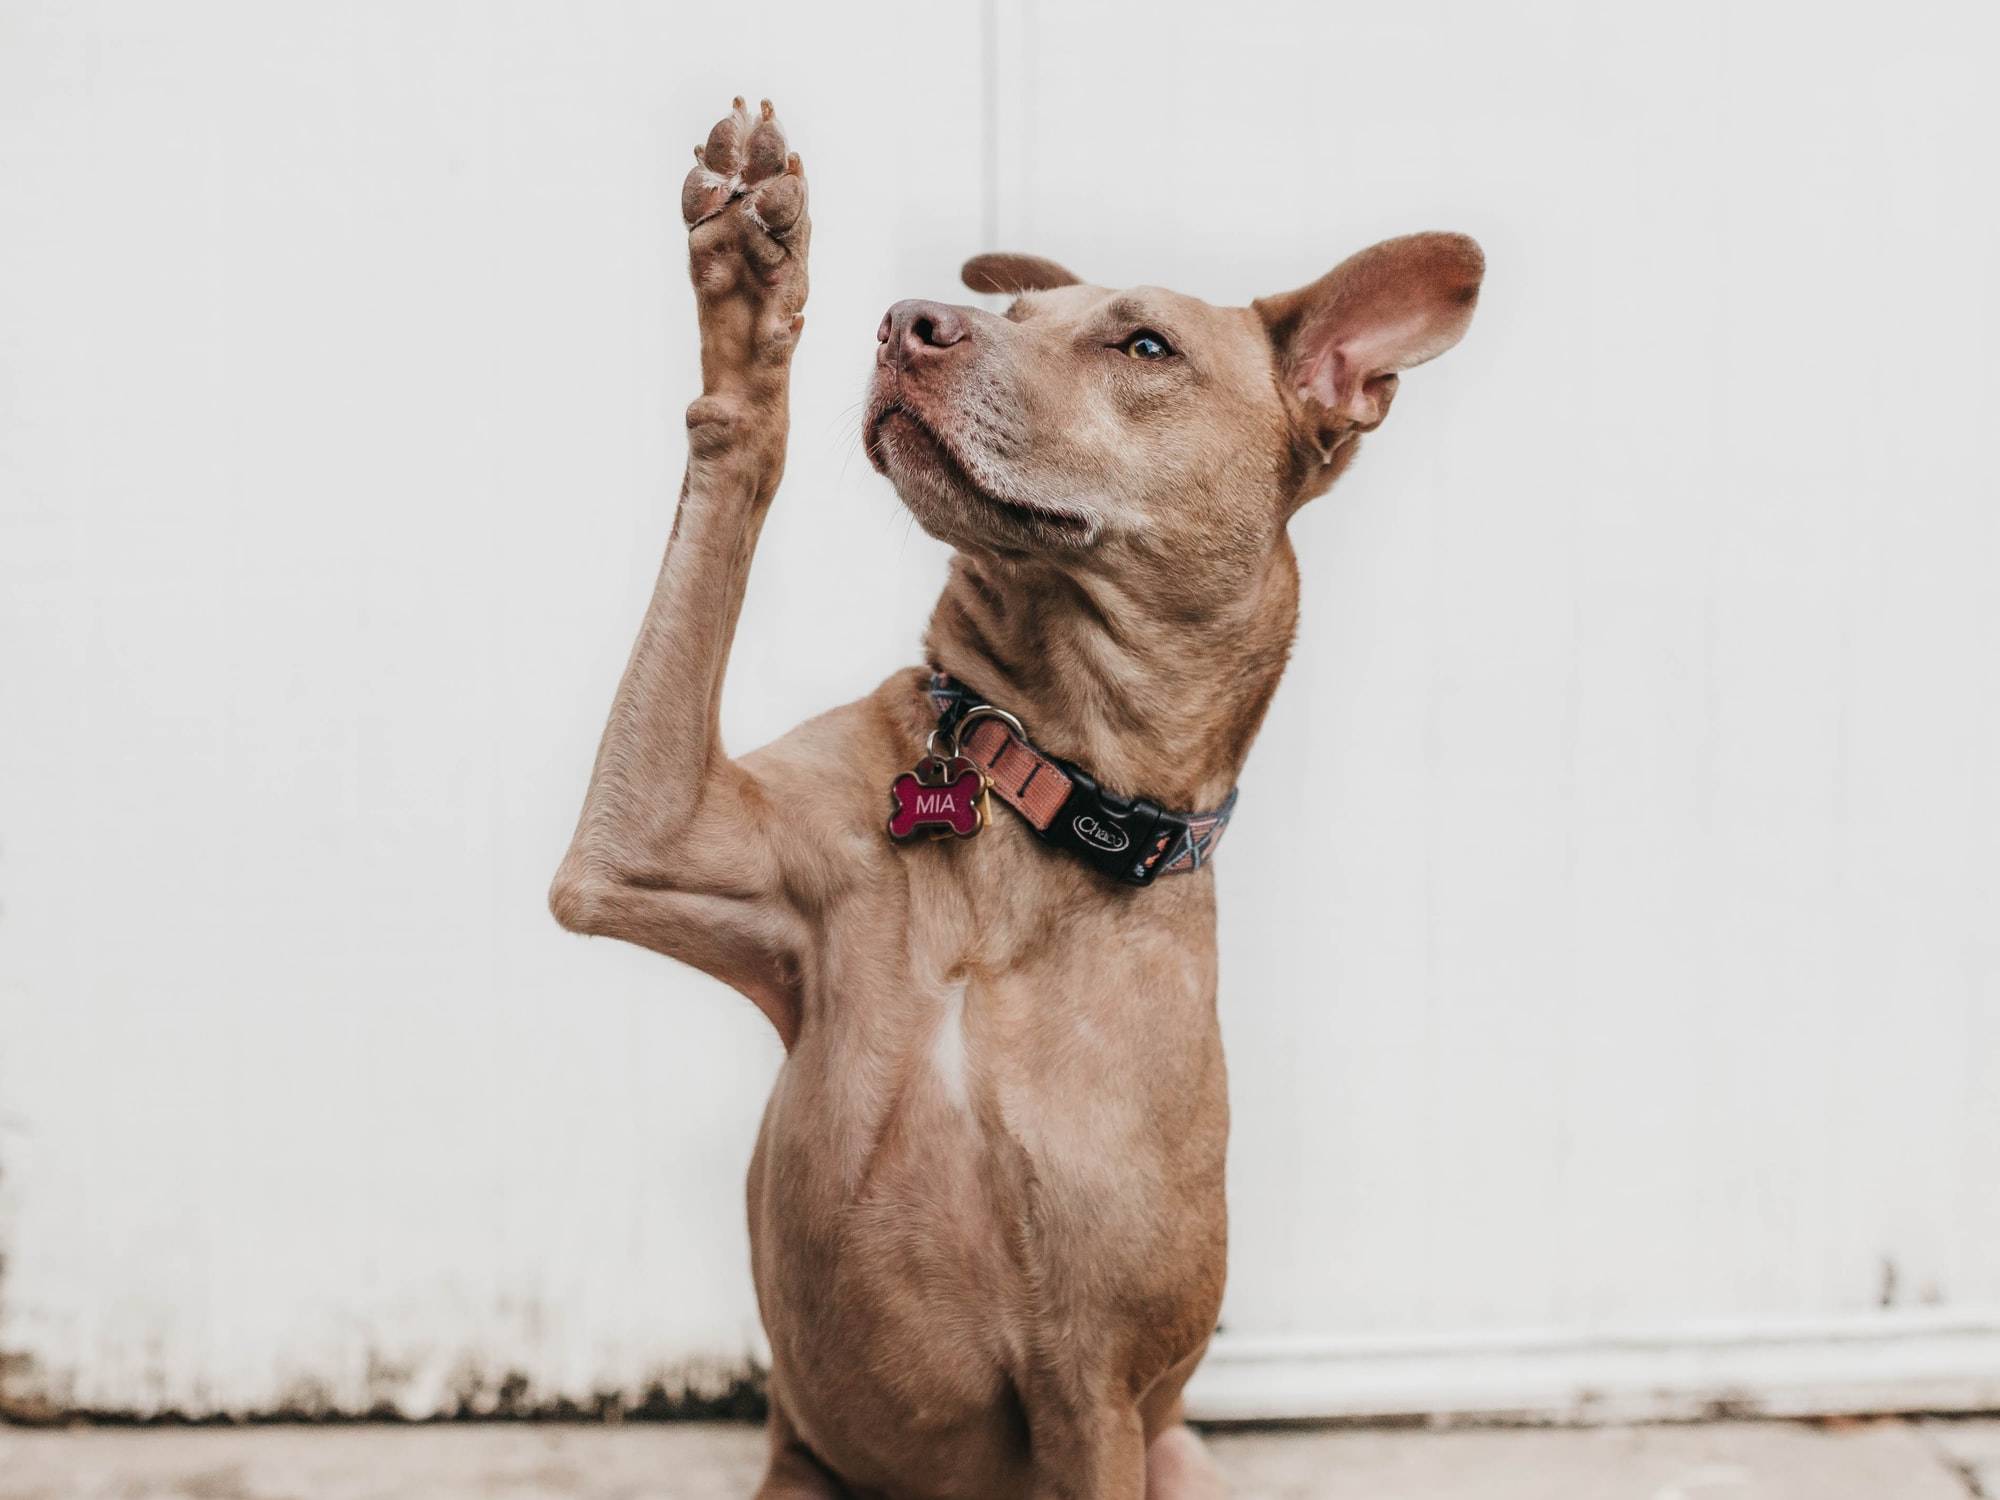
High temperatures and a whole lot of handwashing have made it imperative for a lot of us to take care of our hands and moisturize them constantly. You probably haven’t thought about it, but your dog is going through something similar.
Fido’s paw pads are one of the few patches of naked skin on his body, and even though they’re designed to withstand rough terrain, constant contact with hot surfaces during the summer can dry the pads and even lead them to crack.
Sometimes, dry paw pads are just uncomfortable and rough to the touch. Other times, they can be painful and even bleed. Taking care of your pooch’s hands and feet is as easy as rubbing on some hydrating paw balm that you can easily make at home.
How to make your own paw balm
We tried the American Kennel Club’s paw balm recipe, which is very similar to our DIY lip balm with one key difference: no cocoa butter.
Our four-legged pals tend to have a voracious appetite for, well, everything (including things they shouldn’t eat). As soon as you apply anything to your dog’s paws, you can bet they’ll start licking it.
“Anytime an owner is going to apply something topical to an area that a dog could lick, I would recommend giving a treat that will keep the dog busy for about 15 minutes to allow the treatment to soak into the area,” says Alison Meindl, a veterinarian and clinical assistant professor at Colorado State University’s College of Veterinary Medicine and Biomedical Sciences.
[Related: How to bathe, brush, and trim your pets at home]
But applying a balm on your fur baby, especially for the first time, can make them laser-focused on it, and licking will be inevitable. This is why the ingredients you use in your paw balm must be 100 percent safe for dogs to eat.
Even if you don’t have a canine companion, you probably know chocolate is extremely toxic to dogs, as they’re unable to metabolize methylxanthine theobromines, a compound found in the candy. Still, cocoa butter is not chocolate and has very little methylxanthine, Meindl says.
What’s tricky is that the amount of methylxanthine that can poison your pooch depends on their size and weight, and since there’s no telling for sure what concentration of the chemical is in the cocoa butter you use, it’s better to stay away from it. Shea butter, on the other hand, is a perfectly safe alternative.
That said, if you want to add lanolin or vitamin E for some soft, super-healthy paws, you can do so confidently.
Stats
Time: 15 minutes
Cost: As low as $2.94 per 5 ounces.
Difficulty: easy
Materials
- 2 ounces of olive, sunflower, or sweet almond oil
- 2 ounces of coconut oil
- 1 ounce of shea butter
- 4 teaspoons of beeswax
- (Optional) ½ teaspoon of vitamin E
- (Optional) ½ teaspoon of lanolin
Tools
- Measuring spoons
- Double boiler (or microwave)
- (Optional) Small container (or lip balm tubes)
- Container with a spout
- Spray bottle with alcohol
- (Optional) Scale
Instructions
1. Measure and pour the shea butter and oils into a container with a spout. It’s that easy. Add any extras at this stage, too: half a teaspoon of vitamin E for some nourishment, and the same amount of lanolin if your pup has extra-dry pads. Lanolin is a natural grease produced by sheep to protect their wool and has the ability to retain moisture.
- Pro tip: If you use a scale, measure the butter and the oils by using the tare function—place the container on the scale and push the tare button to return the count to zero. Pour an ingredient until you’ve reached the desired amount, push tare again, and repeat with the rest of the ingredients.
2. Grate, measure, and add the beeswax. You can skip the grating if you get your wax in flakes. The smaller it is, the easier it’ll be to melt.
3. Melt the ingredients in a double boiler or microwave. Make sure the upper container doesn’t touch the bottom of the pot so the mix doesn’t burn. If you’re using a microwave, make sure the container you’re using is microwave-safe, and melt the ingredients in 30-second spurts. Stir until you have a homogeneous liquid.
- Note: Beeswax’s main role is to give the balm consistency. Four teaspoons of it will render a soft balm you can easily rub on your dog’s paw. If you want something more solid to carry with you and apply directly from a tube or can, increase the amount of beeswax. Add half a teaspoon at a time and make sure to let a small amount cool down before adding more wax.
4. Sanitize your containers. Whether you’re using brand new or upcycled containers, wash and dry them thoroughly. After that, sanitize them by spraying the interior with alcohol and let it air dry.
- Note: The type of container you use will depend solely on what is most convenient for you. You can use an empty lip balm tube, a can, a tiny jar, or even a lip balm egg container (you can learn how to clean and fill one here). Just remember that if you want to apply the balm onto your dog’s skin directly from the container, you’ll need a more solid consistency.
5. Fill your containers. You’re going to be glad you used a cup with a spout for this project.
6. Let the balm cool down. Let it air dry in a safe place or put it in the freezer. Whatever you do, make sure to put a cap or lid on, or protect the balm from any dust or lint by covering the openings. Check on your balm every 30 minutes until it’s completely solid. Remember that larger containers will take longer to solidify.
7. Apply the balm to your dog’s paw pads as much as needed. In the summer, it’s a good idea to moisturize their paws before walking on hot pavement. In the winter, apply it once daily on their paws and nose to keep them from cracking.
[Related: Keep your dog safe and cool during summer]
Remember that keeping your fur baby’s pads moisturized doesn’t mean you can forgo other crucial precautions to protect them from the elements. In the summer, for example, test the pavement, Meindl says. A good way to do this is by placing the back of your hand on the sidewalk and holding it there for seven seconds. If it hurts or feels uncomfortable, your pup is better off at home.
“If it is too hot for a human to walk barefoot across the pavement during the summer, dogs shouldn’t be walking on it either,” she says.
In the winter, trim your pet’s hair and clean the area between their paw pads to prevent ice buildup. Year-round, you can avoid Fido’s skin coming into contact with the elements by putting boots on their hands and feet.
