
Foams are everywhere in nature, and widely used in industrial processes as well. Inevitably, innovators in the culinary realm, hungry for inspiration, have made foams part of their palette as well.
In nature, lighter-than-air volcanic lava traps bubbles of various sizes as the molten rock cools. Aquatic sponges are shot through with crevices and pockets, which can be squeezed and compressed and then return to their original shape when the pressure is removed.
Manmade foam insulation, which is extruded from canisters, is at first soft and pliable, then grows in volume to produce a solid foam matrix filling in cracks and crevices with interconnected air bubbles. And sponges are found in almost every kitchen, sitting in the sink alongside piles of soap bubbles: two different types of foam to titillate the chef’s imagination.
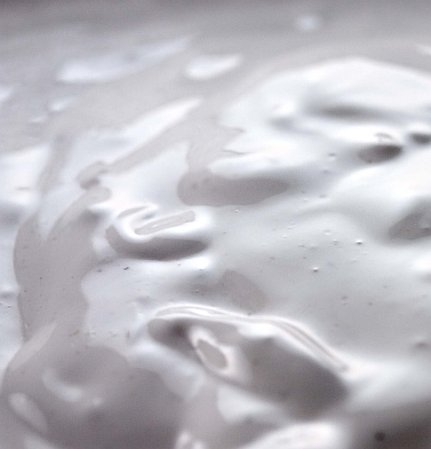
One of the most commonly made culinary foams is whipped cream. Thousands of tiny air bubbles are trapped in a dairy emulsion to turn something liquid into something soft and thick. Modern whipped cream machines work by pressurizing the cream, by releasing compressed nitrous oxide into a chamber with the cream. The pressurized atmosphere forces the gas to be absorbed by the liquid. Then when it’s sprayed out of the chamber, the gas expands, and the cream grows in volume and changes textures from a liquid to a foam. The density of the structure depends upon how much nitrous you add to the chamber. Once we understand how the machine works, we can adapt it to aerate different ingredients.
While cream has an inherent structure of fat and protein to hold the foam intact, other ingredients require a little extra support. We wanted to create an aerated Brie cheese. We thought that its richness and smooth flavor would taste delicious lightened up as a foam. Our first experiment went flat: although it had a beautiful aerated texture when we first sprayed it from the can, it slowly collapsed on the plate. In order to create structure in our aerated cheese while still keeping a soft, melting texture, we looked towards agar, which would form a gel at a relatively high temperature, thus ensuring that our bubbles remained trapped in the cheese. The downside to using agar by itself is that it has a hard, rubbery texture and can fall prey to syneresis—expulsion of liquid—over time.
Fortuitously, agar has synergistic properties with locust bean gum. Research shows that when agar and locust bean gum are combined at a ratio of 9:1, their gel strength and elasticity increases. This solved both of our issues: increased strength and a desirable soft smooth texture. Finally, we needed to figure out how much agar and locust bean gum we needed to make this experiment work. When using hydrocolloids, it is always best to use the minimum amount necessary so as to get the maximum flavor impact from the dish. In this case we determined that 0.3 percent by weight of the total base worked perfectly. Try it yourself.
Blown-up Brie

Ingredients
- 182 grams Brie cheese
- 180 grams skim milk
- 3 grams salt
- 0.2 grams cayenne pepper
- 0.98 grams agar
- 0.1 grams locust bean gum
Recipe
Put the skim milk in a blender. Turn the blender on low and sprinkle the agar and the locust bean gum into the vortex. Once the powders are absorbed, blend for 30 seconds to make sure they are thoroughly incorporated.
Pour the mixture into a pot and bring to a simmer over medium heat. Simmer for five minutes, stirring occasionally. Add the salt, cayenne pepper, and the Brie cheese.
Continue to cook over medium heat, stirring the mixture until the cheese is melted. Return the mixture to the blender and puree briefly to homogenize the liquid. Pour the cheese base into a whipped-cream charger canister and add two nitrous charges.
Expel the warm base into four half-pint mason jars, filling them to the top. Immediately put the lids on and seal tightly. Place the jars in the refrigerator to cool. Let them chill for a minimum of four hours.
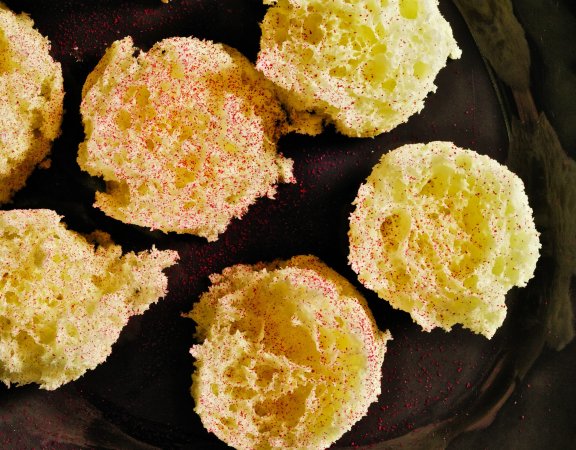
When the mixture is cool, open the lids and run a knife around the inside of the jar to loosen the Brie. Turn the jar over and gently shake free the delicate aerated cheese. It will settle a bit upon release, but will hold its light structure. Use a butter knife to tear the Brie into pieces: the pieces should resemble volcanic pumice stones.

