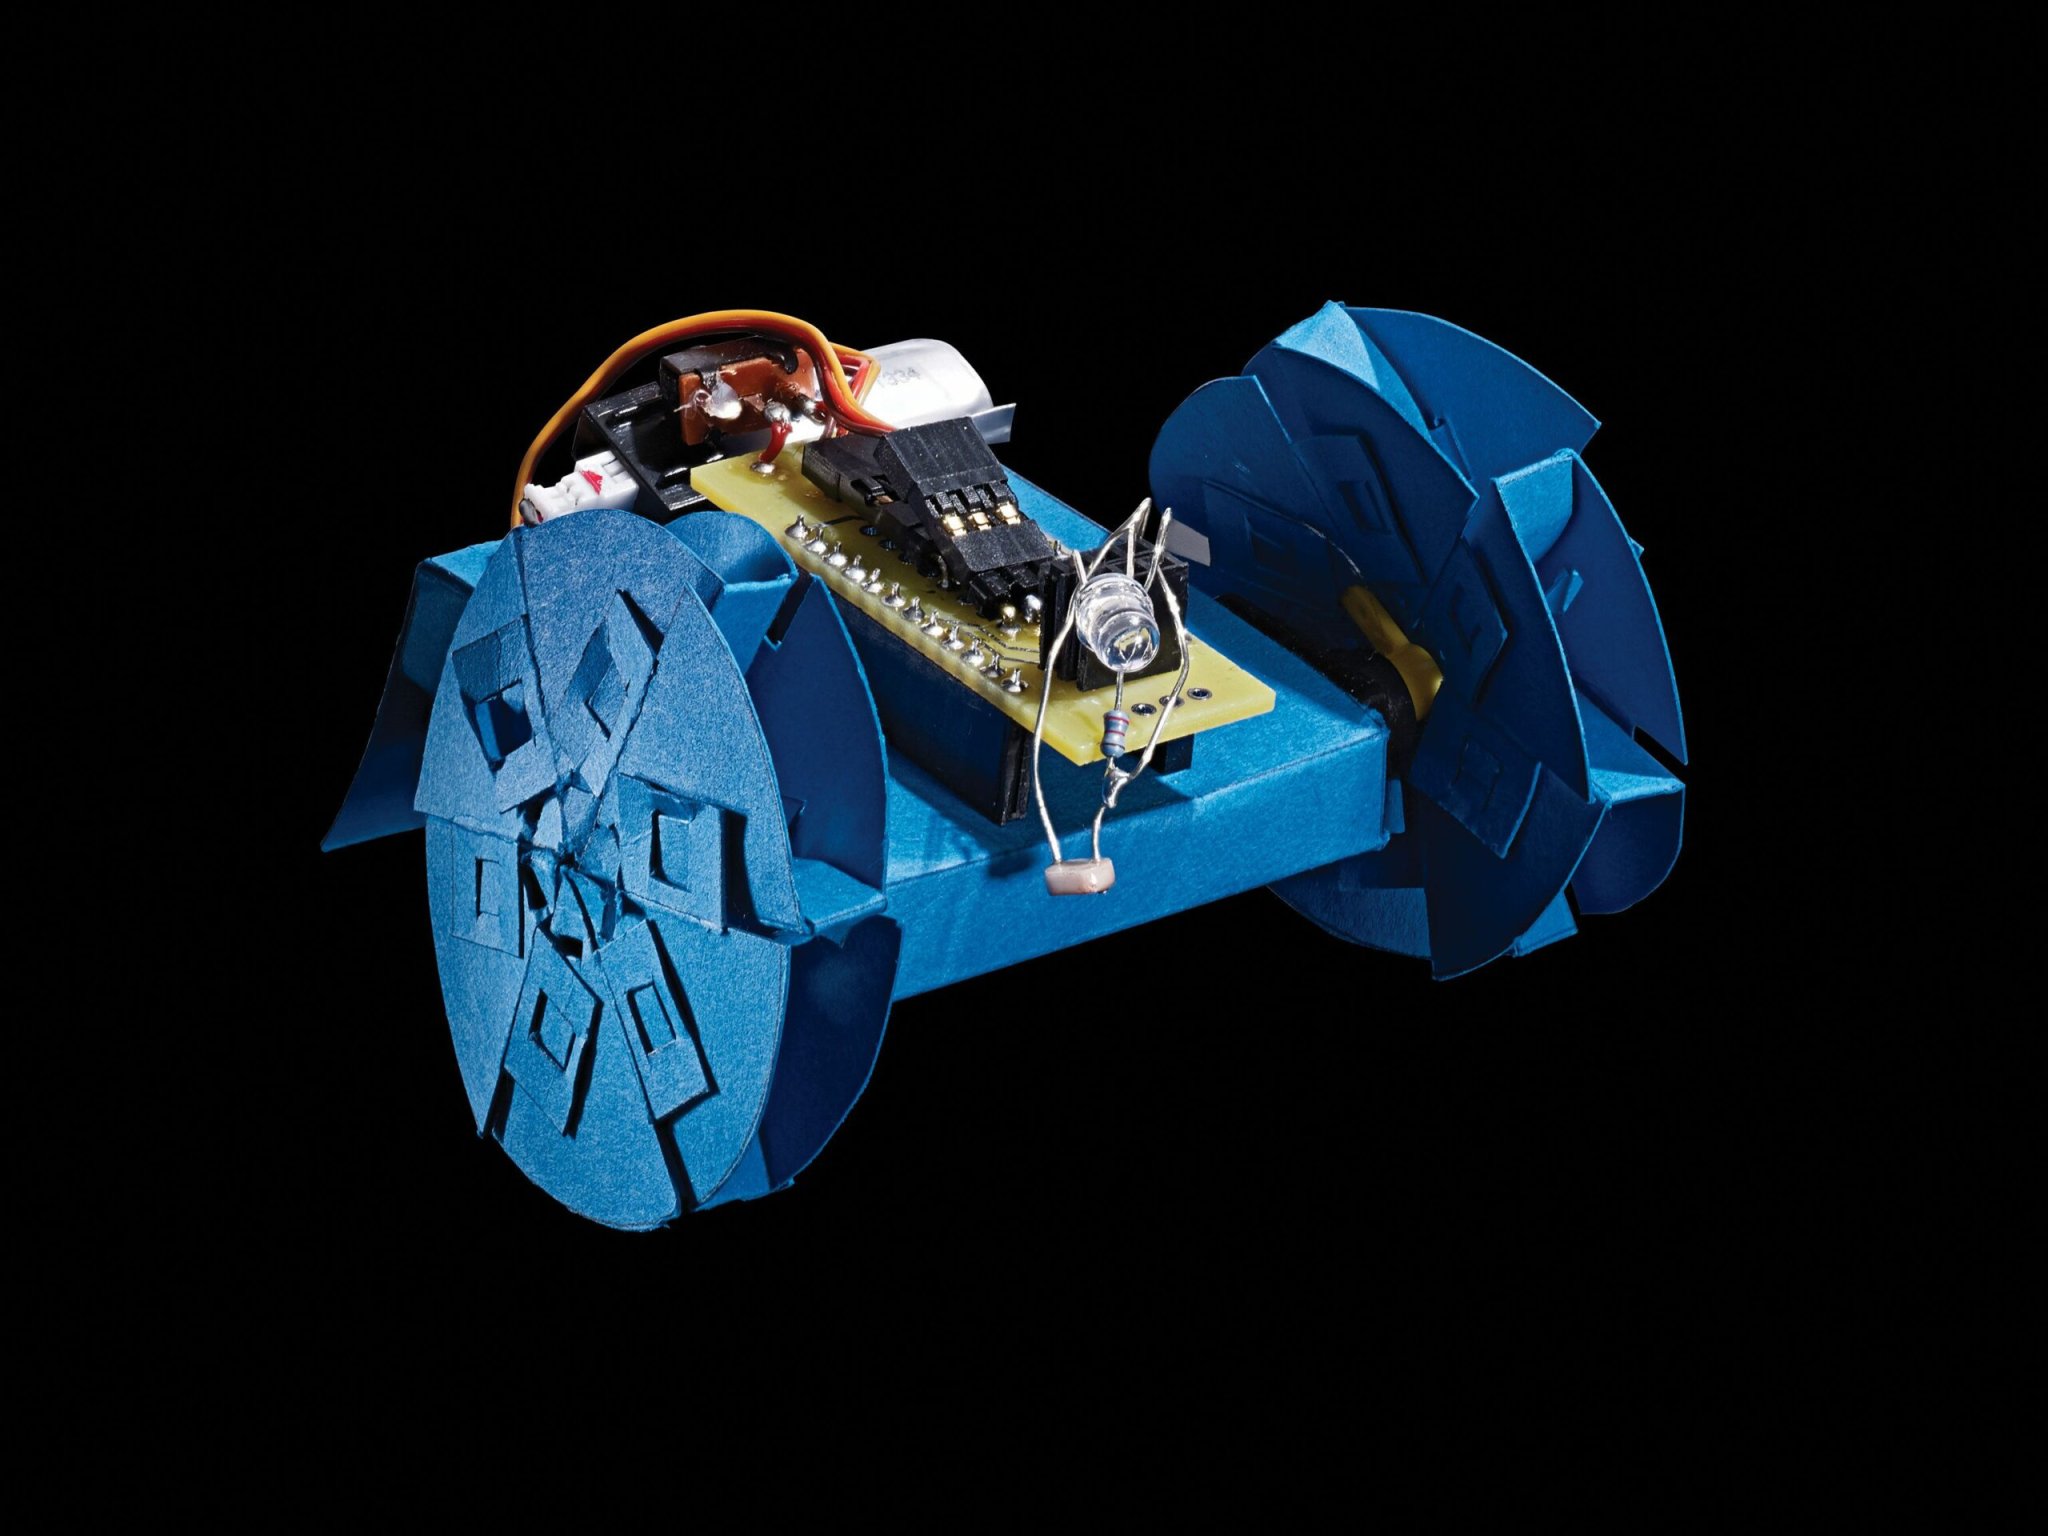

Origami, the ancient art of paper folding, also shows up in modern science and engineering. By turning a two-dimensional sheet into a 3-D product, as origami artists do, engineers can make more-versatile versions of devices like space mirrors and heart stents. The same techniques can also be used to create inexpensive robots.
To get started, simply print out a template, cut, and fold. Once you add some basic electronics, an Arduino brain will command the robot to roll over the floor, sticking to dark surfaces, based on the amount of reflected light it detects. If the robot’s body tears, it’s no big deal. Cardstock costs only about 10 to 30 cents per piece—just print another.
Ankur Mehta, who was an MIT postdoctoral fellow when he designed this machine, says his goal is to get robots into anyone’s hands for cheap. “People who are not engineers should be just as comfortable with creating and using robots as they are interacting with cellphones and smart devices,” he says.
WARNING: Lithium-polymer batteries are a fire hazard. Read the warnings on your battery before plugging it into your paper project.
Stats
- Time: 5 hours
- Cost: $55
- Difficulty: Hard
Tools
- Printer
- X-Acto knife
- Straight edge
- Soldering iron
Materials
- Custom daughter board
- Three sheets 8.5-by-11-inch cardstock

- Two continuous-rotation servos
- Arduino Pro Mini 3.3V/8MHz
- Male breakaway headers, 30 straight and 6 right-angle
- 30 female headers
- Switch
- Connector for battery
- 1.8-kilohm resistor
- Mini light sensor
- White 5 mm LED
- FTDI Basic Breakout 3.3-volt
- Li-poly 3.7-volt, 130mAh 1S 25-40C battery
- Li-poly battery charger
This article was originally published in the November 2015 issue of Popular Science, under the title “Fold a Paper Robot.”
Instructions


