Among the many apps you get with Windows 11 there’s Storage Spaces, an advanced disk management program that lets you take more control over the available space in your computer.
The primary job of this tool is to combine several hard drives into a pool, which you can then access as if it’s one disk. There you can duplicate files and give them different locations within the same pool, so if one hard drive fails, you’ll have a copy.
While this redundancy is useful, it’s not a replacement for a full backup—You should still have copies of your most important files elsewhere, in case you lose everything at home through fire, flood, theft, or something else.
While we’re going to take you through the process of setting up Storage Spaces in Windows 11, the feature is available in Windows 10, too. The configuration process and the available options are the same.
How Storage Spaces works
Storage Spaces virtually combines drives together behind the scenes, so Windows sees them as one block. Most hard drives are compatible with this tool, no matter how they’re connected to your computer or whether they’re using the newer solid-state drive technology or the older mechanical hard drive storage.
[Related: Rip out your computer’s guts and craft an external hard drive]
When your pool of storage is set up, you can add new disks and remove existing ones with a few clicks, which makes expanding the available storage a very straightforward process. Storage Spaces is also a simpler solution to backing up data on your PC than some other methods you might have come across, like configuring a RAID array or connecting up a NAS drive.
How to set up Storage Spaces
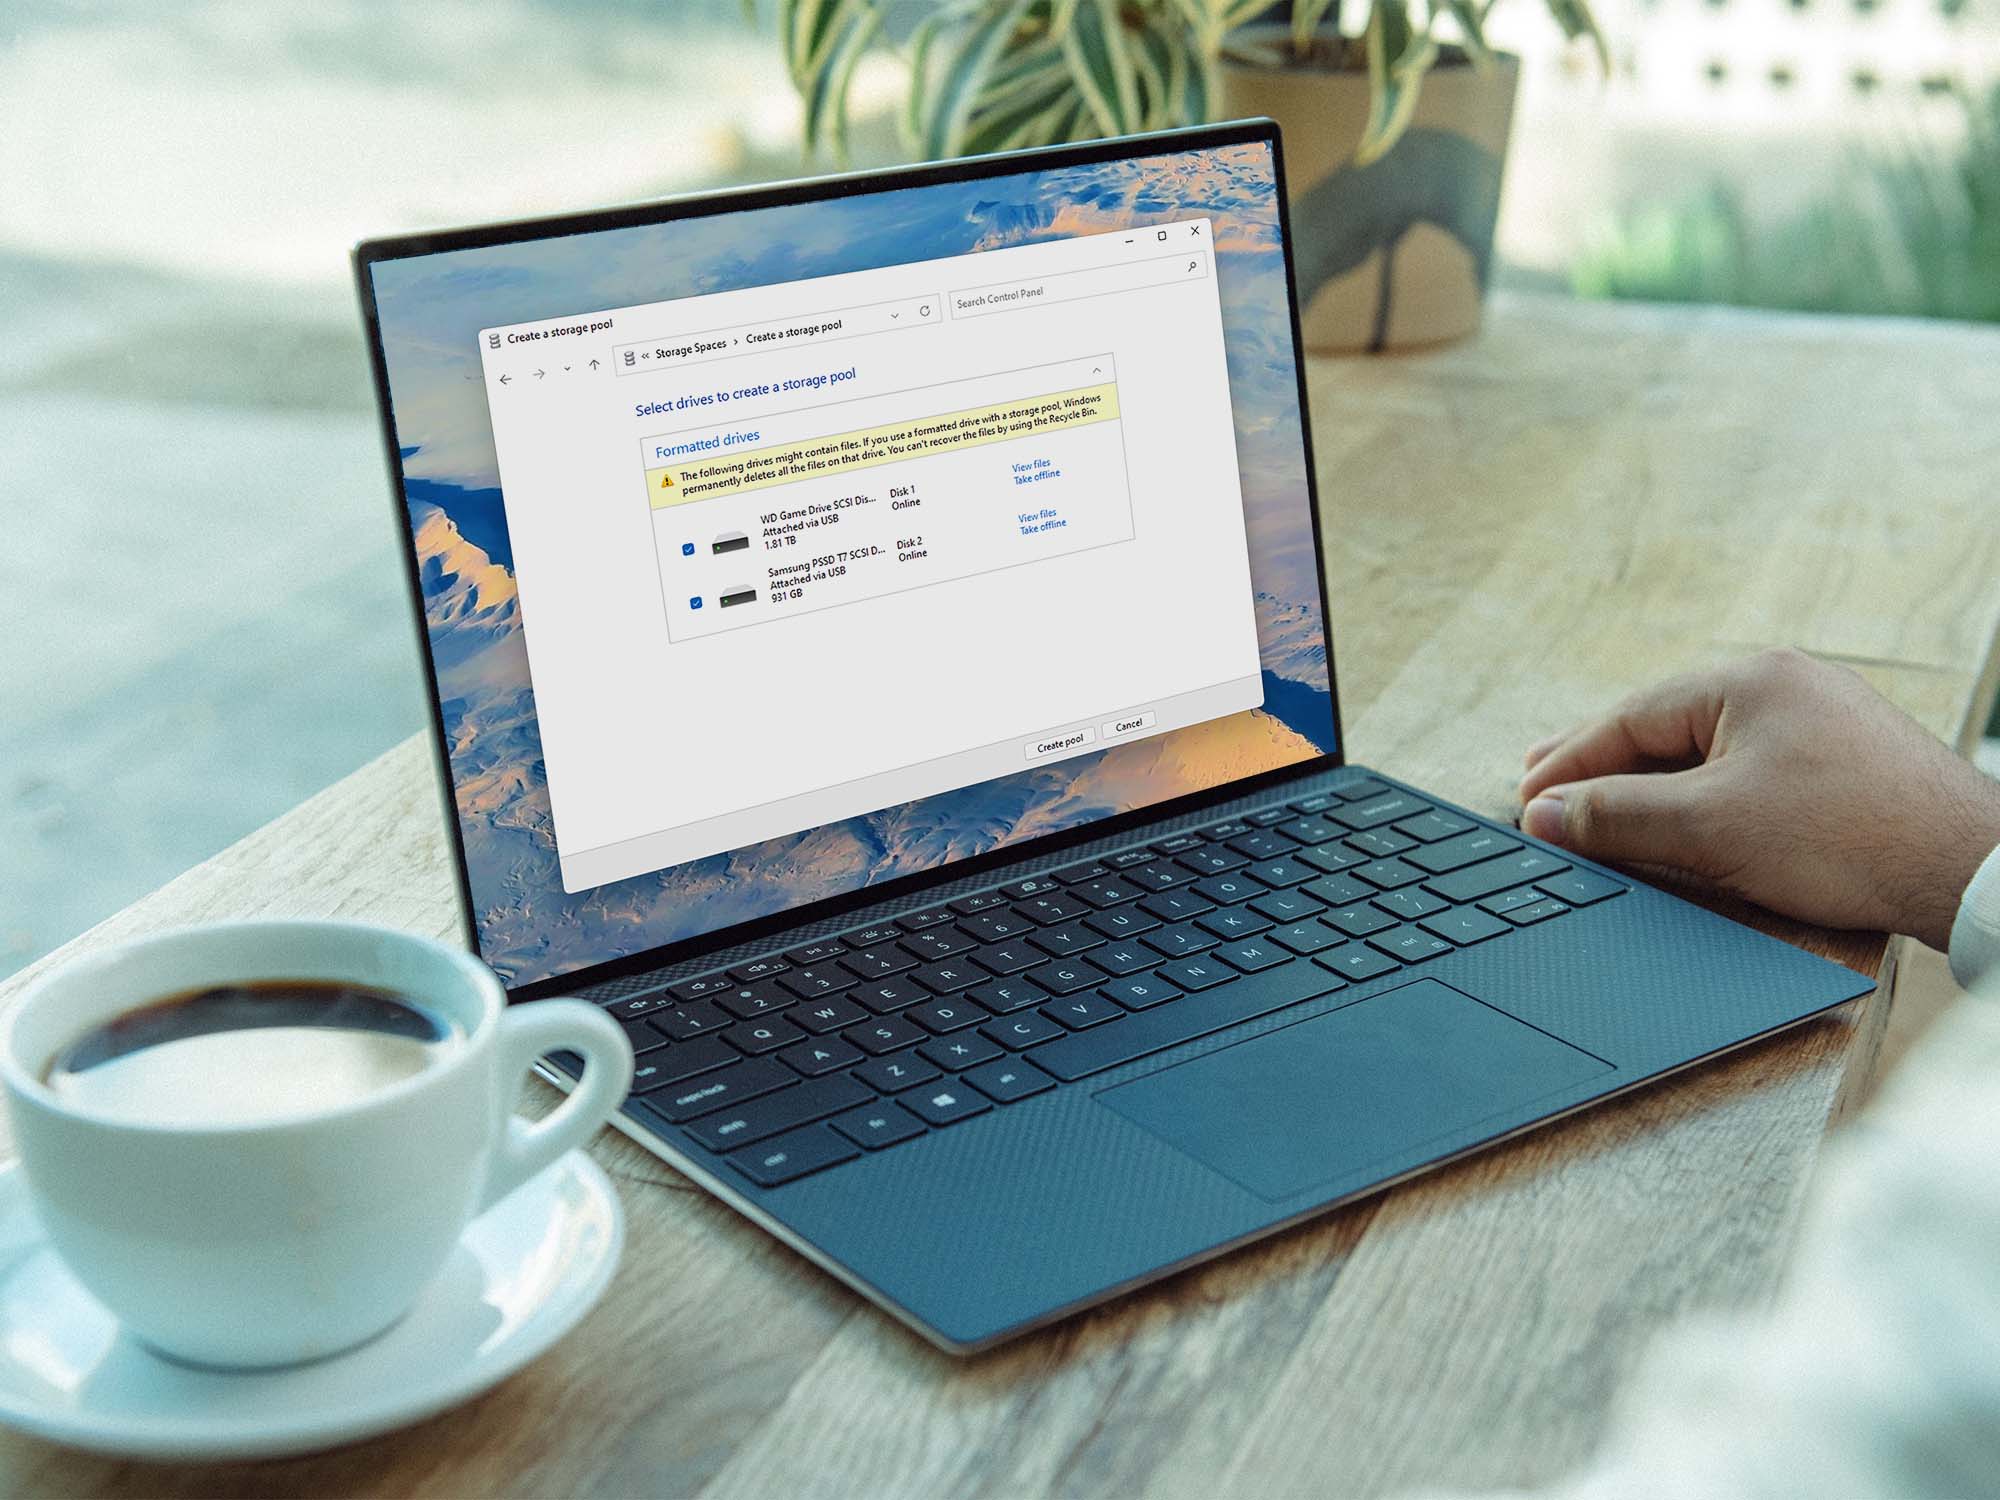
Click the search icon on the Windows 11 taskbar (the magnifying glass), look for “storage spaces” and click the Manage Storage Spaces option that appears. Choose Create a new pool and storage space and Windows will scan your computer for connected drives, to make sure you have two or more compatible disks to work with. Note that the program will wipe these drives before adding them to a storage pool, so make sure there aren’t any important files on them.
Place checkmarks next to the drives that you want to bundle up together when they appear on screen, and click Create pool. Then, you’ll get to give your new pool a name, a drive letter, and a resiliency or pool type. You’ll have four kinds to choose from depending on how many copies of a file you want to make: Choose Simple if you want one copy, Two-way mirror, for two, and Three-way mirror for three. The last option, Parity, is sort of a hybrid that keeps one copy of each file plus some information about it to restore it if needed. Parity pools are typically slower, so they’re a good option for storing data you don’t access much.
Next, you’ll have to choose the size of your new storage pool. Windows will tell you the maximum available based on the size of your drives and the data resiliency options you picked. Remember that the more copies of each file you have, the smaller your pool will be. You can actually make your storage space bigger than the capacity of your drives, in which case Windows will tell you when you need to add more drives.
[Related: Did your hard drive crash? Here’s how to know if it’s safe to use again.]
To finish, click Create storage space. If you open up File Explorer and choose This PC, you’ll notice that your selected hard drives now appear under a single drive letter, and you can move files to and from this storage pool just as you would with any other disk.
From the taskbar, go back to the original Storage Spaces screen to configure existing pools. Here, you can add new drives, remove ones you don’t need, and optimize storage, which you should do regularly to ensure your pool is working efficiently.
