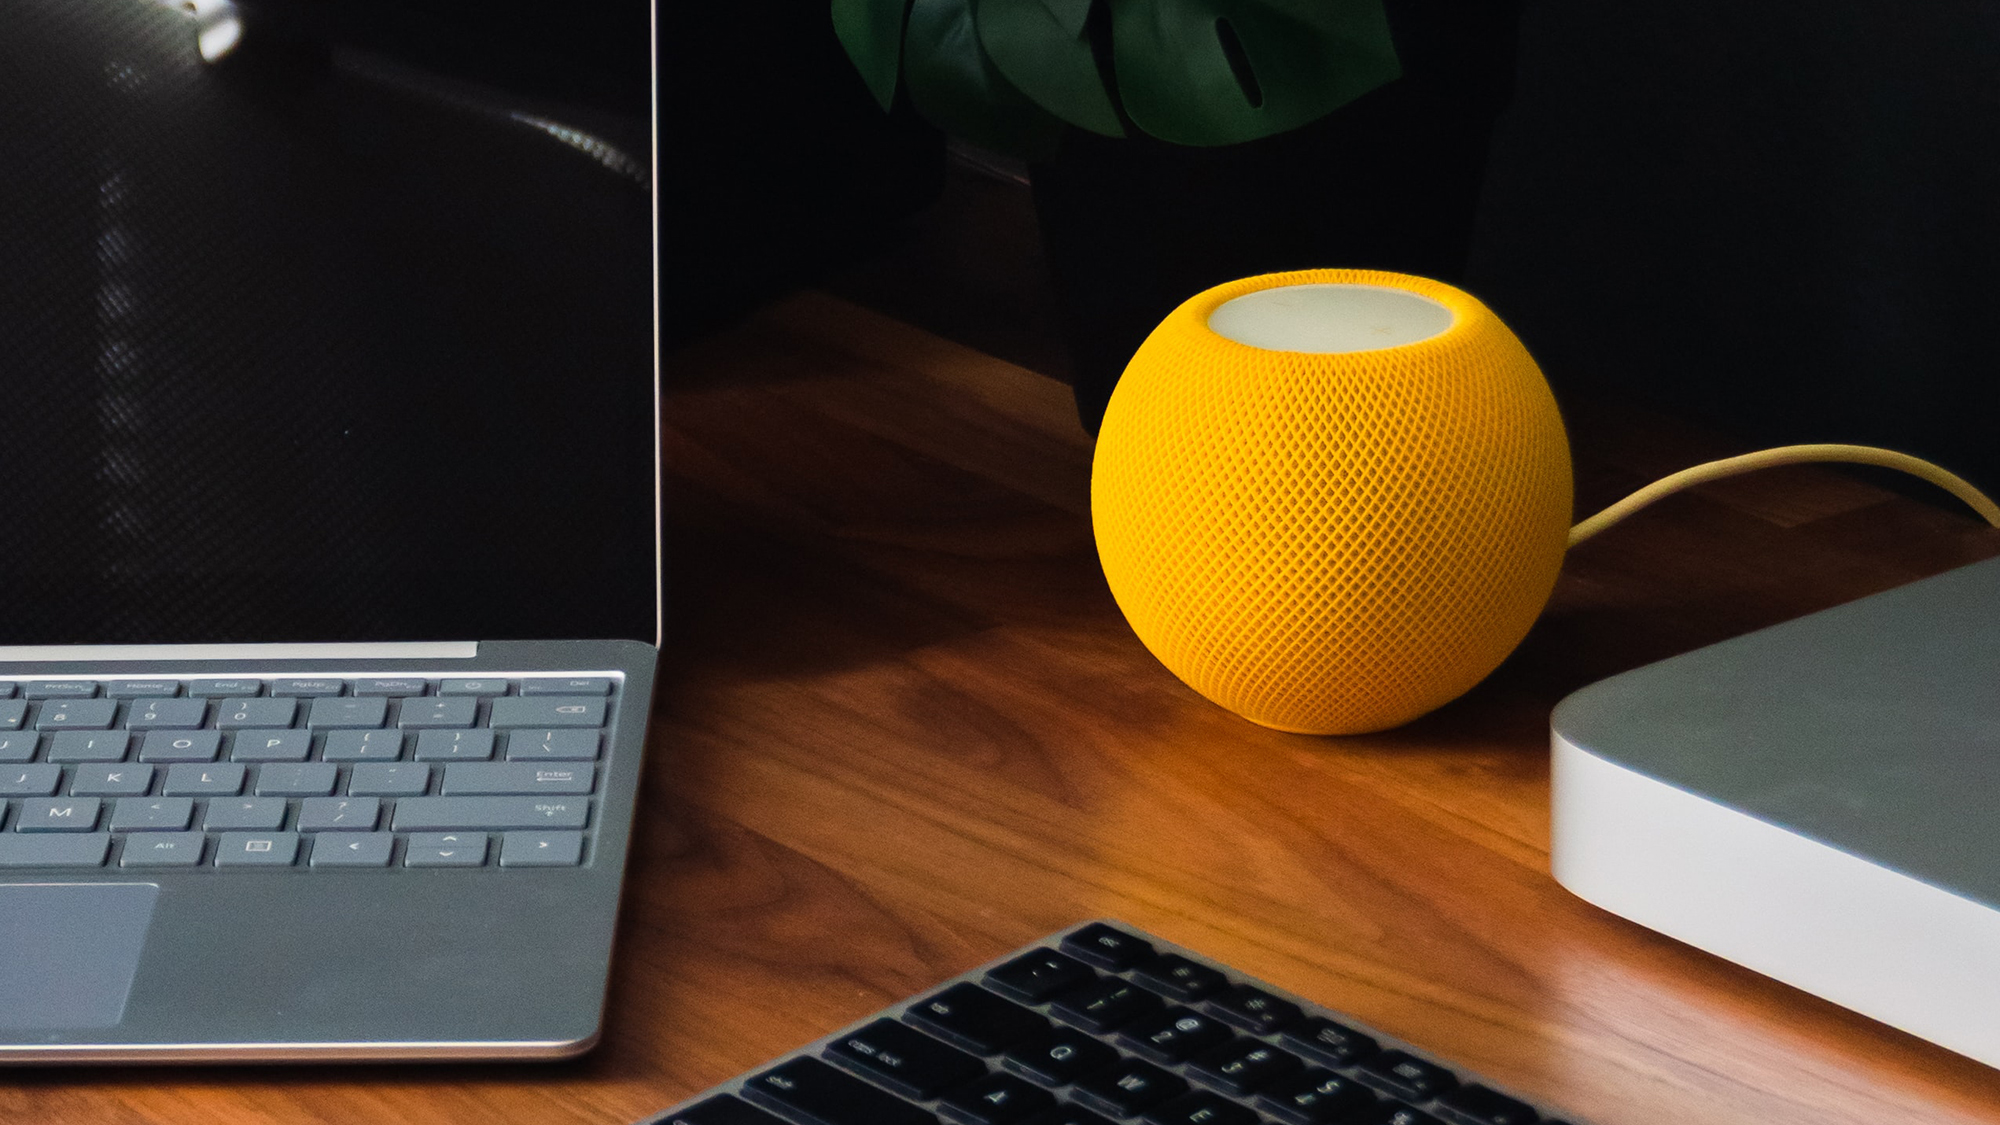
Apple unveiled the HomePod Mini in November 2020, and not long after that users discovered the smart speaker had an integrated temperature and humidity sensor that the company hadn’t told anyone about.
With the rollout of the 16.3 software patch for iOS and iPadOS, you can now enable this sensor and use it to keep tabs on what’s happening in the room your speaker is in.
You can also find a temperature and humidity sensor in the second-generation HomePod Apple launched in January 2023—and this time its existence was disclosed upfront. So if you’ve got a HomePod Mini or a HomePod 2, it’s time you use its integrated sensor as part of your smart home setup.
Make sure your device is up to date
To use the built-in sensor in the HomePod Mini and HomePod 2, you’ll need the latest Apple software, which in this case means iOS or iPadOS 16.3 or later. To check the OS version your iPhone or iPad is currently running, open Settings, tap General, and Software Update. If an update is available, you’ll be able to download and install it on this screen.
[Related: Four ways you can get your music to follow you from room to room]
Once that’s done, you can check the software of your HomePod. Open the Home app on your iPhone or iPad, then tap the three dots (top right), and select Home Settings and Software Update. If an update is available, you’ll be able to install it from this screen.
Don’t be surprised if you find all of this has already been automatically done for you—iPhones, iPads, and HomePods are all capable of applying updates in the background, so you may not have anything to install. As long as you’re using software versions higher than 16.3, you’re good to go.
Checking temperature and humidity
With all of your devices updated, you can simply say “hey Siri, what’s the temperature in here?” or “hey Siri, what’s the humidity in here?” to get a reading. If you’re on your iPhone, you can ask Siri through your handheld device about the specific room where the HomePod is in—so “hey Siri, what’s the temperature in the kitchen?” for example.
You don’t have to use your voice if you don’t want to—you can also get readings through the Home app on your iPhone or iPad. From the front screen of the app, either tap the room where the HomePod is to see the conditions there or select Climate at the top to see readings from every temperature and humidity sensor in your home.
In rooms where there’s more than one sensor (if you’ve got two HomePods set up, for example), you’ll see an average reading for the room. Tap through on any device to see more details about it, including its position and whether its sensor is active.
Setting up automations with your HomePod
One clever way you can use these sensors is to have them trigger smart home automations. You could have a fan turn on automatically if a room gets too hot or too humid, for example, or turn up a thermostat if a room gets too cold, provided that these other devices also work with the Apple Home app.
[Related on PopSci+: When it comes to privacy, smart devices are not the smarter choice]
To create an automation, head into the Home app, tap the room your HomePod is in, select either Temperature or Humidity, and then choose Add Automation. You can then set the temperature or humidity threshold that triggers the automation, the time of day or night it’s active, the people who need to be at home for it to be actioned, and what you want to happen with another smart home device as a result.
You can find, edit, and delete these automations from the same Temperature or Humidity screens used to create them, and you can come up with multiple ones for the same speaker. A warning, though—note that Apple says that extended periods of playing music at a loud volume on a HomePod can interfere with temperature and humidity readings.
