This post has been updated. It was originally published on 12/17/17.
Before he retired from McGill University, Pieter Sijpke used to give his architecture students some pretty cool homework. He once told the class, “I want to be drinking in a snow bar by Friday.” His students went outside and got to work, and sure enough, “we had 50 people inside the snow bar by Friday afternoon.”
Sijpke is originally from Holland, where water is usually found in liquid form. So when he moved to Canada, he was fascinated by snow and ice. To him, frozen water is a fantastic (and free) building material. He’s built some seriously impressive structures out of snow and ice—including a 1/5-scale model of the Roman Pantheon. The 32.7-foot tall, 32.7-foot diameter structure was made from 400 tons of snow. More than 125 McGill students and faculty squeezed inside its walls, which were four feet thick.
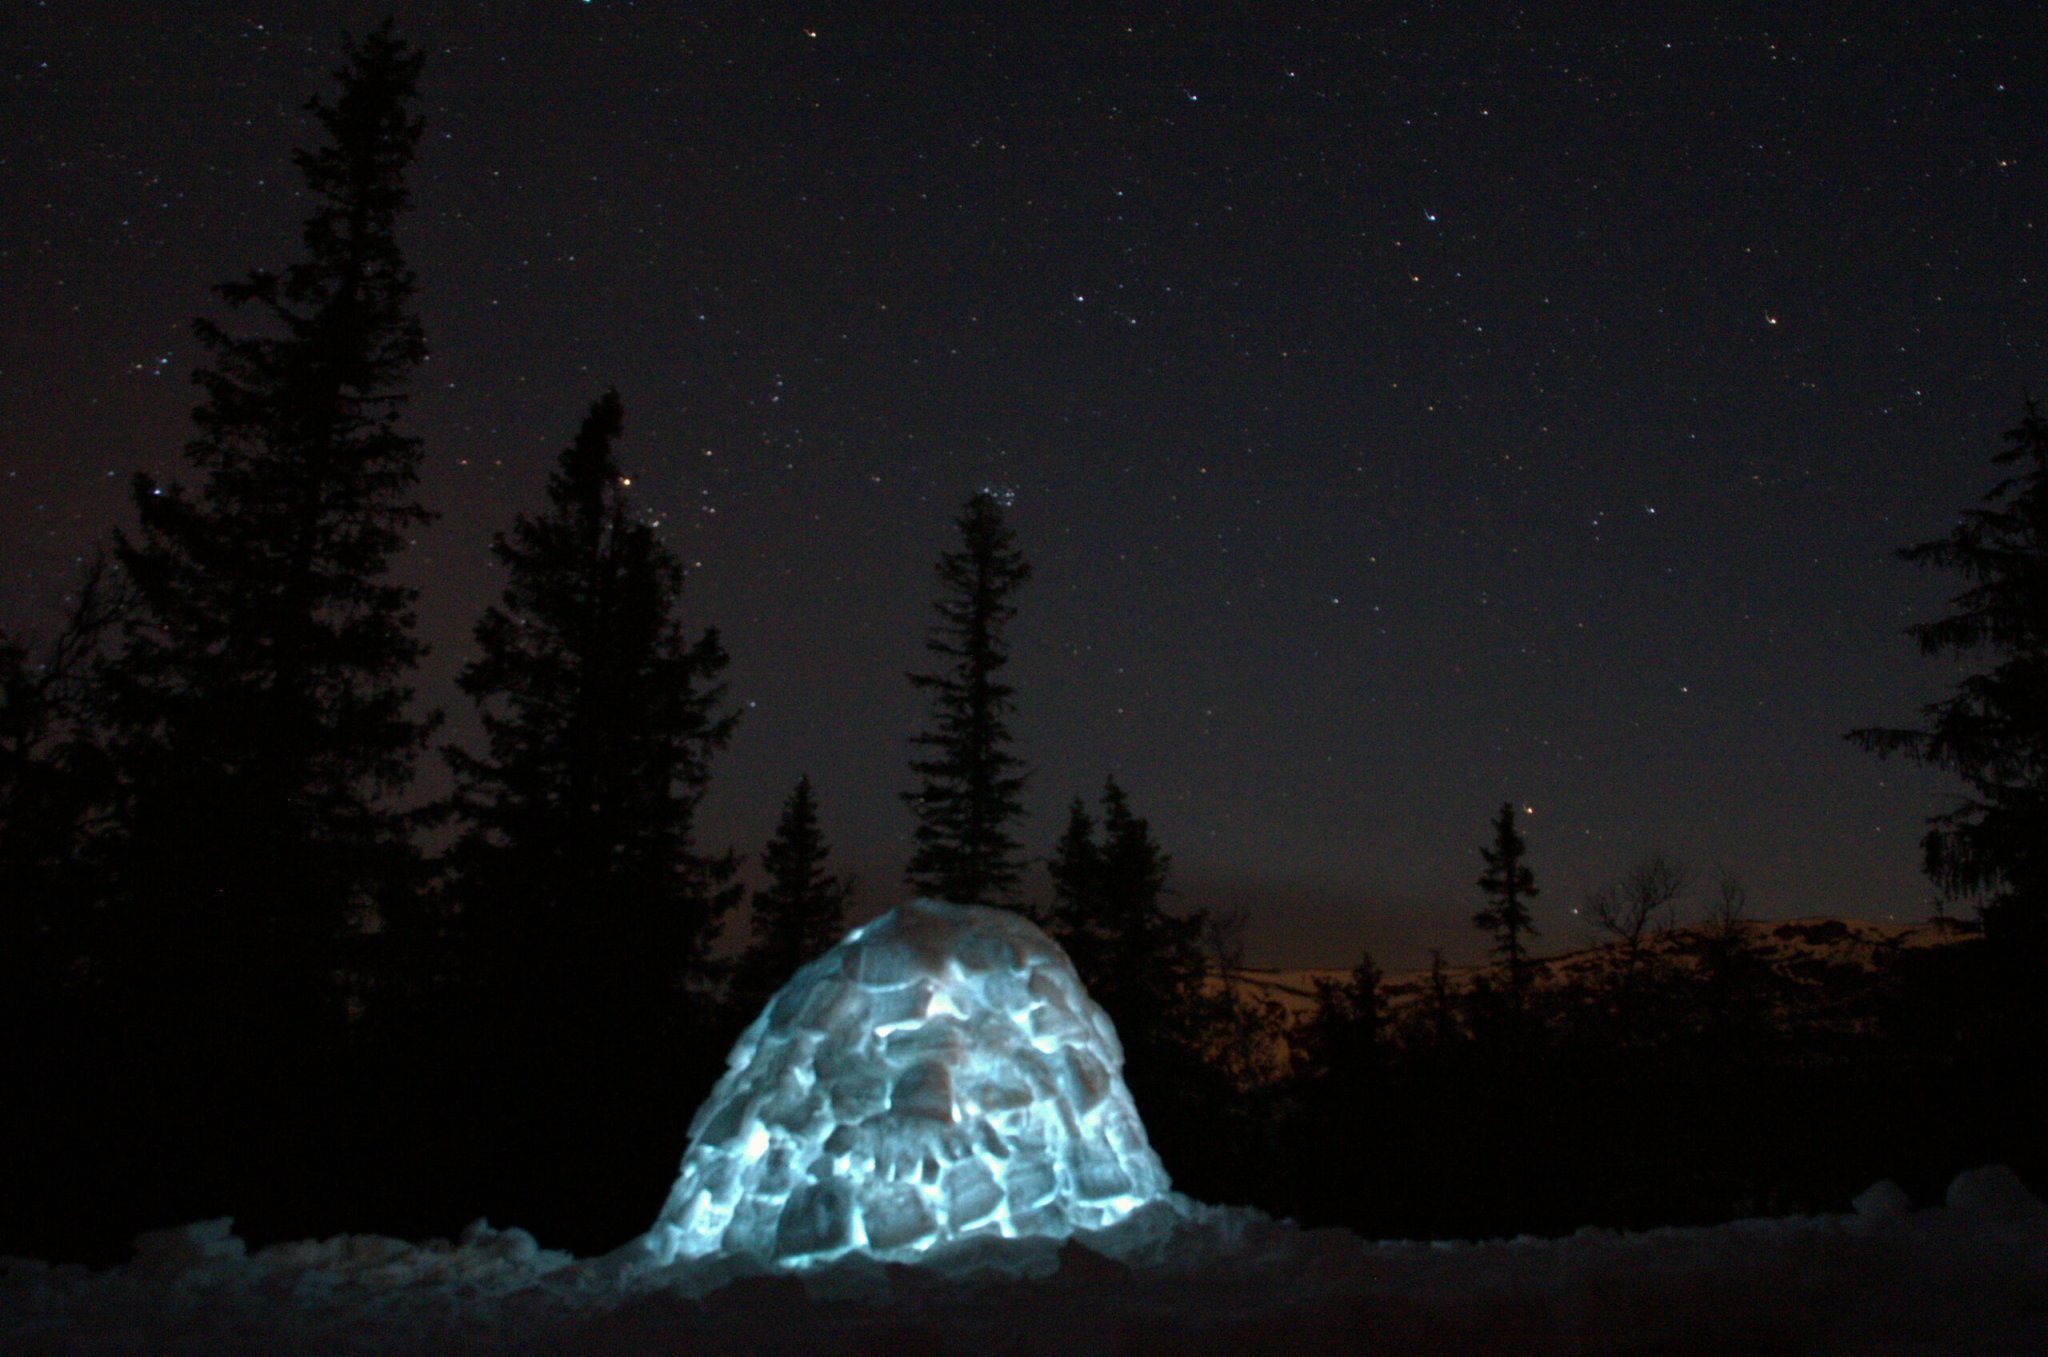
So Popular Science asked Sijpke how to build an igloo. “Scientifically, the best way is how the Inuit in the North still do it,” he says. “They lay snow blocks in a spiral.”
There are plenty of detailed explainers out there on how to build an igloo, but here’s a simplified method for building one in your own backyard:
[Related: Make snow candy with two simple ingredients.]
Make sure you have enough snow
“Most people underestimate how much snow you’ll need,” says Sijpke. “You’ll need about a foot of snow ice across a fairly large backyard.”
Use the right snow
Not the top powder, but the denser stuff below it, where your feet stop sinking.
Draw a circle
To make it a good circle, jam a stick vertically in the snow where you want your ice fort to be centered. Around that stick, tie a cord that’s half as long as the diameter of your future igloo. For example, if you want a 7-foot wide igloo, which is large enough to sleep in, use a cord that’s 3.5 feet long. (Note: Making an igloo larger than 10 feet in diameter is not recommended for beginners. It gets too difficult to make the dome.)
Trace a line at the end of the cord as you walk around the stick. This should give you a nearly-perfect circle.
Use a form to mold your bricks
Traditional igloo blocks are 3 feet long, 15 inches high, and about 8 inches thick, but smaller bricks are good for smaller igloos.
“One thing you learn when you work with snow is, the minute you touch it, you change it,” says Sijpke. “It generally changes for the better, because it becomes more dense.”
You’ll want to harvest your blocks from inside the circle first, then move outside to make the rest.

Start laying your blocks around the circle
Make a slight ramp going up, so that the blocks stack on top of each other in one continuous coil. Cut a slight incline into the top of each brick so that the next layer will tilt slightly inward. You may need to prop up some blocks with sticks until you can finish each layer.
Make the blocks smaller as you move higher
Bevel the edges so they join together nicely, to reduce the risk of collapsing. Pack snow into gaps between bricks as you go.
Leave a vent at the top
You can also cut vents into the side. Otherwise you might suffocate in your awesome ice fort.
Make a doorway
Digging a tunnel out of your igloo helps to keep out the cold, but Sijpke says it’s easier to just cut your doorway out of the wall. Then you can take the block of ice you removed, cut it in half, and lean the two sides together to make an awning over your igloo doorway, to help keep your body heat inside.
Hose it down
Ice is stronger than snow, so freezing a layer of water on top of your igloo will keep it standing for longer.
Consider working backwards
“You can also dig in,” says Sijpke, “using the architecture of subtraction.” In other words: instead of building upwards with bricks, you could carve your winter shelter out of a snow bank. But be careful: If your snow cave collapses, it could kill you. Have a few people walk on top of the snow bank to make sure it’s strong enough before you go too far inside. And spray it down with water to strengthen it with a layer of ice.
Beyond igloos
Your ice architecture need not stop at igloos. Sijpke hangs nylon sheets and sprays them with water to create intricate ice structures. And he once built a huge arch from 2000 blocks packed from milk cartons. In the 1800s, ice palaces starred in Canadian and Scandinavian winter festivals, paving the way for today’s elaborate ice hotels. And the best part is that the materials are free.
When it comes to building with snow and ice, the biggest limit is your own imagination, says Sijpke, but there’s one catch: “You have to have a constant supply of cold weather.”
Unfortunately for ice builders, consistently cold weather is in short supply these days, even in Canada, where Sijke lives. “Increasingly, global warming is making the weather less and less predictable.”
Sijpke’s last few attempts to build magnificent ice shelters melted before he could finish them. That’s why he’s taking the effort indoors instead. Inside his lab, a custom-made 3D printer is hard at work building models out of ice. He hopes to one day scale it up to build full-size homes out of concrete and adobe. At least those (hopefully) won’t melt as the planet continues to heat up.
