
Google’s streaming music service doesn’t get the same attention as some of its other offerings, like Gmail or Maps, but this Spotify competitor is a powerful app, especially when you know how to use it optimally. Below, tips that’ll help you get the most out of the service, even if you’re a veteran user.
But first, a few basics: You can Google Music as a free cloud locker for your own music tracks—you can upload 50,000 songs without paying a dime—or give Google $10 a month and add an unlimited amount of on-demand tunes on top of that, in the style of Spotify.
Now, onward to our guide:
1. Get your own tracks uploaded
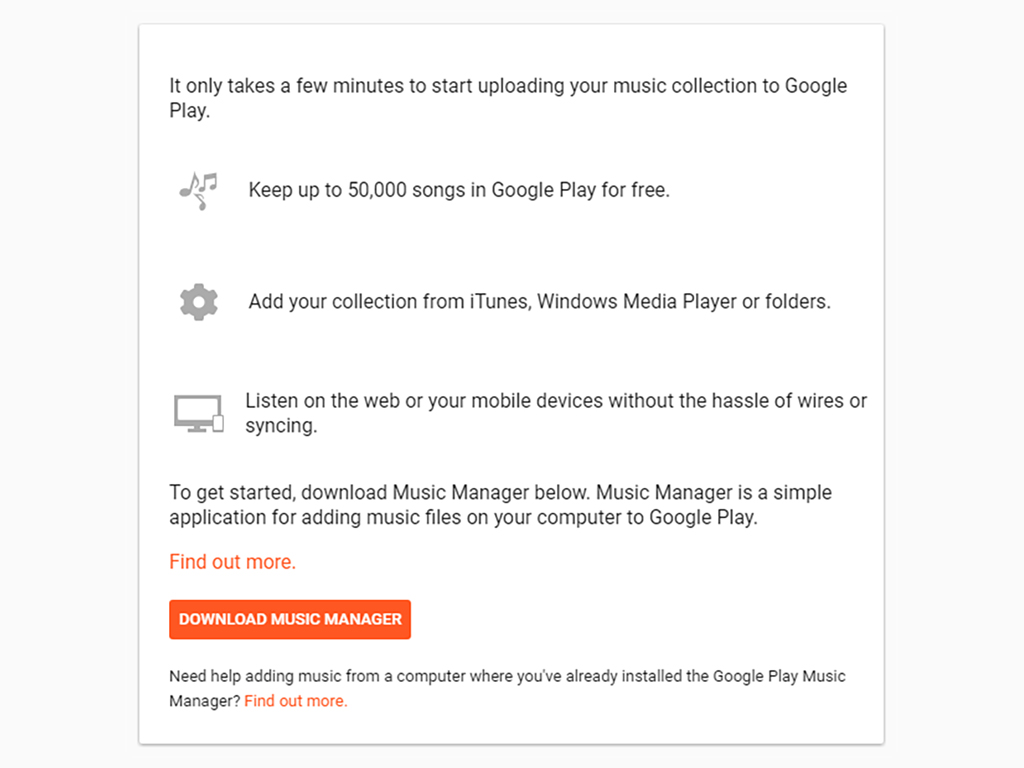
Even if you don’t pay for Google Play Music, you can upload your existing MP3s to the web and stream them to any of your devices. You can use this even if you pay for on-demand streaming, too. It’s especially useful for storing b-sides and other rarities that Google’s streaming service might not have.
The easiest way to upload tunes to Google Play Music is with the Music Manager client for Windows or macOS, or the Google Play Music extension for Chrome. Tracks and albums can also be uploaded one by one through the Upload Music option on the web app menu.
2. Improve music quality
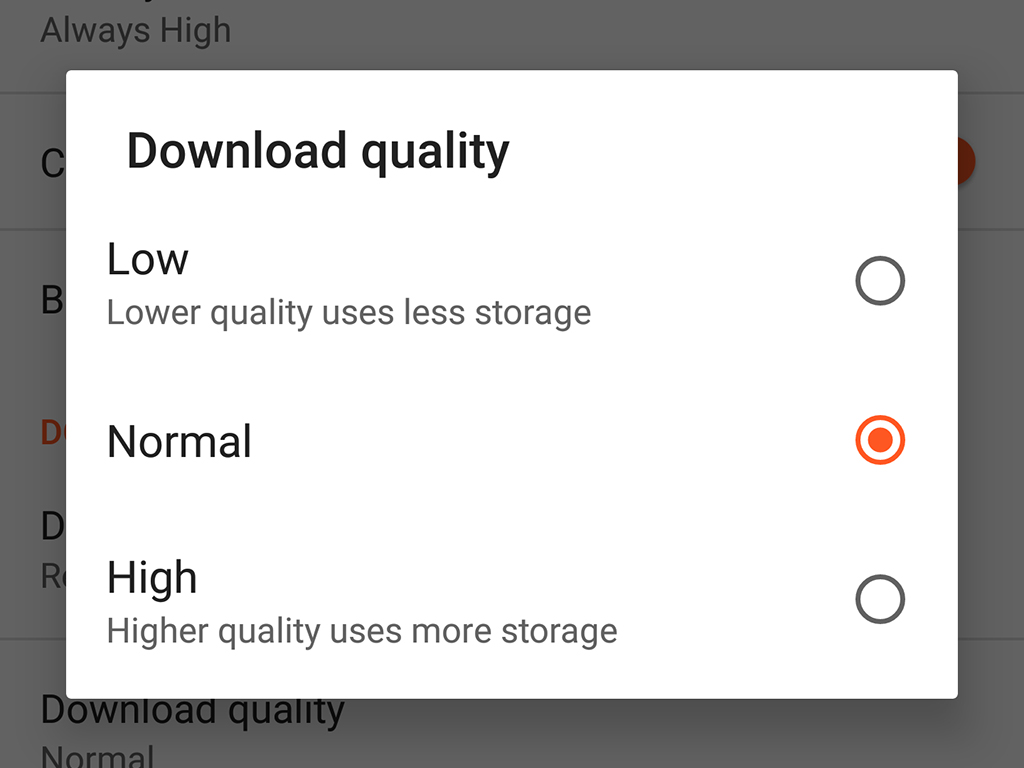
If you’re using Google Play Music through the apps for Android or iOS, then the app automatically caps the quality of streamed songs and downloads to save on your cellular data bill. You can change these settings so you always get the highest bitrates at all times.
Open up the app menu, tap Settings, and scroll down to find the three options: Streaming quality on mobile, streaming quality on Wi-Fi networks, and download quality. Set each one up as your data plan and the available storage space on your phone or tablet allows.
3. Tweak your music recommendations
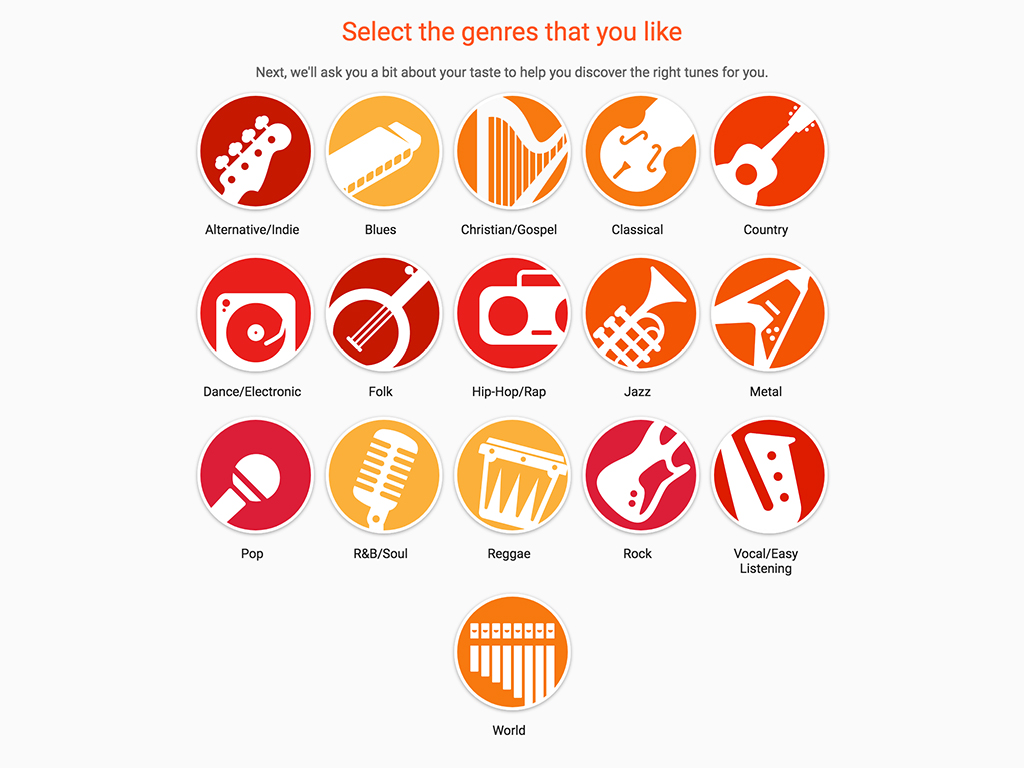
When it comes to suggested playlists, Google looks at your previous listening history to decide what you might like. You can be more specific about your tastes via this link on the web or the Improve Your Recommendations link under General in the mobile app menu.
By telling Google about the genres and artists that you’re particularly interested in, you can shape recommendations to your tastes. To clear your preferences and start again, go to the Settings page on the web and click Delete Recommendation History.
4. Fall asleep to your tunes
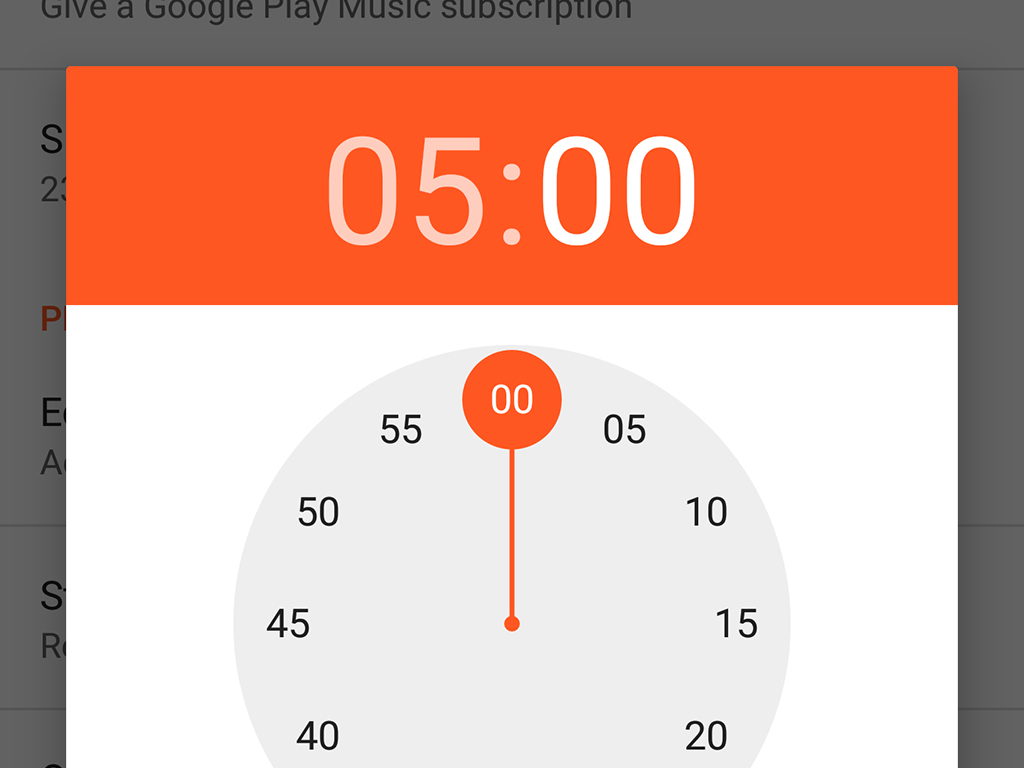
You can drift off to sleep to music without having it drone on all night. Open up the Settings page from the app menu on Android or iOS, then choose Sleep Timer.
Set a countdown timer and the app will shut up once it runs down. Nothing else on your phone is affected, so it won’t mess with your alarms or other apps.
5. Edit track metadata
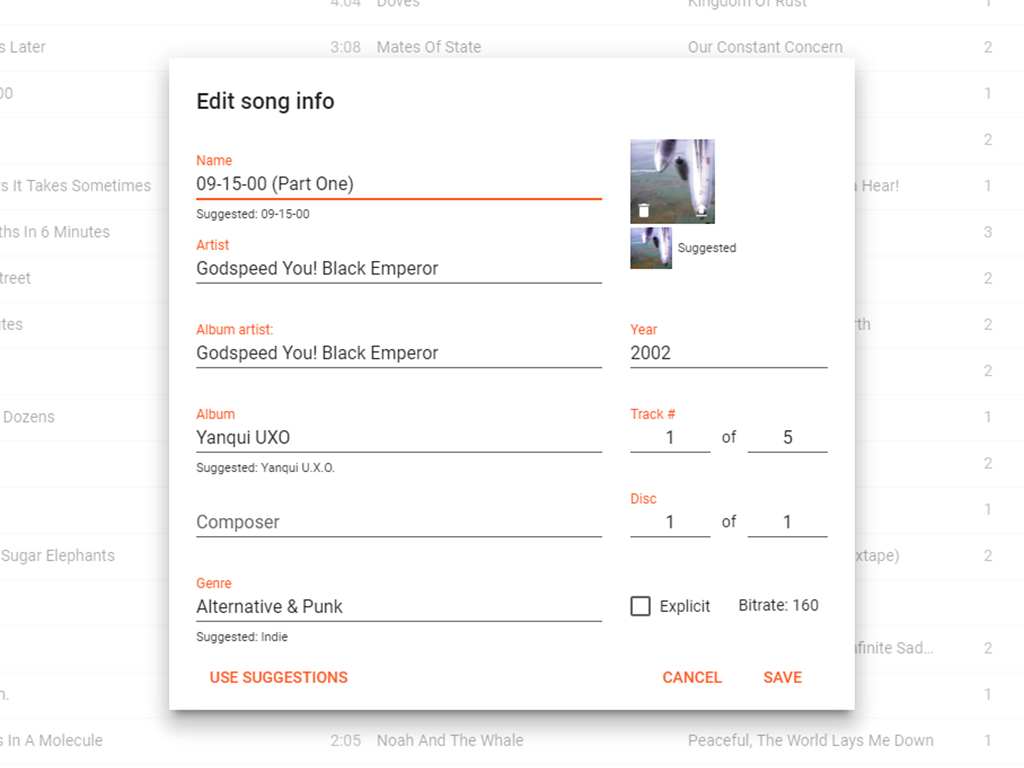
If you’ve uploaded your own tracks to Google Play Music, you can edit the metadata associated with each file, including the track number and album name, the release year, and the genre.
You need to be on the web to do this. Click the three dots next to any track, then select Edit Info to make changes. It’s not possible to edit the metadata for tracks you’re streaming from Google’s library, but you’ll find an option for reporting bad data on the same menu.
6. Queue up songs in advance

The Google Play Music queueing system isn’t the easiest to understand, but it works well once you get the hang of it. Click the queue button on the web or on mobile (three lines by a musical note symbol) to see all the tracks that are coming up.
Click or tap the three dots next to any album, song, or playlist, and you’ve got a couple of options to pick from—you can either add it to the end of the queue, or you can play it next, which bumps all the songs already in the queue back but doesn’t get rid of them.
7. Turn on desktop notifications
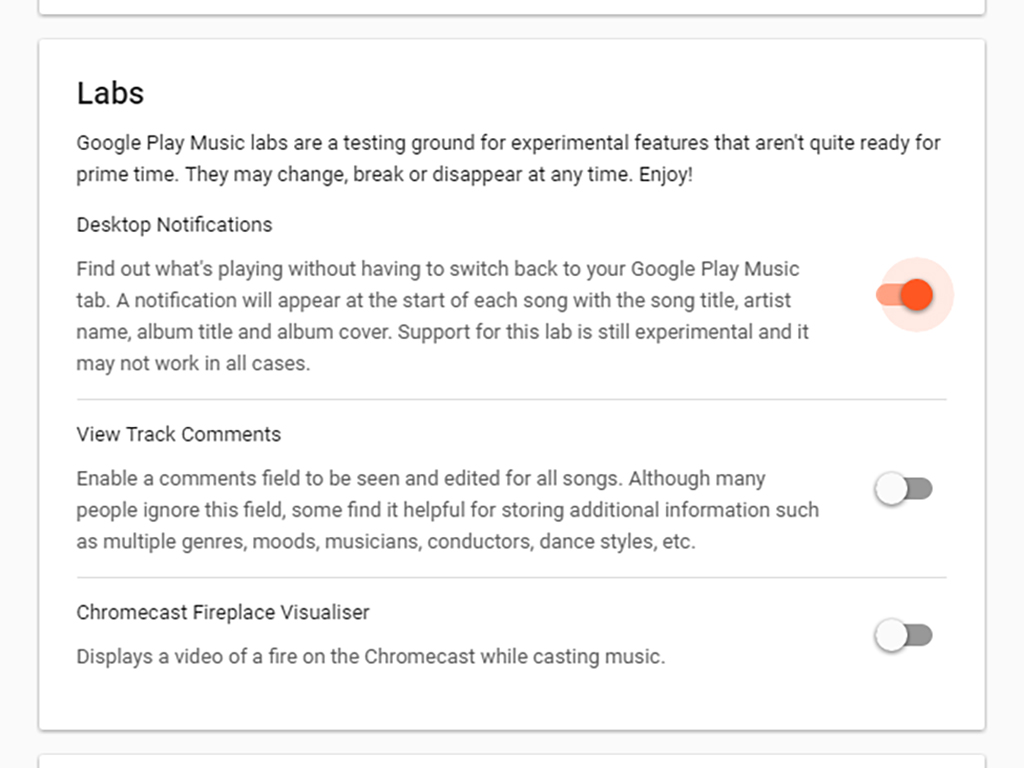
Having your music player in a web browser tab means you can access your music from anywhere, but it also means you might not be able to quickly see the track and artist name for the song that’s currently playing. To fix this, turn on desktop notifications.
Open up the Settings page on the web, scroll down to the labs section, and turn the Desktop Notifications toggle switch to On (you may need to restart the app as well). This is still an experimental feature, Google says, so it might not work perfectly all the time.
8. Switch to a mini player
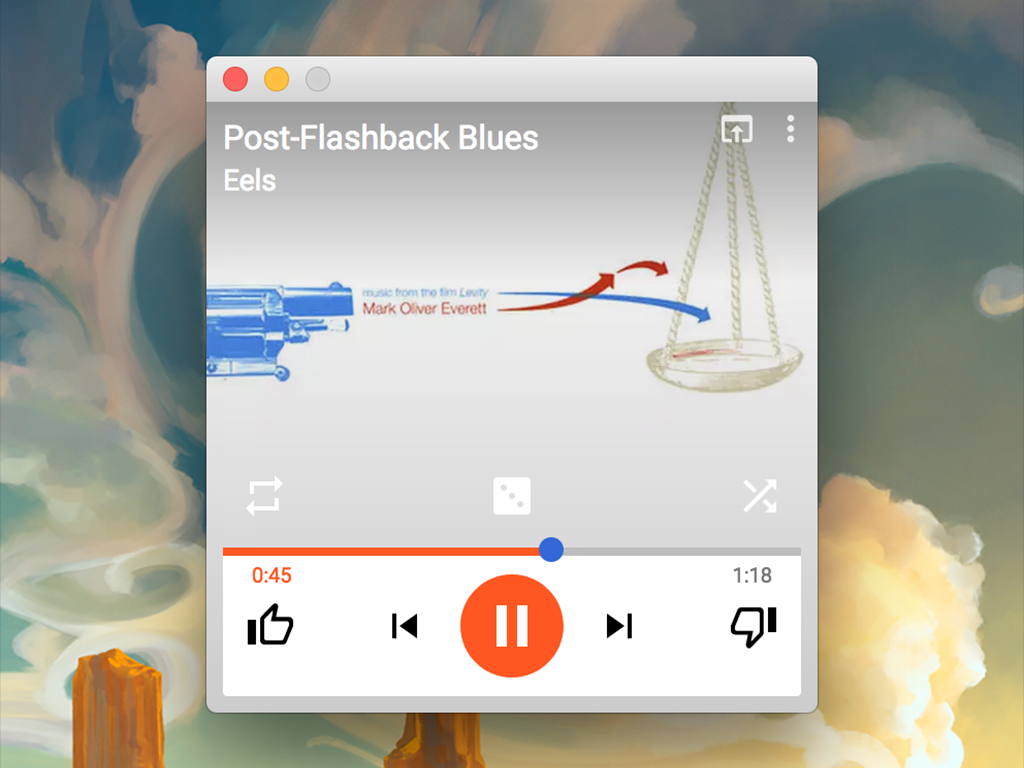
Google Play Music features an integrated mini player that can pop out of the browser so it doesn’t get buried in all your tabs. Just click the Show mini player button, on the far right of the playback bar on the web, and you get a smaller window showing what you’re listening to, with its own set of playback controls.
You can skip, pause, rate, shuffle, and repeat. Open the menu (click the three dots) and tick Always on top if you want to make sure the player is always visible and accessible on screen above your other windows.
9. Switch to a desktop player

Google doesn’t make a desktop application for its music service, but you can plug the gap with the unofficial Google Play Music Desktop Player for Windows and macOS. It sticks to the basics, but it means you’ve got one less browser tab to deal with.
Load up the app, sign in with your Google credentials, and you’re up and running—the interface is largely the same as it is on the web, but you do get Last.fm integration for tracking your listening. Radiant Player is a good alternative that works on macOS only.
