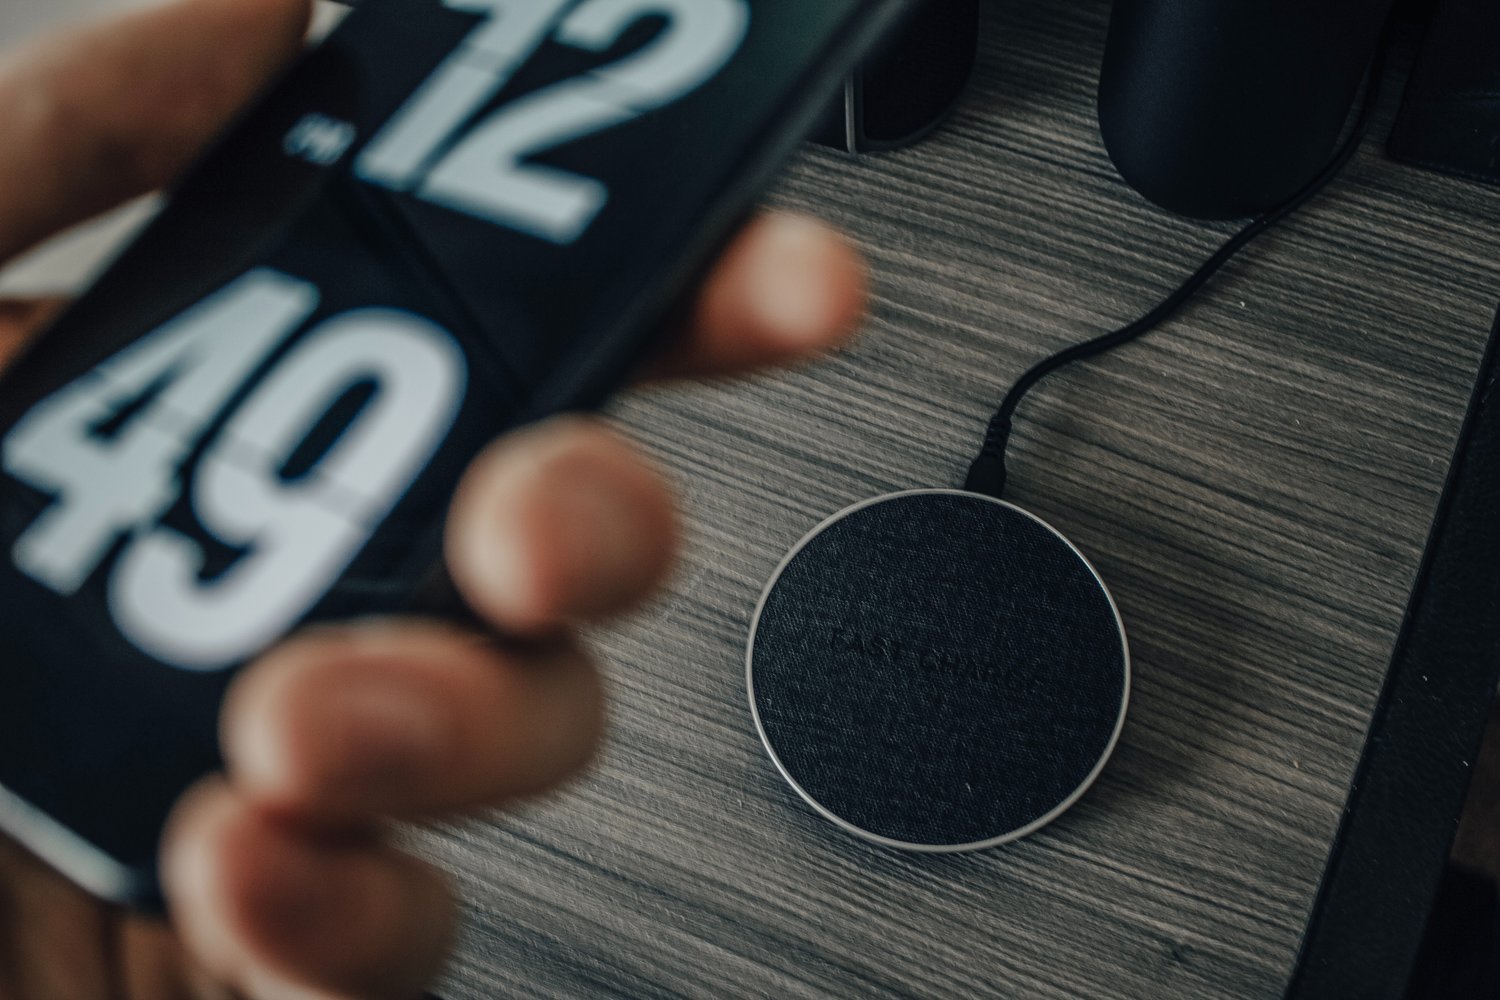

Wireless charging is one of those smartphone features that seems mediocre—until you actually use it. Once you experience the convenience of plopping your phone on the nightstand at the end of the day and having it refuel overnight, it’s hard to go back to wrangling a cable. High end flagships like the iPhone X series and Samsung Galaxy S10 series have this feature built-in, but if you’re using an older phone that doesn’t—or a budget model like the much-lauded Pixel 3a—you can still add wireless charging to your device with an inexpensive accessory.
Alright, it may be more accurate to say you’ll need three inexpensive accessories—at least if you want the best results. That means a wireless charging receiver that attaches to your phone, a case to hold the receiver in place, and a charging pad to actually charge the phone. Here’s what I recommend.
The wireless receiver
In order to pull this off, you’ll need a wireless charging receiver that plugs into your phone’s USB port. There are a few on the market, but I’ve been using this $13 “Magic Tag” from Nillkin for the past few months, and it works great. The patch lays flat against the back of your phone and contains a coil just like the one in wireless charging-enabled devices. Instead of being connected to your phone’s internal circuitry, though, it plugs into the USB port on the bottom of your device. When placed on a wireless charging pad, the juice flows through the patch and into your phone through its usual charging port.

You’ll need to browse the Magic Tag’s Amazon page to make sure you get the right one for your device. There are versions for the iPhone and iPhone Plus models, as well as micro-USB variants in both orientations—narrow side up and narrow side down—for older or budget Android phones. Newer Android devices will either use the USB-C patch or the short USB-C patch, depending on the size of the phone. My Pixel 2, for example, uses the short patch, since it’s of average stature and contains a fingerprint sensor on the back, which I don’t want the patch to cover up.
There is one downside: by using this patch, you lose easy access to your USB port. Most of the time, I’ve found this to be a non-issue. I do almost all my charging at home, and I have wireless charging pads placed strategically around my house—no cables necessary. And since Google stole my headphone jack, I finally bit the bullet and bought some Bluetooth earbuds, so I don’t need the port for listening to music, either. If I’m going on a long drive or a vacation where I know I’ll be charging by cable, I just leave the Magic Tag at home. Most of the time, though, it stays on.
Since you may want to remove the patch for those rare occasions, I don’t recommend using the accompanying adhesive to stick it to the back of your phone. Instead, hold it in place with a case.
The case
There’s a good chance you have a case on your phone already. It’s the best way to protect it against accidental drops and scrapes, not to mention it helps distinguish your device from the others on the coffee table. If you want to use the Nillkin Magic Tag, you’ll just need to make sure your case is compatible (or get one that is).
Since the patch loops around the bottom of your phone to plug into the charging port, you’ll need a case that provides enough clearance for the USB connector. Cases with “closed” holes around the charging port won’t always work—I’ve found some that do, and some that don’t. Cases that are “open” along the bottom, however, tend to work swimmingly, since they provide more room for the connector to loop around.
The patch can also make your case bulge a little bit, though this hasn’t been a huge problem for me, and it’s not really noticeable unless you’re looking for it. Still, if that drives you absolutely nuts, you might try one of Spigen’s cases meant to be used with a magnetic car mount—they call them QNMP-compatible cases, after the quantum neodymium magnetic plate they have a little cutout for. I’m using the $13 Spigen Thin Fit, and the charging patch fits pretty well inside that cutout, meaning this type of case won’t bulge as much as others. Plus, the Spigen Thin Fit actually feels great, so after a few months of trying other cases, I’ve switched to using it full-time.
The charging pad
If this is your first go-round with wireless charging, you’ll need to outfit your home with a charging pad or two. Prices range from $12 for the basic Anker PowerWave to $50 for the Wirecutter favorite RAVPower stand. You can also get them in more unique forms, like a charging pad built into a lamp or hidden in a picture frame, so they don’t cramp your living room’s style. You can even get one built into a suction cup car mount, so you can charge while you navigate. Stick a few around your house and you’ll never have to futz with cables again.
Wireless charging may seem like a silly feature to get all excited about, but trust me: once it’s in your life, there’s no going back. It’s also particularly great if you’re a multi-platform household—now that we use wireless charging, my iPhone-using wife can use the same chargers as I do with my Pixel. It’s not for everyone, but if you’re a big fan of wireless charging and would rather not spend hundreds of dollars on a new phone, this is a more than suitable compromise for the convenience it offers.