
You’ve been logging all of your daily activities and exercises on your trusty wearable. But after accumulating all that data on your athletic accomplishments, you don’t want to leave it behind when you try out a new app. Here’s how to bring your information with you when you jump between the biggest health and fitness platforms.
The process doesn’t always happen smoothly, because these services all save your fitness data in slightly different ways—and they don’t necessarily want you to switch to another app. Although you can usually find export options, viable import options aren’t as common. Instead, you may have to try another solution.
In some cases you’ll need to set up a sync between two platforms: This doesn’t necessarily transfer the historical data you’ve already collected, but it does keep two copies of your data in two apps, starting from the moment you set it up. That way, if you then opt to leave one service for the other, you won’t need to import or export your information.
Fitbit

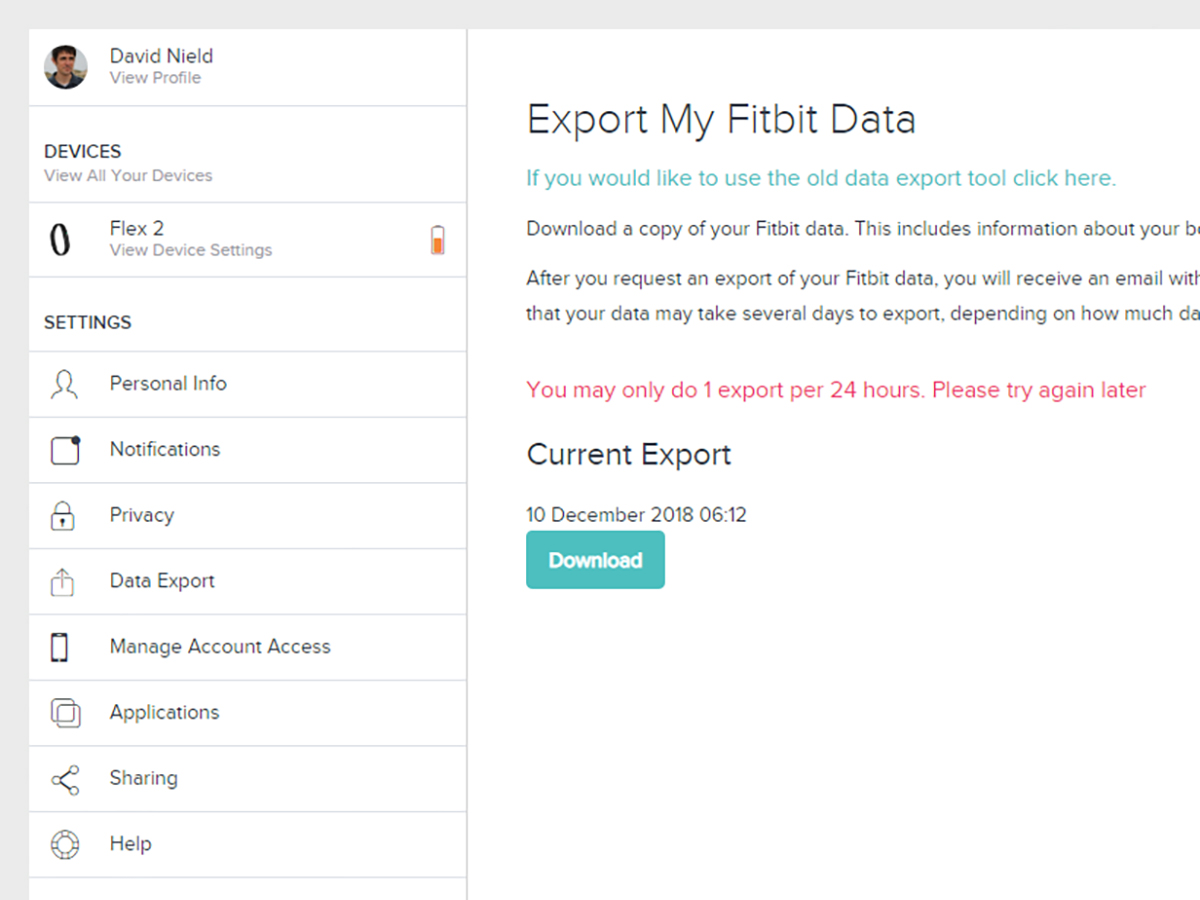
If you want to extract your data from your Fitbit account, you have to start at the service’s website. Log in, click your account avatar on the top right, and hit View account settings > Data Export > Request My Data. Fitbit will prepare your information, which may take a day or two, and then email you when your download is ready.
Your data will appear as a JSON file, a fairly standard data format, but one which isn’t easy to read—for human eyes anyway. If you later want to view it in a spreadsheet, you’ll have to use a tool like this one to convert the JSON into CSV, a format that’s easier to view in Excel. And if you plan to share your exported data with another service, check which formats the second app will support—you may need to convert your JSON files to another type.
Instead of pulling historical data from your account and importing it into another service, you can also set up a sync that will share your current data with another app on an ongoing basis. A great tool for this is If This Then That, or IFTTT, which connects multiple programs so that an event in one can trigger an action in another. To use IFTTT, head to its website, create an account, click your profile name on the top right, and hit New Applet. Click This and choose Fitbit as your trigger—you can choose to share steps, calories, weight, sleep, or a daily summary. Then, when IFTTT prompts you for an action, you can have that exported data go to an Evernote notebook, a Google Sheet, a weekly email, a text file in Dropbox, and so on. From the time you set it up, IFTTT will log everything in the way you specify. These ongoing exports are useful if you want to analyze your data, or if you think you might want to switch to a new service at some point in the future.
This kind of syncing feature is also available in a free Android app called FitToFit. It continually syncs data from Fitbit to Google Fit, giving you the option of jumping from the former to the latter if you ever need to. It’s only available on Android though, and like IFTTT, it won’t pull old data from the past.
One more option is FitnessSyncer, a platform designed to synchronize data between several services. The simple-to-use program works with Fitbit, Strava, Apple Health, Google Fit, and other fitness apps. Like the other syncing tools we’ve mentioned, it won’t dig out previous data you’ve already logged, but will keep activities synced between services from the point you set it up—and if you end up sticking with just one service, you’ll still have access to all your data. The free version only syncs once a day and only with five different sources. For more frequent syncs between more apps, you’ll need to pay $4 a month or $40 a year for a Pro account.
If you want to import data into Fitbit, you have limited options, because it doesn’t offer a direct import tool. Instead, you’ll have to use the previously mentioned tools to sync your data with another service. Essentially, you want to switch to this one, you really need to use a compatible service and already be syncing that app with Fitbit.
Google Fit

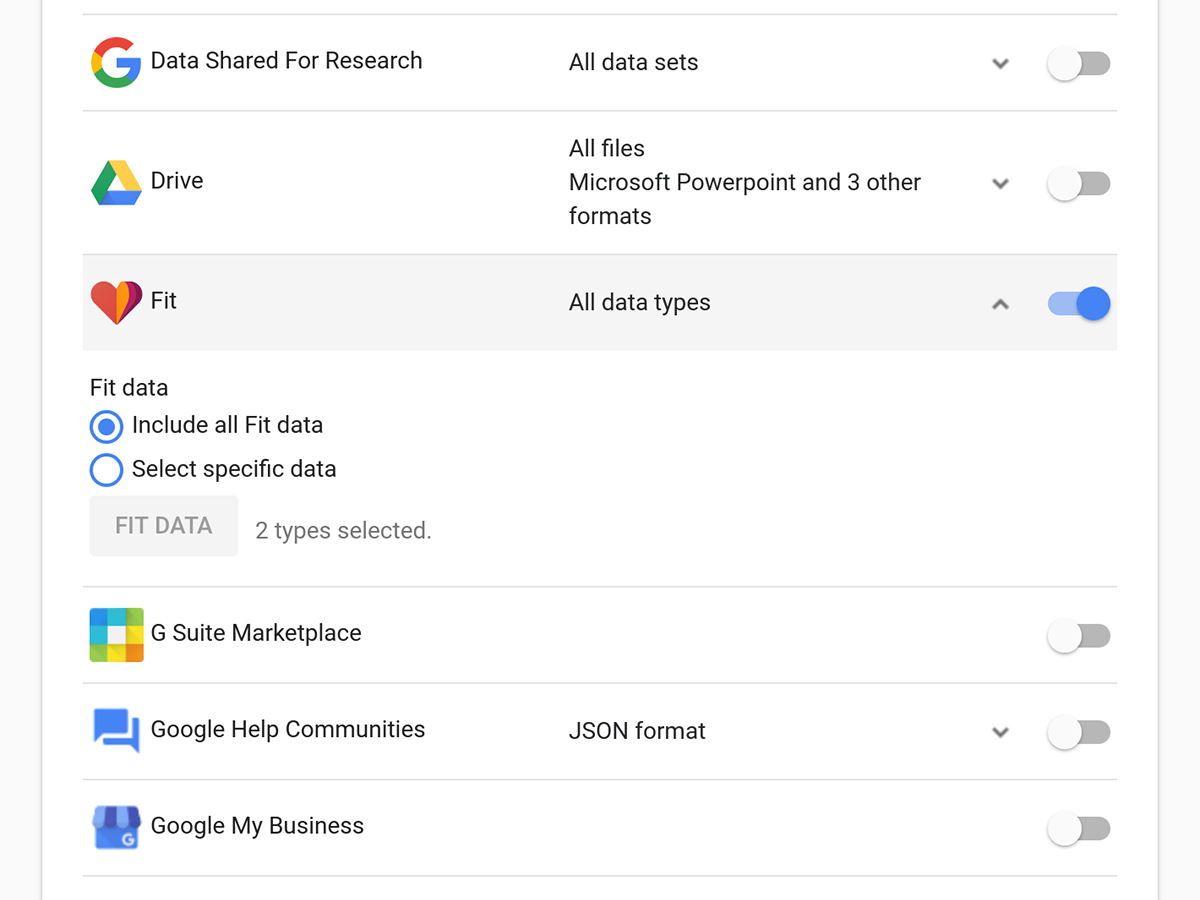
Google is pretty good about letting you export your data from its various services, which makes it easy to download everything you’ve logged in Google Fit. First, head to your Google Account web page. Click Personal info & privacy, scroll down to the Download your data heading, and hit Create archive. This is the general export tool, so your next step is to specify that you’re aiming for health data. Click Select none to exclude everything else, then turn the Fit toggle switch to On. If you want to only export certain types of stored data, such as your step counts, click All data types > Select specific data and make your choices. When you’re ready, select Next > Create archive.
After a few hours, you’ll receive a Gmail message telling you that your archive is ready. Then you can view your data in the CSV format, which lets you view information in a spreadsheet, or as a TCX file, which you can import into several other fitness apps, including Garmin Connect and Strava. That should take care of carrying your historical data from one service to another
In addition to saving your historical information, there’s also the option to set up continuous syncing of your data, which will save it going forward. Google Fit doesn’t work with services like IFTTT, but it does coordinate with a variety of other apps and devices, including Strava and RunKeeper. You need to set up this sync in the third-party app rather than Google Fit: For example, in Strava, you can activate it in Settings > Link Other Services. Fitbit doesn’t have an in-app syn option, but as discussed in the previous section, the FitToFit service will sync it with your Google Fit.
Although Google Fit is good about exporting, it’s not as helpful when you want to import your data. Ideally, you’ll already be syncing data from another service, such as Strava or RunKeeper, before you make the jump. That way, your data will already exist in both places, so you want have to deal with the whole export-import routine. In fact, if the option is available, you should always consider setting up a Google Fit sync whenever you start using a new app or platform—just in case you think you might switch in the future.
Apple Health

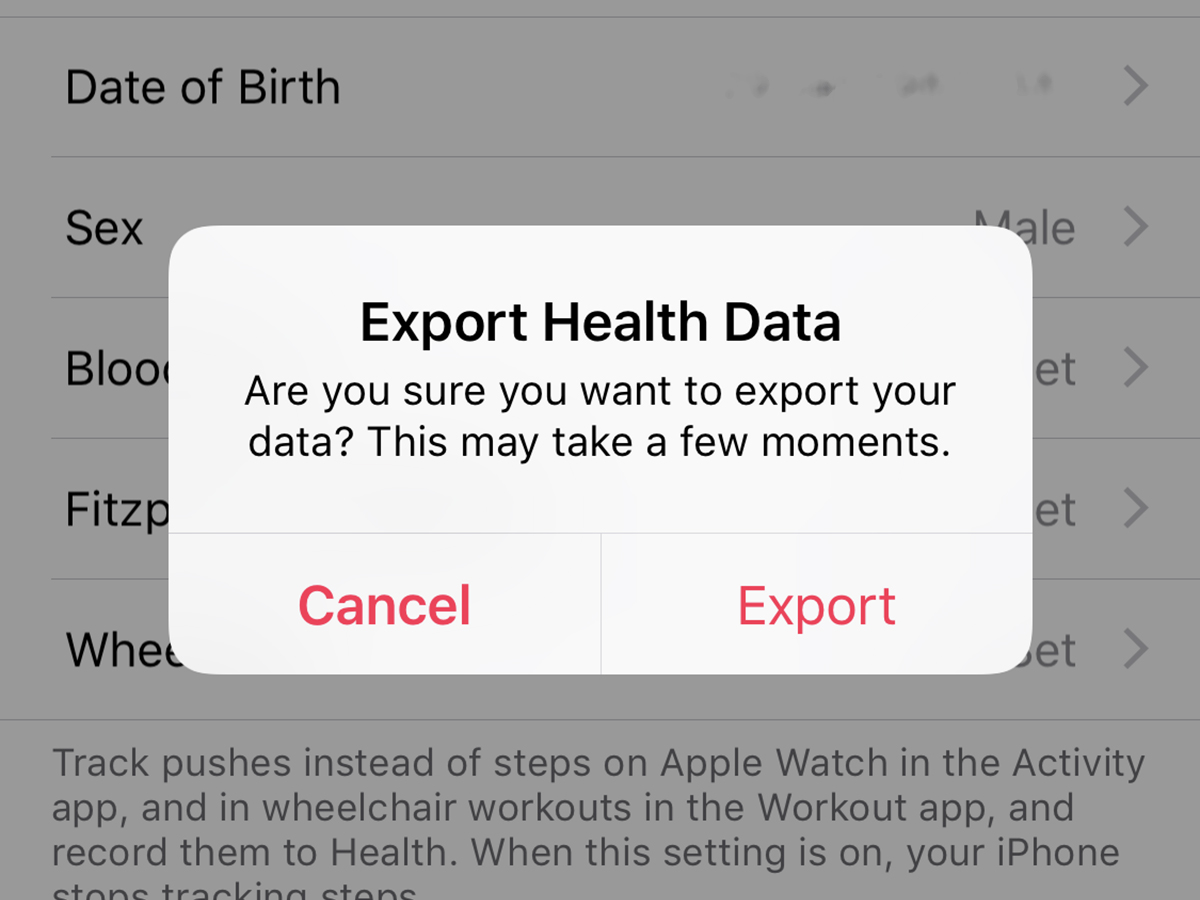
To extract your data from Apple Health, you can use the app on your iPhone. Tap your avatar on the top left, followed by Export Health Data > Export, and you’ll see the option to save the file to your phone or send it to another app, such as Mail or Dropbox. Pick the most useful option, and wait for your information to arrive.
Apple Health will send you your data in a standard data-exchange format called XML. Like JSON, this format doesn’t always port directly into other health and fitness apps in a readable way. One way to make sense of the XML data is this simple web converter, which converts it into the CSV format we’ve mentioned previously, which makes it easier to see how many steps you’ve taken, how much energy you’ve burned, and so on, in a standard spreadsheet program. Plus, once you have that CSV file, you might be able to convert your data into a format that you can import into a new fitness app.
As always, you can bypass the import-export process in favor of syncing your data between multiple apps. To see which apps on your phone will work with Apple Health, open the app and hit Sources. Tap on any of the entries to choose which types of data you want to read or write. As with Google Fit, this syncing doesn’t help if you need to pull a long list of historical data from another app into Apple Health or vice versa. But if you get the syncing set up early on, you’ll have your data in both places as you go—which means you can then ditch one app and carry on with another.
Although Apple doesn’t keep an official list of compatible apps and services, they include Endomondo, Strava, and Garmin Connect. Fitbit doesn’t make the list, but you can plug that gap with Fitbit to Apple Health Sync, a $5 third-party app that keeps everything from steps to sleep synchronized between the two services.
When it comes to importing data, Apple Health is a lot like Google Fit: It doesn’t have an import option per se, but it does have that aforementioned syncing. And if you’re simply importing data into Apple Health on another iOS device, you can use this $5 Health Data Importer app.
Strava

The refreshingly-open Strava makes the export-import process even simpler than it is with the other apps we’ve mentioned. It actually showed up earlier in this article, as a service that can sync with both Google Fit and Apple Health, so if you think you might want to switch between them in the future, set this up as early as possible.
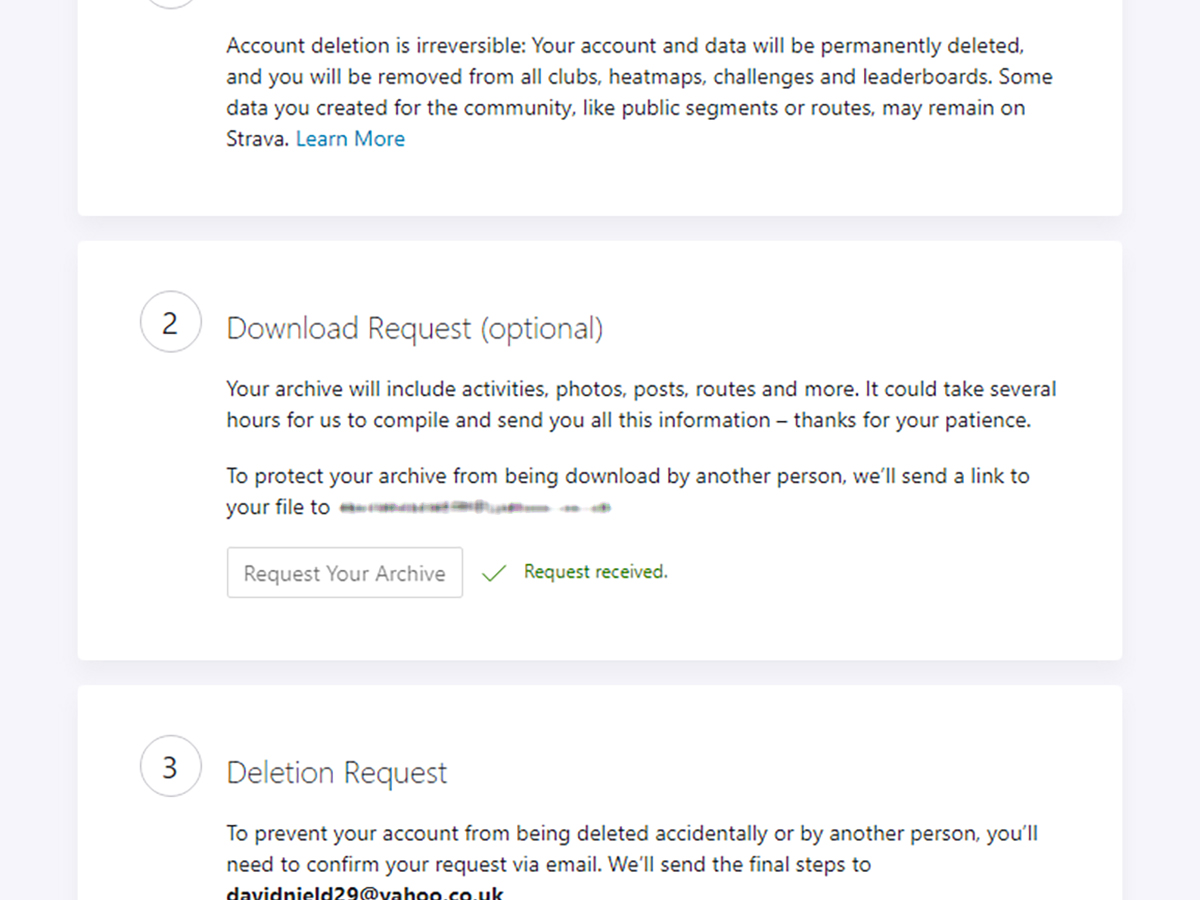
To export your data from Strava, log into your account online, hover the cursor over your account avatar on the top right, click Settings > My Account, scroll down below Download or Delete Your Account, and hit Get Started . On the next screen, click Request Your Archive, and within a few hours, you should receive a download link in your inbox.
Your data appears in neat CSV files, easily read by a spreadsheet application such as Excel. Many other fitness platforms can accept CSV files, so you might be ready to go already.
However, if the basic data import option doesn’t work for you, then you can try syncing Strava to other services. Again, this doesn’t transfer your historical records, but starting whenever you set it up, it does establish copies of all your exercise logs in multiple apps at the same time. For example, head here to connect your Fitbit and Strava accounts. (In this case, the sync only works one way: Fitbit activities show up in Strava but not the other way around. However, runs and rides logged in Strava do contribute to Fitbit’s all-day stats of calories burned and total minutes of activity.) If you later decide to replace Fitbit with Google Fit, you can disconnect the former from Strava and sync the latter instead—your data will remain intact, and you can just carry on as before.
Beyond Fitbit, plenty of other apps and services will sync your Strava data between different accounts, including the FitnessSyncer service we mentioned previously. It really depends which apps you are switching between: The
As for importing, Strava accepts data in the GPX, TCX, and FIT file formats. That’s good news for Endomondo (exports in GPX), Garmin Connect (exports in TCX), and Google Fit (also exports in TCX). Strava will even import data from your Apple Watch, as long as you use the HealthFit app ($3 for iOS) to convert your runs into the FIT format. To import a file, log into the Strava website, then hover the mouse cursor over the plus icon in the top right-hand corner. Select Upload activity, and then switch to the File tab to pick a file from your computer. All of the data it contains will then upload to your Strava account.
