How It Works: A 3-D Printer For Liver Tissue
The first commercial 3-D bioprinter, Organovo's NovoGen MMX Bioprinter, is manufacturing functional liver tissues that will soon help biochemists test new drugs. Here’s a look at the printing process.


The NovoGen MMX Bioprinter
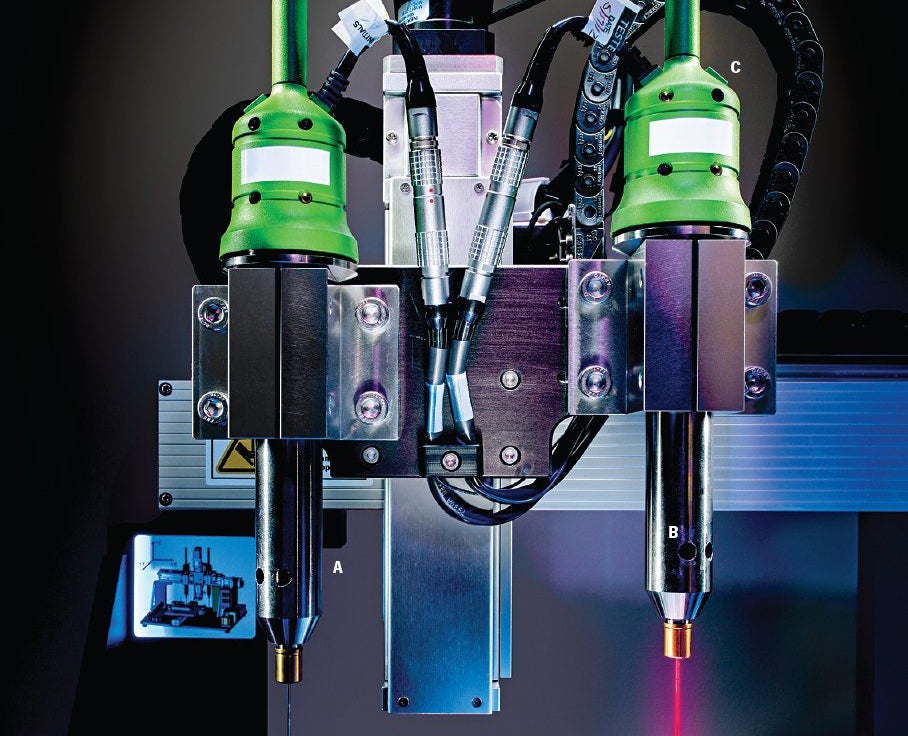
Step 1: Engineers load one syringe with a bio-ink (A) made up of spheroids that each contain tens of thousands of parenchymal liver cells and a second syringe with a bio-ink (B) containing non-parenchymal liver cells that bolster cellular development and a hydrogel that helps with extrusion.
Step 2: Software on a PC wired to the bioprinter instructs a stepper motor attached to the robotic arm to move and lower the pump head (C) with the second syringe, which begins printing a mold. The mold looks like three hexagons arranged in a honeycomb pattern.
Step 3: A matchbox-size triangulation sensor (D) sitting beside the printing surface tracks the tip of each syringe as it moves along the x-, y-, and z- axes. Based on this precise location data, the software determines where the first syringe should be positioned.
Step 4: The robotic arm lowers the pump head (E) with the first syringe, which fills the honeycomb with parenchymal cells.
Step 5: Engineers remove the well plate (F)—which contains up to 24 completed microtissues, each approximately 250 microns thick—and place it in an incubator. There, the cells continue fusing to form the complex matrix of a liver tissue.
This article originally appeared in the August 2013 issue of Popular Science_. See more stories from the magazine here._