
Upscaling a digital photo typically destroys its image quality. You lose detail and sharpness while adding ugly objects called artifacts to the file that make the whole picture look crunchy and unappealing. For years, however, companies like Adobe have been working on algorithms to try to bring the CSI “enhance” feature out of the world of TV fiction and into its image-editing software. The latest version of Photoshop makes a big leap in that direction with a feature called Super Resolution.
How to try Super Resolution
The new feature is called Super Resolution and, if you have a current Creative Cloud subscription that includes Photoshop, you should have access to it right now.
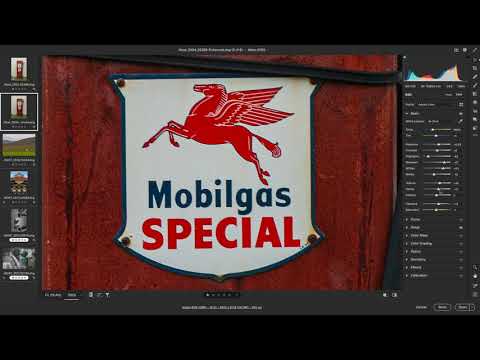
To find it, open a photo in the Adobe Camera Raw (ACR) interface. If you open a raw photo taken from a digital camera, Photoshop should automatically open the file in ACR without any extra steps. If you’re trying to open another kind of file, like a JPEG or PNG, you can go through Adobe Bridge and open in Camera Raw.
Once you’re in the interface, right click on the image and click “enhance” or use this keyboard shortcut: ctrl + shift + D. This will bring up a dialog box with a zoomed-in preview of your image. After the preview renders, it will automatically show up in the image box. Clicking and holding on the image will revert it to its pre-enhanced state so you can see the direct comparison between the two versions. This dialog box will also give you an estimate of how long it will take to convert the image if you choose to commit the changes. This is a computing-intensive task, so if you’re using an older or underpowered computer, it may take a while.
Once you click “enhance” it will go through the process of converting the image and a preview will show up in the bottom of the screen right next to the original.


What happens to the photos?
Adobe is relying on its AI platform called Sensei to crunch the data needed to enhance your photos. The feature aims to double both the horizontal and vertical lines of resolution in the image, which results in quadruple the number of pixels.
In the example above, I ran the process on a raw file from my old Canon 6D full-frame DSLR, which I got soon after it came out in 2012. It has a respectable 20.2-megapixel resolution, which clocks in around 5,472 x 3,648. After the enhancement, however, Photoshop spit out a 79.8-megapixel file with a total resolution measuring 10,944 x 7,296.
When you’re looking at the photos zoomed out, you can see a difference, particularly in areas with a lot of detail (typically referred to as “high frequency” areas). The lines in the fencing clearly become more defined and the whole thing appears generally sharper. These improvements likely stem from a related feature called Raw Details, which lives in the same dialog box as Super Resolution. Raw Details increase sharpness around the edges of objects to make them appear more crisp.
Super Resolution in Adobe Camera Raw (v13.2)
When you zoom in to the pixel level, it’s obvious that there is some image degradation that comes from the upscaling, but it also looks decidedly less pixelated and maintains more of the detail than if you had simply zoomed in or changed the size with the image size tool. It’s easier to read very small text and make out the look on the dog’s face, for example.
Once you click open from Camera Raw into Photoshop itself, you’ll find that it has created a DNG file, which is a more generic form or raw format that’s compatible with a much wider array of software than the camera makers’ proprietary formats.
Why would you want to use it?
While my 6D is old, its resolution isn’t that paltry. Something like Super Resolution can really come in handy when you’re working with much older DSLRs. My first serious digital camera, for instance, was a Canon 10D, which promised a whopping 6 megapixels way back in 2003. With just 6 megapixels of resolution, that’s not even enough pixels to natively fill a 4K screen, which requires more than 8 megapixels. Once we go up to 8K, it will take more than 33 megapixels to fill up a screen without upscaling.
In addition to older and lower-end cameras, this is also handy even if you just want to crop deeply into your own photos. For instance, I’ve cropped hard into this image taken with the 45-megapixel Canon R5, which drastically reduced its overall resolution. The enhance function, however, brought back some of that detail I would have otherwise lost.
It’s not magic
If you’re hoping to rescue that cherished image that only existed on Friendster back in 2005, but it only measures 800 x 600 pixels, don’t expect Super Resolution to work a miracle and let you blow it up to poster size. Also, the more image data it has to work with, the better job it will do on the upscaling. So, a raw file from a relatively recent DSLR or mirrorless camera will stand up much better than a lowly JPEG or PNG that you pulled down off the web.
Adobe also isn’t the only game in town when it comes to AI upscaling. Topaz Labs has been doing a great job with its algorithmic enlarging for some time now. That software can increase an image’s size by up to 600 percent under the right circumstances.
At the end of the day, however, Adobe is still the massive gorilla in the photo-editing space and having this tech baked into its flagship photo editor is a big deal. As with any Sensei-based software, Adobe plans to refine the algorithms over time, which should make Super Resolution work even better down the line as an incentive for people to keep those Creative Cloud subscriptions active.
