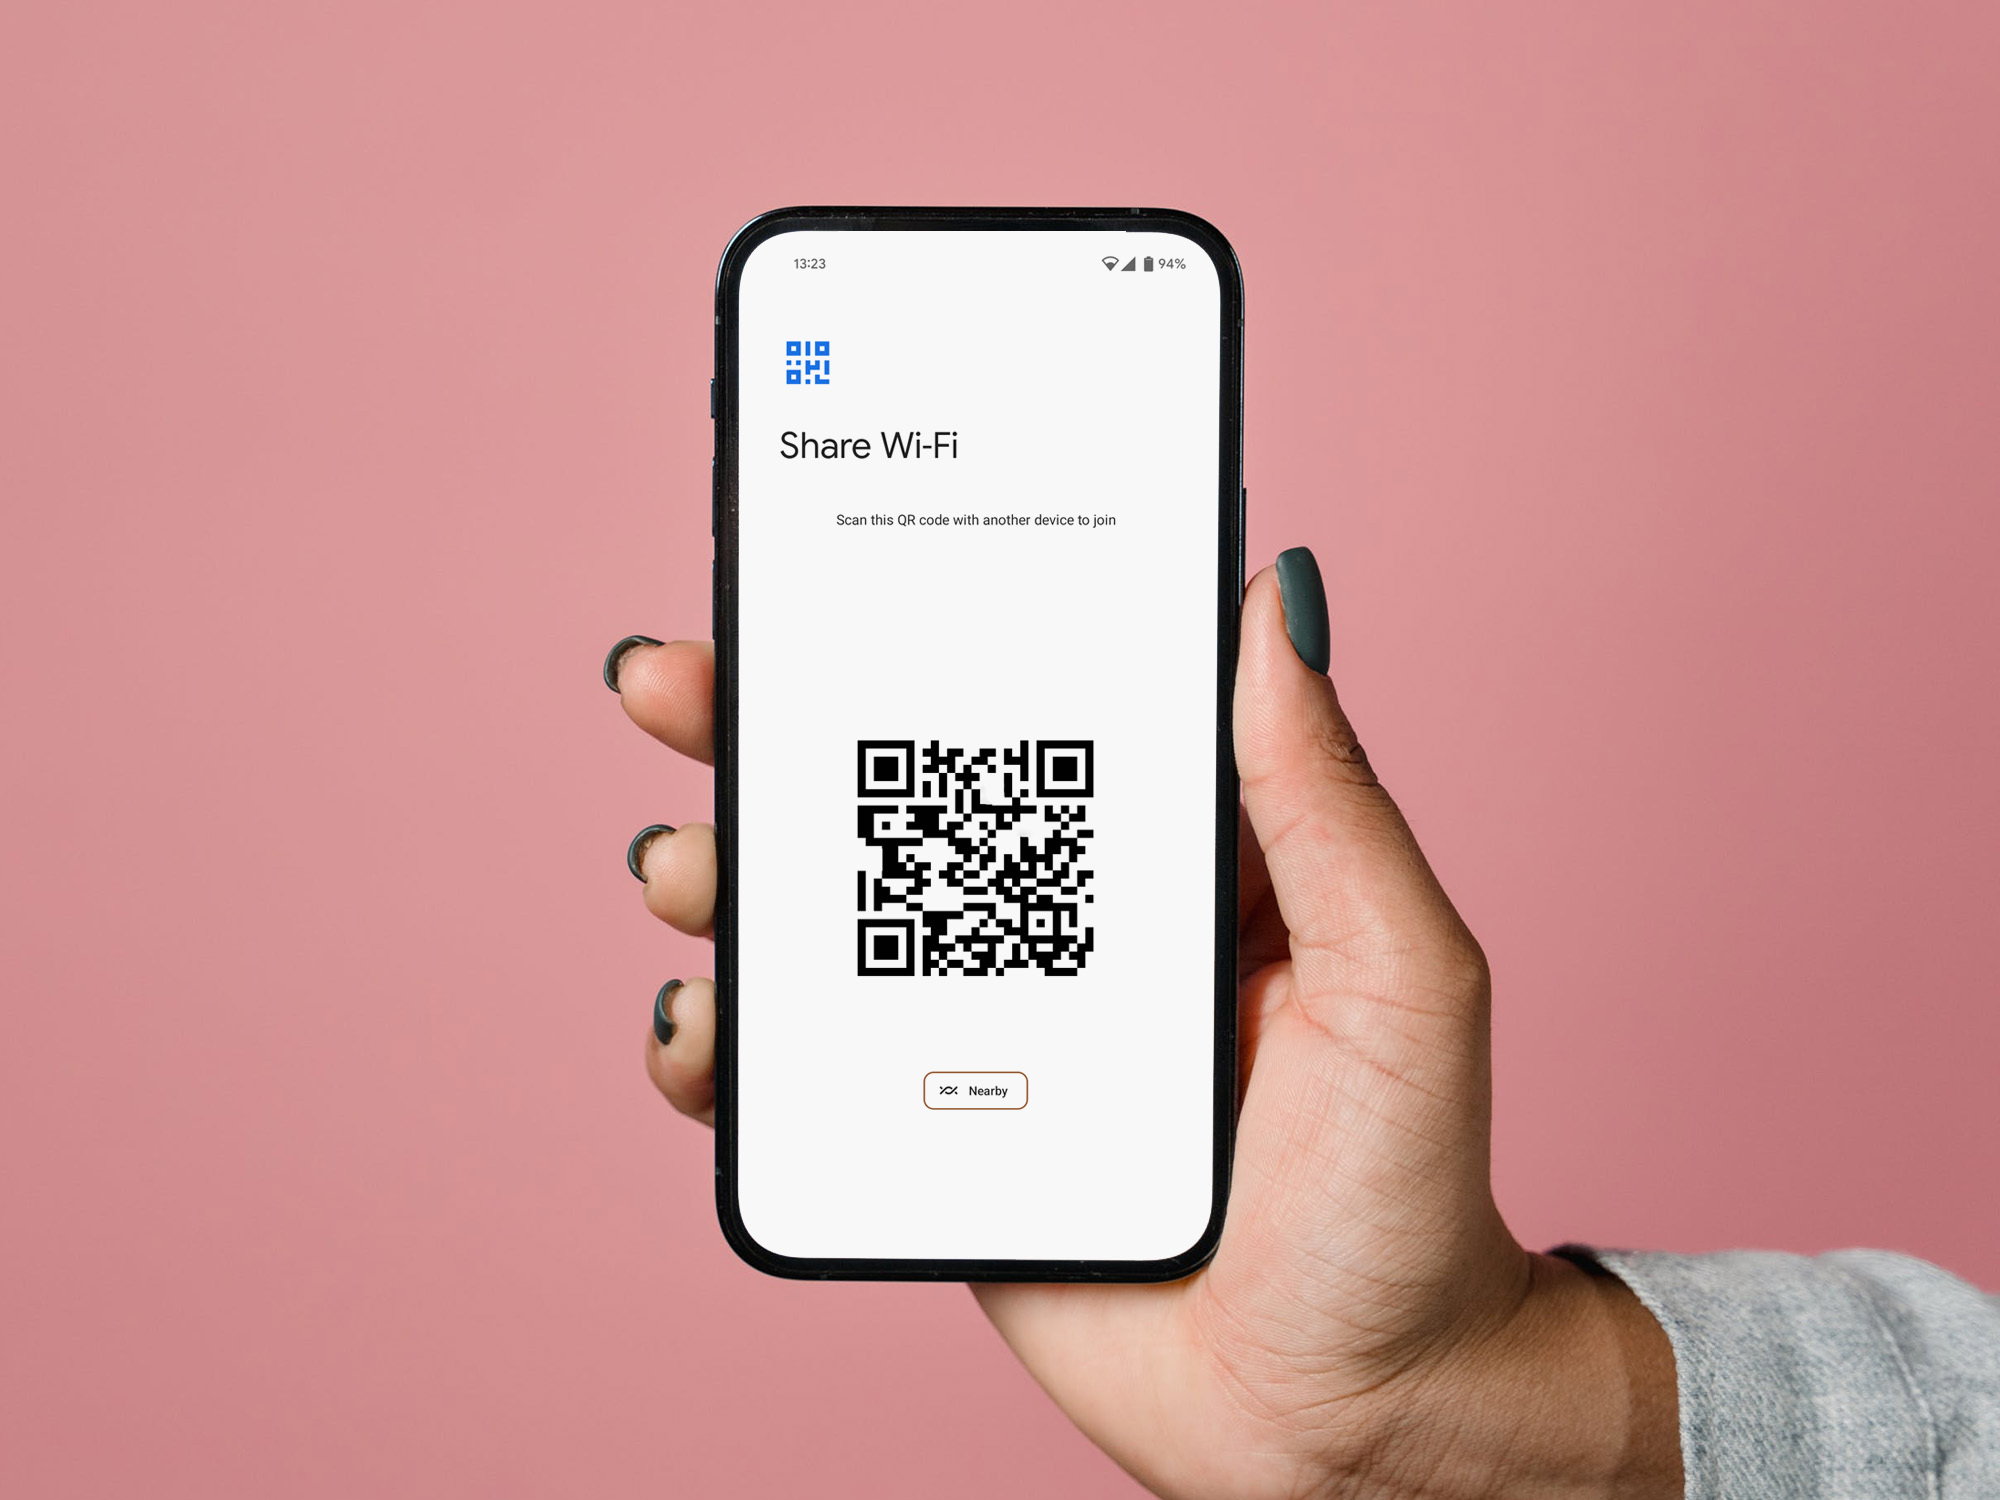

When a friend asks you to share your WiFi password, how long is your explanation? Saying “Oh, it’s a mess of letters and numbers taped to the router behind the refrigerator in the rental unit upstairs” doesn’t make things easy for them.
There are better ways to share your WiFi. And sure, each of these tips requires some minimal hoop-jumping, but it’s a heck of a lot easier than trying to dictate a password like “dD^#i16HJ9vD” to someone while they fumble with the password field.
It’s also worth noting that if you often find yourself needing to share your WiFi password, you should set up a guest network to allow people to access your internet while keeping other devices in your home safe. We’ll explain how below, but for now let’s satisfy your immediate needs.
How to share your WiFi password on Android
Google’s operating system allows you to share WiFi passwords via scannable QR codes, so you won’t have to watch your friends hunt and peck on their phone keyboards.
- Unlock your phone and open the Quick Settings menu—swipe down with two fingers from the top of the screen.
- Long-press Internet to open the menu, and then tap the cog icon next to the WiFi network you’re connected to.
- Tap Share.
- Your phone will ask you to verify your identity with a biometric or a passcode. Once you provide it, it’ll generate a QR code with your home network’s info.
If your guests are Android users, you can share the info via Nearby, Google’s version of Apple’s AirDrop. To do this, tap the Nearby button below the QR code and wait until your device finds your guests so they can hop online.
If your friends wield iPhones or iPads running iOS 11 or later, they should be able to scan the QR code with their regular camera app and instantly join the network.
How to share your WiFi password on iOS, MacOS, and iPadOS
Sharing a WiFi password between Apple devices is even easier—at least if you’ve done some work beforehand. Specifically, both people need to have the email address associated with their Apple ID saved in the other person’s contacts, and you need to be signed into iCloud. For WiFi sharing to work, both devices also need to have WiFi and Bluetooth on, and personal hotspot off.
Unlock the device sharing the password. Have your friend tap the network on their device. A prompt should appear on the one that’s already connected—tap Share Password, then Done.
You’ll need to be somewhat near their device, and in my experience, the process can be a little finicky, but it’s something to consider. If the prompt doesn’t come up, you can always create a dedicated WiFi QR code.
If all else fails, generate your own network QR code
If you find the options above are not working or you have a lot of people coming over and don’t want to share your password with each one, you can print (or cross-stitch, if you’re ambitious) a QR code they can scan. There are plenty of tools out there that will help with this task, but I like QiFi.org. It’s incredibly straightforward:
- Type in your network’s name in the box under SSID.
- Select the encryption type. If you’re not sure, check your router’s administration page.
- Type the network’s password under Key.
- Click the Generate button, then choose Print or Export for a copy you can stick just about anywhere.
QiFi does the heavy lifting offline, too, so you won’t have to worry about giving a random website your WiFi information.
Create a guest network before you share your WiFi password again
Ideally, you don’t want to give people access to your main WiFi network. This will give their laptop or phone access to all the devices in your home, which means they—or any malware installed on their system—can compromise your data. You can avoid this by creating a guest network, as we noted above. Most routers have this ability built in.
[Related: Device won’t connect to WiFi? Here’s what to do first.]
1. Head to your router’s administrator page by typing 192.168.1.1 into your address bar. This is a private IP address some internet service providers use as a gateway to access their routers’ settings. If that one doesn’t work for you, there are other numbers you can try. You can also check the sticker on the bottom of your router or find its user manual.
2. Look for an option in the settings called Guest Network and set it up with a WPA2 password, if you can.
- Note: Some routers only allow open guest networks, which I’d recommend against since they allow good-for-nothing rogues to snoop on your guests’ traffic. If you have the ability to do so, you should also make sure to block guest access to local network devices and prevent them from accessing your router’s settings.
3. Give your guest network an easy-to-remember name and at least a somewhat easy-to-remember password. Note that simpler passwords are inherently less secure, but for this specific use case, I’d argue the popular “four random words” method is secure enough. You can use a generator like Correct Horse Battery Staple to make one for you. That way, you can easily remember the password, and your grandma will have no problem typing it in when she visits.
This story has been updated. It was originally published on June 17, 2019.
