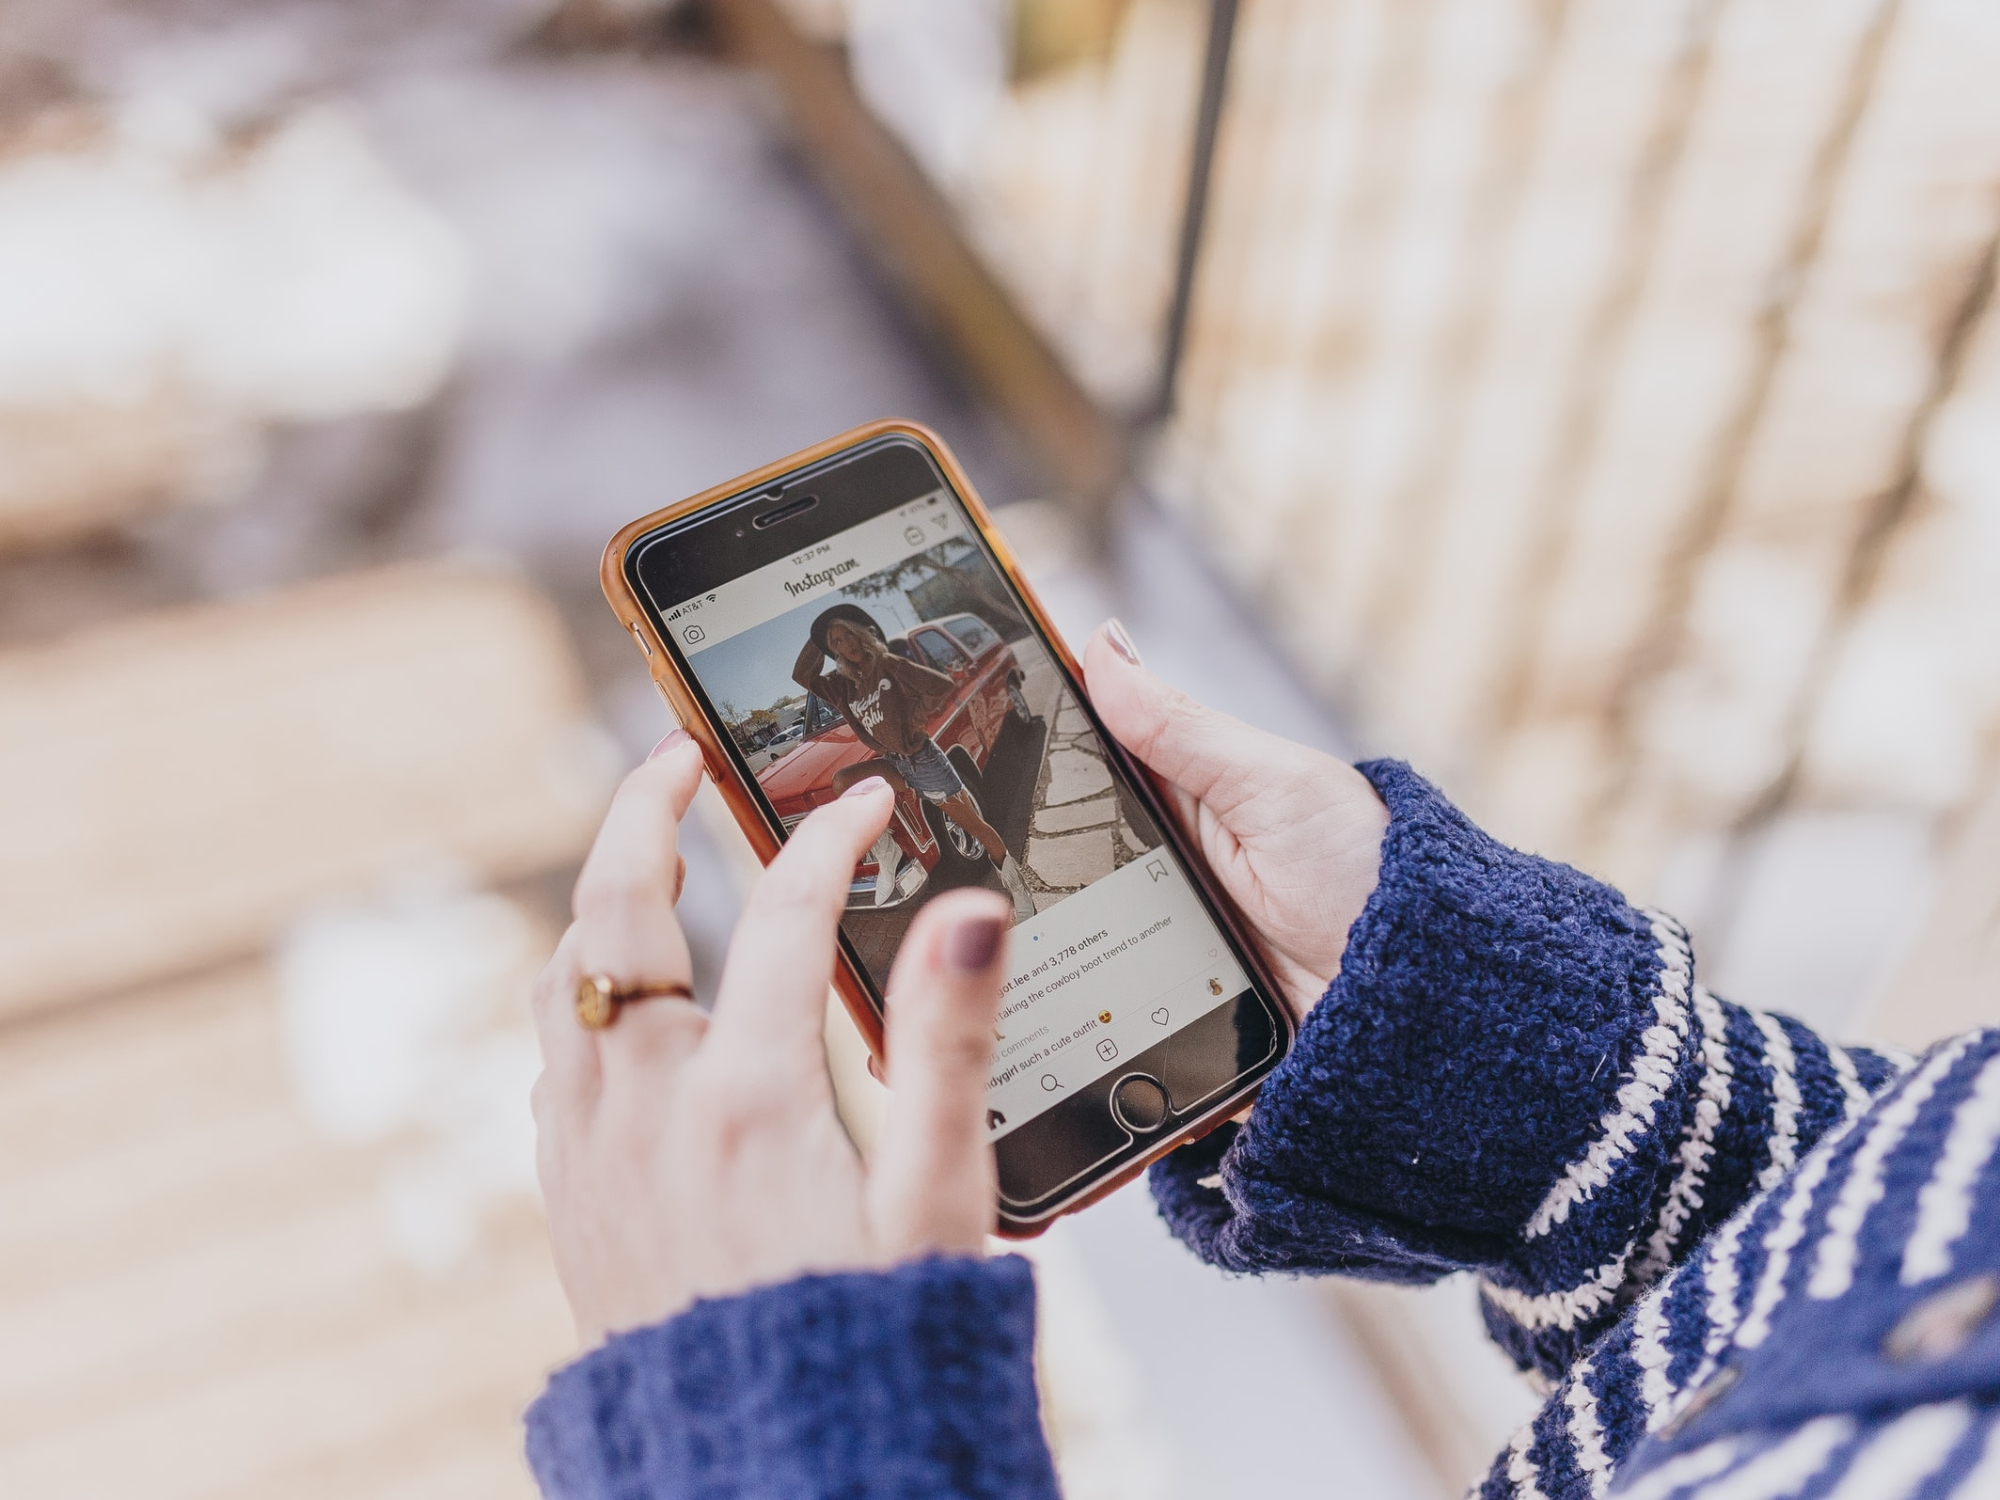
Instagram isn’t the only place to share your photos, but it’s one of the biggest. And if you want to maximize those sweet, sweet likes and delicious follows, you’ll need to know how to work around its quirks. So let’s get started: These are some of the best ways to shoot better photos for your Instagram posts and stories.
Make full use of your phone
Modern smartphones are incredible cameras. Sure, the over-the-top multi-camera models like the iPhone 12 Pro Max and Samsung Galaxy S20 Ultra are ridiculously good, but any mid-level phone released in the last couple of years is more than capable of shooting awesome pictures. It’s not the gear—it’s how you use it.
With that said, make sure you are using your phone to the best of its abilities. Don’t just snap away with Instagram’s built-in camera. If your smartphone has multiple lenses, play around with all of them. If it can automatically zhoosh up your photos, let it, and see if you like the results. Set the auto-timer and jump into your photos. Use Portrait mode, Night Sight and all the other options and settings your device offers. Sometimes the results will be a bit weird, but they’ll more often be perfect to post to Instagram—or, at worst, your story.
Oh, and if you have a fancy camera, break that out and get shooting, too. You don’t need a DSLR or mirrorless camera to take great shots for the ‘gram, but using one is pure fun.
Compose your photos for Instagram
Instagram controls how your photos are displayed, so there are a couple hard limits you have to stick with.
Every photo is 1080 pixels wide. This is a lot smaller than what your phone is capable of shooting, so you’ll lose some fine details when you upload your photos. People won’t be able to zoom in or read text, for example.
[Related: Take better selfies with these lighting and angle tips]
For Instagram stories, the limits are pretty strict. Every post is 1080 by 1920 pixels, though the photo doesn’t have to take up the full canvas. The big problem is that so much of Instagram’s user interface—like your profile picture, the reply button, and the time stamp—sits on top of everything. If you’re shooting specifically for your story, try to keep your subject in the center of the frame—any important details at the edges could get covered. If it’s unavoidable, pinch on the picture to make it smaller. That way, you can center it in the post without the UI bits obscuring anything.
For Instagram posts (the ones that show up on your profile), the limits are a little looser. The traditional square photos are 1080 by 1080 pixels. The taller portrait photos are limited to 1080 by 1350 pixels, so you have a little more headroom to play with; that’s an aspect ratio of 4:5, if you’re wondering. Landscape photos have a minimum size of 1080 by 608 pixels (an aspect ratio of 1.91:1).
Also, every photo is cropped to a small, centered, 161-by-161-pixel square on your profile, so if all the cool stuff is at the edges or in the details, it won’t show clearly in the previews.
You don’t have to remember the specific numbers, though. When you upload a photo, Instagram will automatically resize it to the correct width and force you to crop it to an allowed aspect ratio. Just remember the app will:
- Crop portrait photos shorter than your phone can take them.
- Display landscape photos smaller than less-detailed images, because the width is fixed.
- Crop or cover anything close to the edges of your images.
Keep these notes in mind when you’re setting up your shots. You can always crop a photo tighter, but you can’t magically add details if you accidentally go too tight with your composition.
Don’t just edit in Instagram
Instagram’s editing tools have come a long way over the last decade, but there are still better options. You can even use Adobe Photoshop Lightroom on your smartphone, now. (Though it can be overkill).
If you want to make your images stand out, edit them in the ways, and with the tools, that most people ignore. Apps like Snapseed (free for Android and iOS) and VSCO (free for Android and iOS) give you a lot more control and far more options for how your photos can look.
[Related: How to use advanced editing tools without ruining your photos]
Beyond applying filters, these apps let you make big adjustments to everything, apply small tweaks to various parts of your images, and remove spots, blemishes, and other distractions. It might take a bit of playing around to get a handle on everything these more powerful apps can do, but it’s worth it if you want your photos to look their best.
If you’re in a photo, pose
No matter how technically perfect or well-edited a photo is, if everyone in it looks super uncomfortable, scared to be there, or just a bit confused, it’s only going to get attention for the wrong reasons.
Posing, though, is a skill—and you can get better at it. I’ve written a full guide on posing like a pro, so if you’re planning on modeling in your own photos, check it out, grab your smartphone, and check yourself out. A little bit of learning goes a long way.
Save your photos elsewhere
Instagram is a terrible place to keep the only copies of your photos. You should always save a copy in your phone’s photo library. Because—as mentioned earlier—Instagram resizes and crushes the details in any image you upload. That’s really bad if you ever want to download them again.

Here’s an extreme example: I uploaded the full-resolution version of the photo above as a post. The original file was 5760 by 3840 pixels and 14.7MB (I shot it with my DSLR).
When I downloaded it again from Instagram, the file was 1080 by 720 pixels and 119KB. That’s a reduction of almost 99%. Sure, the original file was pretty hefty, but Instagram still threw away huge amounts of image detail.
While you might not notice a difference in quality on the Instagram app, you certainly will if you ever try to do anything else with the image. I could print the original file at any size I wanted, hang it on my wall, and it would look good. The Instagram post? Even a 6-by-4-inch photo print would be blurry.
[Related: How to print giant wall-worthy images yourself]
So, even though this is an article about taking great photos for Instagram, please use something else to save your images if there’s even a tiny chance you’ll want to print them, share them, or just look at them in the future.
Don’t stress out too much
Taking good photos is fun and, yeah, it feels pretty great to get a load of likes and comments when you share them. You shouldn’t, however, be overly stressed or concerned about it.
Instagram’s algorithm is opaque, weird, and easily criticized. It determines who does and doesn’t see your photos. Sometimes it’ll show something to practically everyone who follows you, other times it will seem like nobody has seen your last five posts. Don’t let the number of likes you get start being the measure by which you judge the quality of your images. Some of my all-time favorite photos have been my least-liked on social media.
Also, as much as I talk about slowing down and taking longer to take photographs, Instagram is meant to be fun. If you want to post a goofy shot straight from the built-in camera to your story, don’t let some writer on the internet tell you not to.
