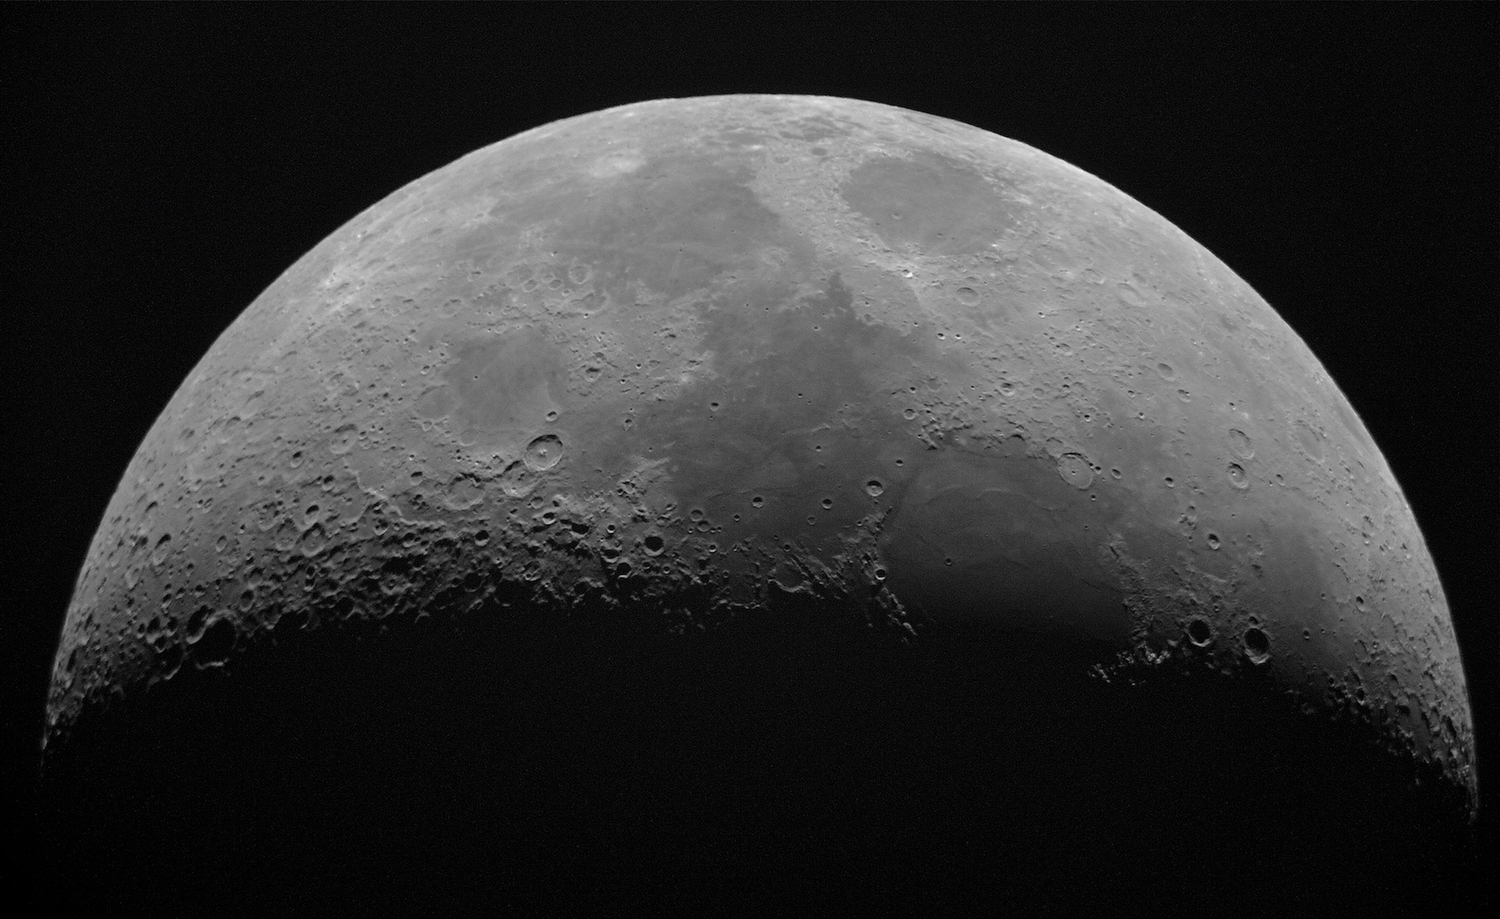
Today, I’m going to show you how to blow up the moon. Ok, wow, wait, let’s rephrase. I’m going to show you how to enlarge the moon. A topographic map of the moon. And put it on your wall. Gosh, I almost oversold that one, didn’t I?
It doesn’t have to be a moon map, either—the following steps work with pretty much any image, whether it’s a historical photo, a map of your favorite city, or even your most glamorous selfie. Crank that creativity dial up to 11.
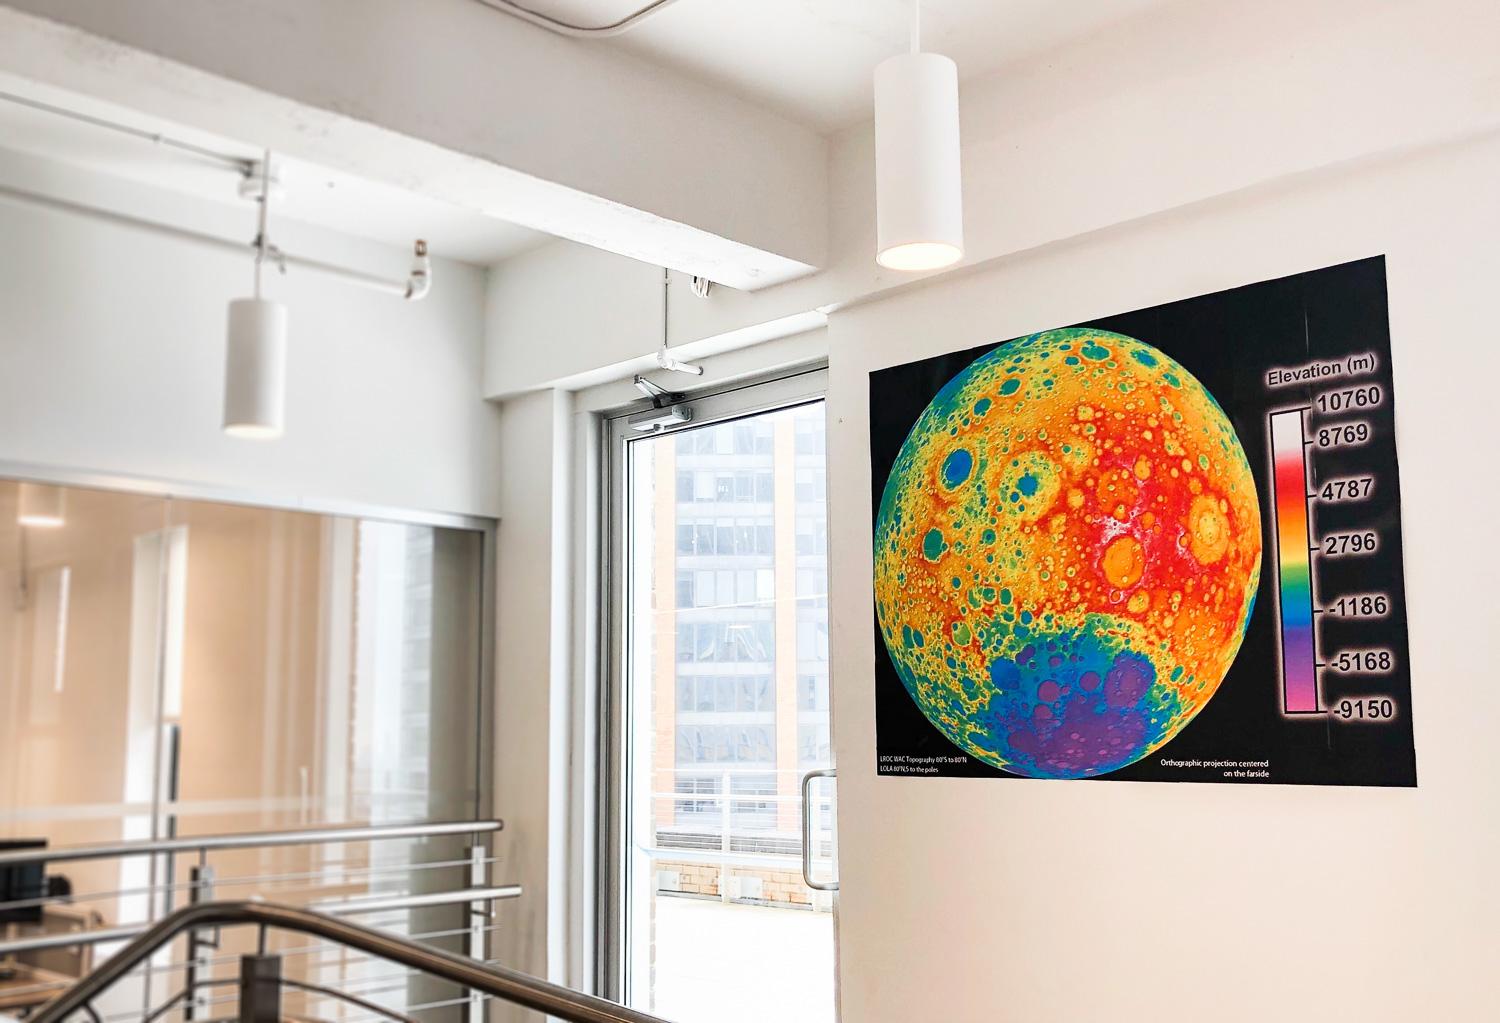
Right now at Popular Science, though, we’re focused on the 50th anniversary of the Apollo 11 mission that put two men on the moon. Sticking with that theme, I tracked down a high-resolution map of the far side of the moon and spent some time figuring out how to add a bit of lunar flair to an otherwise bland office wall.
What you’ll need:
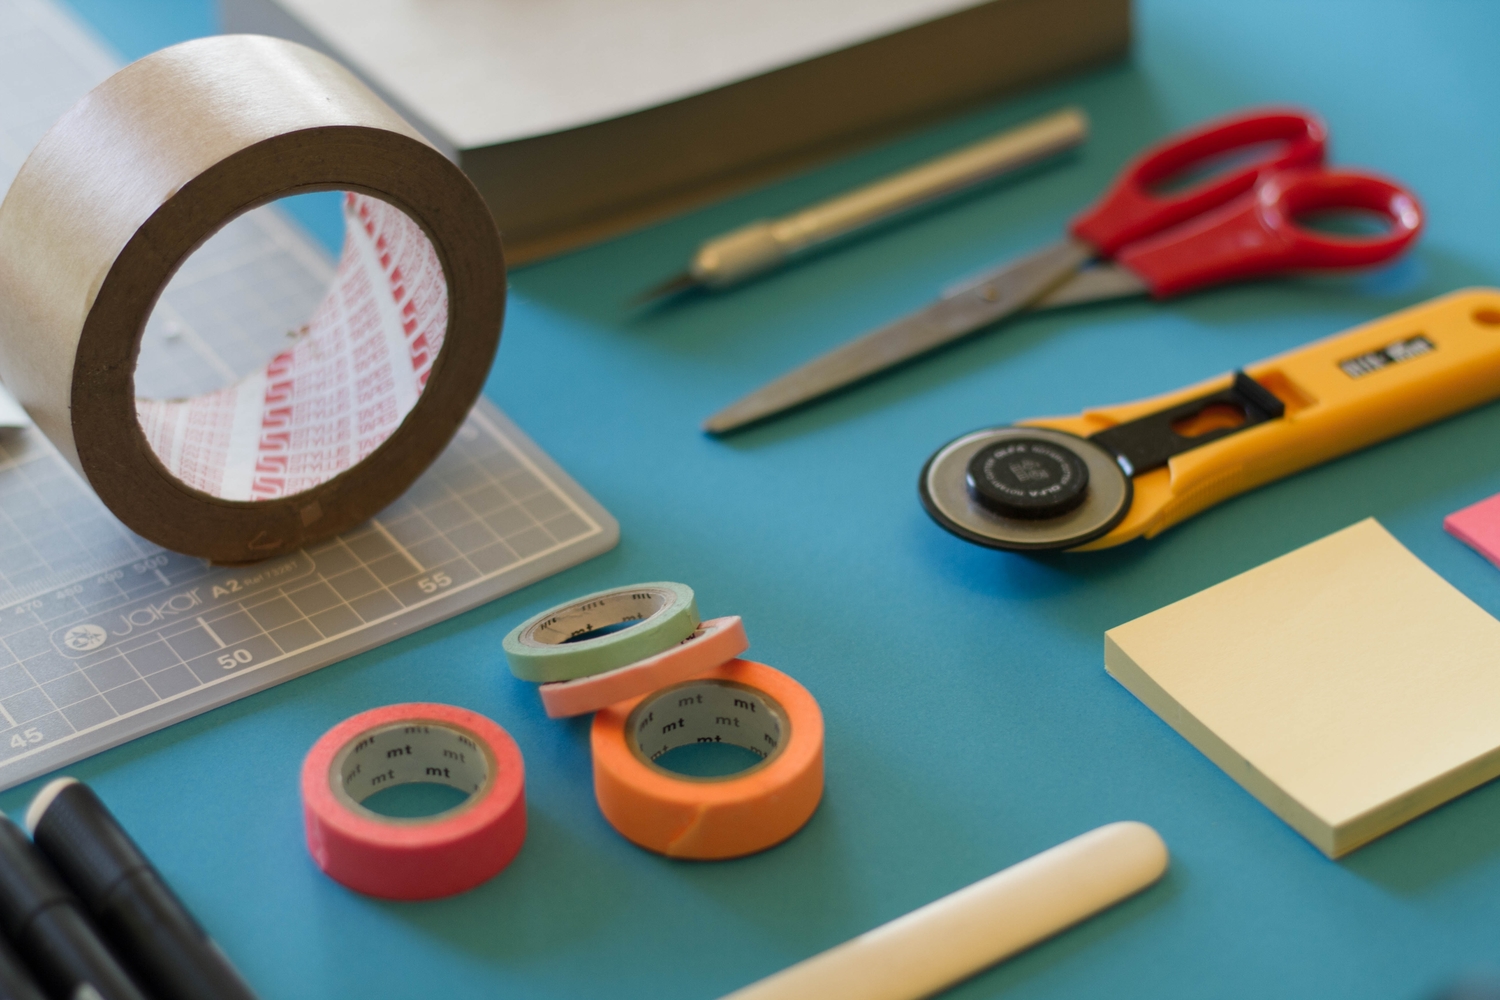
- Paper
- Printer
- Scissors or a paper cutter
- Tape (preferably double-sided)
- Coloring and writing implements (optional)
- Poster board (optional)
Time: At least an hour, depending on the size of your project.
Get your image ready to print
Unless you’re going for a pixelated look, make sure the file you want to print is large enough for your plans. The rule is simple: the bigger, the better. Look for images with height and width in the thousands of pixels. The topographic map I chose, for example, was 1277 by 1000 pixels—a bit on the small side. That means the pixels-per-inch count ultimately ended up far below the printing industry standard of 300 PPI, but you really can’t tell from more than a few feet away.
Once you’ve selected your image, you’ll have to format it correctly. Unless you’ve got a specialized printer, you’re not going to be able to produce a poster-sized piece of wall art on one sheet of paper. A typical 8.5-by-11-inch printout slapped in the middle of a vast expanse of drywall is simply not the look we’re going for here.
That means if you want to measure the dimensions of your final product in feet, not inches, you’re going to have to chop it up. You can do so with various image-editing programs like Adobe Photoshop and the open-source GNU Image Manipulation Program (GIMP), but I chose a program called The Rasterbator. After all, I was doing it myself.
The Rasterbator is not only free to use, it’s the easiest way I found to slice my moon map into a grid for tiled printing.
From the web app’s home page, upload a file, then choose the size of paper you want to print with. I selected standard A4 paper (210 by 297 millimeters) in portrait orientation. I kept the default 10-millimeter margins on all printed sheets to give myself some white space to work with while I put the map together.
Next, choose how big you want your poster to be. Given the wallspace available to me, I opted to enlarge my image to eight sheets wide (about 60 by 49 inches when trimmed).
As you play with the dimensions, The Rasterbator displays, in real time, how the final version will look next to a nearly 6-foot-tall person. It also shows how the tile grid will crisscross your project.
When you’ve settled on a size, you can add some effects to your image. Make it any color you like. I wanted to keep the original, so I chose not to use any. Before you finish, you may want to include crop marks and page position numbers. Crop marks make trimming easier, and I found them helpful. Page numbers help you keep track of which sheet goes where, but I chose not to use them, as they could have overlapped with parts of the image I wanted to display.
With that, you’re done, and all you need to do is download the finished, multi-page PDF, make sure your printer is ready to go (and not craving magenta ink), and print it out.
It’s worth noting that the web app will not let you print more than 1,000 pages, so if you’re looking to create something truly massive (in excess of 500 square feet), you can download the standalone Rasterbator, which has no size restriction. Just know that the program is old, may lack some features of the online version, and there are no plans for future updates.
Cut and paste
This is where the real work begins. Grab your stack of freshly printed pages and either sit down with some scissors or head over to a paper cutter. Maybe grab a friend to save some time. I enlisted Sandra Gutierrez, our assistant DIY editor.
Before you start slicing or snipping away, take a few minutes to plan. I hadn’t printed page numbers on each sheet, so Gutierrez numbered the back of each one. This helped us keep things in order and gave us a way to identify which pages to reprint if we damaged any of them. She also drew up a quick grid in Google Sheets so we could see where each tile would fit. As with any puzzle, knowing which pieces are corners and which form the borders can help a great deal.
We also opted to overlap as much of the white space on the edges of the sheets as possible. Doing so makes building the final poster much easier, allows you to assemble the pieces in bulk off the wall, and gives the project strength. Plus, it means less cutting.
Each sheet had white margins on all four sides, and for the most part, we sliced off the top and left ones. Not always, though, as we had to account for the positioning of the other corner and edge tiles and how they would overlap the pieces next to them.
Planning and trimming the borders on all 40 pieces took us 20-30 minutes.
With our prepared sheets in hand, we assembled the poster in groups of four pages. This let us put multiple sheets up on the wall at once, which was far easier than going one at a time. Accuracy was key.
We didn’t use it, but double-sided tape would work best, as it lies flat and provides more room to maneuver the tiles. Rolled-up cylinders of single-sided tape worked well enough, but we had to be much more precise with our page placement.
Once you’ve securely taped a group of sheets together, you may begin assembling your wall art. If you have poster board, you can put your project together on any flat surface and simply hang the full thing later. If, like us, you’re putting it straight on the wall, go slow and be careful; you may want to lightly pencil some guidelines on the wall to ensure the finished product isn’t disastrously tilted up or down.
You might also have to do some touch-up work, like taping down any loose edges, or coloring in visible slivers of white.
After two hours, at last, our work was done. We sat down; no need to make another one. I warmed up my lunch and admired our art. And with the moon map in my eye, chowing down on last night’s pizza pie, ah, it was amore.
5 Ways We Know Humans Went to the Moon
