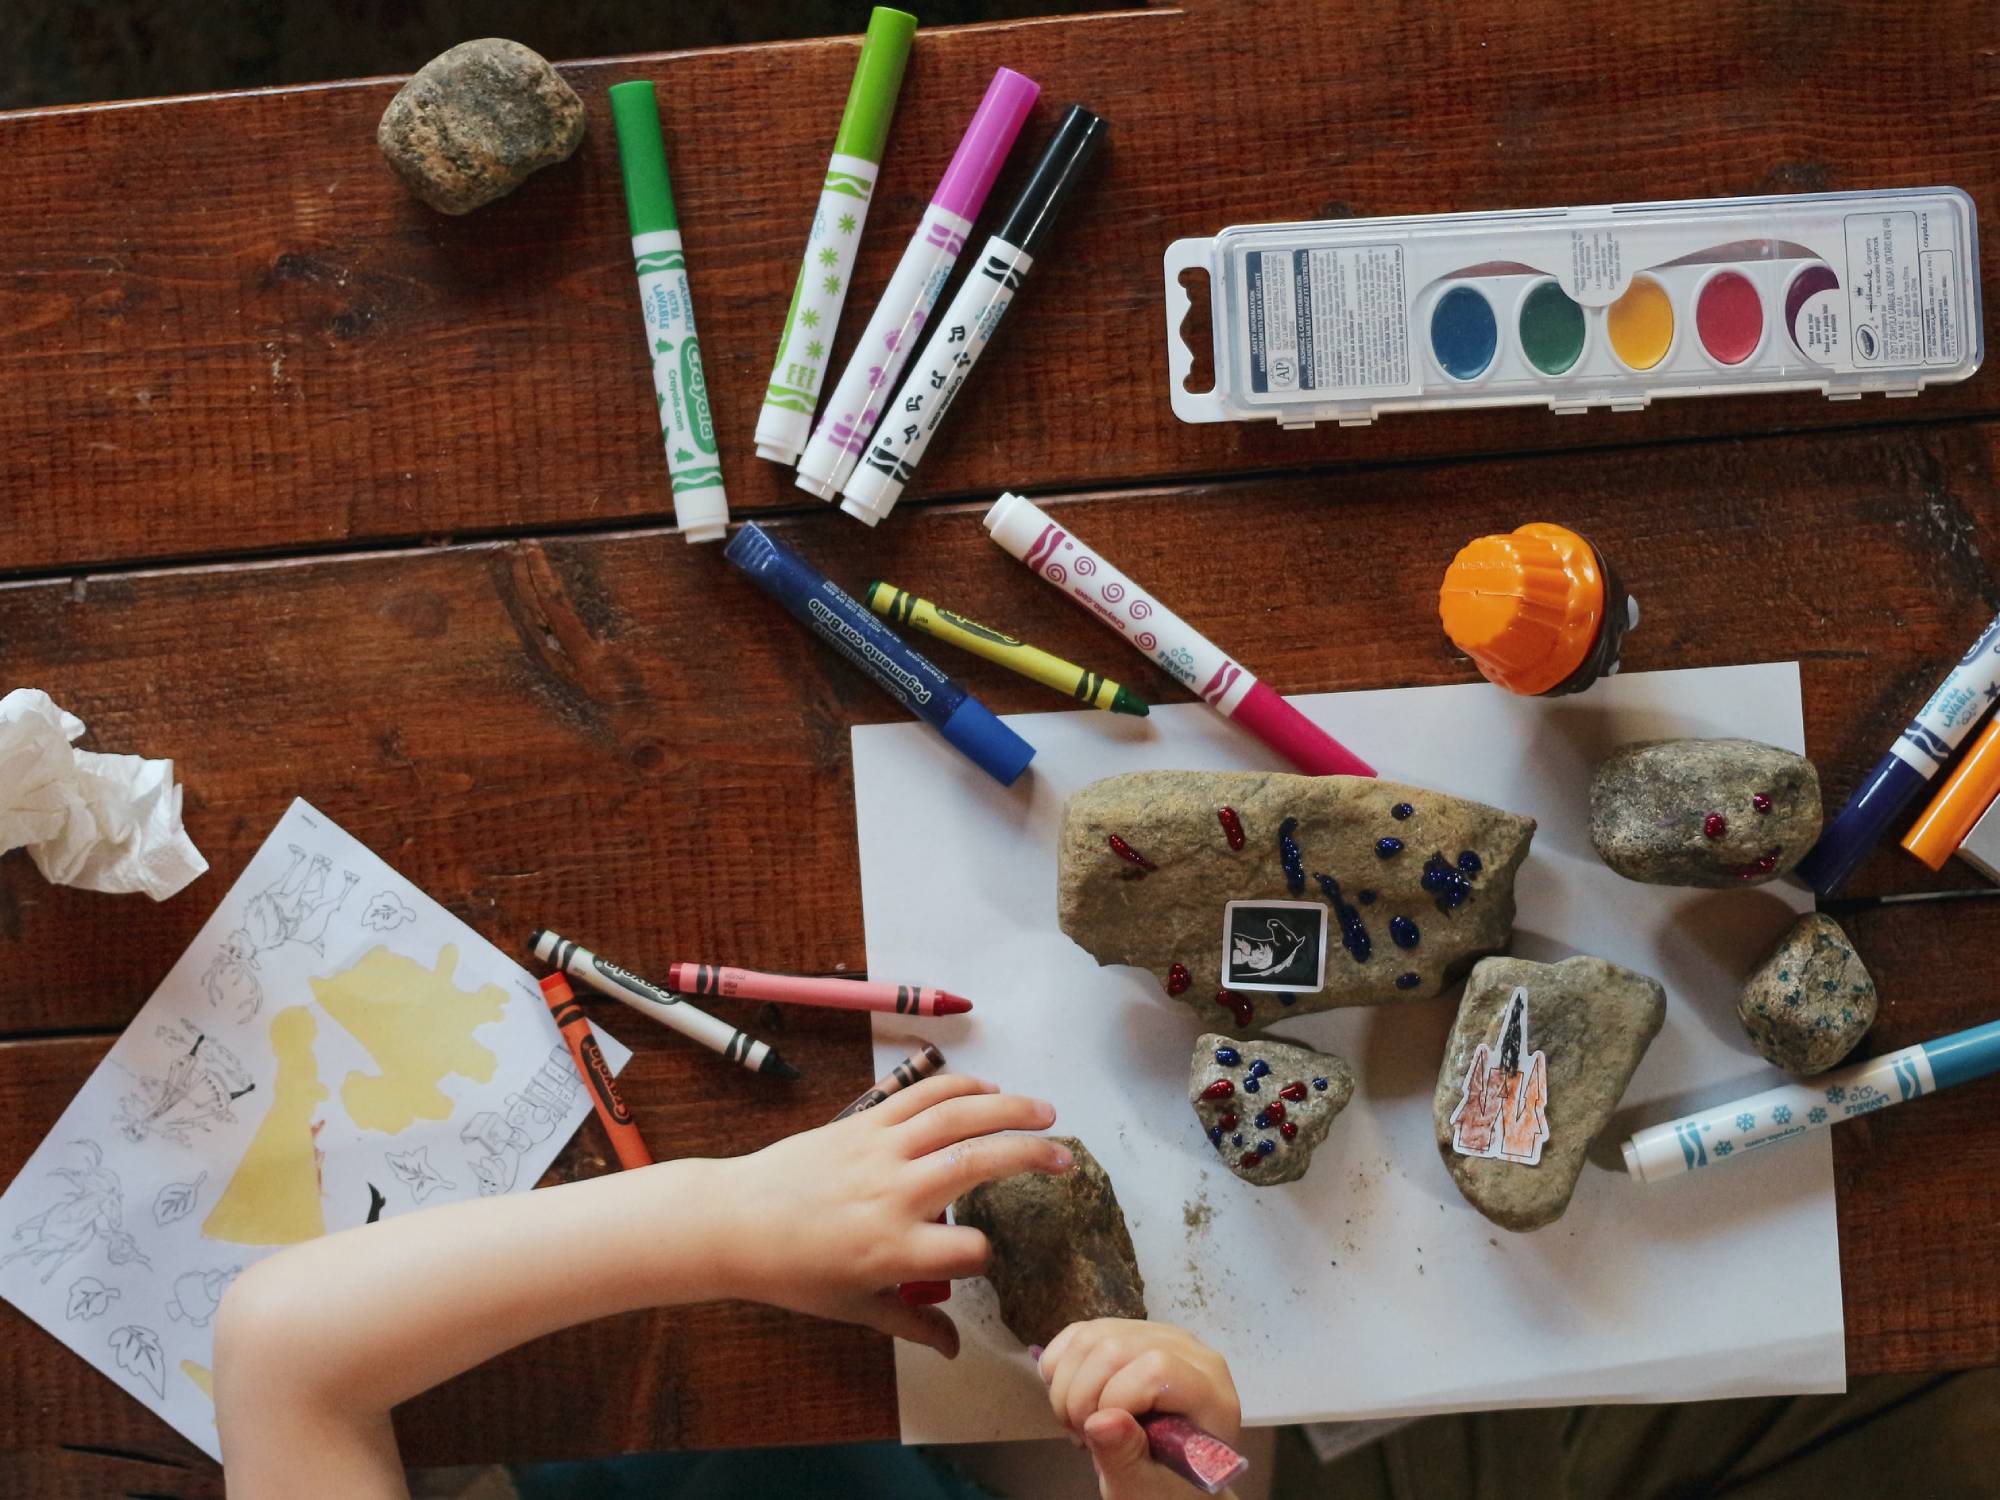
If your kids are anything like mine, they love paper. Cutting paper. Gluing paper. Drawing on paper. Tearing paper. Hanging paper. The mounds of art, scraps, and supplies can be overwhelming, and getting rid of them is not easy—not when even the tiniest doodle could be a treasure you think you’ll cherish dearly when your children grow up.
But you can’t turn your house into a museum dedicated to your offsprings’ formative years. Creating an easy, manageable system to handle your kids’ paper projects is only the first step in reclaiming your buried dining room table, while still giving your kids a chance to explore and display their boundless creativity.
The importance of a clean space
Having a cluttered house isn’t just a nuisance, but a distraction and even a source of stress, fatigue, and depression. On the other hand, researchers of physical education at Indiana University found that a clean and organized home directly correlates to a healthier, more physically active lifestyle.
A tidier space isn’t just good for the parents’, either. Lorraine Falcone, a certified professional organizer and founder of home organizing service Naturally Organized, says putting things away is an opportunity to teach children to have a healthy relationship with “stuff,” and for them to learn why they shouldn’t keep everything they’ve ever made or owned.
[Related: Stay-at-home science project: Leave secret messages with invisible ink]
”You don’t need to have the item to remember the experience,” she says.
Start small
If you’ve already let the paper clutter in your life get out of hand, don’t try tackling it all at once.
Sarah Buckwalter, certified professional organizer and founder of Organizing Boston, recommends starting with one simple area. Clear the paper and projects off of the dining room table, or get school papers organized. You can also take a look at your kids’ art supplies drawer and get rid of dried-out markers, and small pieces of crayons; or sift through scraps to filter out the trash from what’s reusable.
Once you’ve gotten control over one space, you’ll feel motivated and more confident to move onto the rest.
Declutter and decide
According to most experts, before you sort and categorize items for storage, first you need to declutter—get rid of everything you know you don’t want.
That’s easy when it comes to old sporting gear in the garage, but it can mean making some difficult decisions when it comes to your children’s creations. If you find that decluttering is emotionally hard for you, then it may be helpful to sort and categorize first: “Once you see how much you have,” Buckwalter says, “you’ll be less likely to hold onto it all.”
Falcone says people should ask themselves why they want to keep a particular item. Many kids aren’t actually as sentimentally attached to their artwork as you might be, so keeping reams of paper to give to them when they’re adults may not make a lot of sense.
Ultimately, there’s no one firm rule for decluttering things that hold a sentimental value. You need to decide what makes the most sense for you and your family.
Create a limited display showcase
Kids are proud of their artwork and love to show it off. Giving them a dedicated space to exhibit their masterpieces is a good idea. Just make sure not to nourish a permanent collection.
Falcone suggests displaying your kids’ projects just as if you were running a gallery—with rotating shows and defined timelines for how long each piece stays up. At the end of the exhibit, you can make an event of taking the art down together in preparation for the next one.
[Related: Five classic paper toys you can make when you’re bored (whether you’re in school or not)]
Hanging up a string with a limited number of clothespins to hold paper is another way of imposing limits. Once there are no more pins left, the kids will have to decide what to take down if they want to hang something new up.
If setting those boundaries is too hard, Buckwalter recommends giving the kids and yourself a memorabilia box where everyone can keep what’s important to them in the long term. Cull through that box once or twice a year—time and distance can make it easier to let go of old projects.
Going digital can save space—but also bring new clutter
One easy way to keep your kids’ crafts without having to physically store them is digitizing them. The simplest way to do this is to scan or photograph their creations and upload them to a cloud storage service like Google Drive or Dropbox.
If you have a scanner or a quality camera, and the time to go through everything yourself, you can also use services like Snapfish or Shutterfly to immortalize your kids’ art in photo books. But if you have a major backlog, there are numerous services that will do the job for you. Plum Print promises to take your child’s artwork and turn it into beautifully designed albums, and if you want a more practical way to save kindergarten art for posterity, the same company will also print it on products like pillows, dog beds, bags and stationary. Similarly, Artkive will take your children’s art, digitize it, and return a book or framed mosaic of the images to you.
With those high quality cameras we all carry around in our pockets all the time, it’s easy to fall into temptation and take photos of absolutely everything. Buckwalter advises against it. You still want to be discerning about what you keep on the cloud—digital clutter is still clutter after all, and poses its own challenges.
Organize with maintenance in mind
As good as it feels to have everything in its place, organization systems are only as good as your ability to maintain them—the easier it is, the more consistently you’ll use them. Ideally, this will not be a chore that only involves the adults in the home. Depending on their ages, try to include your kids as well, either as helpers, or as the sole keepers of the new order in the common areas of your house.
Buckwalter recommends looking at any organization solutions you come up with from your kids’ perspectives. Whatever their role in the system is, make sure they have easy access to everything they’ll need—don’t put up shelves too high, and make sure drawers are light enough for them to open.
If you have a dedicated space for your kids, clear bins with no lids are great for young children as they can easily see what’s in them and put their supplies back in when they’re done using them. On the other hand, if you share the space and your living room doubles down as your kids’ crafts room, Falcone recommends using clear containers with plastic covers, as they are easier to stack and put away if you have company. They’re also less likely to pick up extra items that your kids just toss in.
[Related: Ten great science projects you can do with your kids]
Keep in mind your children’s personalities and integrate what they like into the system you use. If they love color, color code things; if they love stickers, you can make creative labels, perhaps with pictures or drawings by your kids, to show what’s inside each bin. Involving your kids will give them confidence and a sense of ownership of the strategy they helped create, and they’ll be excited to participate in it.
Another key element to keep in mind when designing your organizing system is access. Falcone recommends starting by keeping those items your kids will use the most front and center, along with benign crafts supplies like coloring paper, crayons, and washable markers. Items that you want to control access to, like paint, glue, glitter and scissors, should be kept out of reach for your little ones, but still easy for you to retrieve.
No matter how you ultimately decide to organize your space, remember that the number one measure of organizational success is that you can use it.
“It doesn’t have to be perfect, as life with kids isn’t always perfect,” Buckwalter says. “It just has to be good enough.”
