
Summer’s right around the corner, but the heat is already on. From unrelenting sunshine to sizzling grills, feeling hot (and cooling down) are part of the daily grind now. PopSci is here to help you ease into the most scorching season with the latest science, gear, and smart DIY ideas. Welcome to Hot Month.
Our ancestors began cooking with fire at least a million years ago, and there’s even a controversial theory that says the first barbecue might’ve sparked the evolution of modern humans. Despite that history, understanding how to build a cooking fire is a skill that can be difficult to learn, especially when stoves are so easy.
Given the depictions of campfire cooking and flame-grilled burgers that pervade our collective consciousness, it’s easy to think that all you have to do is start a steady blaze. And while there are certainly situations where that will be enough, the best cooking fire doesn’t involve tall, dancing flames—it’s fueled by hot, smoldering coals.
Gather your fuel and gear and find a good spot
Ideally, you should start your fire 45 to 90 minutes before you plan to cook. This will give you enough time to build a solid coal bed, says chef Jean-Paul Bourgeois, who has constructed cooking fires all over the world. Before you start, make sure you have four things: wood, a fire starter, a good location, and the proper tools.
Although charcoal is a common cooking fuel, wood can be easier to find and a bit trickier to work with, so this story will focus on how to build a wood-burning fire. But because charcoal is often made out of organic materials and there’s little difference between those black briquettes and a heap of red-hot timber, we’ll point out where techniques overlap.
Wood
Firewood is the most important ingredient in a wood-burning fire. We shouldn’t have to tell you why. Not just any wood, though—it needs to be dry, or seasoned, to avoid excess smoke and inefficient combustion. You can buy wood, pretty much guaranteeing its quality, or gather it yourself.
If you do harvest your own, avoid moisture-filled green wood (unless you plan to let it dry out for several months), and pieces with a lot of bark, which can produce thick black smoke. You should also know how to identify plants to avoid burning any that could harm you or your guests. Burnt oleander, for example, can produce toxic smoke.
Tools
Whether you bought your wood by the cord or scrounged some up from a nearby forest, you’ll most likely need an axe or a hatchet to cut some of it up. Typically, firewood should be 16 to 18 inches long, and you can split it as fine as you want for different purposes, says Steve Schoettle, co-founder of Sea Island Forge, a company that makes kettles and other gear for open-fire cooking.
A good chopper will allow you to control the size of the wood you’re using—smaller pieces for kindling, bigger ones for burning. Don’t toss on logs that are too big, though, because they’ll take a while to turn into coal, says chef Katie Button. Her husband, Félix Meana, who builds many of the fires she cooks on, says he usually quarters a standard piece of wood, then cuts those quarters in half. You can keep halving them to get smaller kindling, he explains.
You’ll also want a good fire poker, one that’s long enough so you can tend the fire and move coals and wood around without burning yourself, Schoettle says. The best ones are made out of metal, and while you can use a long stick, that’s not ideal because it can (obviously) catch fire, he says.
Location
The best spot for a fire is on flat ground, at least 15 feet away from any other flammable objects, according to the National Park Service. That includes leaf litter and dry grass, so clear an area around your fire if you need to. What’s above the fire matters too—the coals should have a clear view of the sky, Schoettle says.
[Related: How to build a fire in the wilderness]
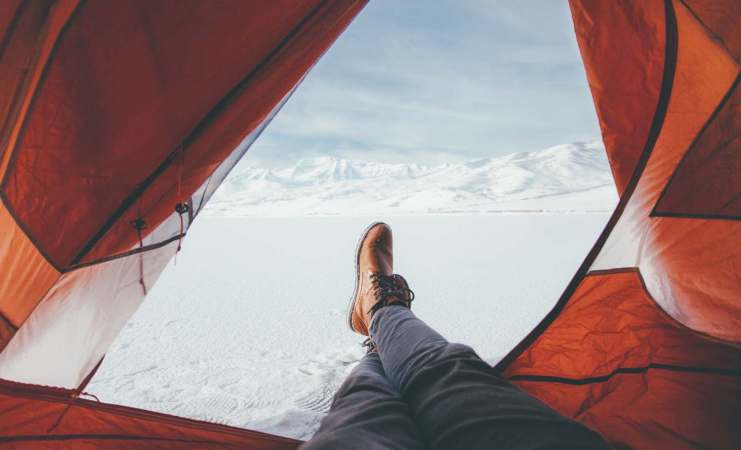
If you’re cooking at home and you have a fire pit, you’re probably all set, but if you’re somewhere else, you should also make sure that the ground under your fire is pure dirt or some other type of mineral. Fire can burn down into tree roots or buried organic matter, and that’s not safe. If you’re winter camping and trying to cook on top of snow, you can build your fire atop a raft of green wood—this will keep melting snow from dousing your coals, while not catching alight itself.
Fire starter
Finally, you need a fire starter. This comprises two items: something that will spark a flame, like a match or a lighter, and a material that burns easily and will set your kindling on fire. For the latter, Bourgeois likes fatwood—a 6- to 8-inch-long sliver of naturally resin-soaked pine. He says it burns for a long time and ignites with just a lighter.
He’s also seen chefs soak rolled-up newspaper in leftover bacon grease to create their own flammable wicks for future fires. Beyond that, you can use a wide variety of materials, including lighter fluid, duct tape, dried leaves, and even Cheetos, depending on what you have on hand and how desperate you are.
Start your fire
Before you start, make sure your kindling, firewood, and supplies are close by, so the fire is easy to maintain and you never have to leave it unattended.
Then, put your fire starting material down with some small kindling on top of it. It doesn’t really matter how this looks, as long as you have good airflow between the pieces you’re trying to set alight. You might gather some dry leaves, splinter some wood on top, then build a pyramid of dried twigs, or crumple some newspaper under some loosely stacked kindling.
“You’re building from very light, dry, very flammable organic material to something a little thicker that has a little more substance, because that fire’s going to light in steps,” Bourgeois says.
If you’re not using an accelerant like lighter fluid, you’ll want to get the kindling and smaller pieces of wood burning first. If you put full logs on too early, they could smother the flames, Bourgeois says. Instead, take your time and get a good core fire going.
No matter when you put the bigger pieces of wood on, stack them so the structure looks like a log cabin or the beginnings of a Jenga tower. Organizing the wood like this allows for good airflow, which keeps the fire alive and thriving. Without a steady supply of oxygen to feed the flames, your fire will merely smolder or go out entirely.
With charcoal, airflow remains important, but you’ll probably end up building a pyramid of briquettes over your fire starting material or using a chimney starter.
Maintain your fire
You can’t ignore your fire once it’s going—you’ve got to keep it alive and turn the fuel into coal for cooking.
“Fire is a living, breathing entity: it responds to external stimuli, it consumes energy, it can reproduce. In a sense, your fire has a personality from the time it starts to the time it goes out,” Schoettle says. “You always want to take good care of your fire so it takes good care of you.”
That means feeding your fire as it consumes fuel. Button says she and her husband feed small pieces of wood into one side of the fire, creating more coals as they cook over the coals they created earlier. When the older coals start to lose heat, she uses a poker to pull in the new ones.
A few open-fire cooking tips
We could write 10,000 more words (at least) about how to cook over open flames on a grill grate, cast-iron pan, kettle, or spit, but because this story is about fire structure, we’ll briefly discuss cooking advice that focuses on how your fire actually looks.
By the time you start cooking, you should have a good bed of coals, and you can move those hot chunks of wood or dusty white charcoal briquettes around to create different temperature zones. Schoettle likes to build a bed of coals with a live kindling fire on one end so he can get a touch of flame flavor when he needs it.
[Related: Five tools you absolutely need to start grilling]
Button likes a nice, even layer of coals under her cooking area, because it’s a lot easier to control the heat that way. Bourgeois says the same, noting that the heat provided by tall, dancing flames is far more inconsistent than a hot coal bed.
“Flames are hot, but also inefficient. They’ll give you heat, but they’ll give you heat that flickers on and off,” he says. “Your hottest and best cooking fire is with a coal bed with just small, little flames.”
As you cook, give yourself time to learn—open-fire cooking is a skill that needs time to grow. And when you’re done and the fire is safely extinguished, focus more on how much people enjoyed your food, not the struggles you had along the way.
“Try not to be too hard on yourself—it’s probably going to be good no matter what you do,” Bourgeois says. “It’s going to take some time to dial that in, because fire is wild, the elements you’re cooking in are wild, and you’re not. You’ll have to learn how to tame that.”


