We may earn revenue from the products available on this page and participate in affiliate programs. Learn more ›
Margarine has been the go-to vegan butter alternative for years, but there’s a new kid on the block that we actually can’t believe isn’t butter: Cultured vegan butter.
If you stick to a plant-based diet—or are looking for ways to cut animal products out of your diet for health, environmental, or ethical reasons—this project is a great culinary experiment to try.
Making cultured vegan butter at home does require some specialty ingredients. So depending on where you live and what grocery stores you have access to, it might not actually save you much money versus buying your own. Even so, the process is surprisingly easy and incredibly satisfying. You’ll feel like some kind of plant-based homesteader, and maybe even ready to tackle some more ambitious home fermentation projects.
Stats
- Time: about 1 hour of active work and at least 24 hours of resting time
- Cost: around $0.45 per ounce
- Difficulty: moderate
Materials
- 1 1/3 cups of refined coconut oil
- 1/2 cup of raw nuts (or sunflower seeds)
- Around 1/2 cup to 3/4 cup of water, plus more for boiling
- 1 teaspoon of liquid lecithin (soy or sunflower)
- 2 capsules of Lactobacillus Acidophilus probiotic
- 1/4 cup of any vegetable oil
- A pinch of salt
- (Optional) natural food coloring
- (Optional) 1 teaspoon of MSG
Tools
- Blender
- Small saucepan
- Stove
- An 8-ounce mason jar or larger (or a similarly sized glass bowl)
- Strainer
- Measuring cup
- Measuring spoons
- Scissors
- (Optional) cheesecloth (or dish towel)
- (Optional) silicone butter mold
How to make vegan butter

1. Make a non-dairy cream. This will serve as the base for your DIY cultured vegan butter. I’ve tested this recipe using cashews and sunflower seeds, which have a somewhat neutral taste. Nuts with stronger flavors, like walnuts, should work.
If you have seed and nut allergies, you can skip the process of making your own cultured cream and use store-bought plain and unsweetened vegan cultured yogurt. Keep in mind that if it doesn’t mention probiotics or “living cultures,” you’ll still need to follow steps two and three before proceeding.
To make the non-dairy cream, follow these steps:
- Place the raw nuts or seeds in a saucepan and cover them with water.
- Bring them to a boil over medium heat and let them simmer for about 15 minutes.
- (Optional) Add a pinch of MSG to give the nuts some extra umami oomph.
- (Optional) Add a sprinkle of turmeric to the water if you want your butter to be yellow. Fair warning—it may turn out more margarine-y than a natural butter shade.
- Drain the nuts.
- Add the nuts to a blender with 1/2-cup of filtered water.
- Blend until you get a heavy cream texture. Different kinds of nuts could result in different consistencies. If you don’t get the desired smoothness, you can adjust the mix by slowly adding more water.
- Finish by pouring your non-dairy cream into a glass bowl or mason jar.
- Note: Do not use a metal container, as the material might react with the acidic fermenting cream, either messing up your bowls or changing the flavor of your finished product.
[Related: Don’t waste banana peels: Turn them into tasty vegan ‘pulled pork’]
2. Add the probiotics. Probiotics are what puts the culture in cultured vegan butter. Carefully open a capsule and add the powder to your non-dairy cream. Don’t overthink it—hold one end of the capsule in your fingertips and snip it down the middle with scissors. Repeat this with a second capsule and stir to incorporate.
- Pro tip: If you don’t want to buy probiotics for this recipe, you can use a spoon of any cultured yogurt or kefir, or even whip up your own rejuvelac.
3. Cover your non-dairy cream and let it ferment. Use the mason jar ring, a rubber band, or string to secure a cheesecloth or dish towel over the cream. This will protect it from dust and bugs while still allowing it to breathe. Place the concoction somewhere safe, away from direct sunlight and extreme temperatures. A pantry is perfect.

Give the cream between 24 and 48 hours to ferment. You can start taste-testing after 12 hours and stop the fermentation process whenever the flavor is right—you’re looking for a pleasantly tangy taste, like Greek yogurt.
- Note: Always use a clean spoon when tasting the cream and don’t double dip—you don’t want to introduce the wrong sorts of bacteria.
4. (Optional) Pop your cultured cream into the fridge. Do this if you’re not ready to finish the butter right away. The cream may continue to develop more tanginess as it slowly ferments in the cool of the fridge. Use it within the next three to four days for best results.
5. Measure half a cup of cultured vegan cream and add it to your blender. Then add the coconut oil and vegetable oil. For the latter, use something neutral, like sunflower oil, or something you like the taste of, like a good olive oil. Using unrefined coconut oil will work just as well, but the resulting butter will taste like coconut.
Continue by adding the lecithin and salt. I’ve previously made this recipe using liquid lecithin, but this time I replaced it with two teaspoons of powdered lecithin. The latter worked fine, but I recommend sticking with liquid if you can find it. Powdered lecithin doesn’t affect the taste or texture of the final product, but it does make it look a little speckled.
- Pro tip: If you end up with more cream than you need, you can pop it in the freezer and add it to a pasta sauce or soup.
6. (Optional) Add coloring. If you used yogurt or didn’t add turmeric when making your vegan cream, you can add natural food coloring now. It will give it that classic dairy-butter yellow. The blog Full of Plants recommends a bit of carrot juice, but you can also experiment with plant-based food dyes and other colorful vegetables and spices.
7. Emulsify the ingredients. Slowly blend the mixture—start with 30 seconds and continue with 10-second spurts until completely smooth. Be careful with blending too much or too long, as it can cause the emulsion to heat up due to friction and split.
Emulsification blends fats and water into a uniform liquid. Lecithin helps stabilize emulsions and gives your butter the creamy consistency you crave.
8. Pour your butter into a mold or container. You can use a silicone butter mold with a lid, which is great for minimizing potential spills. You can also line any loaf pan or plastic container with parchment paper to make unmolding easier.
9. Let the butter set. Start by putting your butter in the freezer for one to three hours. Once it’s nice and solid you can move it to the fridge, where it should be the right consistency to eat and enjoy after three to four hours.
[Related: The coolest way to keep food cool without electricity]
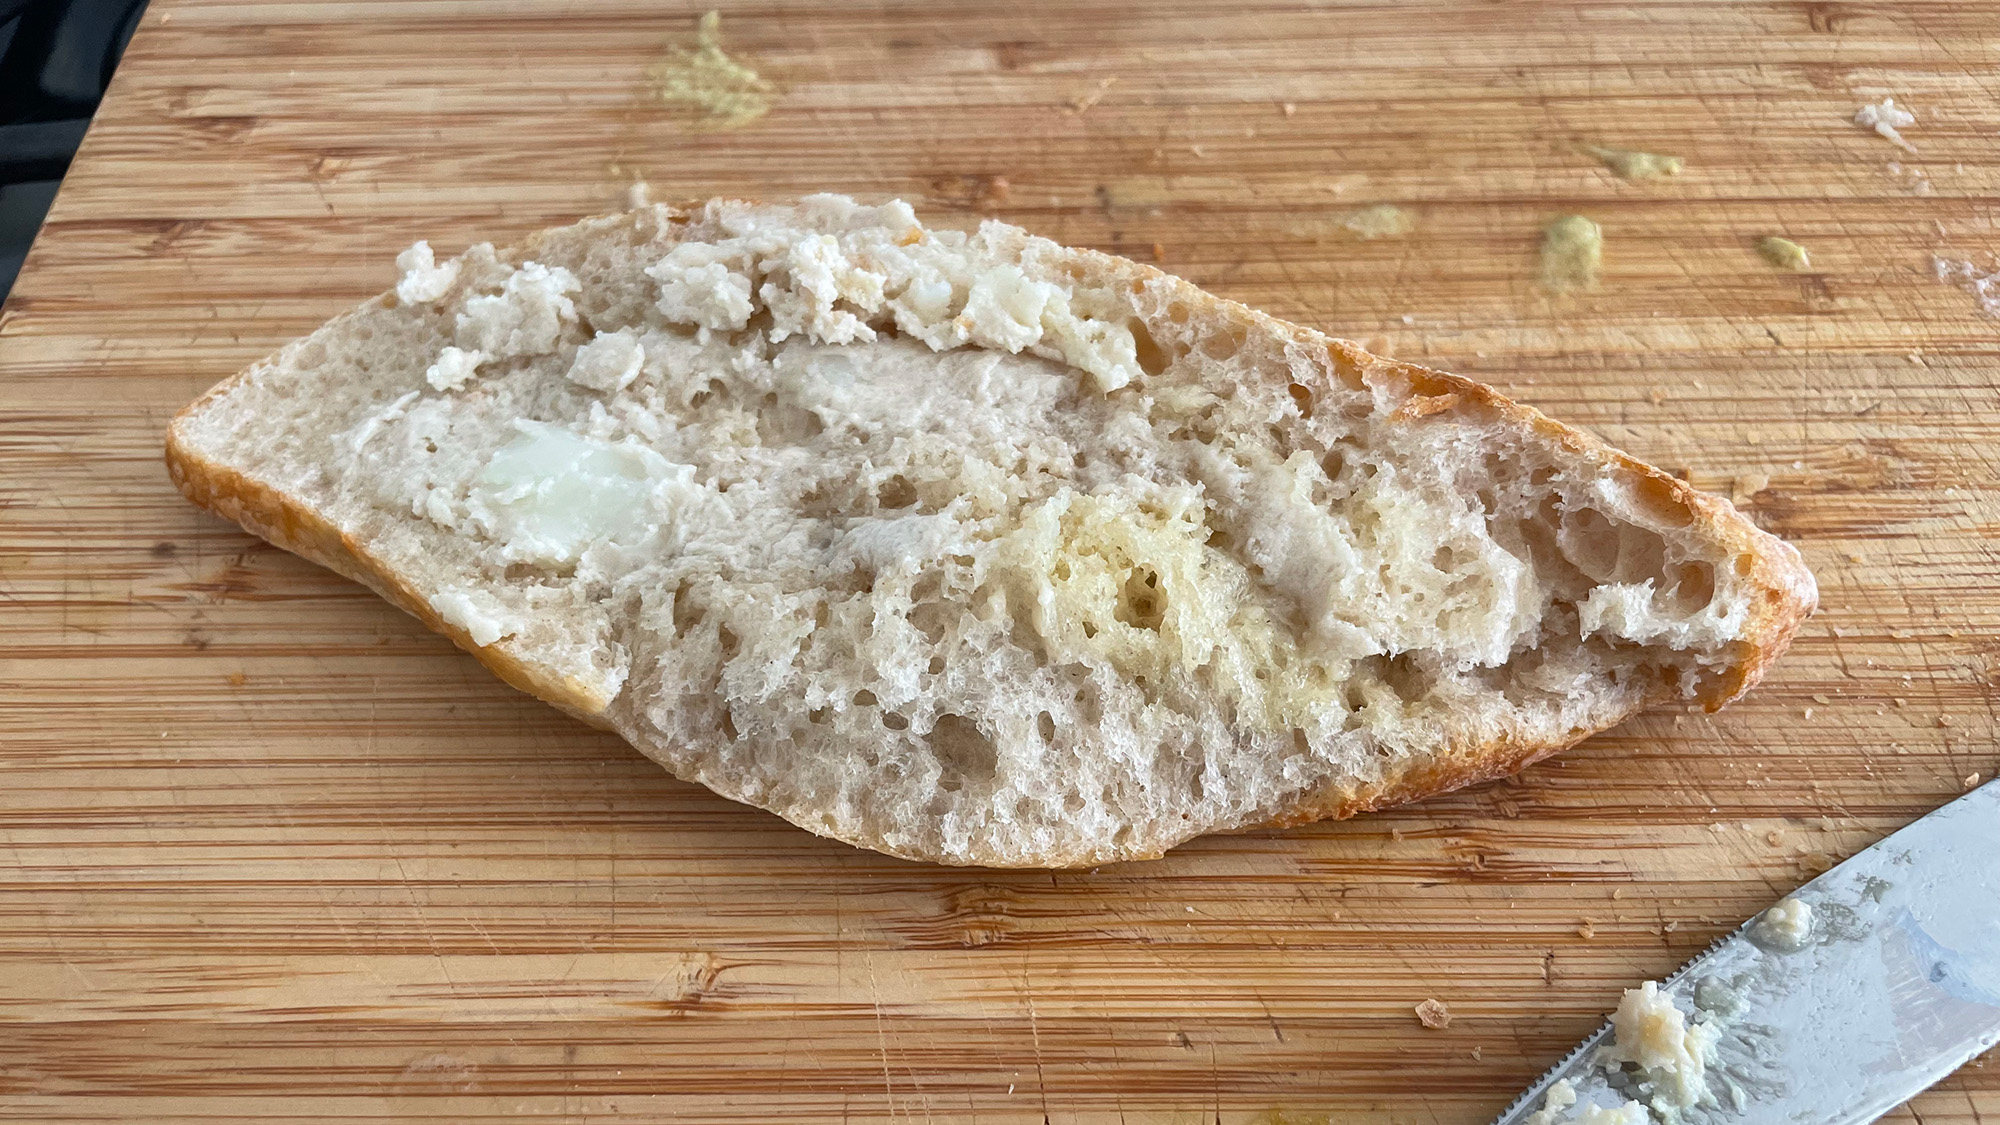
10. Enjoy your cultured vegan butter. Your butter is now ready to bake with, cook with, and spread all over your carbohydrates of choice. Keep your creamy concoction in the fridge, where it will be at its best for about a week. For long-term storage, you can freeze it.
What is cultured vegan butter?
When you make cultured foods like sourdough bread, kombucha, and yogurt, you deliberately initiate the fermentation process by using a starter culture—a batch of the living microorganisms you want growing inside.
Most dairy butter is not cultured but made from churning cream for a prolonged period of time, which makes the milk fats separate from the solids and glob together. Making cultured butter is similar, but you need to add bacterial cultures to the pasteurized cream and let it sit for a day or so to ferment before churning. Cultured butter stans love the tangy taste it often acquires, but the process also serves to amp up the buttery flavors you already know and love.
[Related: A complete guide to vegan muscle building]
That’s where cultured vegan butter comes in. By fermenting non-dairy proteins and fats, you can create some shockingly buttery flavors without adding cream. That makes cultured vegan butter a great substitute for cooking, baking, and enjoying as a spread. Some products like Miyoko’s Creamery’s salted vegan butter blow both vegans and omnivores away with their taste, but they can also bowl people over with their price tags.
A few years back, I tried the recipe for DIY non-dairy butter from the fantastic blog Full of Plants. Since then, I’ve experimented a few variations and picked up some potential substitutions from other recipes, and that’s what led to the recipe detailed above. Every time I make a new batch of vegan butter, I’m amazed at how simple it all is. Now you can try it, too.
