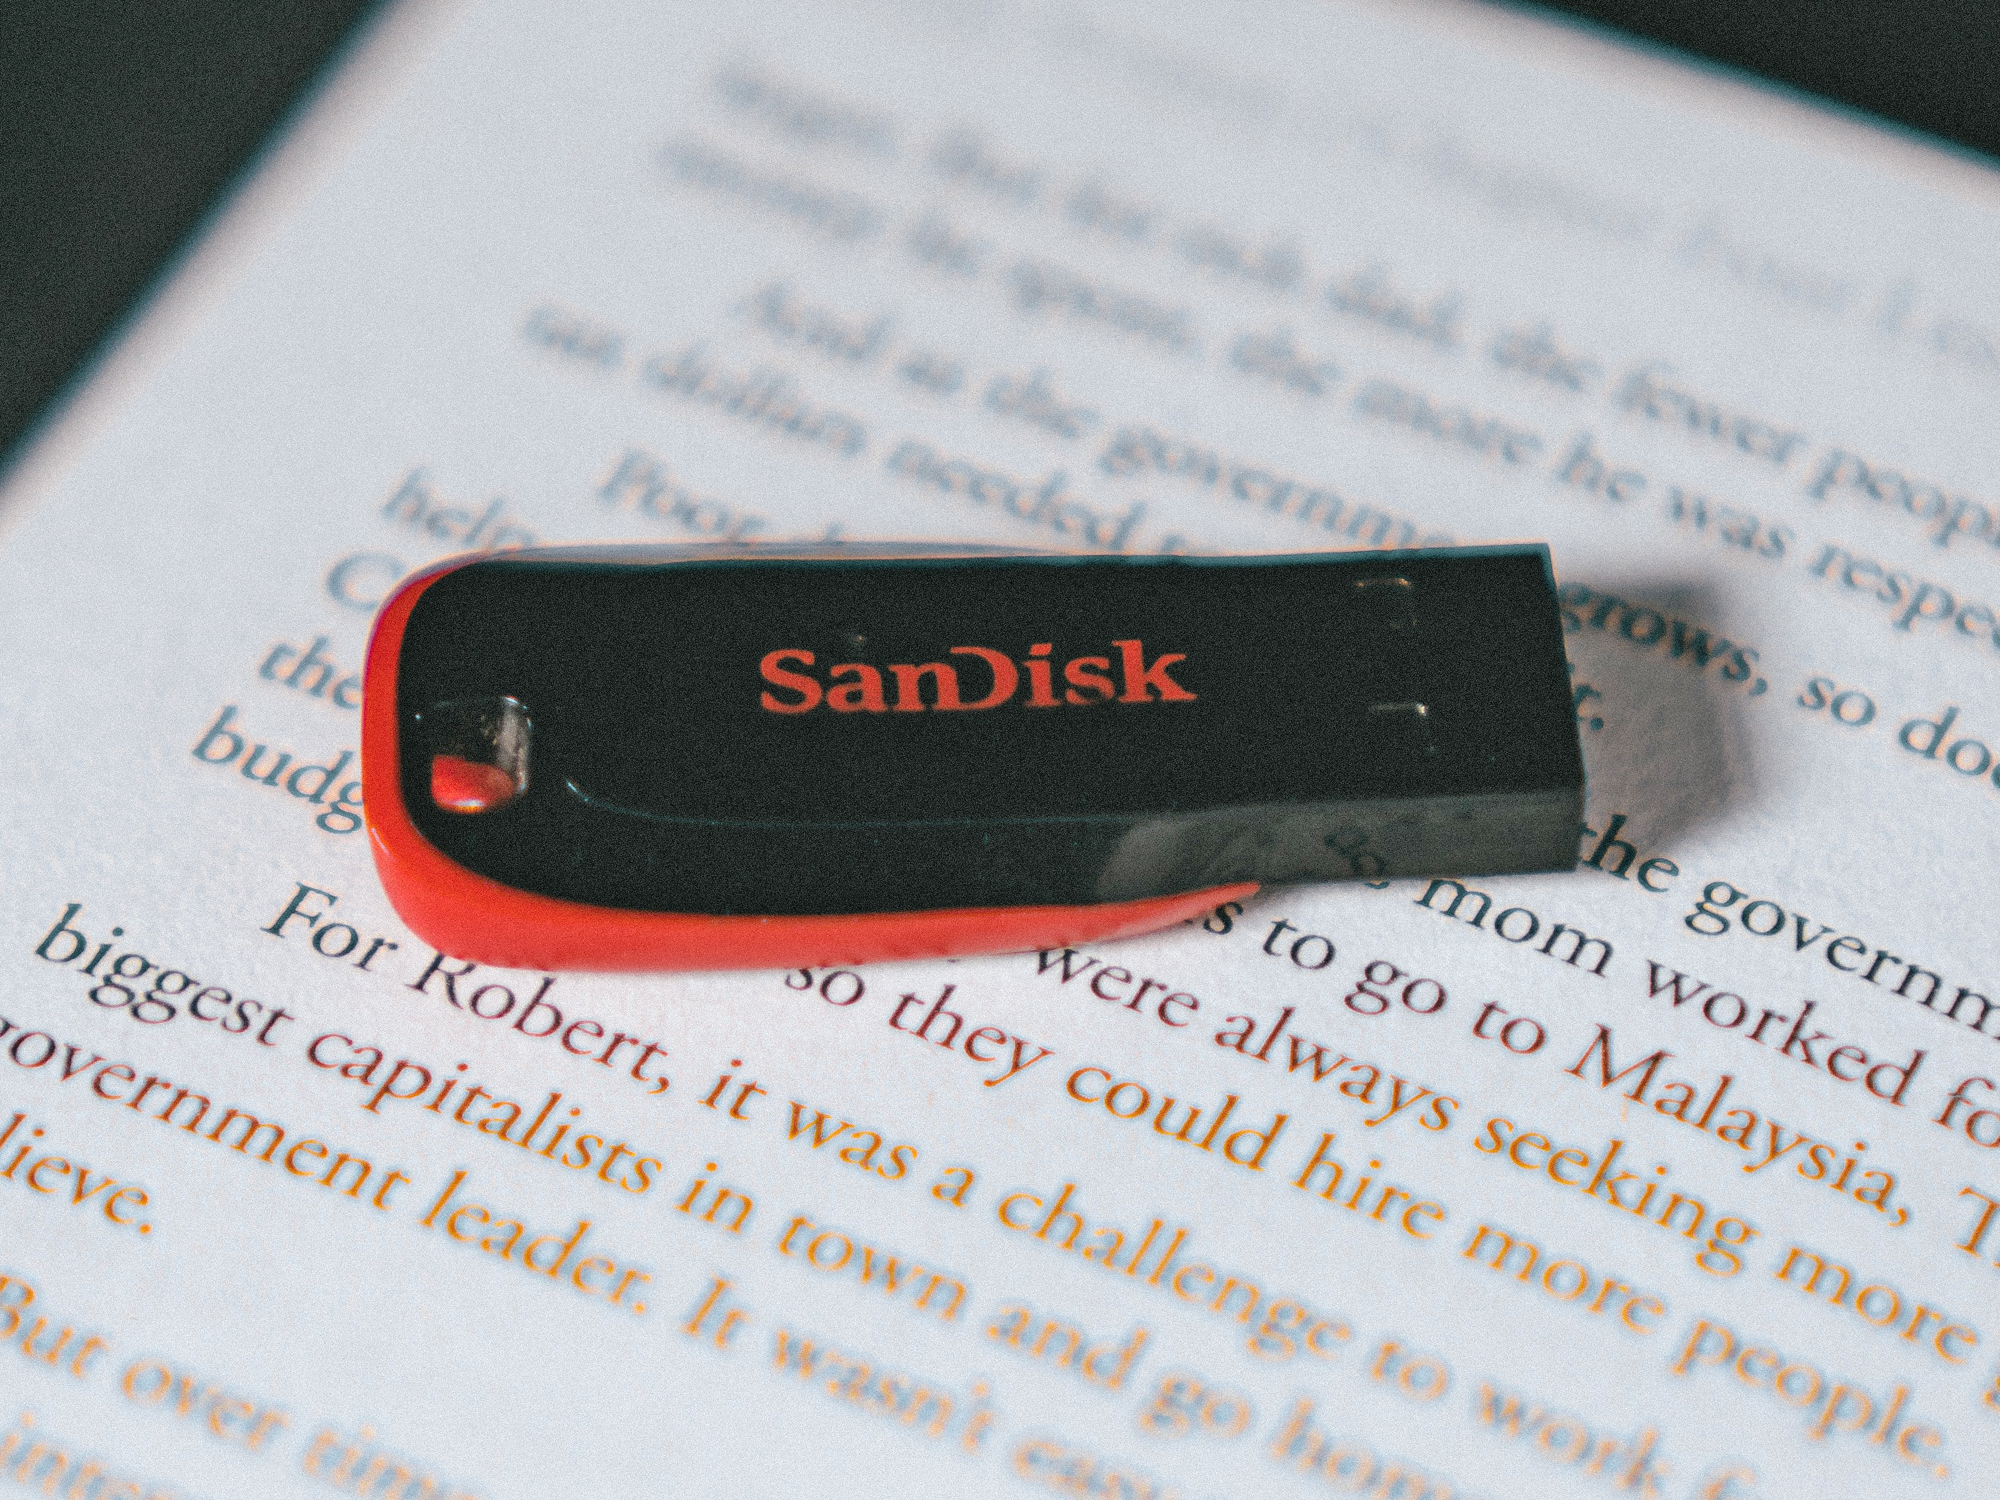

When your old tech gets too old for its primary use, you’ve still got options: phones can become security cameras, tablets can become e-readers, and laptops can be adapted to act as dedicated media servers. This type of hardware recycling can apply to USB drives too.
Take your applications anywhere
Portable applications are programs that can run from a USB drive—you can unplug the drive, move it to a different PC, and take all of your favorite apps with you. It’s a useful option whether you’re moving between your home and the office or just moving between different computers in different rooms.
The best place to find these programs is at PortableApps.com. As you’ll see, there’s a wide selection to pick from, including web browsers, productivity tools, and games. Everything can be managed through one central interface that works like a start menu you can launch from your USB drive.
It’s up to you which applications you want to choose and take with you, but some of the most popular and well-known include GIMP Portable (for image editing on the go), Google Chrome Portable (Google’s web browser goes wherever you go), and AIMP Portable (for managing and playing media files).
Troubleshoot computer problems
If your PC starts having problems with bugs, crashes, or viruses—or you get called in to help a friend, work colleague, or relative with their stricken PC— your first action may be to jump online and download a few tools that will help. However, getting online isn’t always an option if a piece of malware or a nasty bug has disabled the browser or internet connection.
This is where a USB drive packed with troubleshooting utilities can come in handy. By downloading a bunch in advance, you’ve eliminated the need to get online, and you also know they absolutely aren’t affected by whatever affliction is causing problems on the main computer.
[Related: 5 easy fixes for common computer problems]
Which troubleshooting tools you pick for your USB drive are up to you, but there are plenty of good, free ones out there. Emsisoft Emergency Kit is a virus scanner that’s a useful starting point, while Dr.Web CureIt! will scan your computer for common malware that may have taken root. Then there’s Avira Rescue System, which can scan for and repair various problems with the settings and configuration of Windows. Microsoft has its own virus scanner that can run from a USB drive too: Microsoft Safety Scanner.
Run a portable operating system
We’ve mentioned portable apps, but you can also carry an entire computer with you on a USB drive—operating system, applications, files, and all. The open-source Linux OS is perfect for this, and several distributions of Linux can be run in a portable mode, including Linux Lite, Puppy Linux, and MX Linux. Have a look around to see which distro might suit you best.
Instructions for installing your chosen version of Linux on a USB stick should be available on the distro’s official site (if not, you can pick a different one). For example, here are the instructions for running Ubuntu from a USB drive. In brief, you’ll need to download and run a small tool called Etcher, which will take the Ubuntu OS and convert it into a suitable format that can run entirely from a USB drive.
Then it’s just a question of finding a spare USB port on another PC, sticking the portable drive into it, and booting from Linux rather than the computer’s regular OS. Instructions for how to switch boot devices should appear on screen as your PC starts up, or you can run a quick web search to find the instructions for your computer (you’ll typically need to hold down a key like Delete or F8 while the machine is booting).
Create a Windows recovery drive
Windows has some pretty comprehensive recovery tools built right into the operating system, but there might be times when you can’t actually get into the OS, or you can’t access the recovery tools in the normal way—and that means you can’t roll back or reinstall Windows the normal way either.
As a safety net should something go seriously wrong with your PC, you can create a Windows recovery drive on a spare USB stick. In Windows, open the Start menu, and search for “create a recovery drive” to bring up the right utility. Follow the instructions on screen to copy over the necessary files to your chosen USB drive, but note that these files won’t include your personal files and data—you should be backing all of that up separately on a routine basis.
If disaster strikes, you’ll need to boot up from your recovery drive. This is usually done by holding down the Delete or F8 keys while your PC starts, but a quick web search should tell you what the correct key is for your computer (it might also be shown on screen during the boot process). Opt to boot from your USB drive, then pick Troubleshoot, Advanced Options, and Recover from a drive to get Windows reinstalled.
