
Google has become so synonymous with search that the company’s name has found its way into the dictionary as a verb—and that means your Google search history can reveal a lot about your life. If someone manages to gain access to that treasure trove of information, they could learn about everything from the medical conditions you’ve been worried about to where you’ve been on your vacations.
With so much sensitive data involved, you should make sure that your search history is safe from prying eyes. There are ways to make extra-sure that no outsiders can get a glimpse at what you’ve been looking for, and to block Google itself from knowing anything about your online queries.
Put a password on your Google search history

Your Google account is protected by both a password and two-factor authentication if you’ve switched that on (we recommend you do). That should minimize the risk of anyone else being able to log in and take a peek at what you’ve been searching for, but you can do more.
If you’re on a computer where you’re regularly logged into Google, your browser has your password saved, and other people (maybe housemates or colleagues) are likely to be wandering past, you might feel like an additional layer of security is required. Or maybe you’re just very private and security-conscious.
For these situations, Google has created an extra password step just for your search history. Even if someone makes it to your Google account page, they’ll need your password to enter the search history section.
You can enable this by going to your Google account page, and choosing Data & privacy from the options on the left. Scroll down to the History settings box, click Web & App Activity, and then hit Manage all Web & App Activity at the bottom of the page. Finally, click Manage My Activity verification, fill in the bubble next to Require extra verification, and hit Save.
Automatically delete your Google searches

Google will automatically clean up your search history, if you want it to. Go to your Google account page, click Data & privacy, find the History settings heading, and click Web & App Activity to open the Activity Controls page. There, find the Auto-delete section and click the time period underneath to open a dialog box full of customization options. Use the dropdown menu to tell Google to automatically delete search history data older than three, 18, or 36 months.
Back on the Activity Controls page, if you choose Manage all Web & App Activity instead of opening the auto-delete options, you can manually wipe everything you’ve ever searched for, or just some of it. Use the search and filter options to look for something specific, and either the Delete box directly under the search bar or the X buttons next to individual entries to get rid of what you want to erase.
[Related: How to purge all of your search histories]
You can also use the Activity Controls page to just tell Google to stop tracking your activity altogether. To do so, find the Web & App Activity heading and click Turn off. Then hit Pause, followed by Got it to confirm that this is actually what you want to do. This will remain off until you decide to turn it back on. For a clean slate, click Manage all Web & App Activity at the bottom of the page to see your activity, then hit Delete and All time to erase everything, or use whatever other options suit you.
Avoid Google entirely

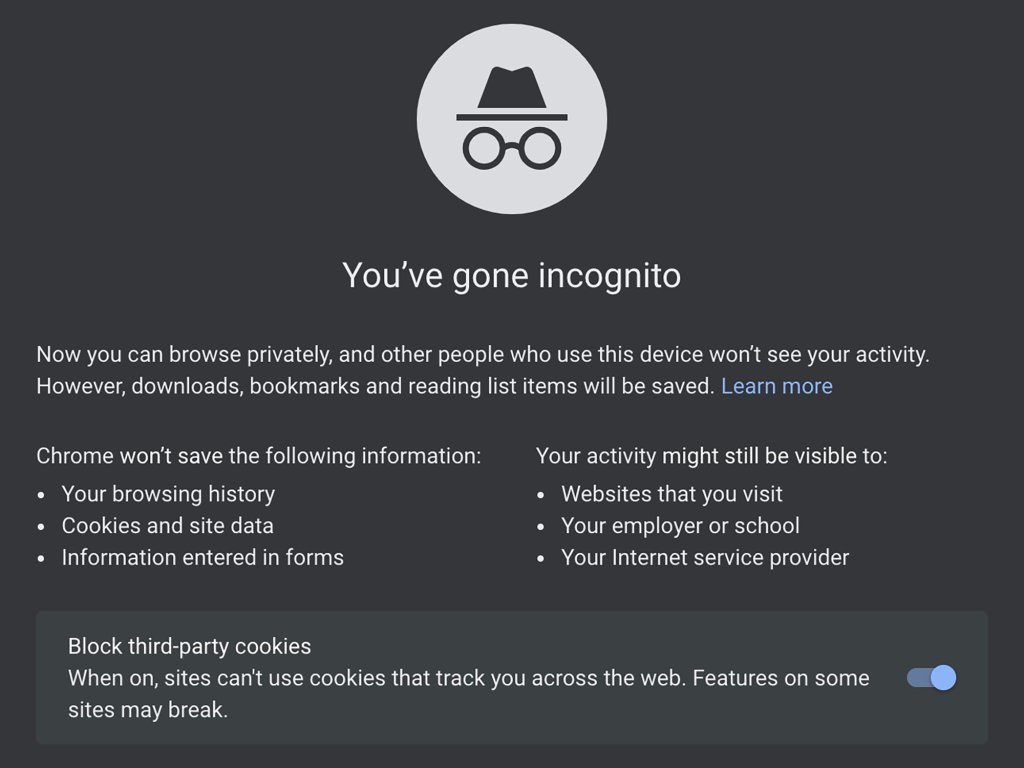
Another way to keep your Google search history private is not to allow Google to track it in the first place. If you open an incognito or private window in your browser of choice before visiting Google and running your search, it won’t be recorded. As soon as you close the window, the browser (and Google) will forget the query ever happened.
In Google Chrome, for example, click the three dots in the top right-hand corner of the browser interface and choose New Incognito Window from the menu that appears. In Microsoft Edge, click the three dots (top right) then New InPrivate window; in Firefox, click the three lines (top right), then New private window; and in Safari you can click File and New Private Window.
When you start off in an incognito or private browser window, you won’t be signed into any of your accounts, including your Google one. Make sure you don’t sign into Google during the browsing session though—otherwise Google will log your search requests as normal, even if you’re using a private browsing mode.
You also have the option to run your web searches elsewhere: You can pick from Microsoft’s Bing or the privacy-focused DuckDuckGo, for instance. The developers behind the browser Brave have also launched a search engine you can try, and it won’t track you or anything you’re searching for.
Manage your browsing history and syncing

If you use Chrome while signed into your Google account, everything you search for on Google will be saved to the browser and your Google account. If you’ve turned off tracking in your Google account, your search history will still appear in Chrome. These lists of queries are one and the same, though the information might be presented slightly differently. You can see your history in Chrome by clicking the three dots (top right), choosing History, then History again.
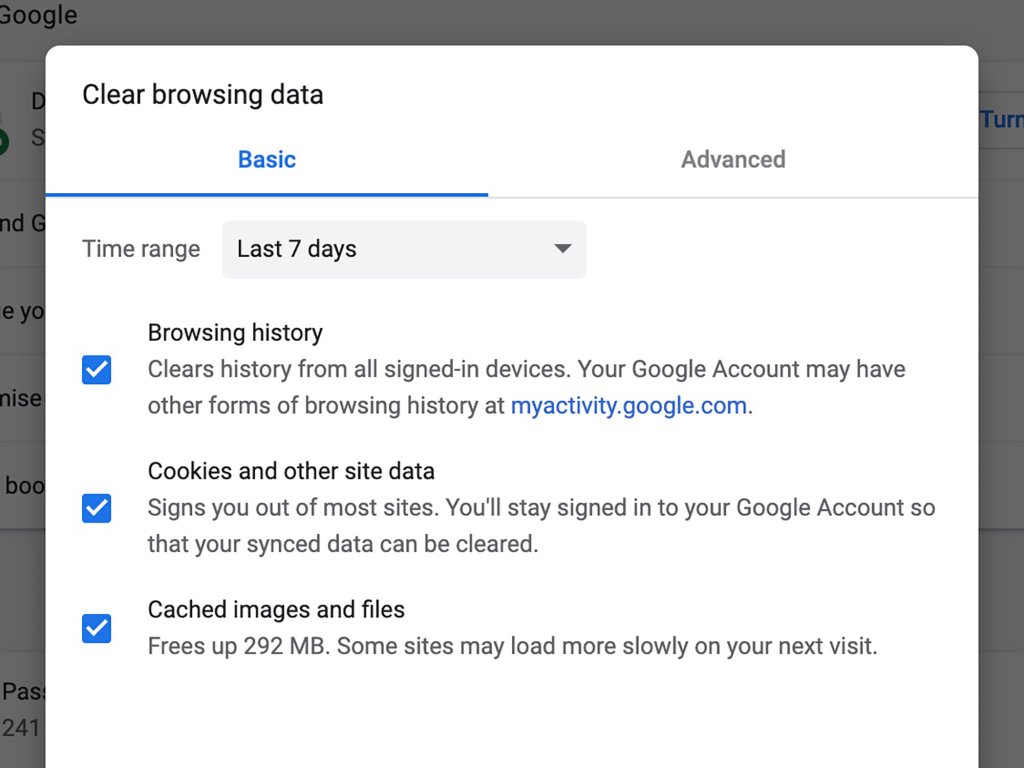
This setup also means you can delete your history from your browser as well as your Google account page. From the History screen, you can select individual entries and then choose Delete, or click Clear browsing data on the left for some more comprehensive options. Select Browsing history and the time period you want to cover, then select Clear data.
[Related: How to clear your web history in any browser]
At the bottom of the dialog, you’ll see whether or not you’re signed into Google. If you want to clear the history in the local Chrome browser without affecting the history records in your Google account, you’ll need to sign out of Google first to break the sync—then repeat the steps we’ve outlined above.
If you’re using a browser other than Chrome, you’ll have two separate search and browsing histories to think about: the one stored by Google and the one stored by your browser (unless you’re using private mode for all your searches). Safari, Edge, and Firefox all have options for clearing the history logged in your browser, across whatever time period you like, but you need to remember to run these wipes regularly.
This story has been updated. It was originally published on July 1, 2021.
