If you have movies, TV shows, and music stored on your computer that you want to stream to other devices inside and outside of your home, there aren’t too many options purpose-built for the job. You’ve probably heard of Plex, but there’s another option: the open-source Jellyfin.
Both Jellyfin and Plex turn your computer into a media server, allowing you to send any media stored there to any other device where you have them installed. It’s like having your own personal Netflix or Spotify. Jellyfin, though, is completely free to use (some Plex features, like downloading to mobile devices, require a $5-per-month Plex Pass subscription).
Whether you’re a seasoned Plex user looking for an alternative or are just getting started with this kind of technology, Jellyfin is worth a look. It’s not difficult to configure: All you need to get started are some folders of locally stored movies, TV shows, and music.
How to set up Jellyfin
Whether you have a bunch of home movies, burned CDs from your teenage years, or recordings you just can’t get anywhere else anymore, Jullyfin supports all of the most common formats. These include H.264 for video and MP3 for audio, and there is a format compatibility list you can check. If a file type is supported, you can stream it straight from your Windows or macOS computer.
When setting up Jellyfin, you’ll first need to make sure all your locally stored content is indexed and available. Click Download Now from the Jellyfin homepage and pick the software that matches the desktop operating system you’re using—just make sure Server is selected at the top, as this is the program that will get your files ready to stream. Here we’re looking at the Windows server tool, but it’s similar on other platforms.
[Related: How to stream your personal video collection to any device]
Run the Jellyfin Server tool after installation and its interface will pop up in your default web browser. Most of Jellyfin’s setup steps are quite straightforward, and you’ll quickly come to an Add Media Library button: Click this, and you can point the program toward the media storage folders on your computer by using the plus icon next to Folders. Check the Enable real time monitoring box, and whenever you add new files to your selected folders, Jellyfin will automatically put them in your media library.
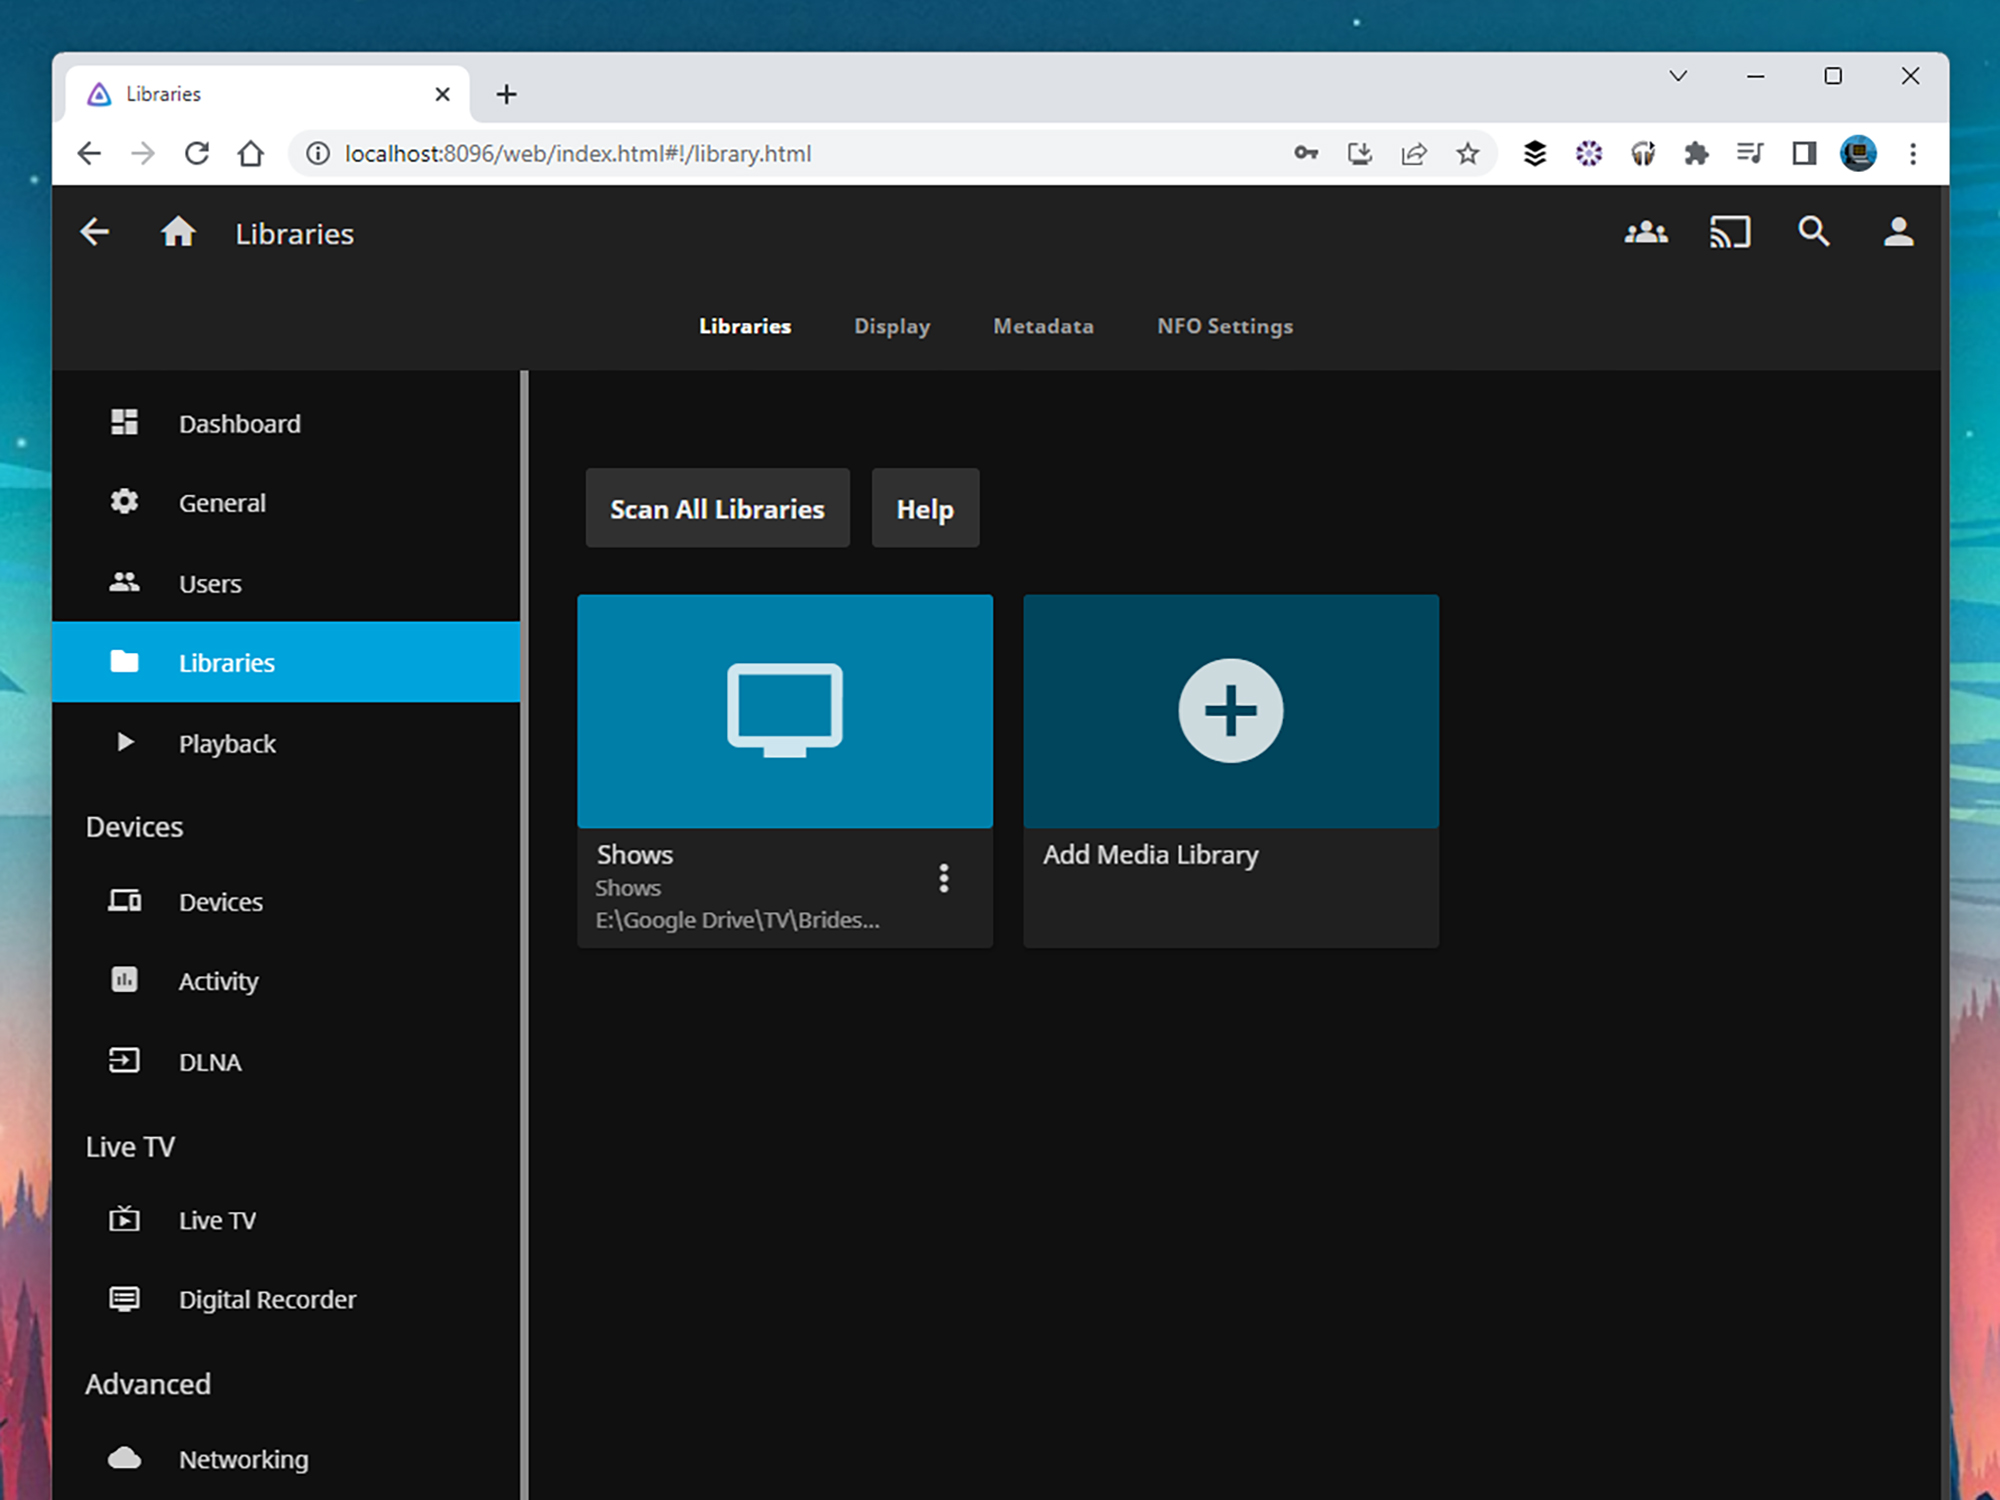
After a few seconds (or minutes, depending on how many files you’ve got), your library should be scanned and ready to access—you can access it from the Libraries option on the left of the main Jellyfin interface. The same screen lets you add more folders to your library: Just click on one of the existing collections, like Shows, Movies, or Music. Further options on the same screen let you choose whether or not Jellyfin automatically pulls imagery like album art from the web.
That’s all that’s really required to set up a Jellyfin library. There are a range of other options available in the various screens within the Jellyfin Server tool, but you can leave most of them in the default configuration until you get more familiar with the software. However, if you want to stream files outside of your local network, you’ll need go to the Networking page and enable Allow remote connections to this server.
Tips for using Jellyfin
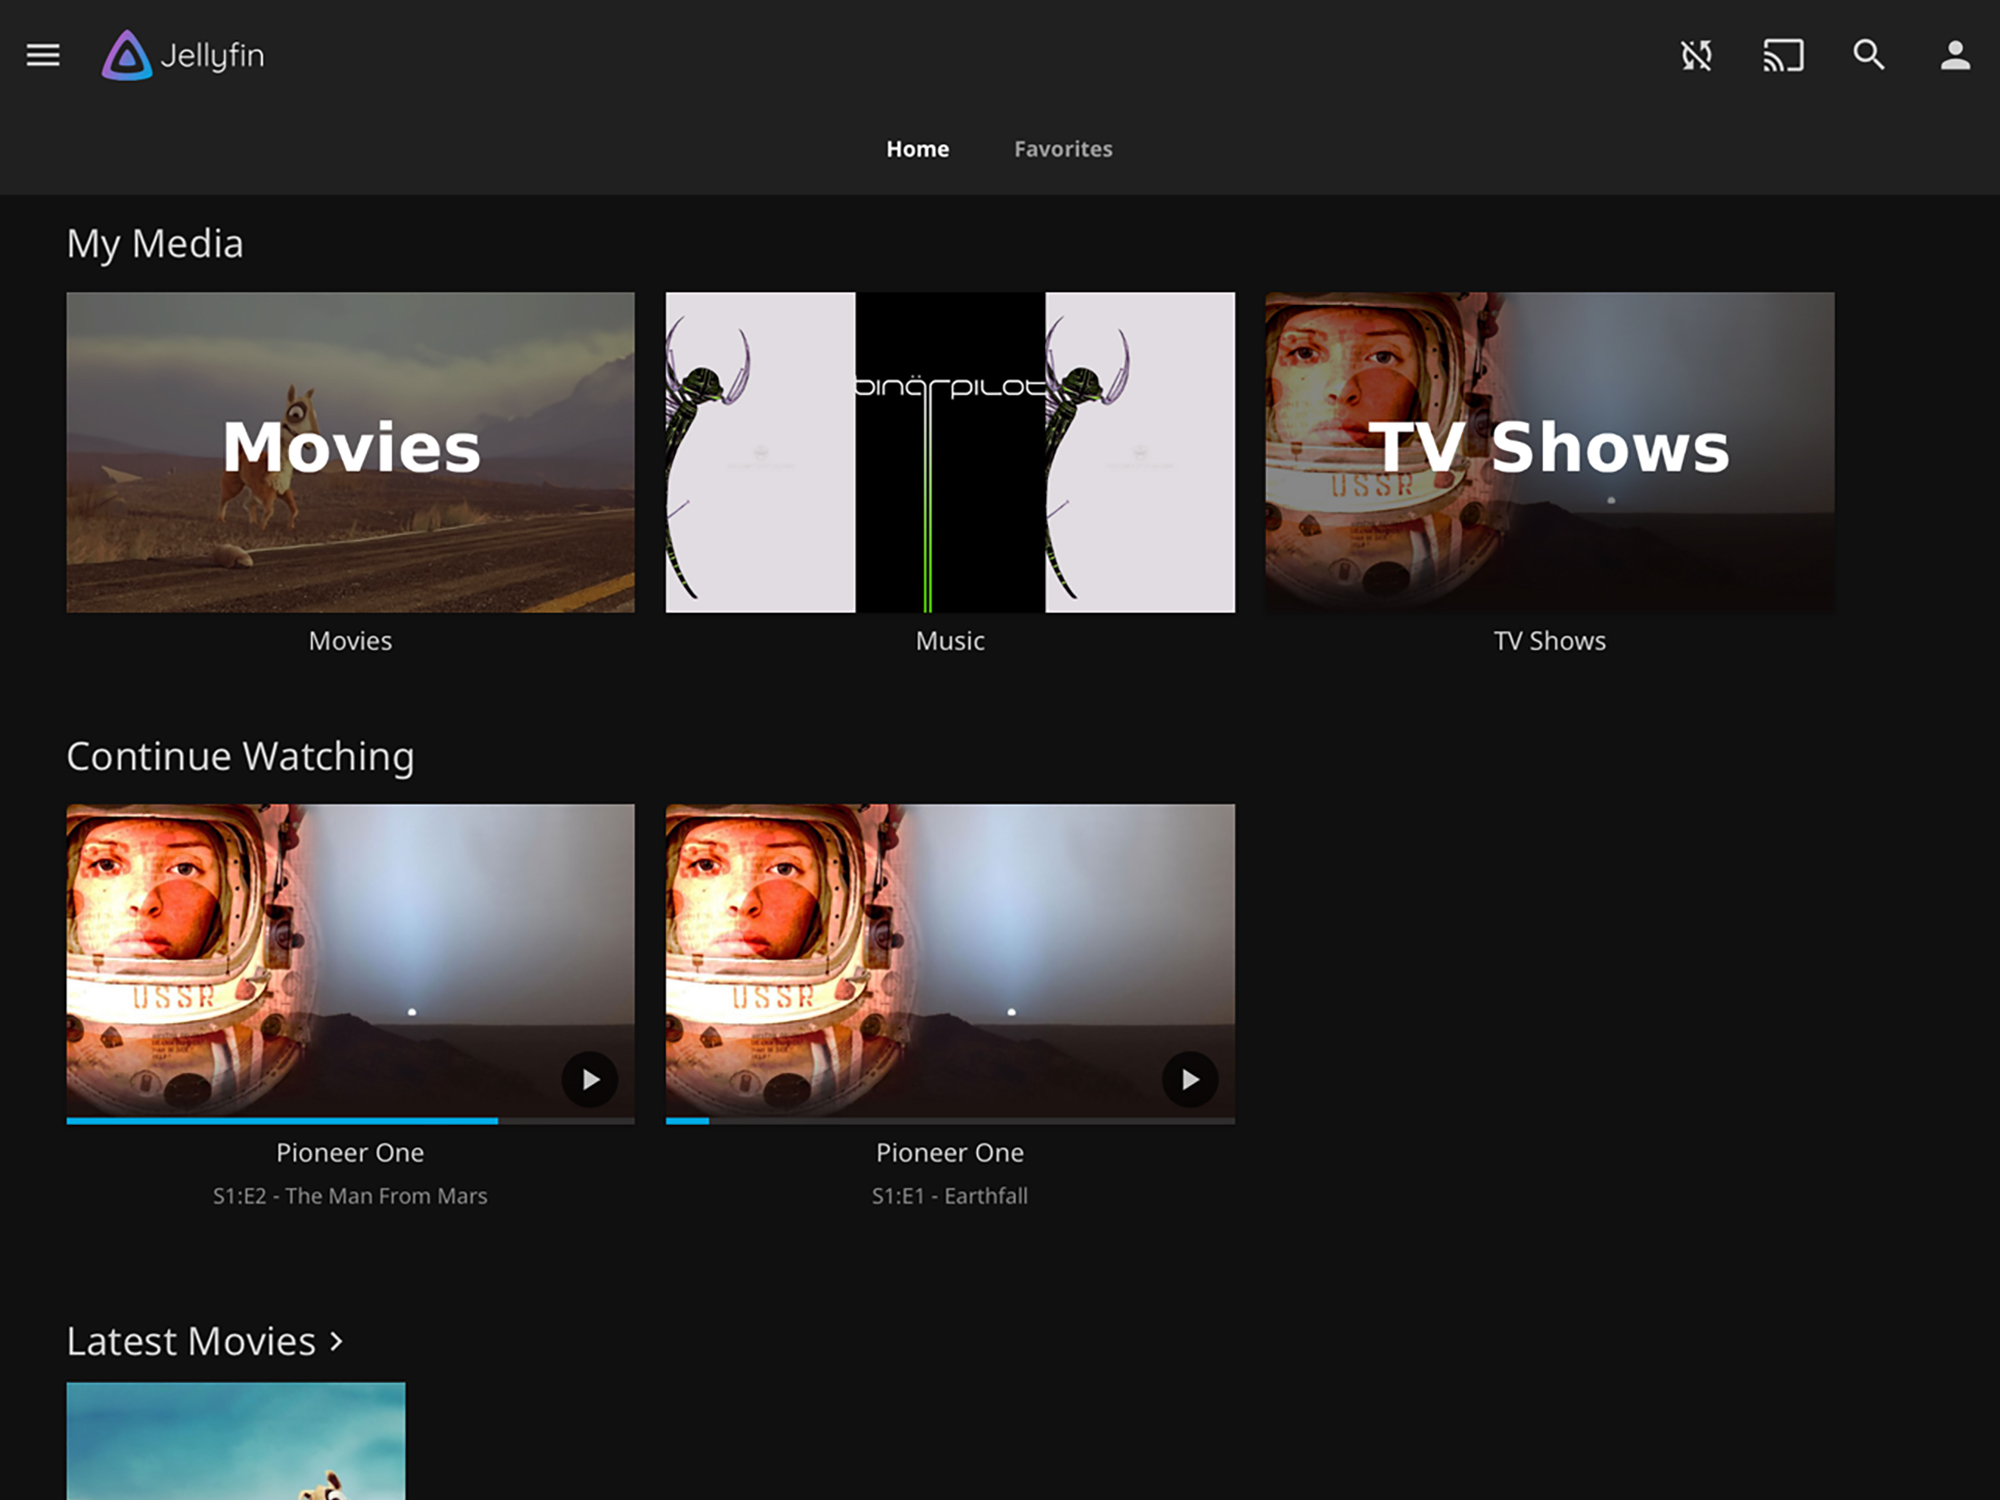
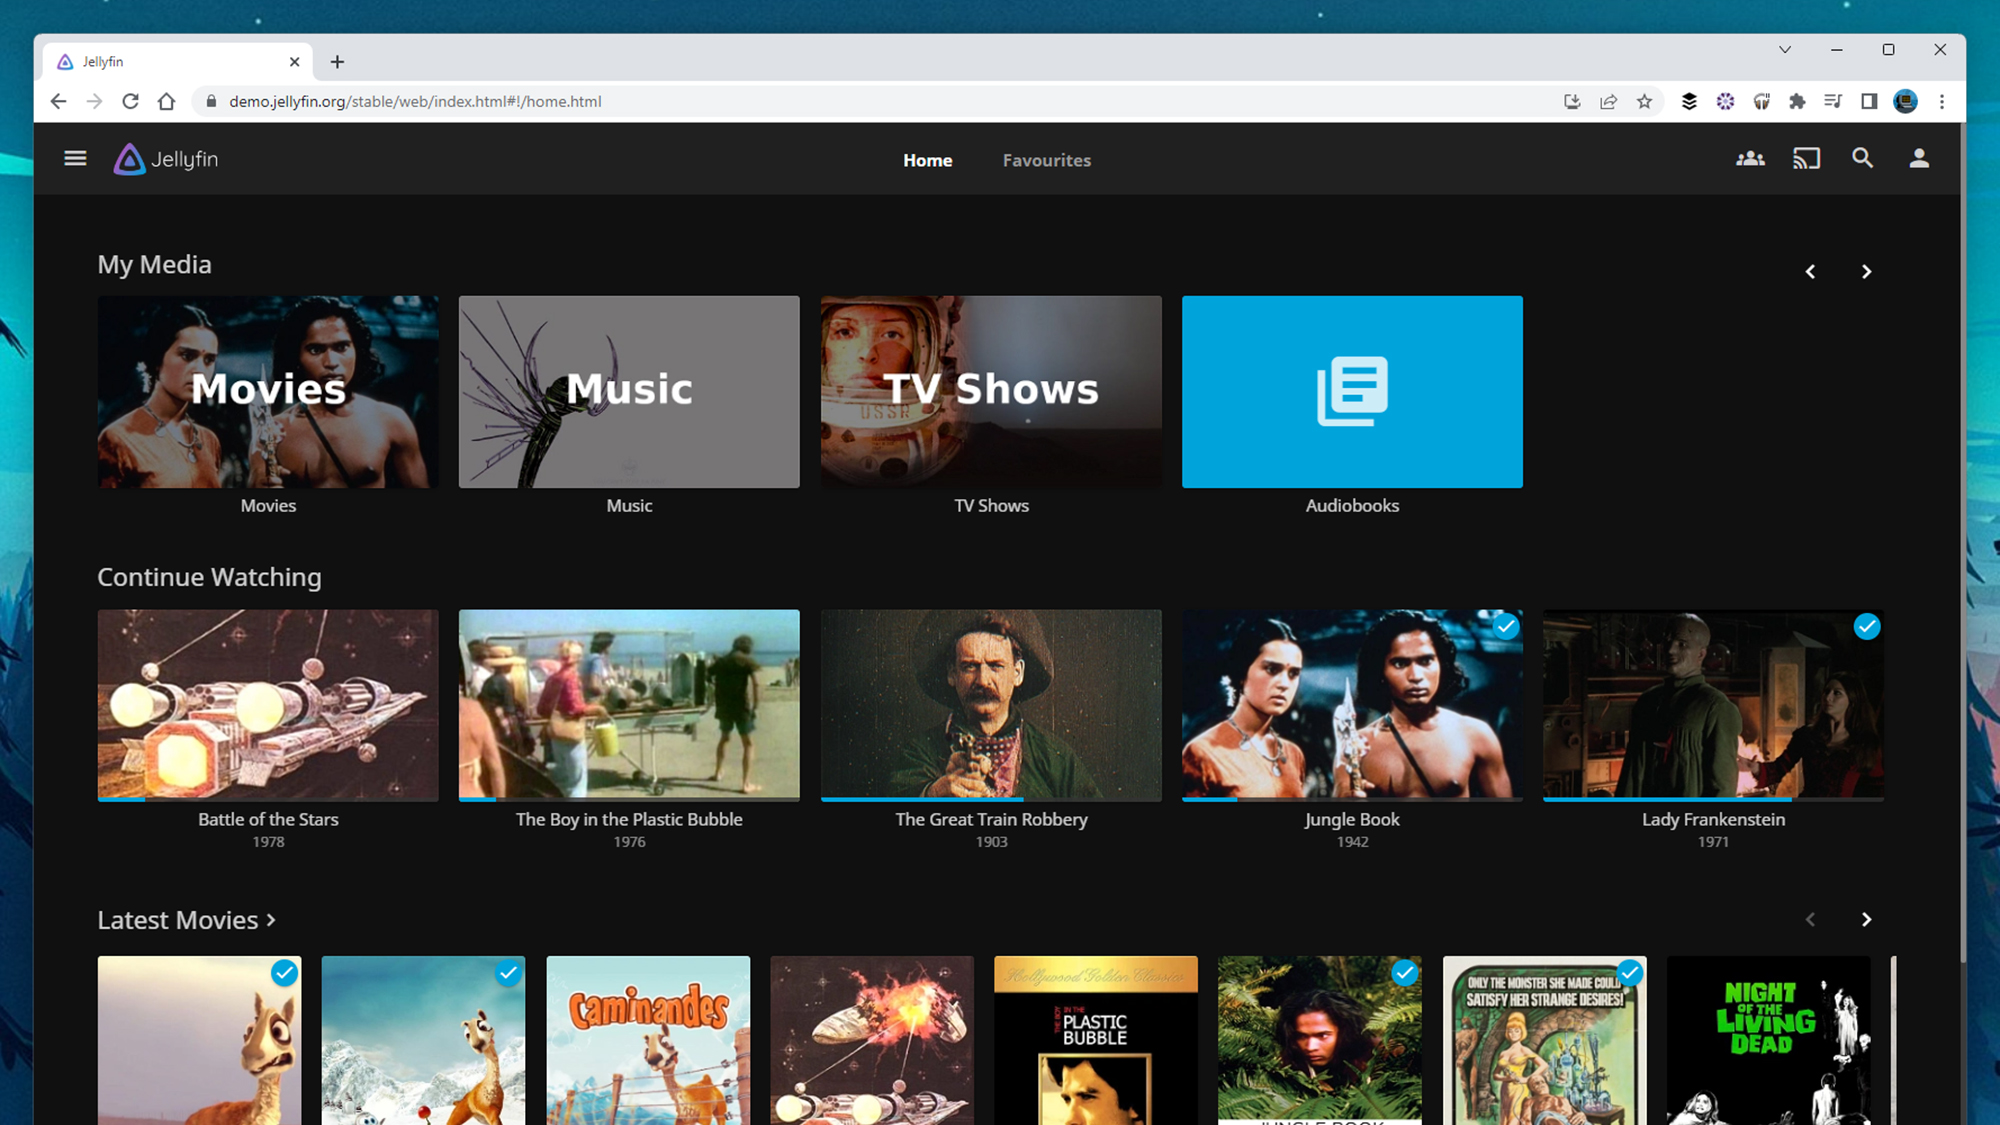
On the computer where your media files are stored, you can use any media player you like to watch or listen to them. The Jellyfin Server program can do the job as well, if needed. To use it, open the app in your web browser, and you’ll see your media library on the first screen. Click on anything you see to browse the folder or play the file.
Your watching and listening history will sync across devices—so you can, for example, start watching a film on your laptop and finish it on your phone. If anything is labeled incorrectly, click the three dots next to the file and choose Edit metadata. For TV shows, for example, that would be the episode title and the year of release. If you add a link to the relevant listing on the IMDb website, some of this information will be filled out automatically.
[Related: 6 streaming tools to help you watch TV better]
For other computers, you can use the same Jellyfin Server tool to watch content over the web: Just skip the adding a library part of the setup process. As long as you log in using your Jellyfin username and password, you’ll see the files you added on the other computer. Bear in mind that the original computer—the one acting as the media server—has to be switched on if you want to do any streaming.
Head back to the Jellyfin downloads page, and you’ll see there are apps available for Roku, Android TV, and the WebOS software that runs on LG TVs. It’s not quite as comprehensive a selection as you get with Plex, but Jellyfin is getting there. There are also official apps available for Android and iOS, for getting your content on phones and tablets, and you can also use these apps to make playlists with your files.
There’s lots more to dig into with Jellyfin, and we’d recommend checking out the official documentation and the Jellyfin subreddit for more information. You should find everything you need there for going beyond the basics with the software, whether that’s accessing your content remotely over the web or filtering through your library (by genre, for example) as it starts to grow in size.
