We may earn revenue from the products available on this page and participate in affiliate programs. Learn more ›
The PlayStation 5 and the Xbox Series X/S are the hot new consoles on the block, and the Nintendo Switch is still going strong as the best handheld console more than four years after its release. If you’ve invested in one of these machines, you’ll want to make sure it’s perfectly tailored to suit you.
One customization option you might not be aware of is the ability to remap the buttons on your controller. If you’ve found a way to use your controller that feels more natural than the default settings, or you can’t press the buttons or move the sticks in the way the manufacturer intended, you can change what each input does.
Keep in mind that we’re not reconfiguring the controls in any individual game. The type of remapping we’re talking about will affect every game and app, as well as the interactions you have with the home screen and menus on your console.
Remap controller buttons on the PS5
From the home screen, navigate to Settings by selecting the cog icon in the top right corner. Choose Accessibility, Controllers, and then Custom Button Assignments.
First, turn on the Enable Custom Button Assignments toggle switch. Then, you can go to the Switch the Left and Right Analog Sticks option, which is one of the more straightforward customizations. To make more detailed changes, select Customize Button Assignments.
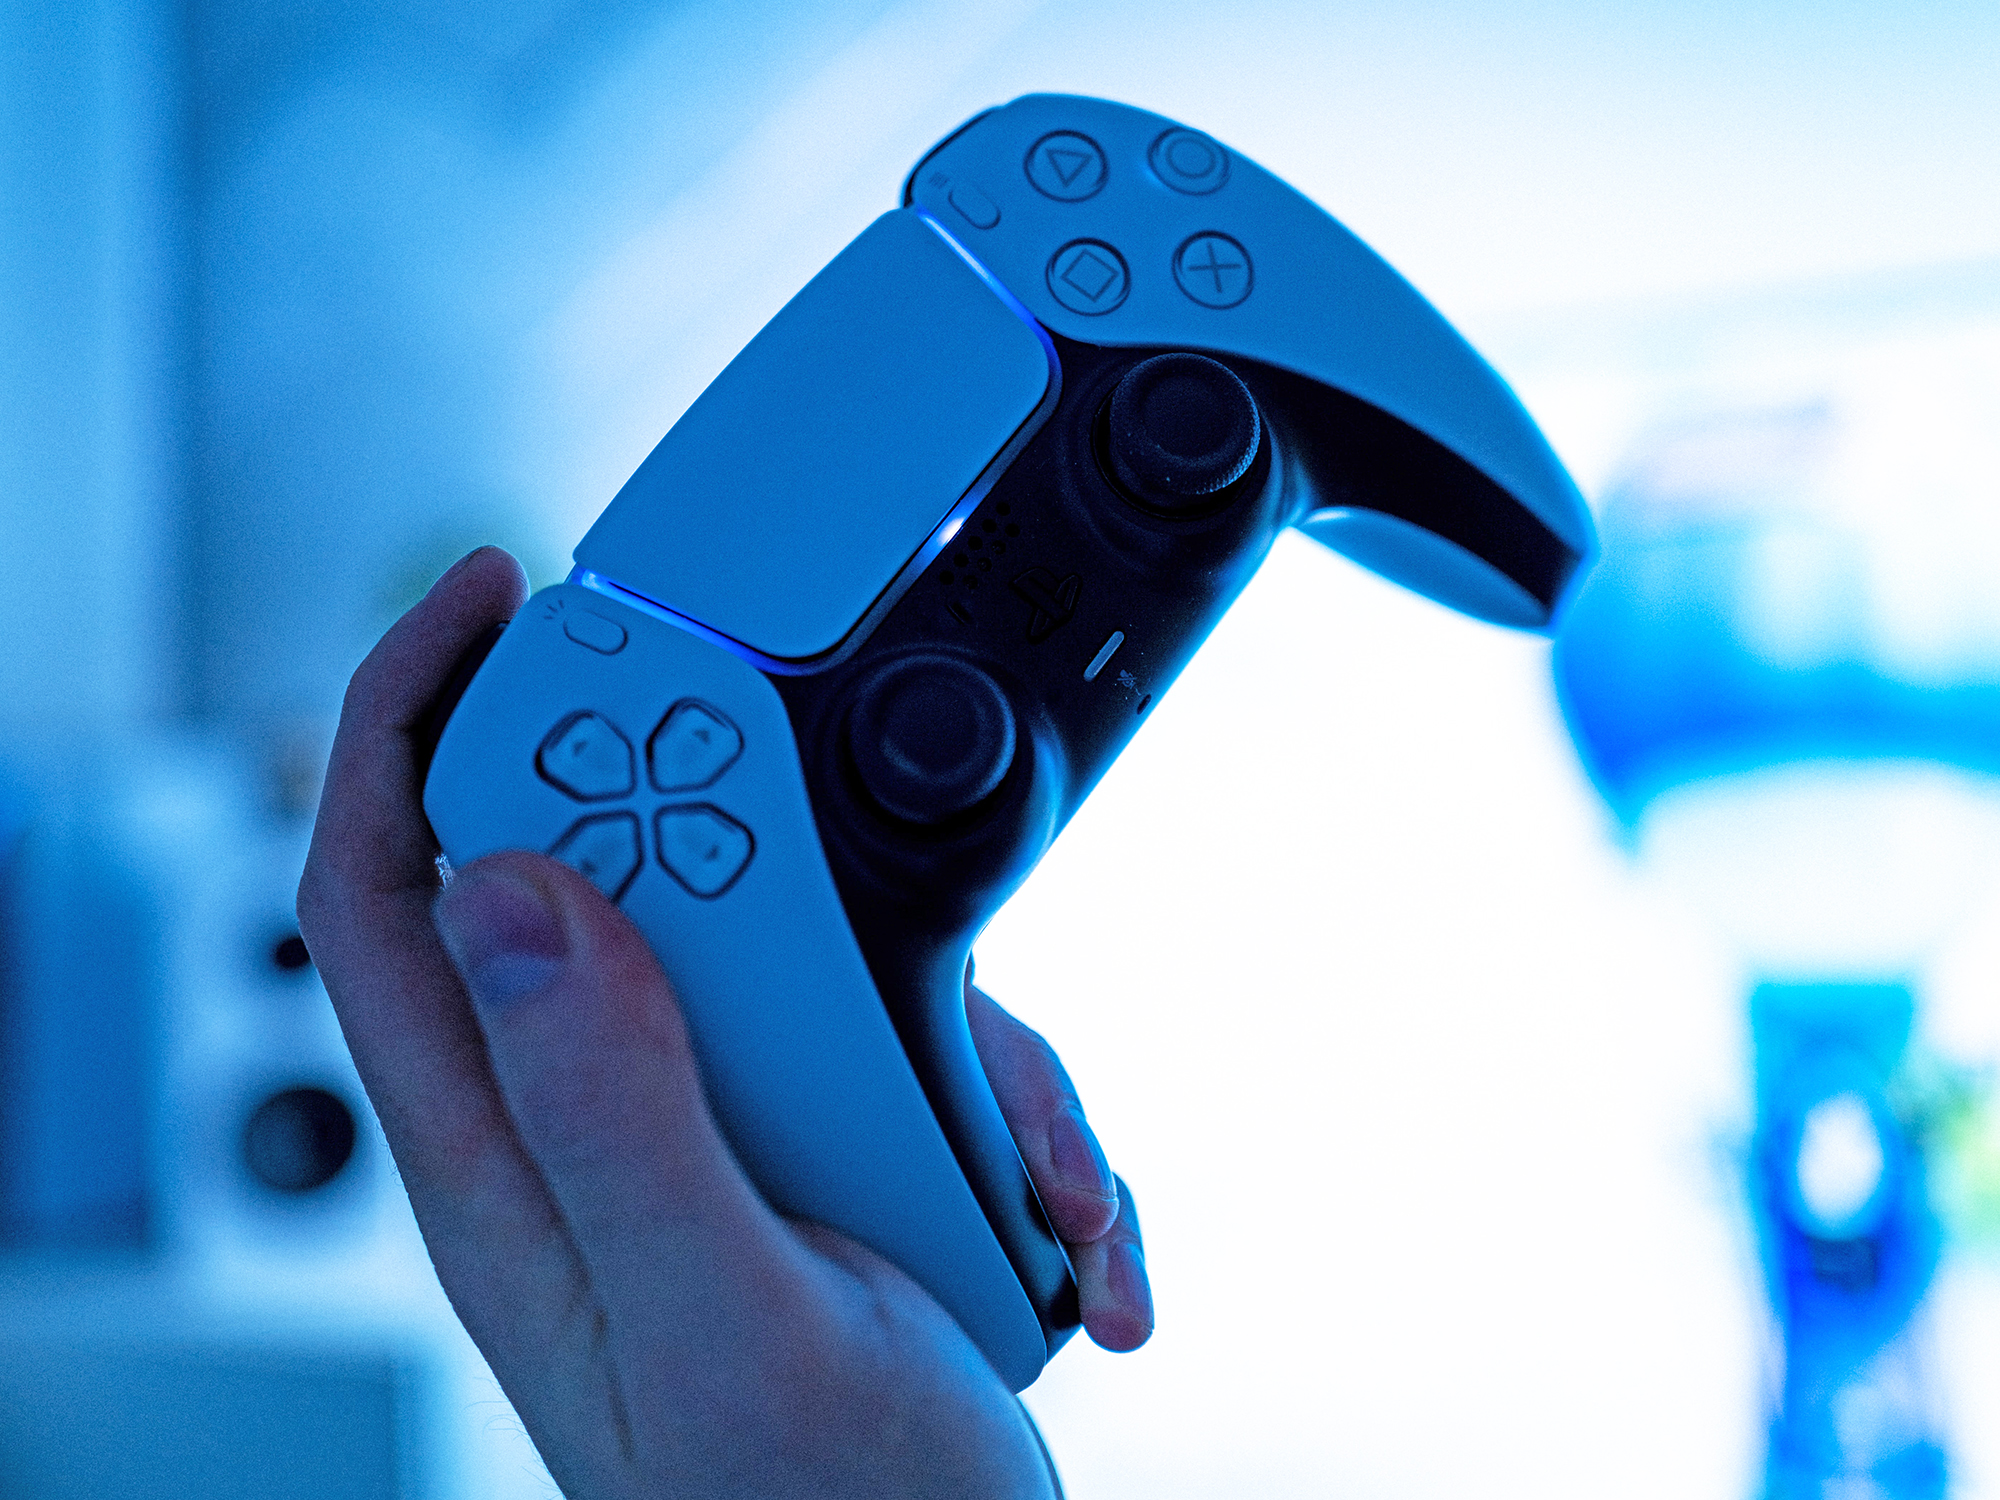
[Related: Hands-on with Sony’s PS5 DualSense controller]
A picture of your PS5 DualSense controller will appear on screen. Select the button you want to remap, and then change its function by choosing a different button. To give the square button the functionality of the circle button, for example, select the square button on screen and then pick the circle button from the pop-up menu.
All of your changes will appear on a controller diagram on the screen, so you can keep track of what you’ve done. Down in the bottom right-hand corner, you can select Apply to confirm your choices and go back, or Reset to put the default configuration back in place.
Remap controller buttons on the Xbox Series X/S
From the home screen, press the Xbox button on your controller to open the side panel, then choose Settings. Head to Ease of Access, Controller, and Button mapping.
On the right, you’ll see a picture of your Xbox wireless controller, so you’ll always know which button you’re adjusting at any given time. You’ll also see a helpful Restore to default option underneath the picture, so you can always go back if you want to.
On the left side of the screen, you’ll be able to pick from a few preset remapping options. These include swapping the analog sticks, flipping the trigger buttons, and inverting the Y axis on the left or right analog stick. There’s also an option to turn off controller vibration.
[Related: The Xbox Series X offers killer gaming—if your TV can handle it]
To remap a button, select it from the drop-down menu at the top, then choose the remap option from the drop-down menu directly below. You can remap the A button to the B button, the left trigger to the right trigger, and so on. As you make your selections, you’ll see the relevant buttons appear in green on the picture on the right.
Alternatively, press and hold the button you want to remap on the controller itself. When prompted, press the button you’re remapping the original one to. To make the Y button act like the X button, for example, press and hold Y, and when it’s highlighted, tap X.
Remap controller buttons on the Nintendo Switch
From the home screen, tap the cog icon to bring up the System Settings screen. You’ll then need to choose Controllers and Sensors and Change Button Mapping.
A list of attached controllers will appear—the left and right Joy-Con, plus any other wireless gamepads that are currently connected to the Switch. Select the controller you want to remap from the list and pick Change.
You’ll see a diagram of your selected controller on screen. To remap a button, select it, then choose the new function you want it to have. For example, to make the B button work as the X button, select the B button first, then pick the X button.
[Related: The best Nintendo Switch controllers for solo or party play]
To swap the left and right sticks, for instance, or to invert the directions of the analog sticks, select Control Stick Settings. Select Done to confirm your changes.
If you come up with a remapping profile that you don’t want to use just yet, pick Save Mapping from the main Button Mapping screen. Use Load Mapping to bring up to five different remapping profiles you’ve previously saved. There’s also a Reset option here to quickly get back to the Switch defaults, if you need to.
