A Lazy Susan, or turntable, can be a stylish and functional addition to your dining room or kitchen. Just imagine sitting down to a hearty holiday meal where everyone can access every dish without uncomfortable reaching or asking someone else to set down their fork and pass the potatoes. And if you build one yourself, you’ll have a conversation-starting centerpiece ready for every gathering
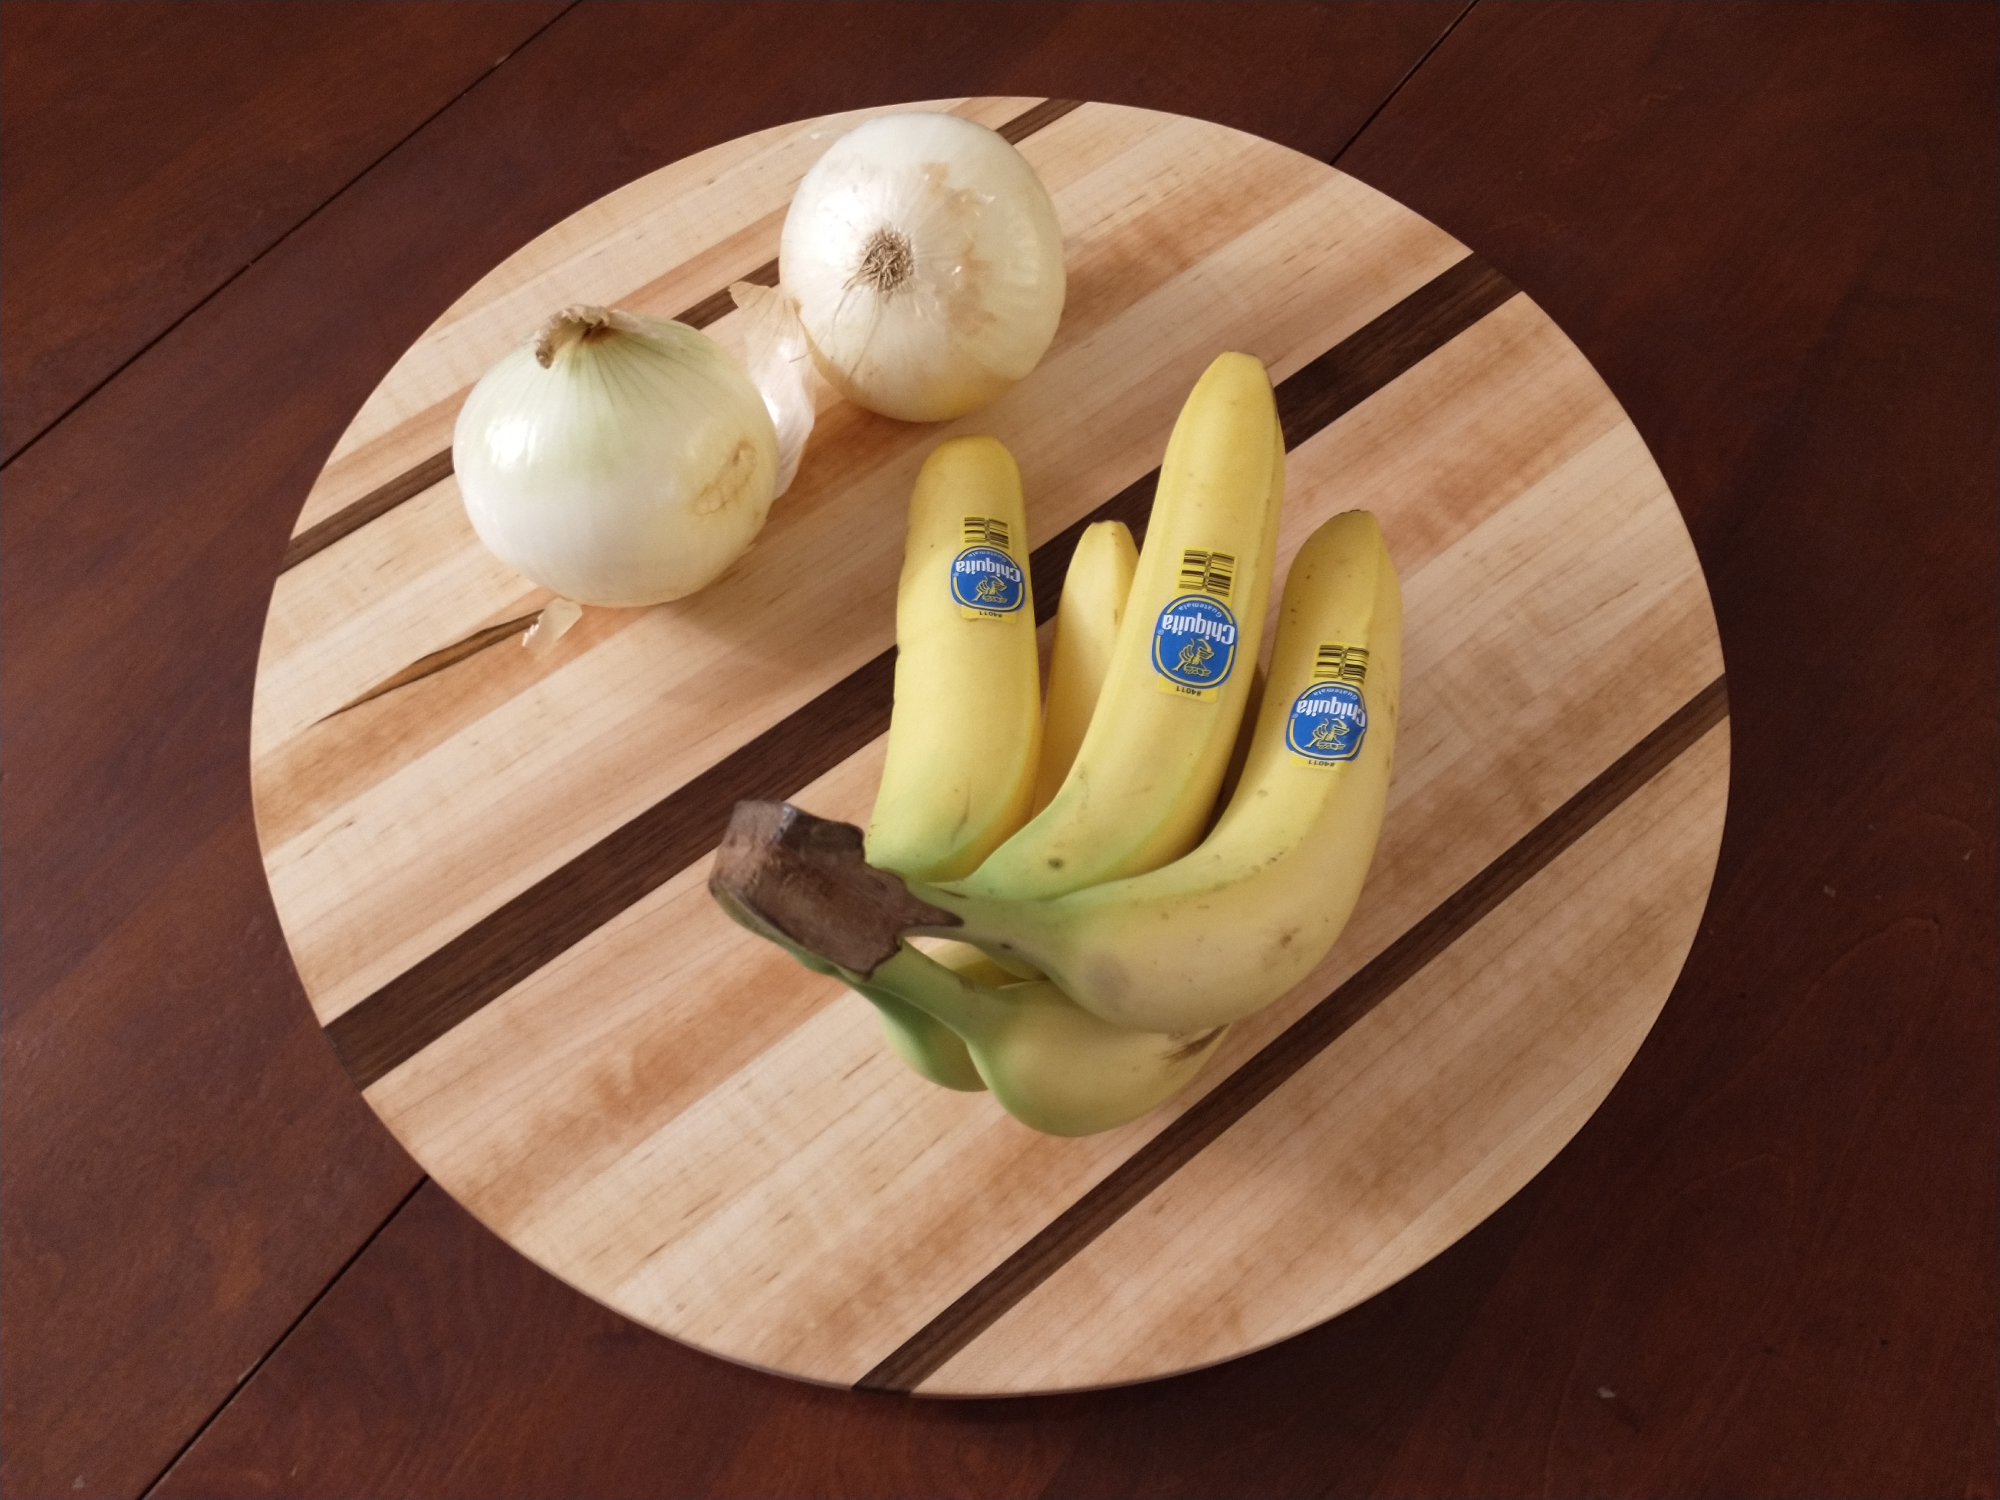
At its core, a Lazy Susan is just a circular cutting board on top of a smaller circular cutting board with turntable hardware sandwiched in between. The end result looks impressive, but don’t be intimidated—it’s a project anyone with moderate woodworking skill can handle. I built mine 18 inches in diameter from maple, with walnut accents, but there are numerous ways to customize yours. Maybe you want to use different types of wood, flip the boards so the edge or end grain is visible, or even burn designs into your piece. Whatever your personal aesthetic, you can find a way to make a Lazy Susan that feels unique to you or to the person you’re making it for.
Warning: DIY projects can be dangerous, even for the most experienced makers. Before proceeding with this or any other project on our site, ensure you have all necessary safety gear and know how to use it properly. At minimum, that may include safety glasses, a facemask, and/or ear protection. If you’re using power tools, you must know how to use them safely and correctly. If you do not, or are otherwise uncomfortable with anything described here, don’t attempt this project.
Stats
- Time: 6 to 8 hours
- Material cost: $40 to $100
- Difficulty: Moderate
Tools
- Miter saw (or circular saw)
- Table saw
- Router
- Pattern router bit, aka a trim router bit
- Orbital sander (or a belt sander, or a hand plane)
- Sanding discs (60-, 80-, 120-, 150-, and 220-grit)
- Clamps
- Drill
- ¾-inch Forstner bit
- Jigsaw
- Sanding sponges
- Level
- Speed square
- (Optional) circle-cutting router jig
- (Optional) tack cloth
- (Optional) compressed air
Materials
- 1 (9-foot) 6-by-1-inch maple board (or any hardwood board that’s at least ¾-inch thick—for stability)
- 1 low-profile Lazy Susan hardware
- Cutting board conditioner
- 1 bag of ¼-inch wood screws (or whatever your Lazy Susan hardware requires)
How to build a DIY Lazy Susan
1. Cut the boards for the large and small Lazy Susan discs. For my 18- and 10-inch-diameter circles, I cut my maple board into four 19-inch lengths for the top and three 11-inch lengths for the bottom. Next, joint (or square) the boards so the two edges are parallel with one another and perpendicular to one face of the board. If you don’t own a jointer, you can do this on a table saw.
We have a detailed guide on how to joint wood without a jointer, but I can summarize the basics. First, place a level alongside your table saw’s fence and press the more concave edge of the board against the level. Then adjust the saw fence so the blade will take a sliver off the other edge of the board, and push the board and level together to make the cut. This will create a straight edge that is perpendicular to the board’s bottom face. Next, flip the board around, keeping the same face down, and trim the other edge using the table saw fence like normal (without the level). Do this with all of the boards for the panels.
2. Glue the longer lengths to form the top panel. Spread glue over the edges of each piece of wood and clamp them together in a roughly square shape, using a pair of clamps beneath the form. Then place two more clamps on top, about a third of the way in from each end, and tighten those. Having clamps on the top and bottom of will help keep the boards from twisting as the glue dries. If you want, you can add clamping cauls to ensure an even flatter glue-up.
Tighten the clamps until glue squeezes out of all the seams. If no glue comes out, you didn’t use enough. Wipe away as much of the glue squeeze-out as you can with a damp paper towel while the glue is still wet. This will make life easier when you sand the board later.
- Pro tip: You can put thin pieces of a different kind of wood between the lengths to create a decorative, striped look. My Lazy Susan, as mentioned above, is made from light-colored maple with dark walnut accent stripes.
3. Glue the shorter lengths to form the bottom panel. All you have to do here is repeat the previous step with the smaller pieces of wood.
4. Sand or plane the two boards flat. Once the glue is dry according to the manufacturer’s instructions, it’s time to flatten the boards. They should be pretty flat already, but there will be some ridges and misalignments in the seams. The easiest way to get the job done is with a large planer, but not many people have access to a 20-inch-wide planer, myself included. Instead, an orbital sander and 60-grit sandpaper is an effective and DIY-friendly way to align those seams and remove any residual glue. You can also use a belt sander or hand plane.
5. Draw your circles. It’s tempting to use the string method to draw a circle: drive a nail into the middle of the board, tie a piece of string around it, and tie a pencil to the string one radius away from the nail. And honestly, this is what I did first. Unfortunately the string flexed and the pencil tilted slightly as I drew my circle. Not much, but enough that my “circle” was about a quarter-inch shorter along one diameter then another.
A better strategy is to use a long piece of flat wood instead of string. After sticking a nail roughly into the center of each board (make sure you don’t nail into the face you want to be the top of your Lazy Susan), drill a nail-sized hole at one end of a thin piece of scrap, then drill two more holes large enough for a pencil to poke through at the radiuses of the two circles (5 and 9 inches away from the center nail for me).
When the template is ready, slip the scrap over the nail in the bigger board and methodically spin that wood around to trace the bigger circle. Repeat this with the smaller board. The wood won’t flex or allow the pencil to move nearly as much as string, and you should end up with two near-perfect discs.
And, of course, if you have your own foolproof circle-sketching method, use that.

6. Cut out your circles. There are several ways to do this. The easiest is with a circle-cutting jig and a plunge router. If you have access to these, you can actually skip Step 5. But I don’t have either, so I used a jigsaw, a palm router, and an orbital sander.
Start by cutting out one of the circles with the jigsaw, staying to the outside of the line. Once you’re done with the cut, trim to the line with the palm router and a straight-cut bit. Take your time with this so you don’t slip and cut into the circle. Finally, clean up all the edges with your random orbital sander and 60-grit sandpaper. If you don’t have a router, you can use the orbital sander to get to the line, but it may take longer to remove enough material.
- Note: You may have noticed the bevel along the bottom of my top panel. Beveled edges look awesome, and I put them on all of my cutting boards, but beveling a circle seemed like a lot of work and I had no intention of doing so. Then my router caught a knot and tore a big chunk out of the top panel. To fix the chunk, I beveled the bottom, using my orbital sander with 60-grit sandpaper to create an approximately 45-degree bevel around the whole thing. It took a long time, and I don’t recommend it. But it looks great. That said, I probably won’t add a bevel to my next turntable unless I have to.
7. Pre-drill holes for the turntable hardware. The best drill bit to use for this step is one that’s smaller than the shaft of the screws included with your turntable hardware. Before you drill, center the turning hardware on the correct side of the board (the bottom of the top board and the top of the bottom one).
[Related: Save space by building this simple cutting board rack inside any door]
The easiest and fastest way I found to center it was to draw two perpendicular diameters across each circle. Draw one through the original nail hole using a straightedge or level. Then use a speed square to position that straight-edge perpendicular to the first line and draw the second diameter.
Line up each of the screw holes in the turning hardware on those diameter lines. If there is a line visible in the middle of each hole, you’re centered. Mark the position of each of the pilot holes and drill them out.
- Note: This method will only work if there are four screw holes that form a square. Any other configuration and you’ll need to center the hardware differently.
8. Drill an access hole in the bottom board. In order to actually attach the turning hardware, you’ll connect it first to the bottom board, then to the top. However, there’s not enough room between them to use a screwdriver or drill, so you’ll need to bore an access hole.
To find the right spot, lay the turning hardware in place on the bottom board. Then spin the piece of the turning hardware that attaches to the top board so the empty screw hole is over wood, not metal. Mark that position, then drill a ¾-inch hole through the bottom board. This will serve as an access hole so you can fasten the hardware to the top board.
(Optional) 9. Route insets for the turning hardware. This isn’t strictly necessary, but will make it easier to install the hardware. While you’re marking for pilot holes, trace the outline of the hardware. Then, using a router and a straight cutting bit, route an inset the same depth as the thickness of the metal turning hardware. This inset will hold the hardware in place when you’re trying to install it, which will be a big help.
10. Sand both circles smooth. Sanding is the key to great-looking woodworking. At this point in the project, you’ve already sanded everything flat with 60-grit paper. Now use your orbital sander to move though the remaining grits: 80, 120, 150, and finally 220. I rarely see the point in going higher than 220-grit, and this project is no different. Higher grits can close the pores of the wood, making it harder for the oil finish to soak in, and 220-grit feels extremely smooth to the touch. There’s a diminishing return on quality above 220 that doesn’t seem worth the time.
The only thing to be careful of is not to ruin the curve of the boards, which can be easy to do with an orbital sander. To avoid that, I sanded the edges by hand with sanding sponges.
Once you’ve sanded to 220, you’ll need to raise the grain of the wood and sand again. When wood gets wet, the fibers absorb moisture and swell, creating a rough texture on even the best-sanded projects. To combat this, use a spray bottle to wet the wood after sanding with the 220-grit paper, let it dry, and lightly hand-sand with 220 again. The smooth texture will remain.
11. Apply finish to the top and bottom boards. I used two coats of butcher block conditioner, which is a mixture of mineral oil and beeswax that is easy to apply and food-safe. I used Howard’s because that’s available at my local hardware store, but any brand should be fine.
Simply pour some of the oil onto the board and spread it around with either a lint-free rag or a plastic spreading tool until the wood is completely saturated (old driver’s licenses and credit cards work great for this). Allow the finish to soak in according to the manufacturer’s recommended timing, and then wipe off any excess or apply a second coat if the wood soaked it all in.
If you need something more permanent and durable, consider using wood bowl finish.
12. Install the turning hardware. The very last step is to attach the turning hardware. This is easy, but the order matters.
Screw the turning hardware to the bottom board first, using the pre-drilled pilot holes from Step 7. Then, flip the whole unit upside down and position the turning hardware on the top board. This is where the ¾-inch access hole you drilled in Step 8 comes into play. You should be able to turn that bottom board until the large hole is over one of the screw holes for the top board. Using a screwdriver or drill, drive in the first screw, then turn the bottom board to get to the next screw location.
This is faster and less frustrating with a magnetic screwdriver or drill bit, because it’s very easy to drop the screw in that small hole.
Now all you’ve got to do is decide what to serve on it first. Thanksgiving and other holiday meals are an obvious choice, given the array of dishes you’re likely to have on the table, but you should be able to find many uses for your homemade Lazy Susan. Tacos, for example, are always a crowd pleaser, because there are so many ingredients that your family will have to keep spinning to get to them all.
