
By now you’ve almost certainly heard of headline-grabbing generative AI tools such as Bing AI, ChatGPT, Google Bard, and Dall-E, and software developers are finding ways to stuff artificial intelligence into existing programs. While this technology can produce its own content, it can also extend images made by humans.
Beyond being fun to play around with, this kind of generative AI can change the aspect ratio of your photos—using the pixels already present to make a beach or mountain range wider, for example. That means if you have a square image but need a landscape format for the web or a print, you can adjust it with just a few clicks.
We’ll leave the ethical considerations of creating these fake backgrounds up to you, but there are numerous apps you can use for the task, and they all do a pretty effective job of painting beyond the borders of an original image.
Try Adobe Photoshop’s Generative Fill

At the time of writing, Adobe’s AI-powered Generative Fill is only available in the beta version of Photoshop, though it should reach the main app soon. If you’re a Photoshop subscriber, you can install the beta from the Creative Cloud application on your computer: Click Beta apps (on the left), then Install next to the Photoshop (Beta) entry.
There are a number of ways to use Generative Fill, but when it comes to extending the background of an image, you’ll first need to get the canvas to the size you want via Image > Canvas Size. Next, select the blank area outside the original image—you could use the Regular Marquee tool, the Magic Wand tool, or any other tool you prefer for the job.
By default, when you make the selection, a pop-up window will appear showing the Generative Fill button—click on it. If the pop-up doesn’t arrive, choose Edit > Generative Fill. Either leave the prompt field blank (which means Photoshop will fill the space based solely on existing pixels and its own judgment), or enter some guidance (like “dark forest” or “white beach”), and then click Generate.
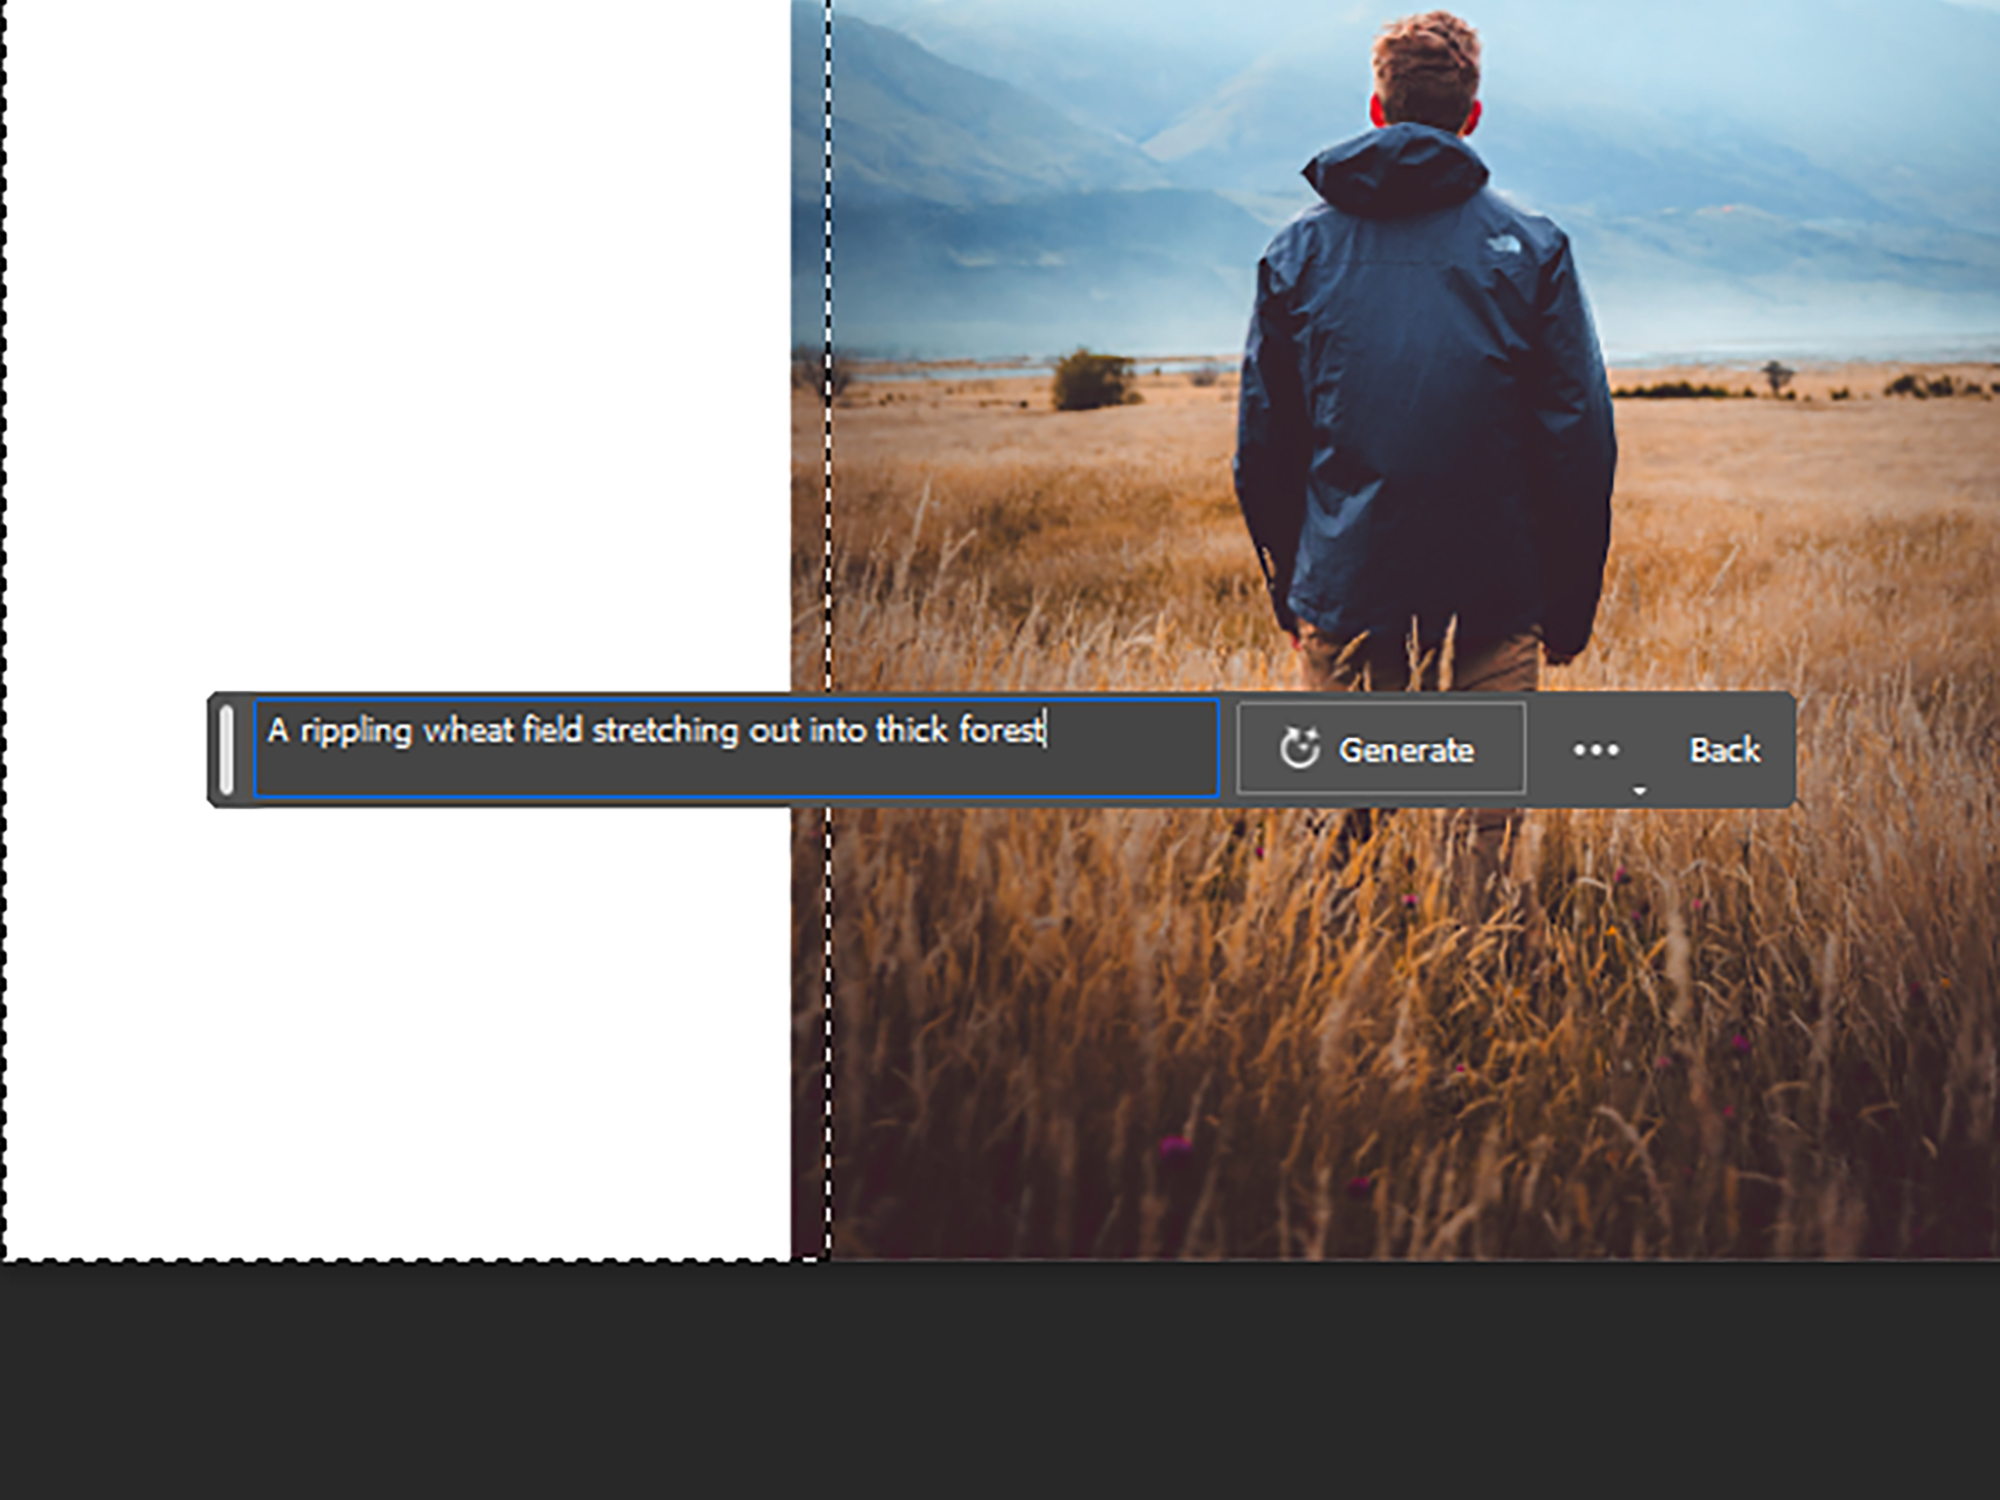
Every time you use Generative Fill, you get three variations: Use the arrows that appear on screen near the selection to move between them. If you’re not happy with any of the options, you can tweak the prompt to add more detail and click Generate again. To get rid of your AI additions, use the Edit > Undo tool as you normally would.
Let Dall-E 2 start “outpainting”
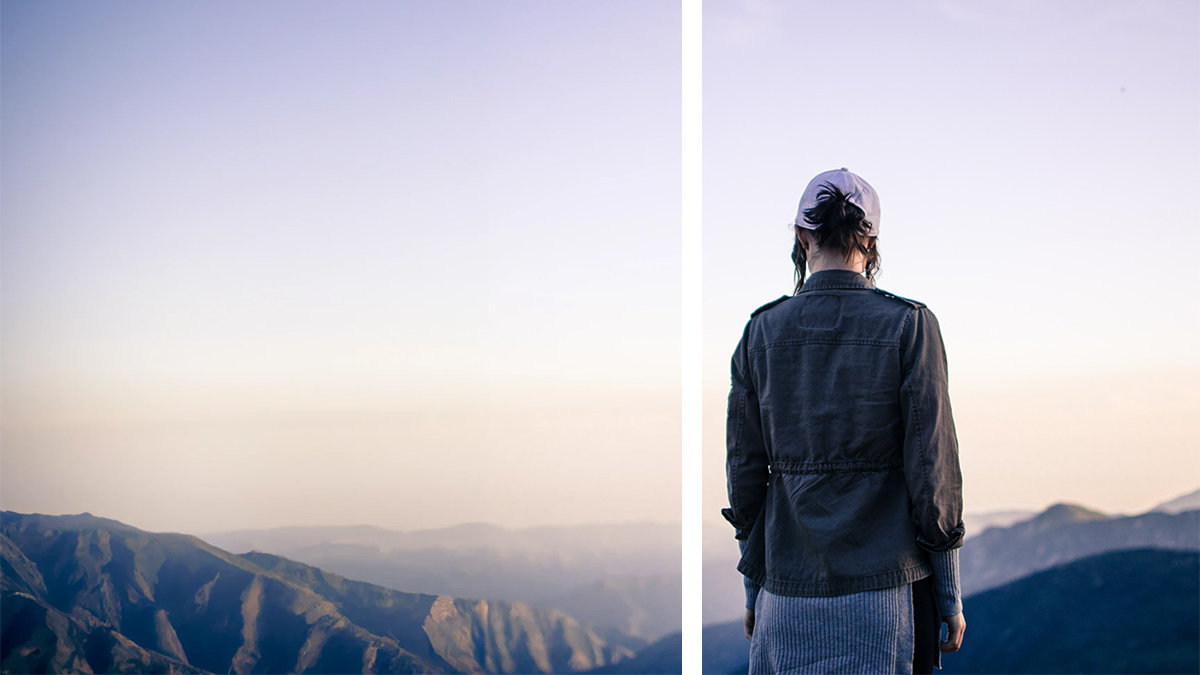
Dall-E 2 is one of the best-known AI image generators right now, and its own background fill feature is called “outpainting.” You can sign up for a free account to test it—you’ll get 50 free credits when you sign up, then 15 free credits every month after that. Each outpainting you do will cost you one credit. If you run out, every additional 115 credits will set you back $15.
In the web app, choose Upload an image (under the search box), and pick the photo you’d like to expand. When you’re in the editing environment, tap F or click the Add generation frame button (a square with a plus symbol on its top left). Drag the frame with the Select tool (the arrow symbol) so it overlaps some of your original image while also extending the canvas—this gives Dall-E 2 some source pixels to work with.
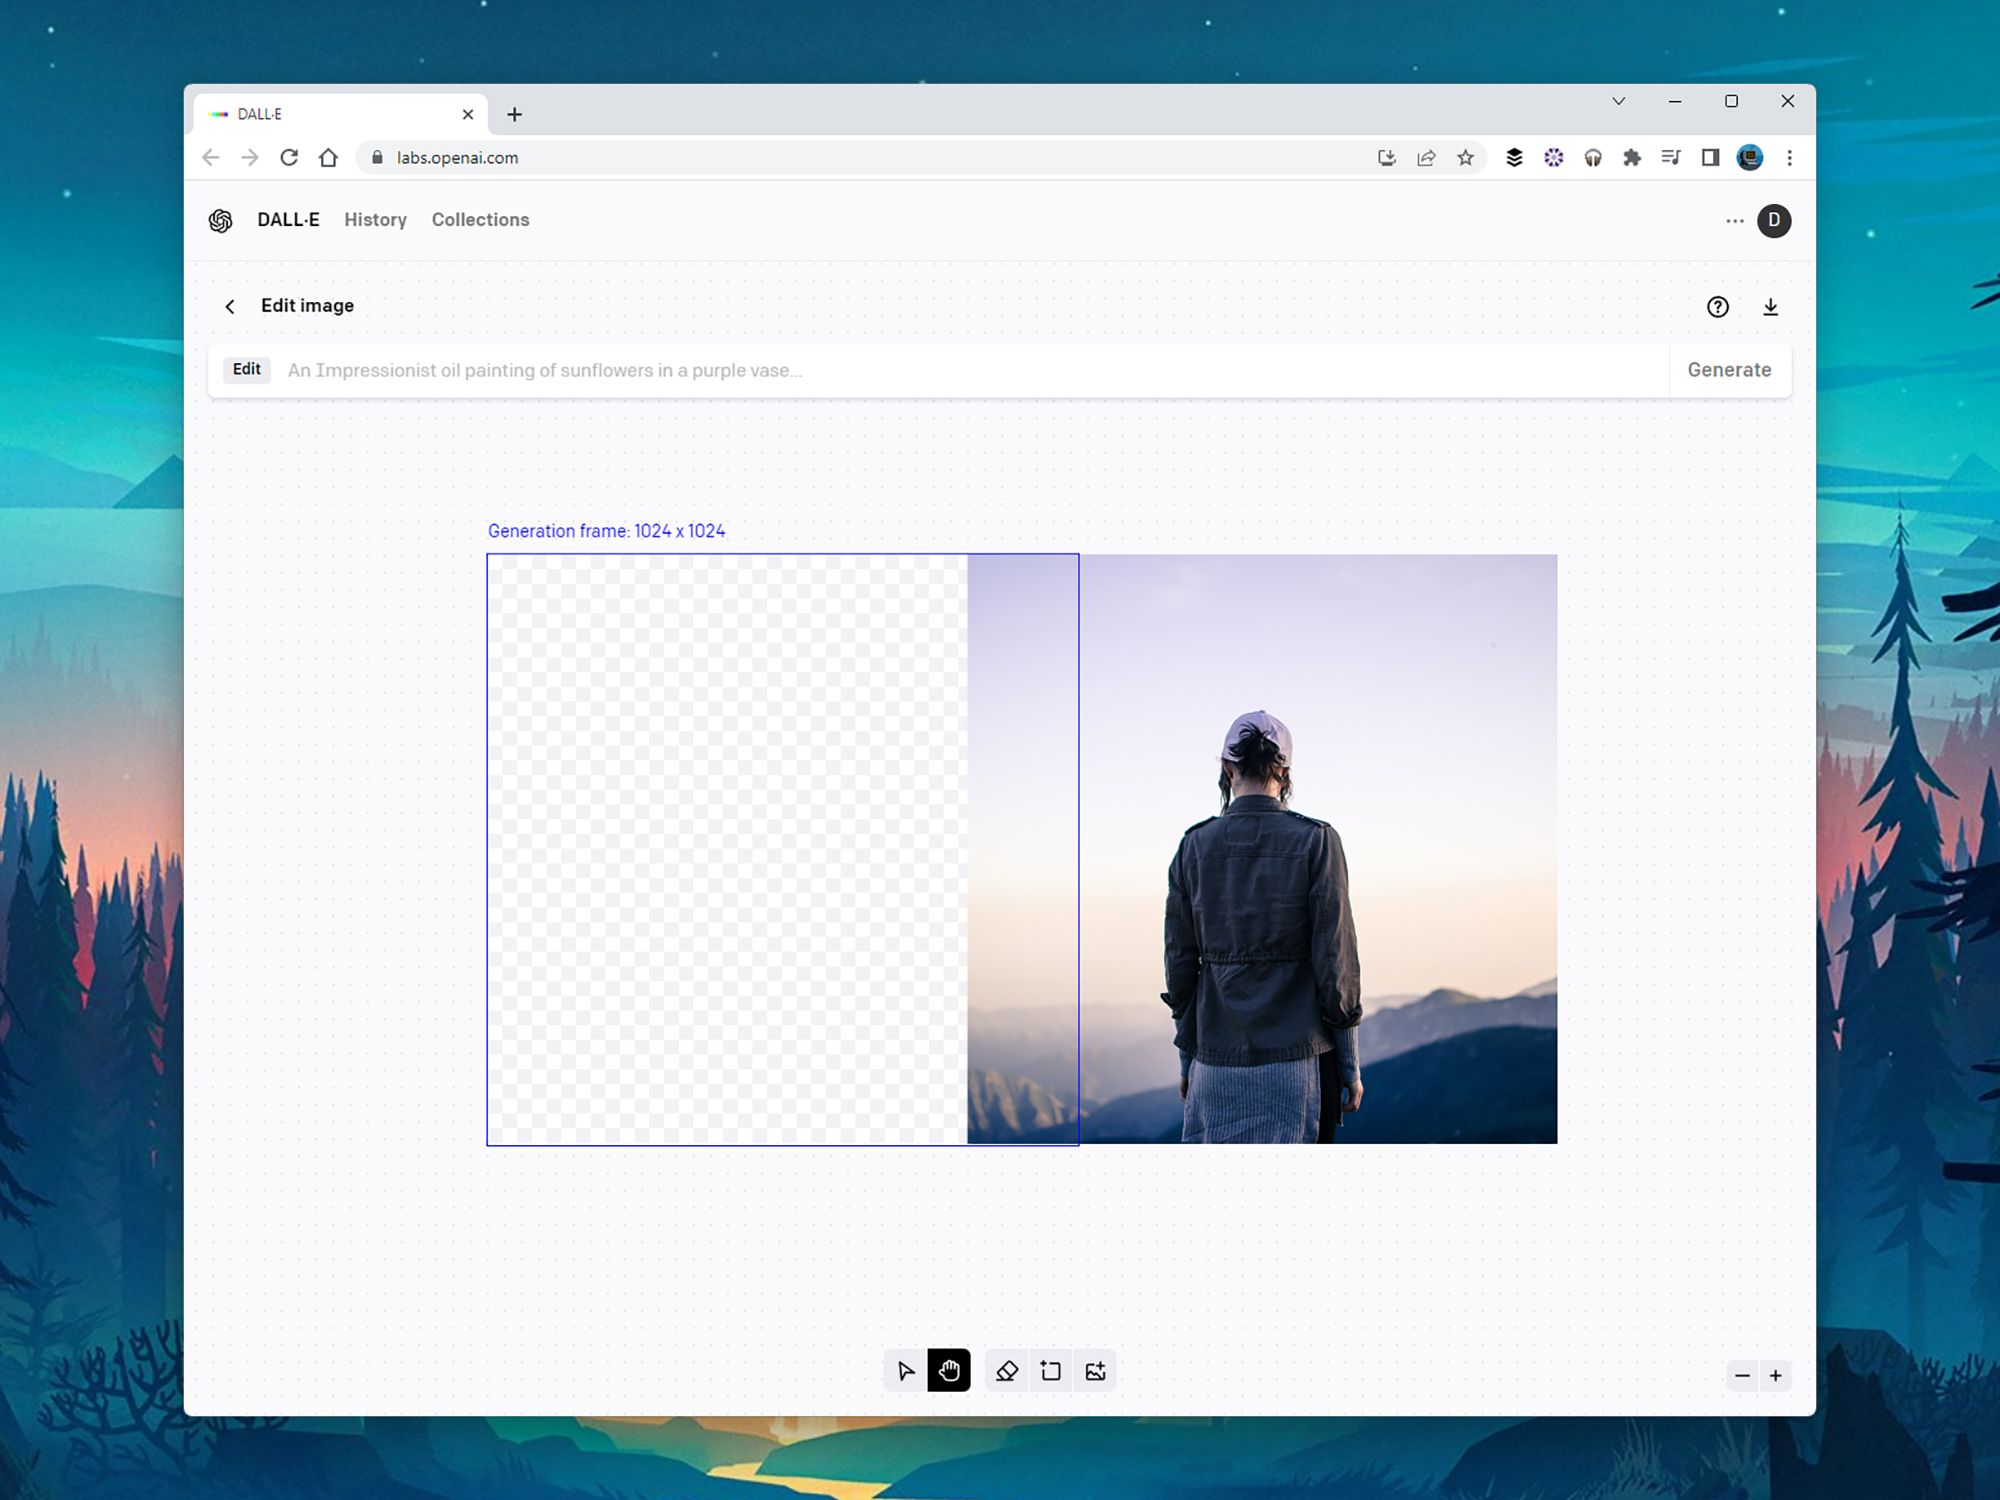
You’ll need to enter a prompt, even with the original image available as inspiration for the AI, so type out what you want to see in the box above the image. You can extend the background in the same manner, or introduce something new like a mountain, a forest, or a lightning storm. When you’re ready, click Generate.
[Related: 5 ways to create weird AI images with Craiyon]
Dall-E 2 will produce several variations for you, and you can move through them using the arrows underneath the new frame: Click Accept when your favorite one is showing, or Cancel if you want to start over. You can add more frames as needed (each one will cost you a credit). Make sure you download your finished picture before closing your web browser and quitting the app—it’s the downward arrow in the top-right corner.
Use Clipdrop’s Uncrop tool
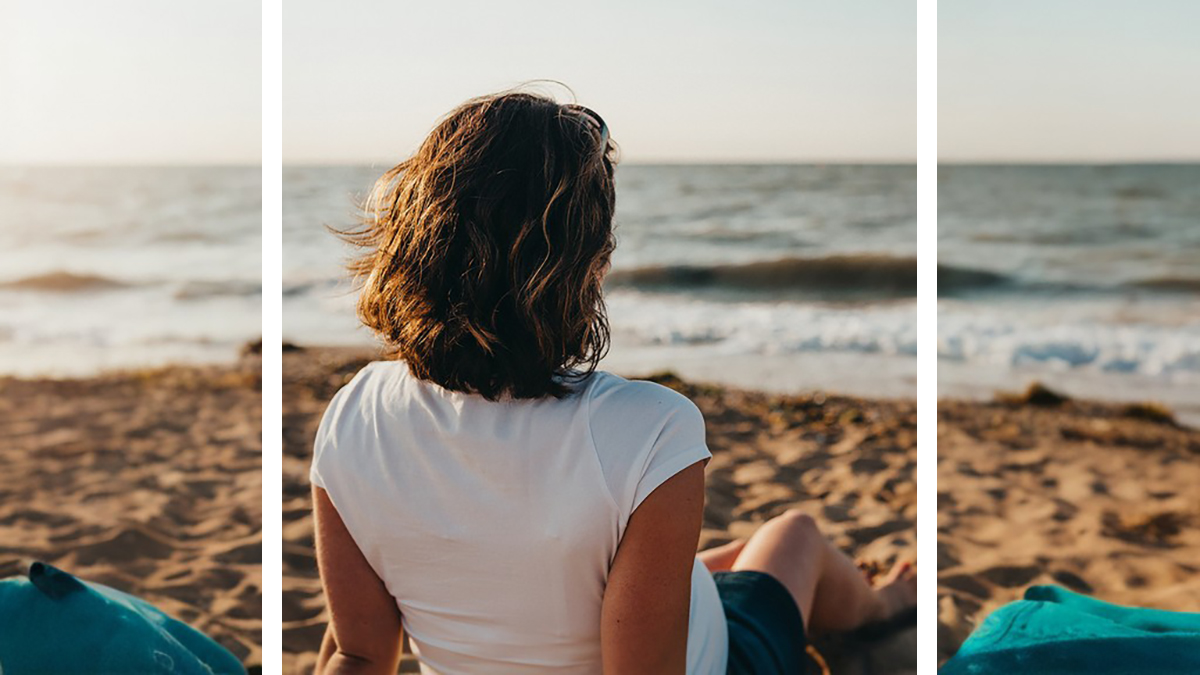
Clipdrop is a suite of AI-powered tools for creators: You can use it for free, but your images will be limited to a resolution of 1024 x 1024 pixels and come with a watermark. If you want to overcome those limitations, you’ll need to pay $9 a month. One of the tools Clipdrop offers is Uncrop, and you can access it directly on the web.
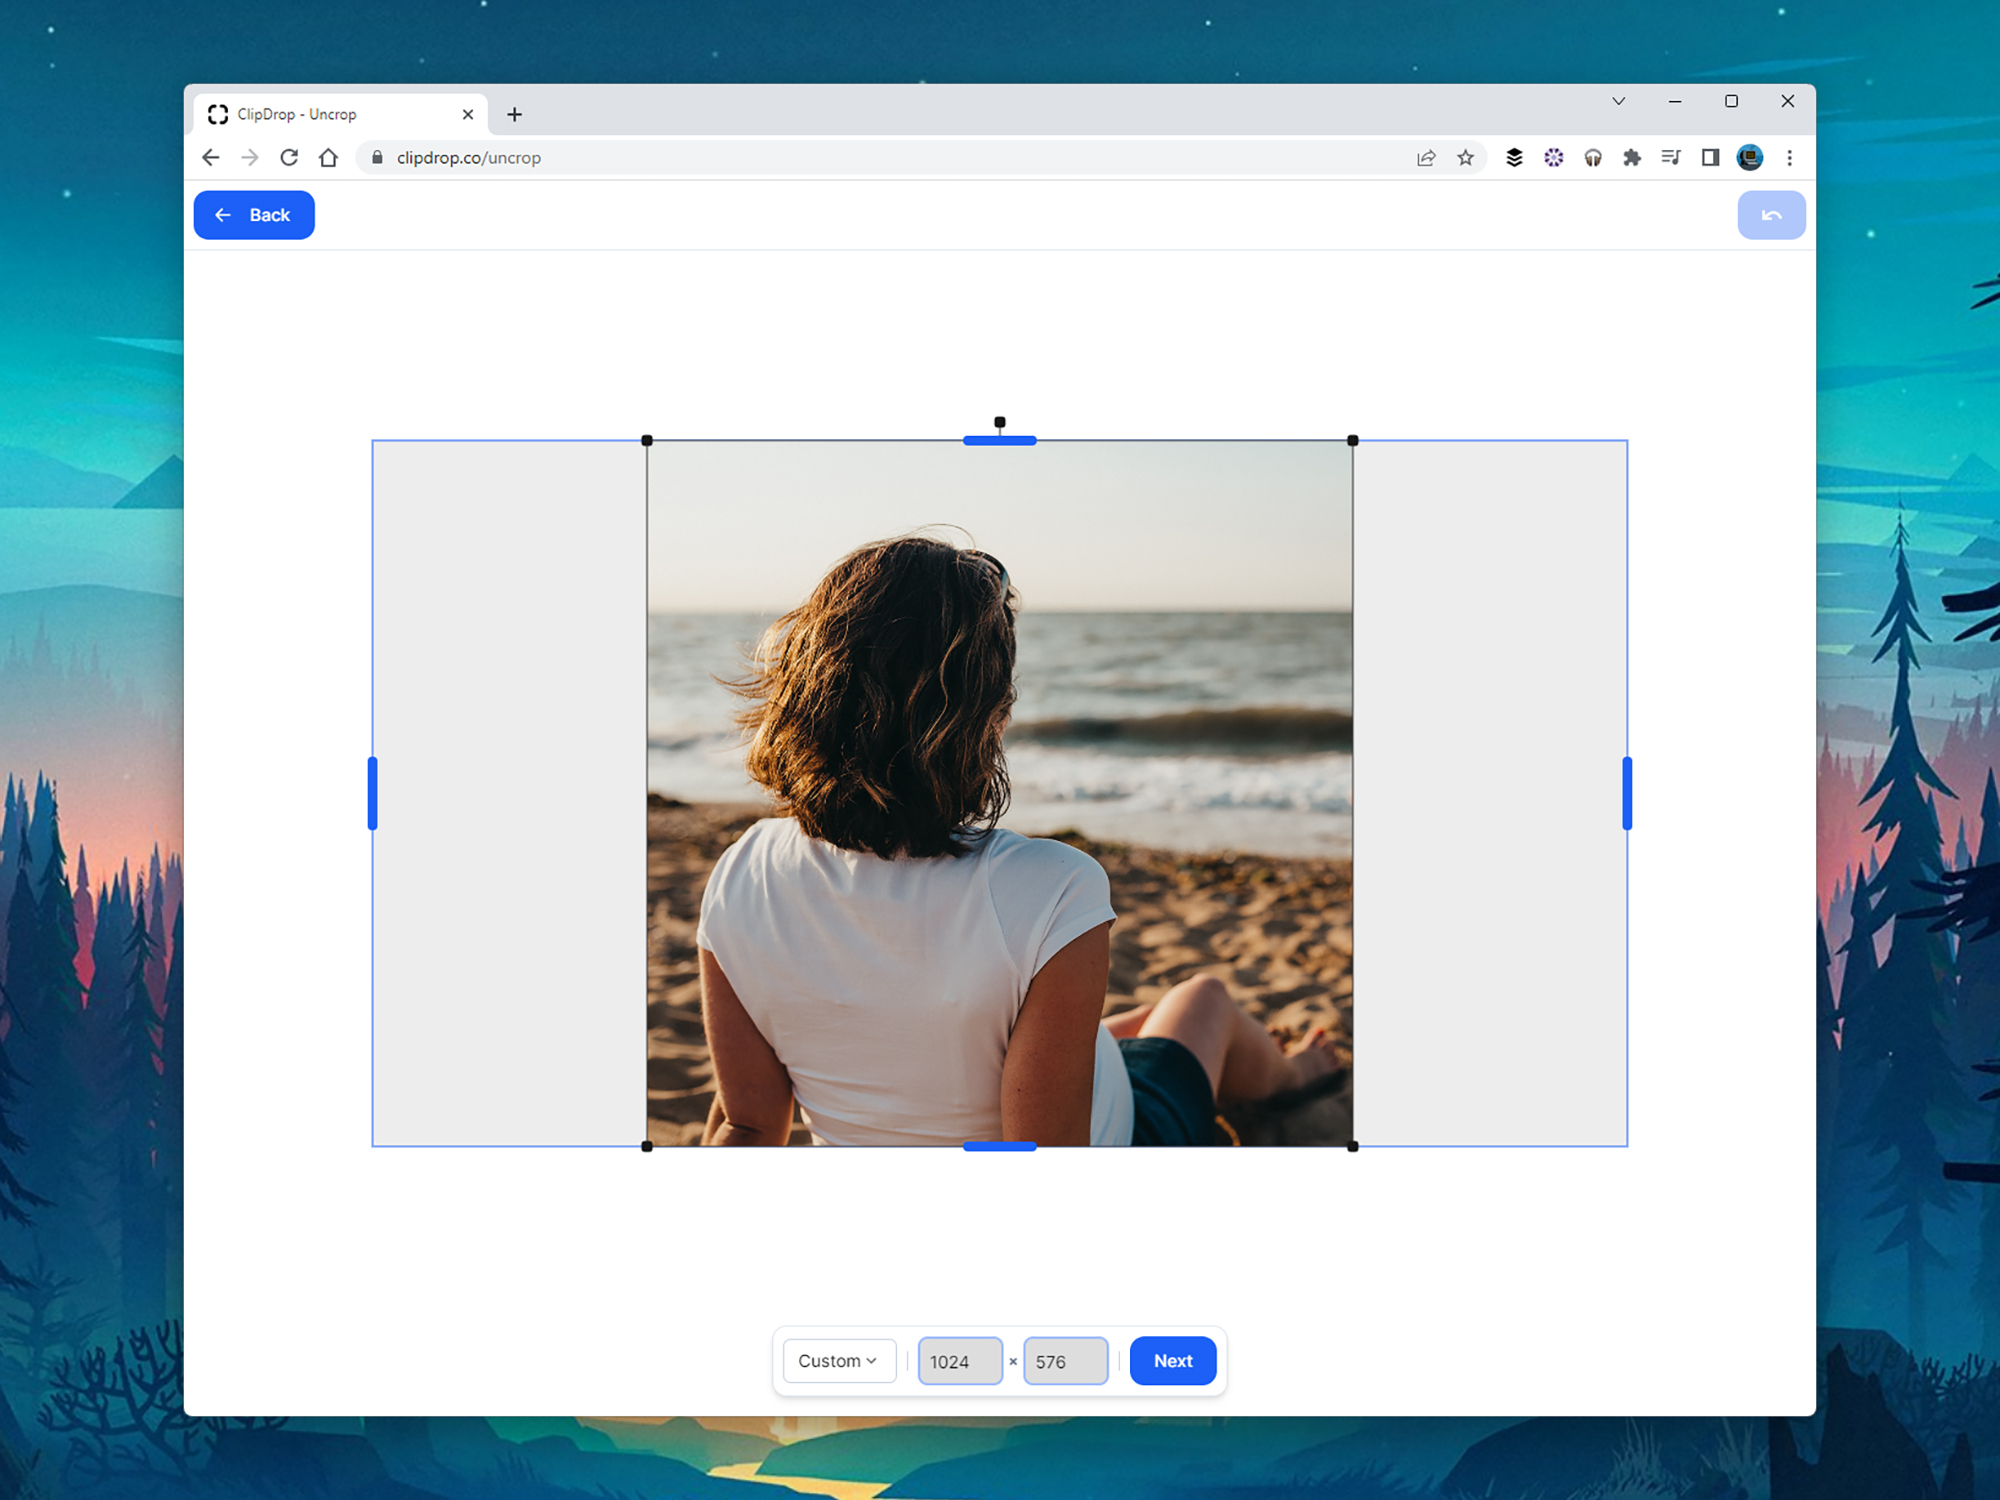
To use it, click inside the dotted frame to pick an image from your computer, then use the handles on the screen to drag out the canvas as far as you’d like it to go, beyond the borders of your original picture. Alternatively, you can type out the canvas size you want, in pixels, in the boxes at the bottom (or pick a preset size). Click Next to continue.
After a bit of processing, Clipdrop presents you with four variations to choose from—use the thumbnails or the arrows at the bottom of the screen to navigate through them. There’s no text-prompting involved—Clipdrop simply uses the pixels that are already in the image to figure out how to extend it. It does occasionally introduce new elements, such as a towel in the beach scene we were working with.
When you’ve found an image you’re happy with, click Download to save it to your device. The three dots beside the Download button will lead you to other areas of Clipdrop, where you can change the lighting of an image or increase its resolution. You can also click Edit to go back to the canvas page and change the dimensions of your finished picture, before generating the background again.
