This story has been updated. It was originally published on March 1, 2018.
When you carry around a phone that has its own camera, you can easily take so, so, so, so many photos. But do you actually look at them? All too often, pictures end up gathering digital dust on our devices.
We’ve assembled a few ways to transform your favorite photo into a more lasting form, one you can display with pride. Try these five suggestions.
1. Buy a specialized printer
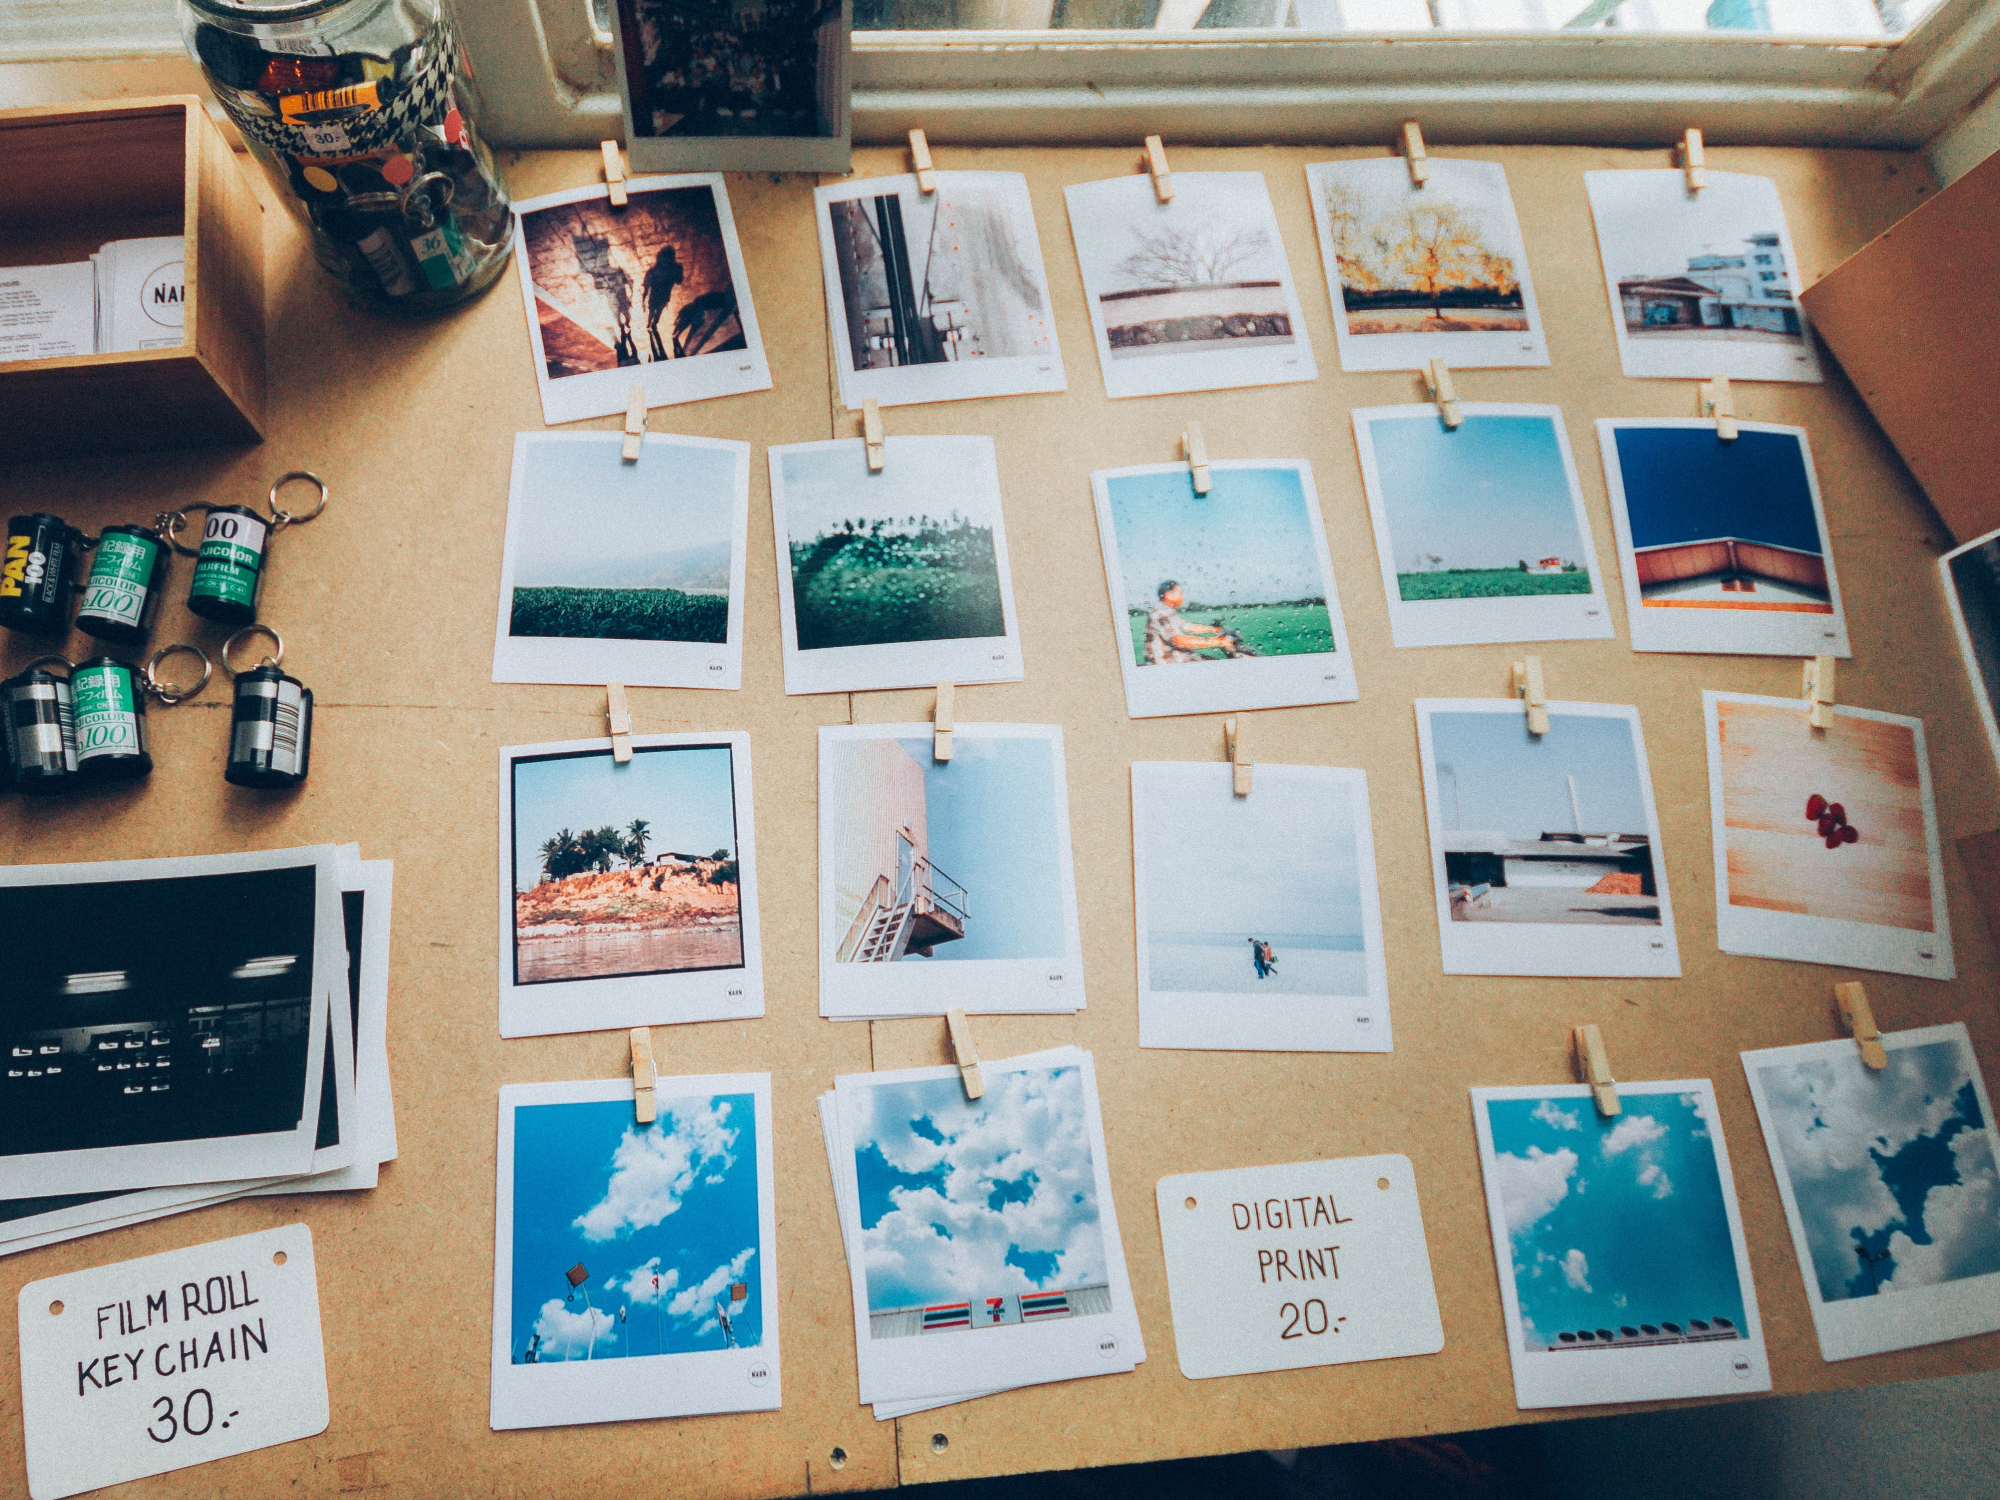
Let’s start with the simplest method: printing out your snaps on photo paper. You can stick them to the fridge, give them to relatives, or frame them to hang on your wall or prop on your desk. And of course, you can easily make multiple copies and create reprints.
You can find specialized photo printers for this task, such as the Kodak Dock Photo Printer ($140 on Amazon), which can print straight from your smartphone, or the Canon Selphy CP1300 ($130 on Amazon), which features an integrated color screen. These dedicated printers typically offer the best quality, but considering that they only produce photos and nothing else, you’ll need to think about how often you’ll actually use them to decide whether they’re worth the investment.
When you’re deciding on a photo printer, don’t forget to factor in the cost of inks and special photo paper—check the printer’s documentation to find the specific products you’ll need to buy. For example, the Kodak Dock printer needs a Kodak Dock Printer Cartridge ($20 on Amazon) and Kodak-brand photo paper in the 4-by-6-inch size ($18 on Amazon). You can also sometimes find bundle deals that include ink with the printer, like this one for the Canon Selphy ($165 on Amazon).
2. Print from a general-purpose machine
If you already own a general-purpose printer capable of churning out images at a very high resolution, you may not need another device. Machines that fit this description include the HP Envy Photo 6255 ($200 on Amazon) and the Epson Expression Photo HD XP-15000 ($350 on Amazon). In general, more expensive printers offer more features—and better photo results.
General-purpose inkjet printers will accept a wide variety of sheets, but if you want nice-looking images, you should print on photo paper. Review the printer’s help files and manual to see if its manufacturers recommend any particular paper brands or types. Otherwise, simply look for a pack with the term “photo paper” in the description. These sheets are typically thicker than the plain variety, and they have a glossy finish. You can print directly on smaller, photo-size pieces of paper, or use 8.5-by-11-inch sheets and trim them with scissors or a paper cutter.
[Related: This huge Xerox printer can create metal parts for the US Navy]
When you’re ready to produce your high-quality images, first adjust the settings to print in photo mode. The exact configuration you’ll need will vary from printer to printer and even application to application, so make sure to consult your printer’s help files. In general, you’ll want to find the Print Settings or Print Preferences button and, once you open the settings dialog, double-check the selected mode. Many printers will offer a “photo” or “fine” mode, but if you don’t see these terms, try ramping up the resolution, as measured in dots-per-inch (DPI), to the highest possible setting. While you’re adjusting the settings, some machines will let you set the paper type. Depending on the available options, you should choose either “thick paper” or “photo paper.”
3. Order a physical photo album
You remember photo albums, don’t you? That’s how we stored our precious memories before the digital photo revolution happened. They’re still a great way to collect a group of related images—like photos from a party. However, printing a book is a little tricker than printing individual photos. Luckily, the same tech giants that store your photos in the cloud—Apple and Google—can also turn those images into physical photo books. You select the photos, choose the final product’s design and layout from a set of templates, and pay up. Then the company ships the album to your address or that of a gift recipient.
Those who keep their photos on a macOS device might give Apple’s service a try. To get started, open the Photos app and choose File, Create, and then Book. Apple will offer you a selection of third-party apps that can help you turn your images into albums, calendars, and more—for varying fees.
If you keep more of your memories in Google Photos, you can go that route just as easily. Head to the Photo Books website, click Make a photo book, and begin adding images from your collection. In this case, prices start at $15 for a paperback book and $30 for a hardcover one. The cost goes up as you add more pages.
Apple and Google offer the easiest photo albums, especially if you already store your pictures with the companies’ apps. That said, some photo-printing services offer a similar deal. Shutterfly, for example, assembles albums for prices that start at $23 for an 8-by-8-inch 20-page paperback photo book. However, image-publishing companies like Shutterfly will turn your photos into a lot more than just albums: They also offer posters, calendars, phone cases, and more.
4. Turn to a photo-printing service
Once you start venturing beyond home printing, you’ll find a slew of printing services, some with real-world locations you can visit and others entirely web-based. These companies can place your snaps on a variety of physical products: posters or canvases fit to hang on the wall, customized phone cases, calendars, and more. This option is best for those who lack the patience to print at home or don’t want to limit their favorite images to framed photos.
Most printing services work in similar ways. You visit the website, choose the product you want, upload your favorite photos from your computer’s hard drive, and then add finishing touches like color filters and text overlays before paying the company. Some services will even connect to Instagram or Facebook so you can pick an image you’ve already posted online. Just make sure to double-check the website’s notes about the minimum resolutions your images need. Obeying these guidelines will ensure your final print-out looks sharp and high-quality.
[Related: How to print giant wall-worthy images yourself]
Perhaps the hardest part of the process will be choosing the right service. If you prefer to preview your options in person or ask a human being for help, consider visiting the local branch of a major retail chain—such as Walmart, Staples, or Walgreens—that offers printing. These companies don’t always print on as many objects as their web-based competitors, but they do create posters, calendars, and albums at very reasonable costs. Take Walmart—they’ll turn your digital snap into wall art for prices that start at $6 for an 11-by-14-inch poster, increasing for larger sizes, higher paper quality, and additional framing.
For any of the companies with physical locations, you can order online and have your poster delivered or pick it up at a local branch. However, they do differ in price and in the process that you have to go through to get your images ready to print. Walmart is the cheapest, Staples has one of the simplest and fastest check-out processes, and Walgreens is slightly harder to use but offers more control and customization: various products, multiple potential layouts, and extra modifications like those text overlays.
In addition to these traditional sources, you can turn to web-based companies. Canvas Factory, as the name suggests, focuses on wall art, with a fast and easy photo-uploading process and reasonable prices (they start at $26 for an 10-by-10-inch square canvas). Services like Shutterfly, Snapfish, and Vistaprint offer a much broader selection of photo gifts, including posters and canvases as well as wall calendars, magnets, mugs, and photo cases for both iPhones and Android devices. Of those three, Snapfish gives you most control over layouts and optional extras like text and graphics overlays. However, if you’d rather not do all the layout work yourself, Shutterfly has more templates and designs to pick from. Vistaprint is the least flexible in terms of customizing the final product, but it’s very straightforward to use, so you can place your order more quickly.
Traditional or new, all of these services have good interfaces that make it easy to play around with your printing options from within your web browser. In general, Shutterfly and Snapfish offer the widest range of designs and options, while Staples and Vistaprint have the easiest check-out processes. However, they’re all very similar. Try opening a couple options in different tabs to compare their templates and prices.
5. Set up a digital photo frame
Digital photo frames display a carousel of your favorite pictures. They have a few advantages over print, including the ability to update the featured images at any time, so you won’t be stuck with the first photos you picked. This provides variety without the hassle of constantly printing out fresh images. Instead, you load up photos from a USB stick or memory card that slots into the back of the frame.
Many of these frames also offer bonus features. For example, the 8-inch Nix Advance ($70 on Amazon) has the ability to show videos as well as photos, and it also boasts an integrated alarm clock and a motion sensor to save power when you’re not in the room. Even the relatively simpler 7-inch Atatat Digital Photo Frame ($62 on Amazon) includes both photo and video support. Both of these options are available in different sizes if you’d like to view your pictures on a larger scale.
