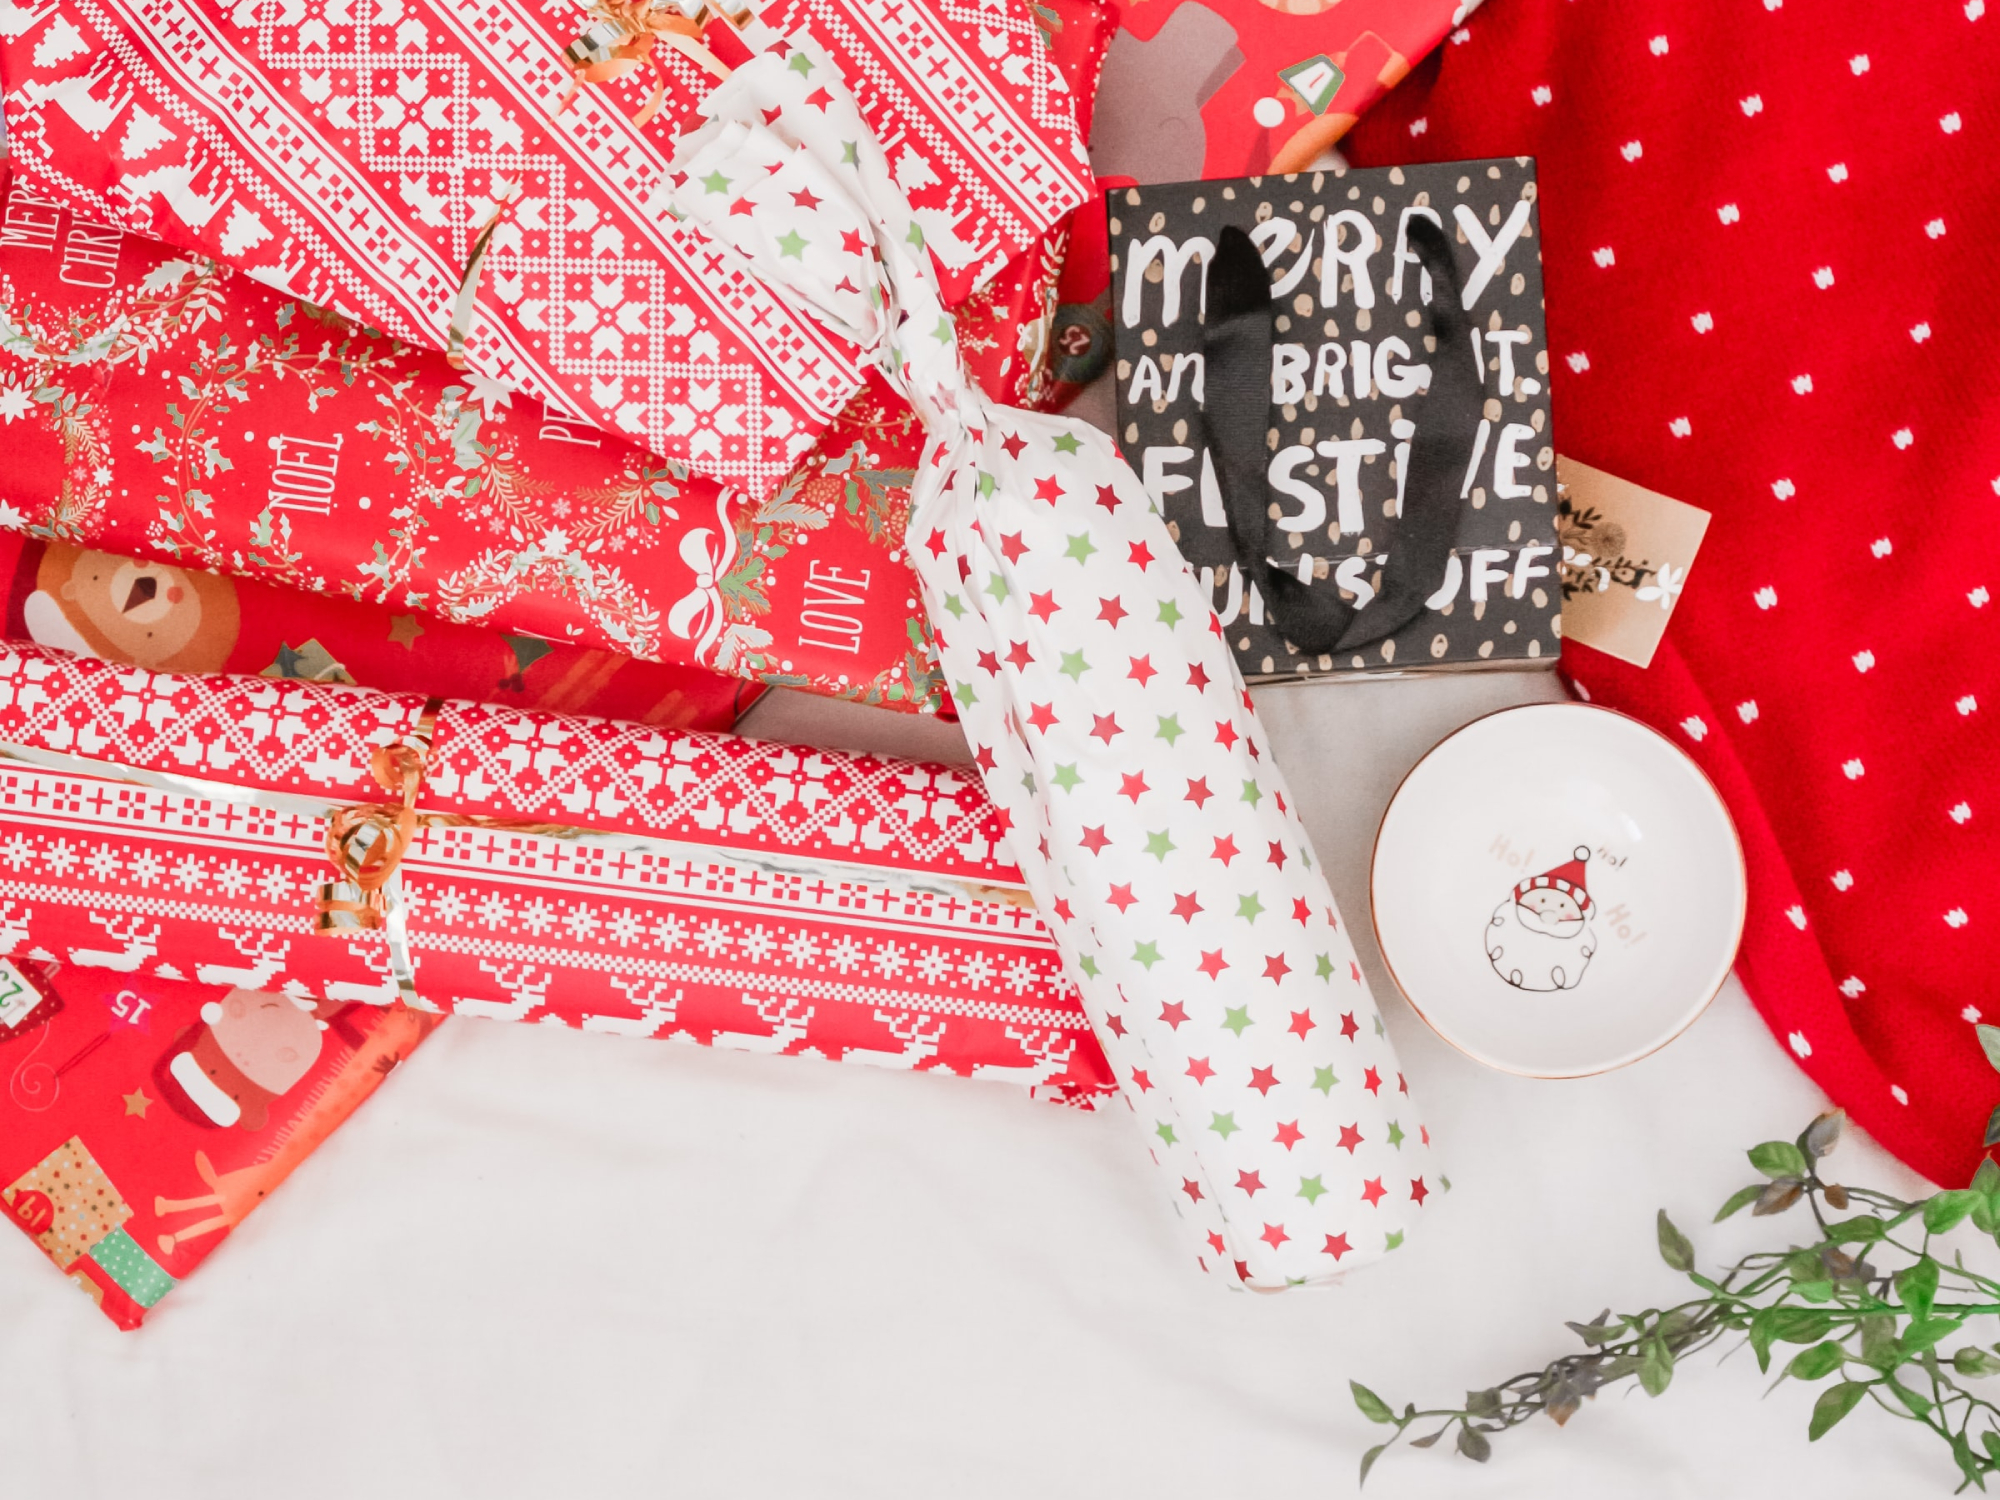
You set aside a few minutes to sneakily wrap your gifts and suddenly realize you have an object that doesn’t fit the traditional rectangular shape. Of course, you can always put your oddly-shaped item in a box and wrap it normally, or stuff it in a gift bag with tissue paper. But if you don’t have a box or bag on hand, there are other ways to wrap it—without the end result looking like garbage.
If you’re crafty, you can find loads of solutions for wrapping unusual shapes, but not everyone is. For this guide, we focused on methods that require nothing but the stuff you’re guaranteed to have: wrapping paper, tape, and scissors.
The cylinder method: for candles, hexagonal boxes, and other tubular shapes

Wrapping a Cylinder
Let’s start with gifts that comes in boxes, but not cubic ones—maybe a shape that has more than four sides or looks like a straight-up cylinder.
In this case, you can wrap it much like you’d do with a rectangular prism: Just roll the paper around the sides and fold the edges in on the top and bottom. The difference is how you turn the edges. Instead of bending in each corner, you’ll want to create small creases around the circle, as shown in the above video from Alison Westwood of wrapping service Eclipse Gift Wrapping. (Westwood adds a crafty flower decoration at the end, which is not necessary—the edges will look just fine as long as you follow her instructions.)
You can adapt these instructions to pentagonal, hexagonal, and other polygonal boxes with more than four sides. You just need to make those creases at each corner, as shown here.
The diagonal method: for when you don’t have enough wrapping paper
Life-Changing Gift Wrapping Hacks
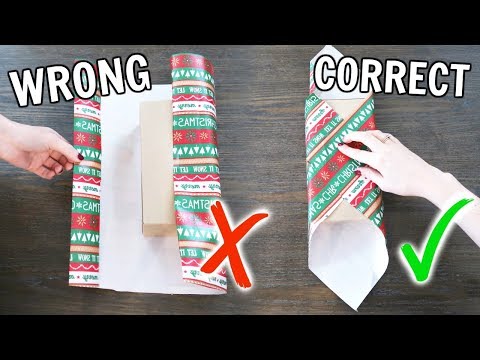
Ever get down to the last gift of the bunch, and your final strip of wrapping paper is just too small to fully envelop the box? Or maybe you’re wrestling with a box so big that even a full sheet of paper won’t cover it. Well, thanks to some geometric wizardry, you can make your limited resources work.
To use the diagonal method, try turning the gift diagonally and pulling the corners of the wrapping paper up the sides, as shown above in Kallie Branciforte’s video from her YouTube channel But First, Coffee. This method often allows you to cover the entire surface area of the box without leaving any exposed cardboard.
If you still don’t have enough paper for the diagonal method, here’s an alternative that lets you grab multiple pieces of wrapping paper to cover up those exposed portions. It’s more of a last resort, but with the neat method for folding the corners, it’ll at least look decent instead of haphazard.
The tennis racquet method: for large, relatively flat items

How to wrap a tennis racquet
Sometimes, you have a shape so odd—like a tennis racquet, guitar, or some other flat object with round edges—that one side is basically guaranteed to look bad when you use a single sheet of wrapping paper.
Instead of trying to wrap the whole thing in one piece, you can make it much cleaner by wrapping each side individually. Nilda Garcia, of now-closed New York City stationary store Kate’s Paperie, demonstrates that method in the above video from DIY site Howdini. In summary, you wrap one side cleanly, leaving a portion of the top exposed—then flip it over and wrap the other side in the same way. One of the two sides will still have a slightly patchy appearance, but it’ll look a heck of a lot better than if you used only one sheet of paper. Just flip it so the good-looking side faces up before you put it under the tree.
The wine bottle method: for…well, you know

Wrapping a bottle
Because wine is such a common gift, and has such an odd shape, you can find dozens of wrapping methods dedicated to bottles. However, most of these techniques require tissue paper (which is a lot more forgiving on weird shapes) or gift bags—and we need an option that requires neither.
Thankfully, Hallmark’s YouTube channel shows off an easy way to do it without a lot of supplies. Wrap the bottom like you would any other cylinder (the video’s host uses scissors, but you can use the aforementioned cylinder method instead), then twist the top like a candy wrapper. If you have a ribbon, string, or gift tag, slap that on top of the twist to hide the crumples. If you don’t, a small piece of plain, differently-colored wrapping paper might do the trick.
The envelope method: for small, oddly-shaped items

How To Wrap Odd Shaped Gifts
For boxless stuffed toys and other shapeless trinkets, you’ll have to get a bit more creative… and essentially create your own box out of wrapping paper.
The above video from DIY Projects shows how to create an envelope that should work for just about any bauble. If your item is more spherical, like a ball, the video demonstrates a pyramid-like envelope that’ll work for that, too.
The gift bag method: for everything else

How to Make Your Own Gift Bag Using Wrapping Paper | Simple & Cute!
If literally none of the above options work for you—and you don’t have a gift bag handy—you can turn a large piece of wrapping paper into a gift bag that’ll fit just about anything.
This method is a tad more complex, but essentially involves cutting a large strip of paper and turning one edge into a flat-bottomed bag. This works for anything: weirdly-shaped blister packs, Tonka trucks, or even spherical gifts like a basketball (though you could also use aluminum foil for that). In the video above, the wrapper ties the ends off with a ribbon, but if you don’t have one of those, your gift will look just fine with the top edge taped down.
Whatever method you use, don’t stress too much about getting it to look perfect. Your recipient will appreciate the gift itself much more than the wrapping job—and they’ll only see it for five seconds before tearing into your meticulous work.
