Apple changed smartphone screens when it introduced the notch on the iPhone X back in 2017, and in recent years the company has been adding something similar to the screens of its new MacBook Pro and MacBook Air laptops.
The reason behind these notches is the same: It frees up more screen space while still leaving real estate where the webcam and ambient light sensor can sit.
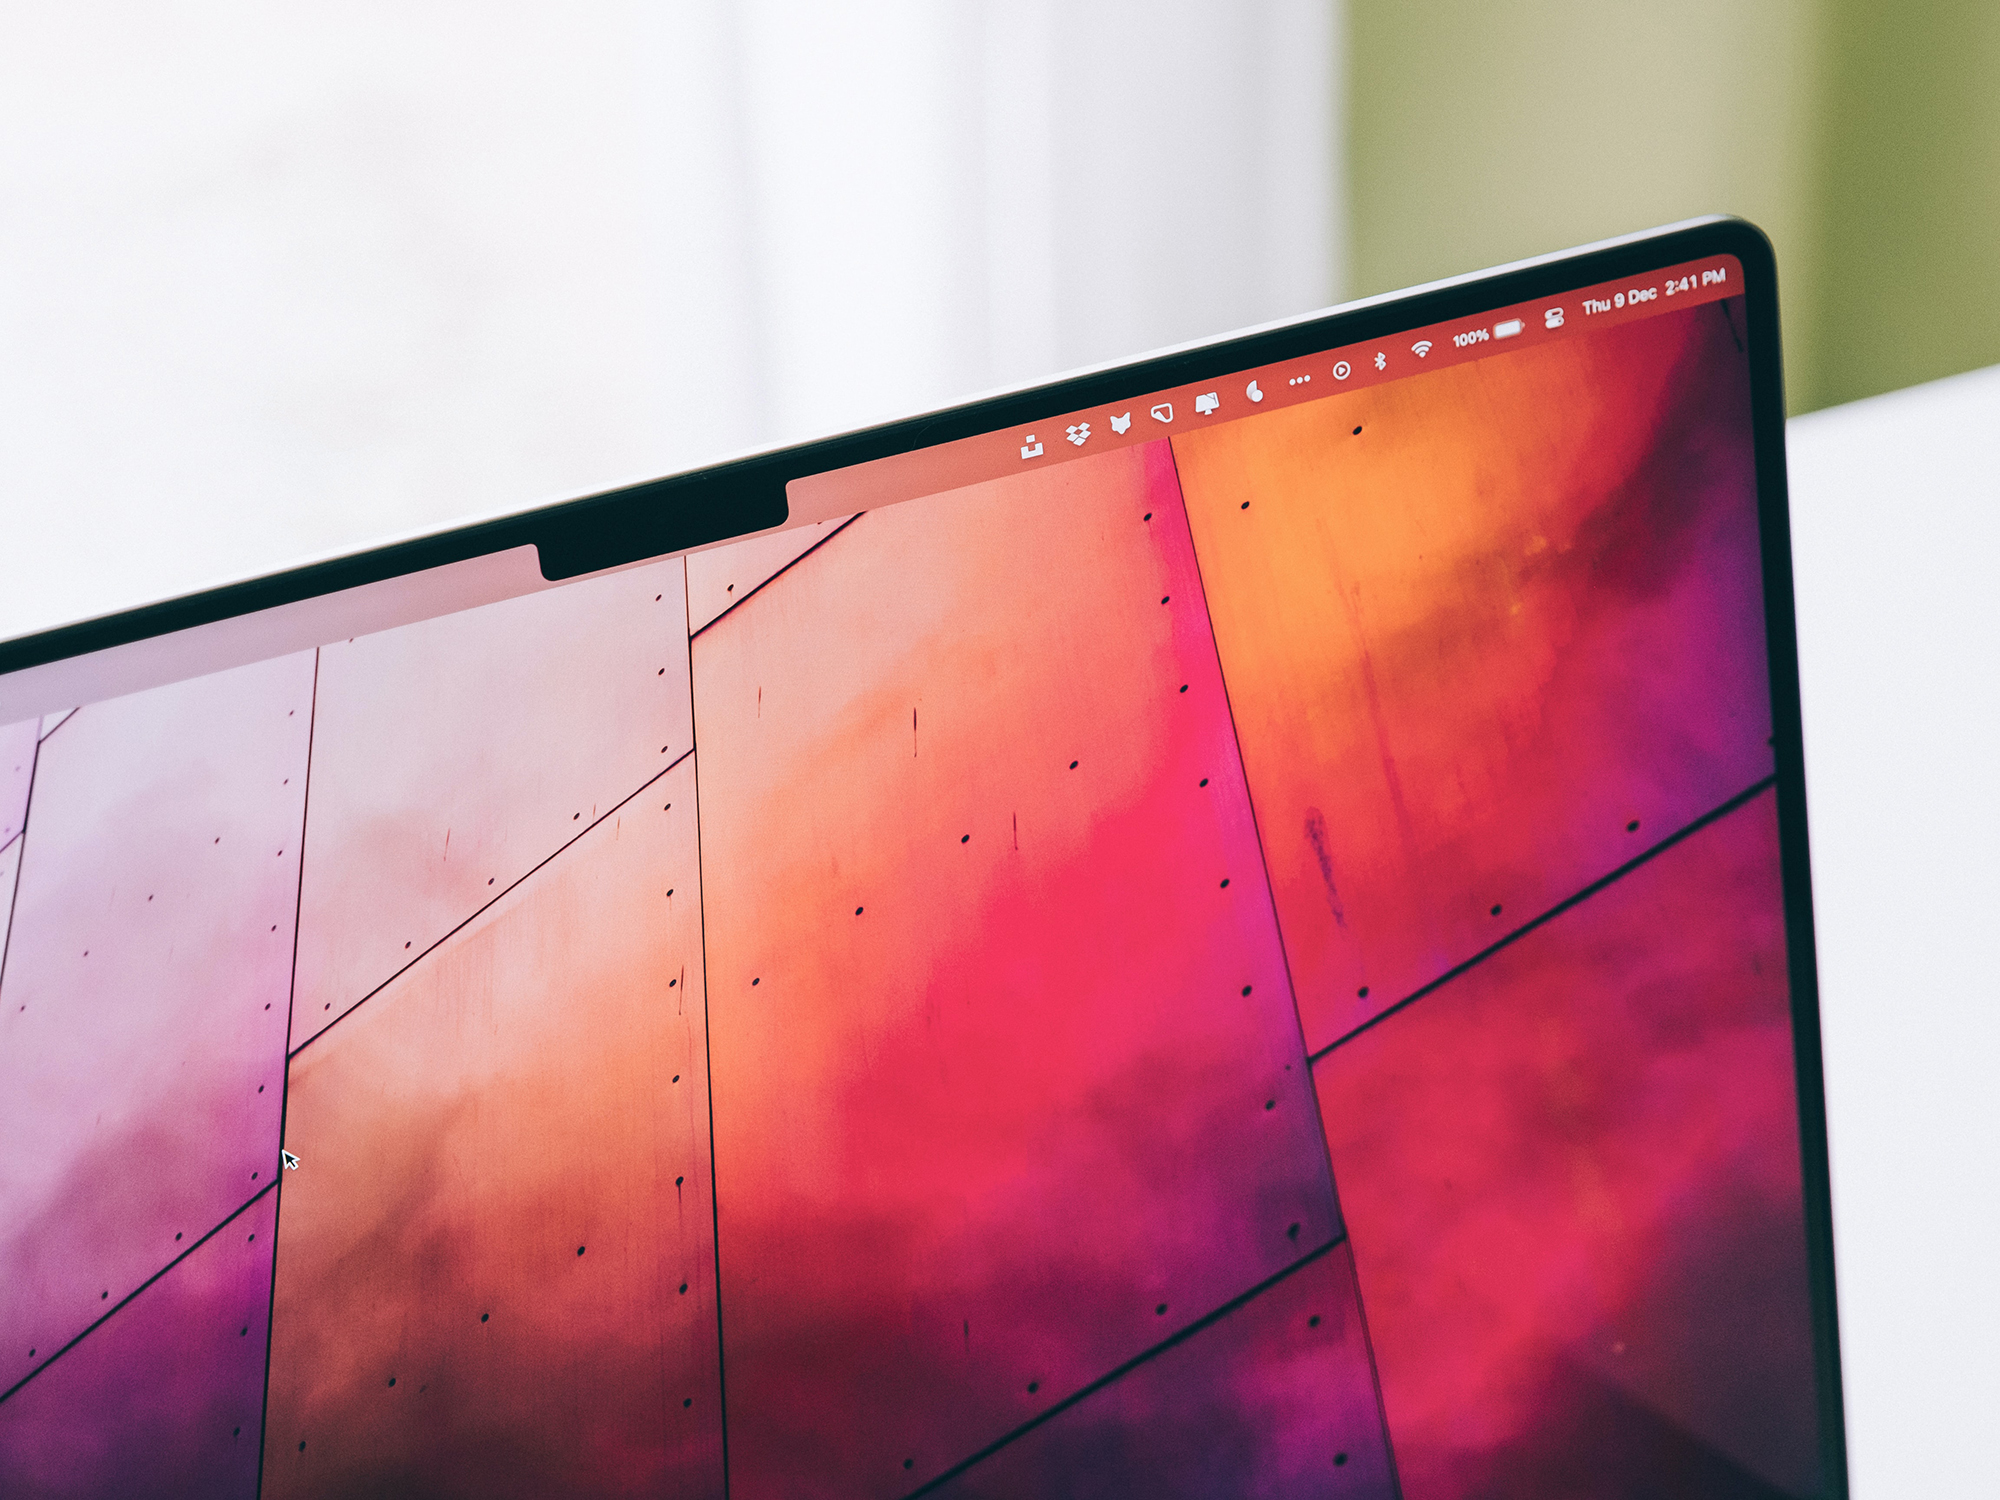
It’s not something we’re used to seeing on laptop screens, but Apple is sticking with it even though some users. But if you own one of these new machines you may find it somewhat off-putting as you go about your normal day.
But you don’t have to keep the MacBook display notch the way Apple has created it. Third-party apps allow you to hide or customize the notch built into macOS.
Go full screen
The easiest way to hide the notch is to put your apps in full-screen mode, which you can do by clicking on the green button in the top left corner of any of your program windows.
[Related: MacBook Air vs. Pro: Which Apple laptop is right for you?]
This automatically creates a black bar across the top of the whole display, including the notch, so it’s no longer visible. It also conceals the menus and menu bar icons, so you’ll need to hover the cursor up near the top of the screen to see them (and the notch) again.
It works great for watching movies and shows, and you will no longer get distracted by the sight of the notch. Move the cursor up to the top of the screen and click the green button again to exit full-screen mode.
Go dark with your wallpaper
You may have noticed that the menu bar on macOS takes its background cue from the desktop wallpaper that you’ve selected. If you have a lighter wallpaper, the system uses a lighter color, which makes the notch easily visible. But if you pick a darker image then the menu bar turns black, which means the notch will no longer stand out.
Open the Apple menu then choose System Preferences and Desktop & Screen Saver to pick your wallpaper under the Desktop tab. As soon as you select an image, the system will apply it to your screen backdrop, and you’ll be able to see the resulting effect on the menu bar.
As you may have imagined, you’ll have to be careful when choosing dynamic wallpapers that change with the time of day. If their color changes as well then you might find the notch making a return. It does somewhat limit your choices when it comes to the backdrop of your MacBook, but you may consider the trade-off worth it if the notch becomes invisible.
Hide the notch
There are a handful of third-party apps that will effectively hide the MacBook notch for you by turning the menu bar a solid black. You still get access to all your menu options and shortcut icons, but the notch will no longer be visible.
One such utility is Forehead, which is free to use, but you can (and should) give the developer a donation if you find it useful. It opens a simple control panel that lets you turn the black menu bar on or off, and as an added bonus you can create rounded borders in the corners of the display too. If you play around with this option, you’ll see that it adds more separation between your workspace and the menu.
Alternatively, give TopNotch a go. It doesn’t cost anything, and it puts a little toggle switch on the menu bar that you can use to switch between a transparent look for the top strip, and a solid black, which will effectively hide the notch. TopNotch also allows you to create a “rounded corners” effect for your display, though the size of these corners isn’t customizable as they are in Forehead.
Customize the notch
If you’re ready to embrace the notch on your MacBook but think that it looks a little bit too plain in its default form, then Notchmeister is the app for you. This free utility can add a range of fun effects and customizations to the notch, which will provide an occasional distraction from work at least.
[Related: Best monitors for MacBook Pro in 2022]
Get the app up and running, and you can pick from five different effects, which will kick in when you move the mouse underneath or around the notch. We won’t spoil the surprises too much but one keeps the cursor away from the notch, while another shows you where the cursor is located underneath the notch.
If you don’t want Notchmeister running in the dock like a standard application, you can use the checkbox on the utility’s dialog screen to instead have it appear when you click the cursor from underneath the notch.
