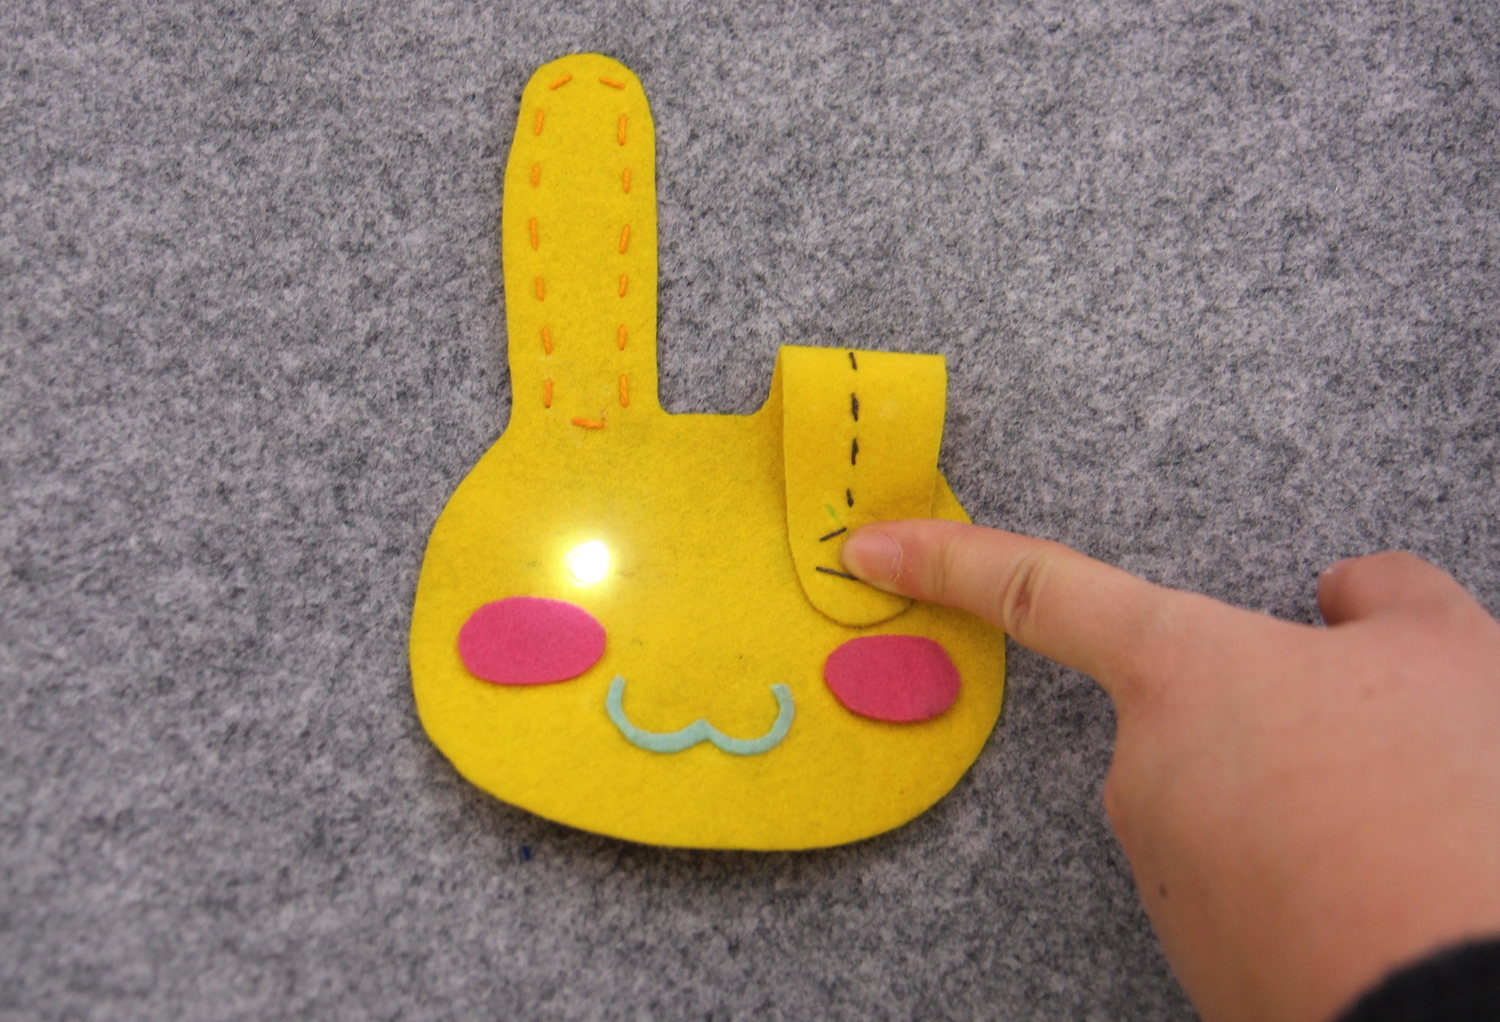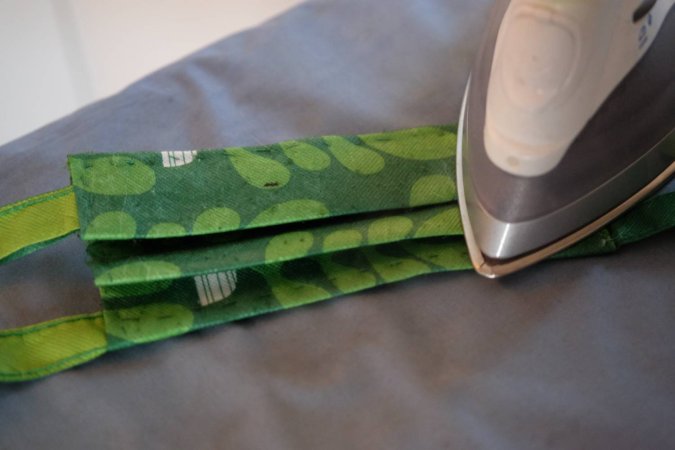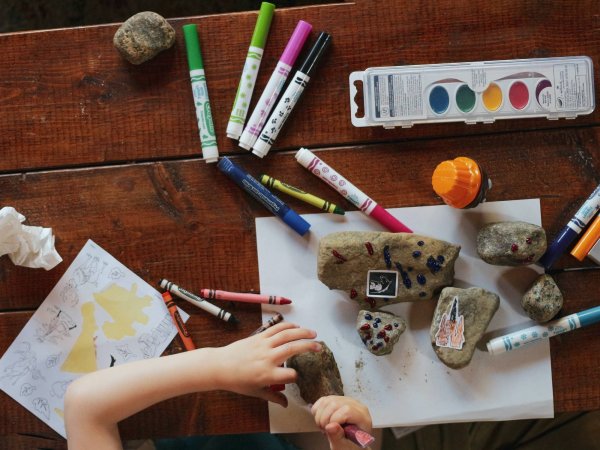


If you’re looking for a child-friendly introduction to electronics, consider sewing. Yes, you read that correctly. Many teachers take this approach—whether it’s stitching circuits on a plush toy or weaving LEDs into a bookmark. As a DIY project, it’s safe, engaging, and versatile; plus, it doubles as a fun bonding activity.
For those who don’t know much about electronics or sewing, dealing with both can seem daunting at first. But don’t worry, you won’t need a ton of skill with either, or expensive kits, to make this work. And once you learn the basics, you’ll be able to tailor any project to your child’s interests.
What you’ll need:
Forget soldering irons, wire strippers, wire cutters, and breadboards—tools and materials you’d typically find in electronics projects, but that can be dangerous or difficult for children to use. The beauty of sewing is that it uses items children are already comfortable with, and doesn’t call for a lot of bulky equipment or electrical plugs. “You can sew anywhere, including in the car or on a plane,” says Jaymes Dec, technology teacher and chair of innovation at Marymount School of New York.
The full list depends on specific projects, but here are the essentials:
- Conductive thread
- CR 2032 3-volt coin cell batteries
- Battery holder
- LED light
- Needle threader
- Felt sheet
- Sewing needles
“All of these tools can easily be found online—with perhaps conductive thread being the most exotic, yet still widely available on Amazon,” says Leah Buechley—designer, engineer, former associate professor at the MIT Media Lab and co-author of Sew Electric: A Collection Of DIY Projects That Combine Fabric, Electronics, And Programming.
Learn the fundamentals by making basic circuits

To engage children (and adults alike), Buechley emphasizes the “build first, theorize later” approach. You start by engaging, playing, and building, then let that motivate the theoretical learning.
First, find a subject that resonates with your child. Dec suggests asking them to draw something they love. Whatever they put down, whether it’s a car, butterfly, or outer space, that’s usually what they enjoy the most. Then, look for a project. There are plenty of free resources online—with tutorials on Sew Electric, High-Low Tech, Adafruit, Kobakant, Sparkfun Electronics, Maker Camp, Sewn Circuits from The Tinkering Studio at the Exploratorium, and Becky Stern‘s channel on YouTube, for instance.
Parents may need to help find projects for absolute beginners, and experts say it’s best to start with ones involving simple circuits using LEDs and batteries. “Explore the differences between series and parallel circuits, then learn how to make your own switch to turn your circuits on and off,” Dec says.
While some prefer to dive right into a project (that’s encouraged), others may want a basic idea of how to sew a circuit. Ji Sun Lee, professor of visual media design at Sookmyung Women’s University and co-author (with Dec) of Make: Tech DIY: Easy Electronics Projects for Parents and Kids, recommends a guide on Instructables, which discusses running stitch, using conductive thread, short circuits, preparing components, and other practical information. Getting Hands-On With Soft Circuits: A Workshop Facilitator’s Guide by Emily Lovell, available online for free, is also helpful for beginners.
Yes, your child will learn some fundamental concepts of electricity and electronics—like what’s in an atom, how voltage works, and how to differentiate various types of circuits—but since the aim here is to pique curiosity, the experts say it’s best not to overload your kids with theories and instead let them search for solutions on their own when issues come up.
However, your child should know how electricity moves through a circuit and what you need for closed circuits to work before they start planning out their project, Dec says.
Sketch out new ideas

Once your child has a basic command of how circuits work, it’s time to encourage them to come up with new ideas and start sketching. “Don’t try to copy the presented projects. Apply creative, original, unique ideas to the designed circuit,” Lee suggests.
So if your child knows how to make circuits for LEDs and vibrating motors, weigh their interests and see which type may be more suitable for advanced projects. If their passions lie in stars and rainbows, LEDs could be a great fit, while vibrating motors may work better for designs involving cars, boats, and dice, Dec says.
Lee’s daughter, Hannah Kim, for example, translated her love for Jumanji: Welcome to the Jungle into a semi-computerized board game when she was 10 years old. She created a felt version of the movie’s Jumanji board, connected it to a computer with a sewn circuit, and used basic Scratch coding and a MakeyMakey circuit board to bring her project to life.
The result was a more-automated game with flexible features, where pressing a button on the board can control what happens on the computer—whether it’s rolling dice, drawing cards from a virtual deck, or other programmable actions that can be updated as desired.
Design the circuit
Before sewing, sketch everything out on paper and check for mistakes—it’s much easier to fix problems before they’re sewn.
Both Lee and Dec suggest using the free Tinkercad circuit simulator to make sure everything is accurate. After the components have been sewn and threaded together, double-check everything with a multimeter—an electronic measuring device also known as a VOM (volt-ohm-milliammeter).
Make your new project
As you put the project together, beware of hurting fingers and accidentally tangling, crossing, or cutting your conductive thread between the wrong components, Lee says.
Other common pitfalls include short circuits, misplaced components (i.e. the positive side of the battery isn’t correctly aligned with the positive side of the LED), and failure to check that electricity is passing through each component.
Bear in mind that a lot of these projects are about troubleshooting, so if things don’t work, remind your child not to get discouraged. The key to improvement is to start with simple circuits, practice many times, and slowly move onto more complicated circuits, Dec says.
Get feedback

Record each step and share the projects. Whether that means taking them to Instagram, Pinterest, TikTok, or even to school for show and tell, “the idea is to engage with whatever community your children are already engaged in, on a platform they feel the most proud of,” Dec says.
If a specific YouTube tutorial inspires the project, you can also post a comment with a link to your project. It’s a great way to engage with potential mentors, get helpful feedback, and inspire others.


